SciKit-Image Python (開発用のしくみ:ガイド)
Scikit-imageは、Pythonでの画像処理用に設計されたアルゴリズムのコレクションです。 これは無料で利用可能で、制限がなく、活発なボランティアのコミュニティから提供された、高品質で査読済みのコードを誇ります。 Scikit-imageプロジェクトは、2009年にGoogleのGoogle Summer Codeプログラムの一環として、Stefan van der Waltと他のScikit-imageの寄稿者の指導のもとで始まりました。 これは、学術および産業アプリケーション向けに使いやすく、効率的で拡張可能なPythonライブラリを作成することを目指していました。 この記事では、Scikit-image Python画像ライブラリとIron SoftwareのPDF生成ライブラリIronPDFについて学びます。
開始方法
Scikit-imageについて学ぶには、公式ウェブサイトをチェックしてください。また、Data Carpentryは、Scikitを使用したPythonでの画像処理に関する優れたレッスンを提供しています。
pipによるインストール
- Pythonがインストールされていることを確認してください(少なくともバージョン3.10)。
ターミナルまたはコマンドプロンプトを開きます。
- pipを更新する:
python -m pip install -U pippython -m pip install -U pipSHELL- pipを介してscikit-imageをインストールする:
python -m pip install -U scikit-imagepython -m pip install -U scikit-imageSHELL- デモデータセットにアクセスするには、次を使用します:
python -m pip install -U scikit-image[data]python -m pip install -U scikit-image[data]SHELL- パラレル処理機能を含む追加の科学パッケージについては、次を使用します:
python -m pip install -U scikit-image[optional]python -m pip install -U scikit-image[optional]SHELL
基本的な例
import skimage.io
import matplotlib.pyplot as plt

# Load an image from file
image = skimage.io.imread(fname='land.jpg')

# Display the image
plt.imshow(image)
plt.show()
import skimage.io
import matplotlib.pyplot as plt
# Load an image from file
image = skimage.io.imread(fname='land.jpg')
# Display the image
plt.imshow(image)
plt.show()フィルター
import skimage as ski

# Load a sample image from the scikit-image default collection
image = ski.data.coins()

# Apply a Sobel filter to detect edges
edges = ski.filters.sobel(image)

# Display the edges
ski.io.imshow(edges)
ski.io.show()
import skimage as ski
# Load a sample image from the scikit-image default collection
image = ski.data.coins()
# Apply a Sobel filter to detect edges
edges = ski.filters.sobel(image)
# Display the edges
ski.io.imshow(edges)
ski.io.show()Scikit-image、skimageとも略されることが多いのですが、画像処理タスクのための強力なPythonライブラリです。 これは、NumPy配列、SciPy、およびmatplotlibの上に構築されており、画像を操作および分析するためのさまざまな関数とアルゴリズムを提供します。 このskimage.data.coins()は、ライブラリからサンプル画像にアクセスするために使用されます。 skimage.filtersは、組み込みフィルターやユーティリティ関数へのアクセスを提供します。
Scikit-imageの主な機能
1. 画像フィルタリングとエッジ検出
from skimage import io, filters

# Load an image
image = io.imread('image.jpg')

# Apply Gaussian blur
blurred_image = filters.gaussian(image, sigma=1.0)

# Apply Sobel edge detection
edges = filters.sobel(image)

# Display the original image, blurred image, and edges
io.imshow_collection([image, blurred_image, edges])
io.show()
from skimage import io, filters
# Load an image
image = io.imread('image.jpg')
# Apply Gaussian blur
blurred_image = filters.gaussian(image, sigma=1.0)
# Apply Sobel edge detection
edges = filters.sobel(image)
# Display the original image, blurred image, and edges
io.imshow_collection([image, blurred_image, edges])
io.show()出力
2. HOG(ヒストグラムオリエンテッドグラデーション)を用いた特徴抽出
from skimage import io, color, feature

# Load an example image and convert to grayscale
image = io.imread('image.jpg')
gray_image = color.rgb2gray(image)

# Compute HOG features and visualize them
hog_features, hog_image = feature.hog(gray_image, visualize=True)

# Display the original image and the HOG image
io.imshow_collection([image, gray_image, hog_image])
io.show()
from skimage import io, color, feature
# Load an example image and convert to grayscale
image = io.imread('image.jpg')
gray_image = color.rgb2gray(image)
# Compute HOG features and visualize them
hog_features, hog_image = feature.hog(gray_image, visualize=True)
# Display the original image and the HOG image
io.imshow_collection([image, gray_image, hog_image])
io.show()出力
3. 幾何変換 - リサイズと回転
from skimage import io, transform

# Load an image
image = io.imread('image.jpg')

# Resize image by dividing its dimensions by 2
resized_image = transform.resize(image, (image.shape[0] // 2, image.shape[1] // 2))

# Rotate image by 45 degrees
rotated_image = transform.rotate(image, angle=45)

# Display the original image, resized image, and rotated image
io.imshow_collection([image, resized_image, rotated_image])
io.show()
from skimage import io, transform
# Load an image
image = io.imread('image.jpg')
# Resize image by dividing its dimensions by 2
resized_image = transform.resize(image, (image.shape[0] // 2, image.shape[1] // 2))
# Rotate image by 45 degrees
rotated_image = transform.rotate(image, angle=45)
# Display the original image, resized image, and rotated image
io.imshow_collection([image, resized_image, rotated_image])
io.show()出力
4. 全変動フィルターでの画像ノイズ除去
from skimage import io, restoration

# Load a noisy image
image = io.imread('image.jpg')

# Apply total variation denoising
denoised_image = restoration.denoise_tv_chambolle(image, weight=0.1)

# Display the noisy image and the denoised image
io.imshow_collection([image, denoised_image])
io.show()
from skimage import io, restoration
# Load a noisy image
image = io.imread('image.jpg')
# Apply total variation denoising
denoised_image = restoration.denoise_tv_chambolle(image, weight=0.1)
# Display the noisy image and the denoised image
io.imshow_collection([image, denoised_image])
io.show()出力
画像処理とNumPy配列についての詳細は、公式ページで見つけることができます。
IronPDFの紹介

IronPDFは、HTML、CSS、画像、JavaScriptを使用してPDFドキュメントを作成、編集、署名するために設計された堅牢なPythonライブラリです。 パフォーマンス効率を優先し、最小限のメモリ使用量で動作します。 主な機能は以下のとおりです:
HTMLからPDFへの変換: HTMLファイル、HTML文字列、URLをPDFドキュメントに変換し、Chrome PDFレンダラを使用してWebページをレンダリングする機能を活用します。
クロスプラットフォームサポート: Windows、Mac、Linux、およびさまざまなクラウドプラットフォームで for Python 3+と互換性があります。 IronPDFは.NET、Java、Python、Node.js環境でも利用可能です。
編集と署名: PDFプロパティをカスタマイズし、パスワードや権限などのセキュリティ対策を強化し、デジタル署名をシームレスに適用します。
ページテンプレートと設定: ヘッダー、フッター、ページ番号、調整可能なマージン、カスタム用紙サイズ、レスポンシブデザインなどの機能を活用してPDFレイアウトを作成します。
- 標準準拠: PDF/AやPDF/UAなどのPDF標準に厳密に準拠し、UTF-8文字エンコーディングの互換性を確保し、画像、CSSスタイルシート、フォントなどのアセットを緻密に管理します。
インストール
pip install ironpdf
pip install scikit-image
pip install ironpdf
pip install scikit-imageIronPDFとScikit Imageを使用してPDFドキュメントを生成する
前提条件
- コードエディタとしてVisual Studio Codeがインストールされていることを確認してください。
- Pythonバージョン3がインストールされています。
まず、スクリプトを追加するPythonファイルを作成してください。
Visual Studio Codeを開いて、ファイルscikitDemo.pyを作成してください。
必要なライブラリをインストール:
pip install scikit-image
pip install ironpdf
pip install scikit-image
pip install ironpdfそして、下記 for Pythonコードを追加して、IronPDFとscikit-image Pythonパッケージの使用法をデモンストレーションします。
from skimage import io, filters
from ironpdf import *
# Apply your license key
License.LicenseKey = "YOUR_LICENSE_KEY"
# Load an image
image = io.imread('image.jpg')
# Apply Gaussian blur
blurred_image = filters.gaussian(image, sigma=1.0)
# Apply Sobel edge detection
edges = filters.sobel(image)
# Save the results to a file
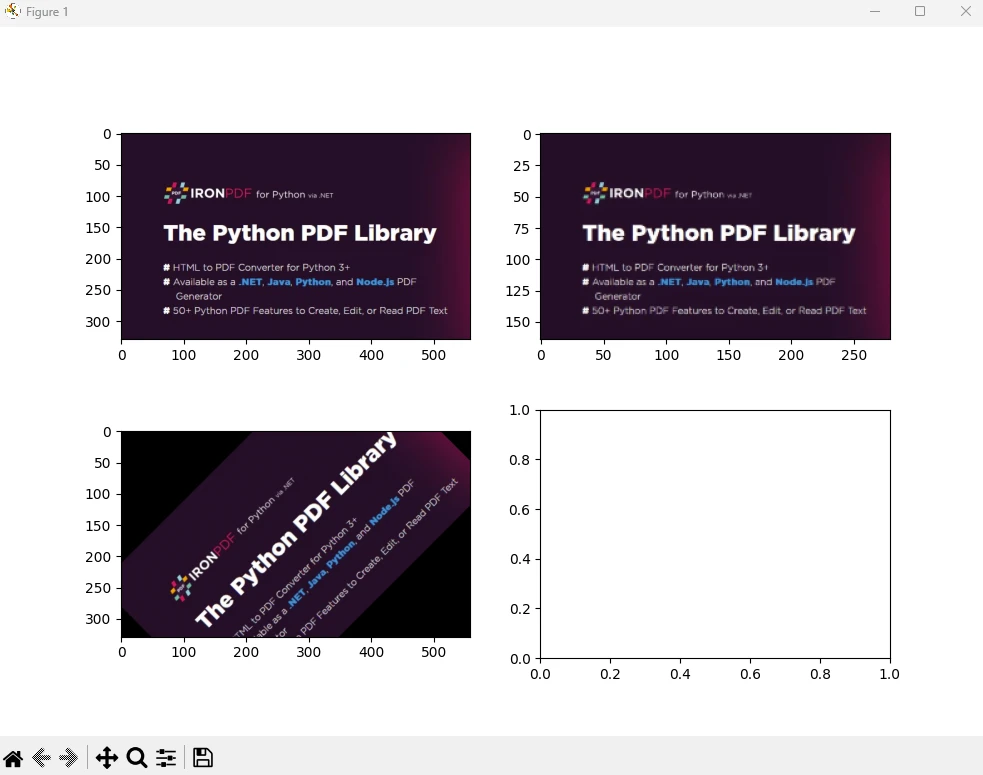
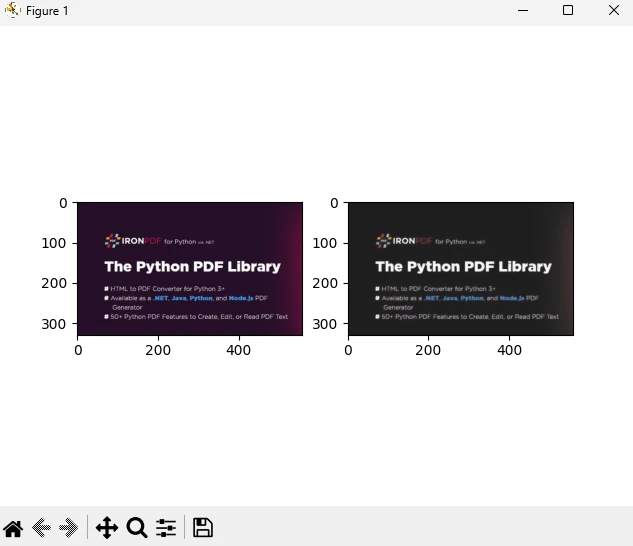
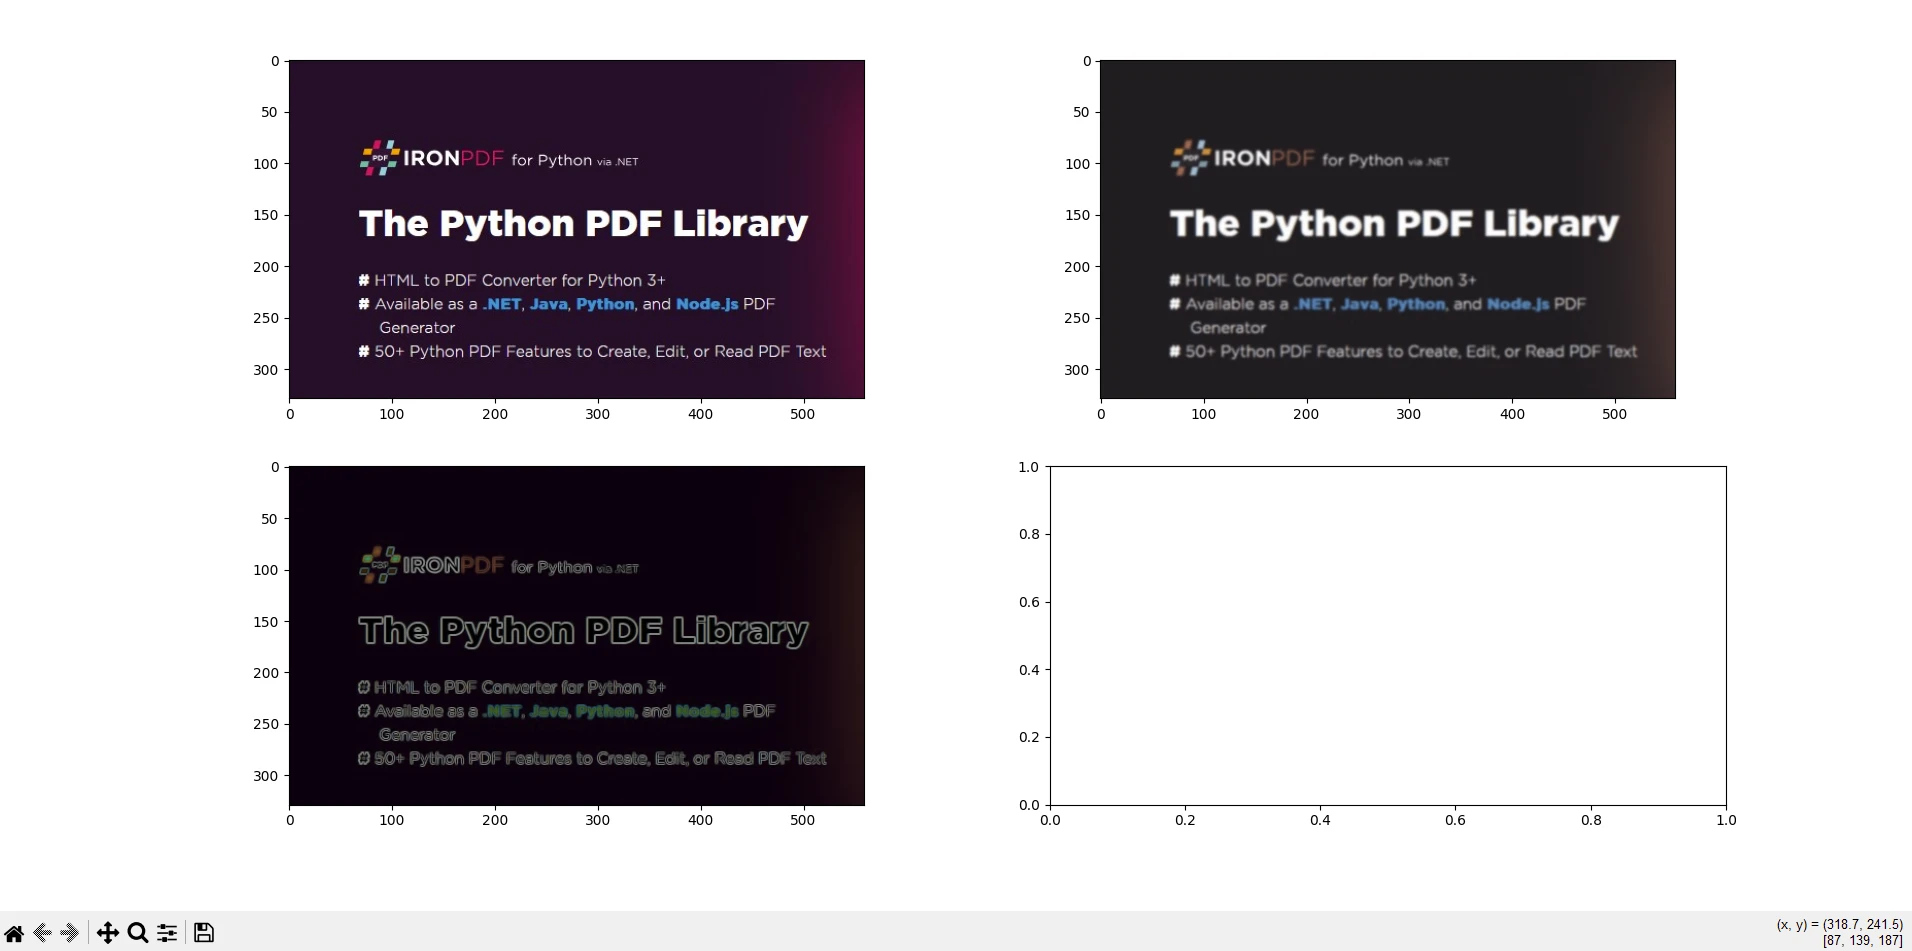
io.imshow_collection([image, blurred_image, edges]).savefig('ironPdf-skimage.png')
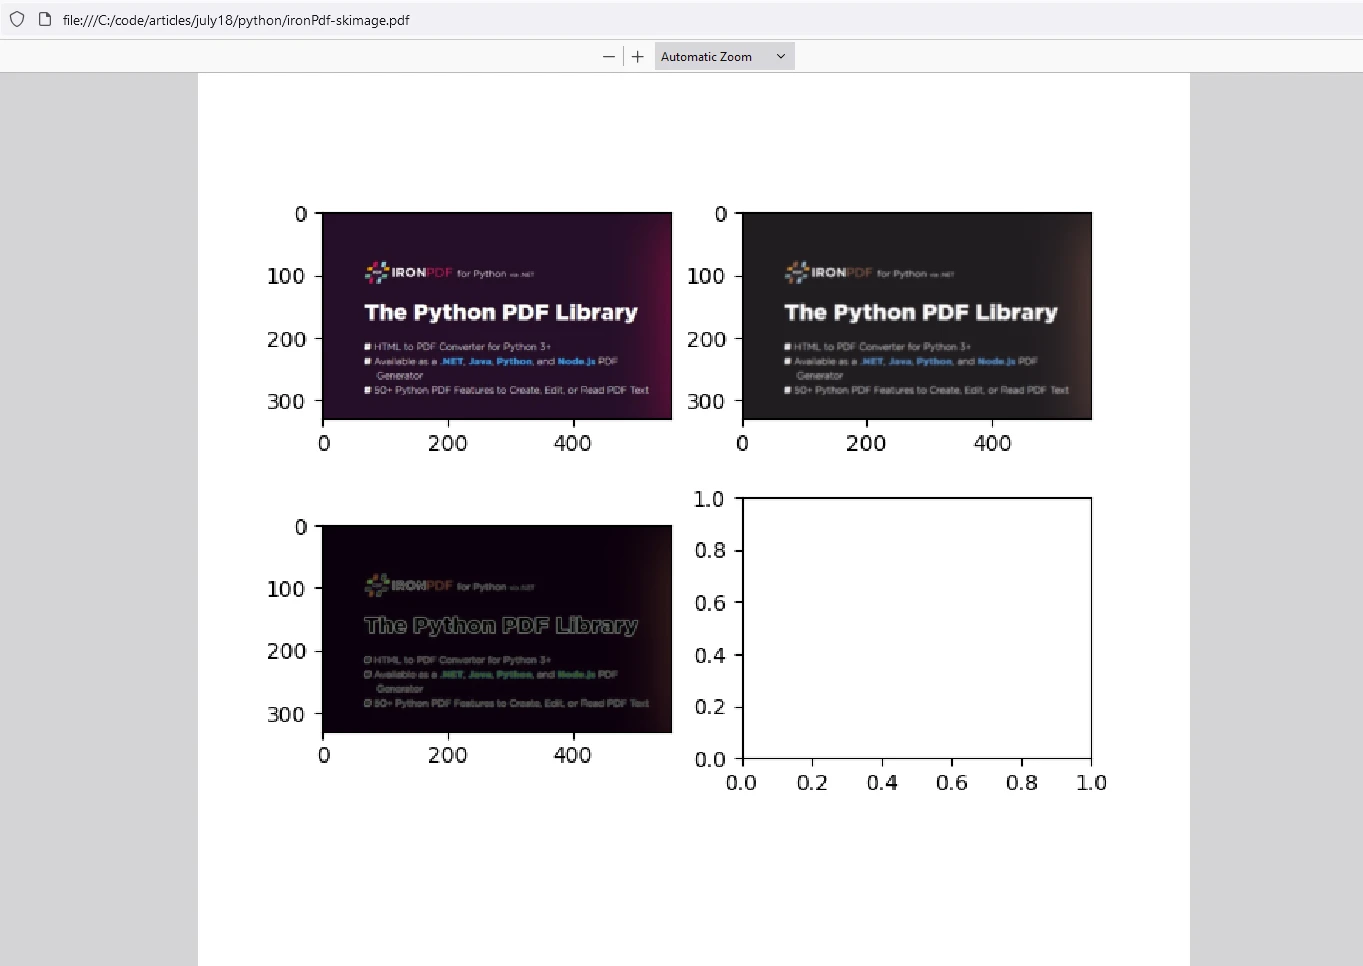
# Convert the saved image to a PDF document
ImageToPdfConverter.ImageToPdf("ironPdf-skimage.png").SaveAs("ironPdf-skimage.pdf")
# Display the images
io.show()from skimage import io, filters
from ironpdf import *
# Apply your license key
License.LicenseKey = "YOUR_LICENSE_KEY"
# Load an image
image = io.imread('image.jpg')
# Apply Gaussian blur
blurred_image = filters.gaussian(image, sigma=1.0)
# Apply Sobel edge detection
edges = filters.sobel(image)
# Save the results to a file
io.imshow_collection([image, blurred_image, edges]).savefig('ironPdf-skimage.png')
# Convert the saved image to a PDF document
ImageToPdfConverter.ImageToPdf("ironPdf-skimage.png").SaveAs("ironPdf-skimage.pdf")
# Display the images
io.show()コードの説明
このコードスニペットは、scikit-imageの(skimage)とIronPDFを一緒に使用して画像を処理し、その結果をPDFドキュメントに変換する方法を示しています。 ここでは各部分の説明です:
インポート文: 画像の読み込みと画像フィルタリングのためにscikit-imageから必要な関数をインポートし、IronPDFの機能をインポートします。
ライセンスキーの適用: IronPDFのライセンスキーを設定します。 このステップは、IronPDFの機能を使用するために必要です。
画像の読み込みと処理: scikit-imageの
'image.jpg'という名前の画像を読み込みます。 次に、シグマ値1.0を使用して、読み込んだ画像にガウシアンブラーを適用し、filters.gaussianでソーベルエッジ検出を適用します。結果の表示と保存:
io.imshow_collection([image, blurred_image, edges]).savefig('ironPdf-skimage.png'): 画像コレクション(オリジナル、ぼかし、エッジ)を'ironPdf-skimage.png'として保存します。画像をPDFに変換:
ImageToPdfConverter.ImageToPdf("ironPdf-skimage.png").SaveAs("ironPdf-skimage.pdf"): 保存されたPNG画像をIronPDFの機能を使ってPDFドキュメントに変換します。- 画像の表示:
io.show(): 画像をグラフィカルウィンドウに表示します。
このコードスニペットは、画像処理のためのscikit-imageの機能と、処理された画像をPDFドキュメントに変換するためのIronPDFを組み合わせています。 画像を読み込み、ガウスぼかしとソーベルエッジ検出を適用し、PNGファイルとして保存し、そのPNGをIronPDFを使用してPDFに変換し、処理された画像を表示する例を示しています。 この統合は、科学研究、画像分析レポート、または自動ドキュメント生成ワークフローなどで、画像を処理し、分析し、PDF形式で文書化する必要があるタスクに便利です。
出力
IronPDFライセンス
IronPDFはPython用のライセンスキーで動作します。 IronPDF for Pythonは、ユーザーが購入前にその広範な機能をチェックするための無料トライアルライセンスを提供しています。
スクリプトを使用する前にライセンスキーを配置しIronPDFパッケージを使用します。
from ironpdf import *
# Apply your license key
License.LicenseKey = "YOUR_LICENSE_KEY"from ironpdf import *
# Apply your license key
License.LicenseKey = "YOUR_LICENSE_KEY"結論
scikit-imageは、Python開発者が画像関連のタスクに効率的に取り組む力を提供します。 コンピュータビジョン、医療画像処理、または芸術的なプロジェクトに取り組んでいるかどうかに関係なく、このパッケージはあなたをサポートします。 scikit-imageは、フィルタリング、セグメンテーション、特徴抽出、幾何変換などのタスクのために、幅広い機能とアルゴリズムを提供する、汎用性が高く強力なPython画像処理ライブラリです。 他の科学ライブラリとのシームレスな統合により、画像解析やコンピュータビジョンアプリケーションに取り組む研究者、開発者、およびエンジニアにとって好ましい選択肢となっています。
IronPDFは、Pythonアプリケーション内でPDFドキュメントの作成、編集、および操作を支援するPythonライブラリです。 これは、HTML、画像、既存のPDFなどのさまざまなソースからPDFファイルを生成する機能を提供します。 さらに、IronPDFは、PDFドキュメントのマージや分割、注釈、透かし、デジタル署名の追加、PDFからのテキストや画像の抽出、メタデータやセキュリティ設定などのドキュメントプロパティの管理といったタスクをサポートします。 このライブラリは、プログラム的にPDF関連のタスクを処理する効率的な方法を提供し、ドキュメント生成、レポート作成、ドキュメント管理機能を必要とするアプリケーションに適しています。
両方のライブラリを使用することで、ユーザーは画像を処理して効率的に処理し、結果をアーカイブ用のPDFドキュメントに保存することができます。