IronPDFを使用してPythonで簡単にPDFに注釈を入れる方法
IronPDF for Python ライブラリを使用して PDF ファイルに注釈を追加する方法を学習したい場合は、読み続けてください。 この記事では、プロセスを段階的に説明します。
PDF注釈の理解
PDF 注釈は、PDF ドキュメントに追加情報、メモ、ハイライト、その他の視覚要素を追加するプロセスです。 注釈は、コンテキストを提供し、ドキュメントを共同作業し、コンテンツの読みやすさを向上させる手段として機能します。 一般的な注釈の種類には、テキストコメント、リンク注釈によるリンクの追加、ファイル添付の追加、強調表示、下線、取り消し線、図形、さらには画像やスタンプの追加などがあります。
IronPDF - Python PDFライブラリ
IronPDFは、開発者が PDF ドキュメントをシームレスに操作できるようにする人気の Python ライブラリです。 PDF の作成、操作、注釈などの包括的な機能セットを提供します。 IronPDF を使用すると、PDF の生成および変更機能を Python アプリケーションに簡単に統合できるため、タスクを自動化し、ドキュメント ワークフローを合理化できます。
IronPDF はさまざまな注釈タイプをサポートしており、PDF ドキュメントのリッチでインタラクティブな読み取りエクスペリエンスを実現できます。 テキスト注釈を使用してテキストによる説明を追加したり、重要なセクションを強調表示したり、ファイル添付タイプを使用して他の PDF を添付したり、スタンプ注釈を使用してドキュメントに"承認済み"または"機密"のマークを付けるスタンプを含めたり、IronPDF が対応します。
前提条件
IronPDF を使用して PDF に注釈を付ける作業を始める前に、次の前提条件が満たされていることを確認してください。
- Python:コンピュータに Python がインストールされていることを確認します。 最新バージョンをダウンロードするには、Python の公式 Web サイトにアクセスしてください。
- IDEをインストールする: IronPDFでPDFの作業を始める前に、IDEをインストールする必要があります。Python用の人気の統合開発環境(IDE)として、 PyCharmがおすすめです。 あるいは、PyCharm を使用したくない場合は、任意の IDE を使用することもできます。
IronPDF ライブラリ:ターミナルで次のコマンドを使用して IronPDF ライブラリをインストールします。
pip install IronPDFpip install IronPDFSHELL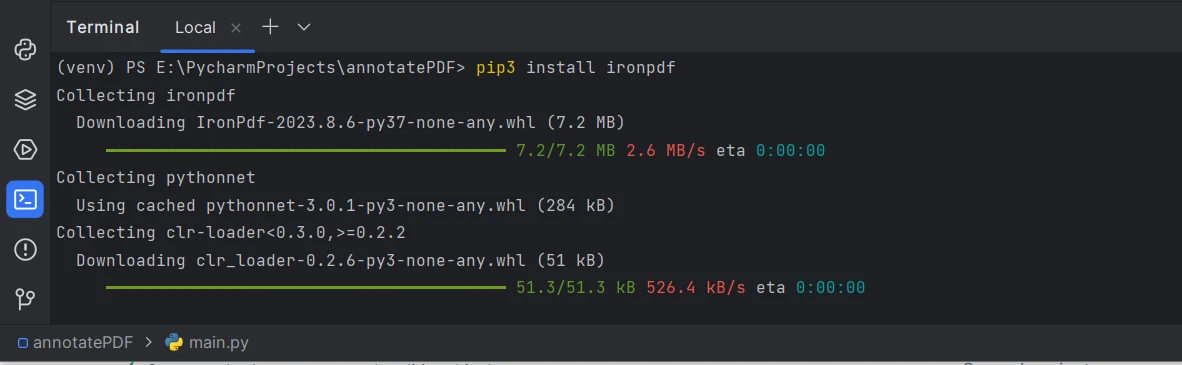 IronPDFパッケージをインストールする
- .NET 6.0 ランタイム: IronPDF for Python は、正常に動作するために .NET 6.0 テクノロジに依存しています。 つまり、IronPDF for Python を効果的に使用するには、コンピューターに.NET 6.0 ランタイムがインストールされている必要があります。 おそらく、プロジェクト実行時に IronPDF の依存関係とともに自動的にインストールされます。
注意: pip (Python パッケージ マネージャー) を使用して IronPDF をインストールする場合は、IronPDF インストール パスがシステムのPATH変数に含まれていることを確認することが重要です。 この手順は、インストールおよび使用中に pip が IronPDF パッケージとその関連コンポーネントを見つけられるようにするために重要です。
PyCharmでプロジェクトを作成する
まず、PyCharm で新しいプロジェクトを作成しましょう。
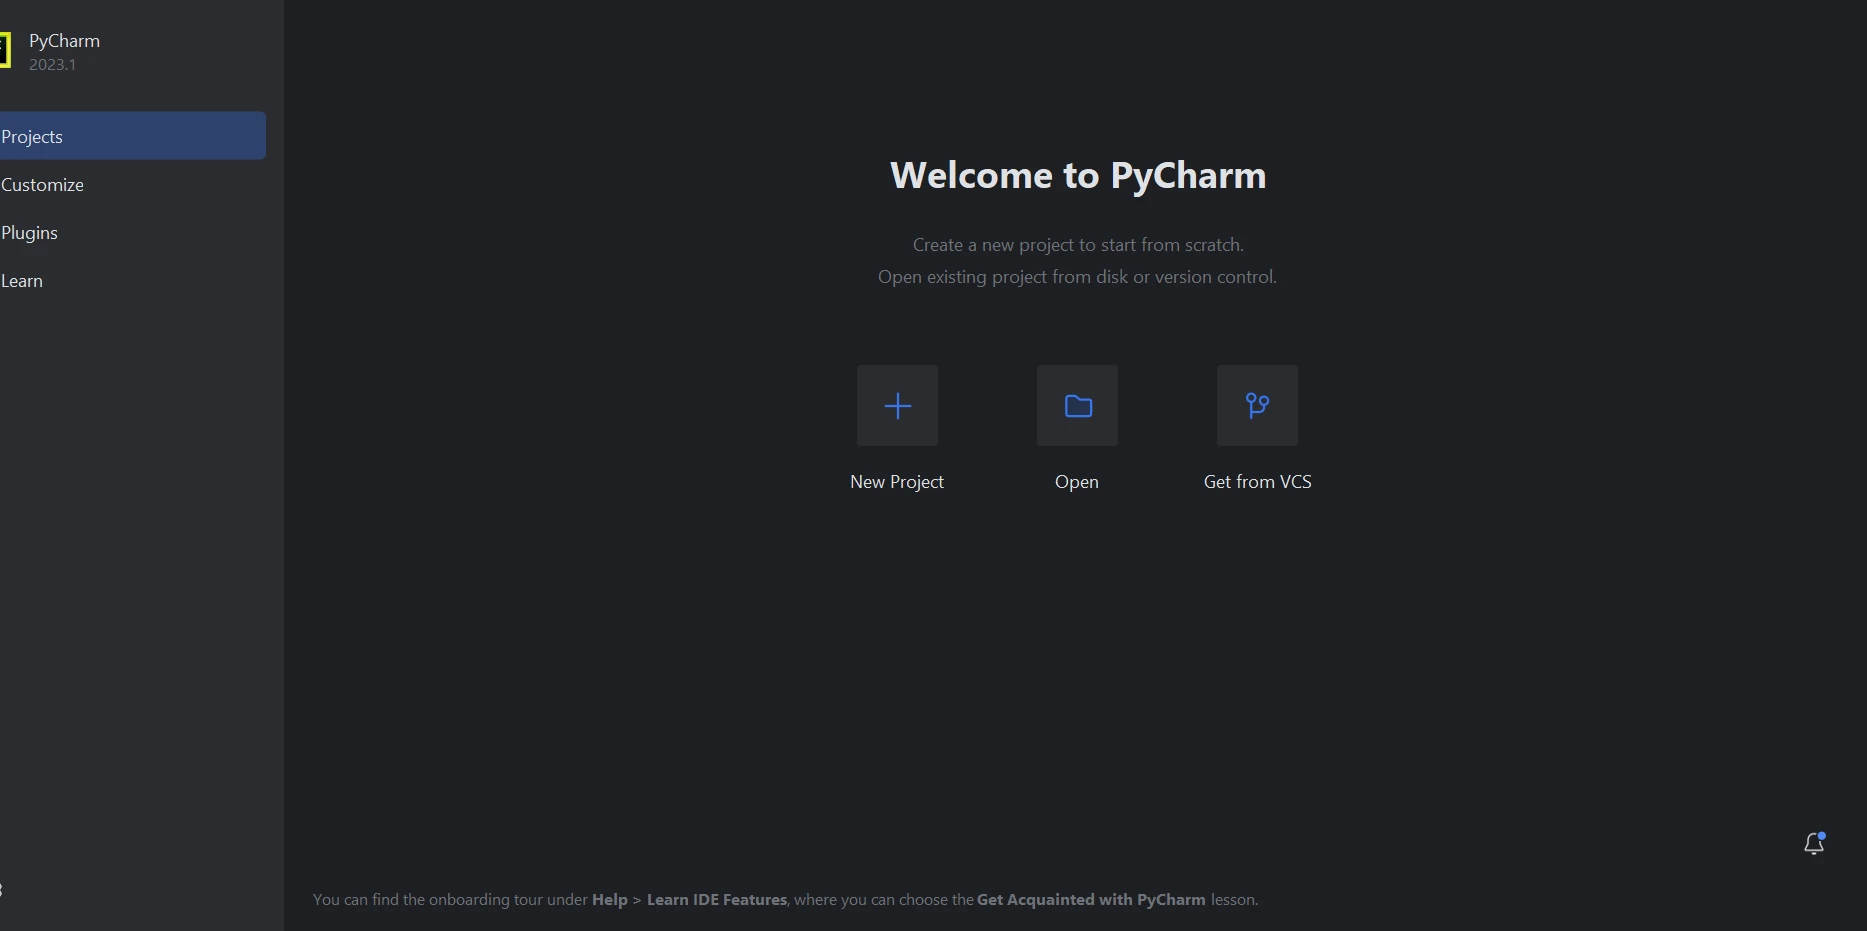
- PyCharm を開き、"新しいプロジェクトの作成"をクリックします。
 PyCharm IDE
- プロジェクトの場所を選択し、適切なインタープリター (Python) を選択します。
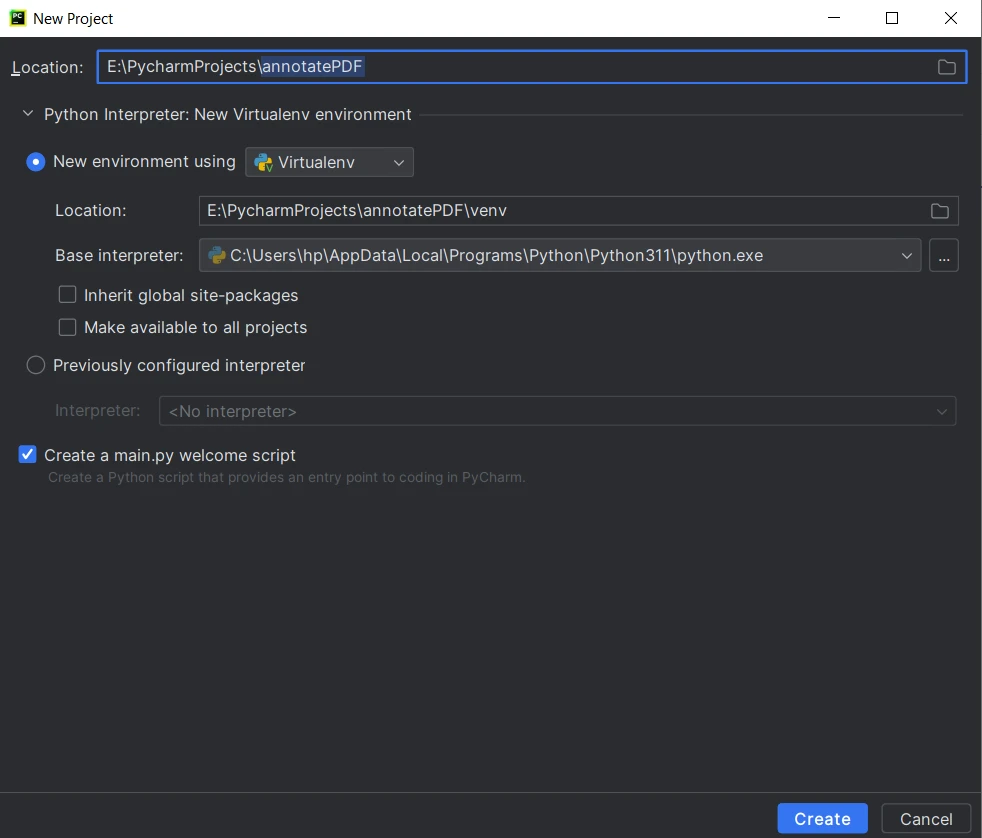 新しいPythonプロジェクトを作成する
- "作成"をクリックするとプロジェクトが作成されます。 実行用のコードを記述するための main.py ファイルも作成されます。
デモ プロジェクトがセットアップされたので、IronPDF を使用して PDF に注釈を付けてみましょう。
PythonでPDF文書に注釈を付ける手順
ステップ1: IronPDFライブラリのインポート
最初の行は、IronPDF ライブラリから必要なモジュールをインポートし、PDF の操作と注釈に必要なクラスと関数にアクセスできるようにします。
from ironpdf import PdfDocument, TextAnnotationfrom ironpdf import PdfDocument, TextAnnotationステップ2: 既存のPDFドキュメントの読み込み
このステップでは、 PdfDocumentクラスを使用して、"existing.pdf"という名前の既存の PDF ファイルを読み込みます。 このドキュメントは注釈を追加するためのベースとして使用されます。 また、サポートされている注釈タイプが追加されるページ インデックスを設定します。
# Load the PDF document and set the target page index for annotation
pdf = PdfDocument("existing.pdf")
pageIndex = 0
# Load the PDF document and set the target page index for annotation
pdf = PdfDocument("existing.pdf")
pageIndex = 0ステップ3: 注釈パラメータの設定
次のコード行は、PDF に追加されるテキスト注釈のさまざまなプロパティを定義します。 これらのプロパティは、注釈の外観と動作に関する情報を提供します。
# Create a text annotation and configure its properties
annotation = TextAnnotation(pageIndex)
annotation.Title = "This is the major title"
annotation.Subject = "This is a subtitle"
annotation.Contents = "This is the long 'sticky note' comment content..."
annotation.Icon = TextAnnotation.AnnotationIcon.Help
annotation.X = 150
annotation.Y = 200
annotation.Width = 200
annotation.Height = 50
annotation.Opacity = 0.9
annotation.Printable = False
annotation.Hidden = False
annotation.OpenByDefault = True
annotation.ReadOnly = False
annotation.Rotatable = True
# Create a text annotation and configure its properties
annotation = TextAnnotation(pageIndex)
annotation.Title = "This is the major title"
annotation.Subject = "This is a subtitle"
annotation.Contents = "This is the long 'sticky note' comment content..."
annotation.Icon = TextAnnotation.AnnotationIcon.Help
annotation.X = 150
annotation.Y = 200
annotation.Width = 200
annotation.Height = 50
annotation.Opacity = 0.9
annotation.Printable = False
annotation.Hidden = False
annotation.OpenByDefault = True
annotation.ReadOnly = False
annotation.Rotatable = True各プロパティが表す内容は次のとおりです。
*アノテーション:*アノテーション変数を設定し、アノテーション タイプを宣言します。 タイトル:新しい注釈の主なタイトル。 件名:注釈に関するサブタイトルまたは追加情報。 内容:**注釈の主な内容。"付箋"コメントに似ています。 *アイコン:注釈に関連付けられた視覚的なアイコン (この場合はヘルプ アイコン)。
- XとY:ページ上の注釈の左上隅の座標。 *幅と高さ:*注釈の境界ボックスの寸法。 不透明度:注釈の不透明度レベル (0 ~ 1 の範囲)。 印刷可能:注釈を印刷するかどうか。 非表示:**注釈が最初は非表示になっているかどうか。
- OpenByDefault:注釈をデフォルトで開くかどうか。
- ReadOnly:注釈が読み取り専用かどうか。 *回転可能:注釈を回転できるかどうか。
その他の注釈タイプとプロパティについては、このコード例のページをご覧ください。
ステップ4: PDFに注釈を追加する
次のコード行は、作成されたテキスト注釈を PDF ドキュメント内の特定のページに追加します。
# Add the text annotation to the specified page in the PDF document
pdf.Annotations.Add(annotation)
# Add the text annotation to the specified page in the PDF document
pdf.Annotations.Add(annotation)ステップ5: 注釈付きPDFを保存する
最後に、注釈が追加された更新された PDF ドキュメントをSaveAsメソッドを使用して保存します。
# Save the PDF document with the new annotations
pdf.SaveAs("annotated.pdf")
# Save the PDF document with the new annotations
pdf.SaveAs("annotated.pdf")ステップ6: スクリプトの実行
ここで、すべてのコードをまとめて、先ほど作成した PyCharm プロジェクトでスクリプトを実行してみましょう。
- PyCharm 内でスクリプトを実行するには、スクリプト エディター内の任意の場所を右クリックし、 Run annotatePDFを選択します。
- PyCharm はスクリプトを実行し、IDE の下部にある実行コンソールに出力と潜在的なエラーが表示されます。
- スクリプトが完了すると、プロジェクトと同じディレクトリに注釈付きの PDF ("annotated.pdf") が見つかります。
出力:
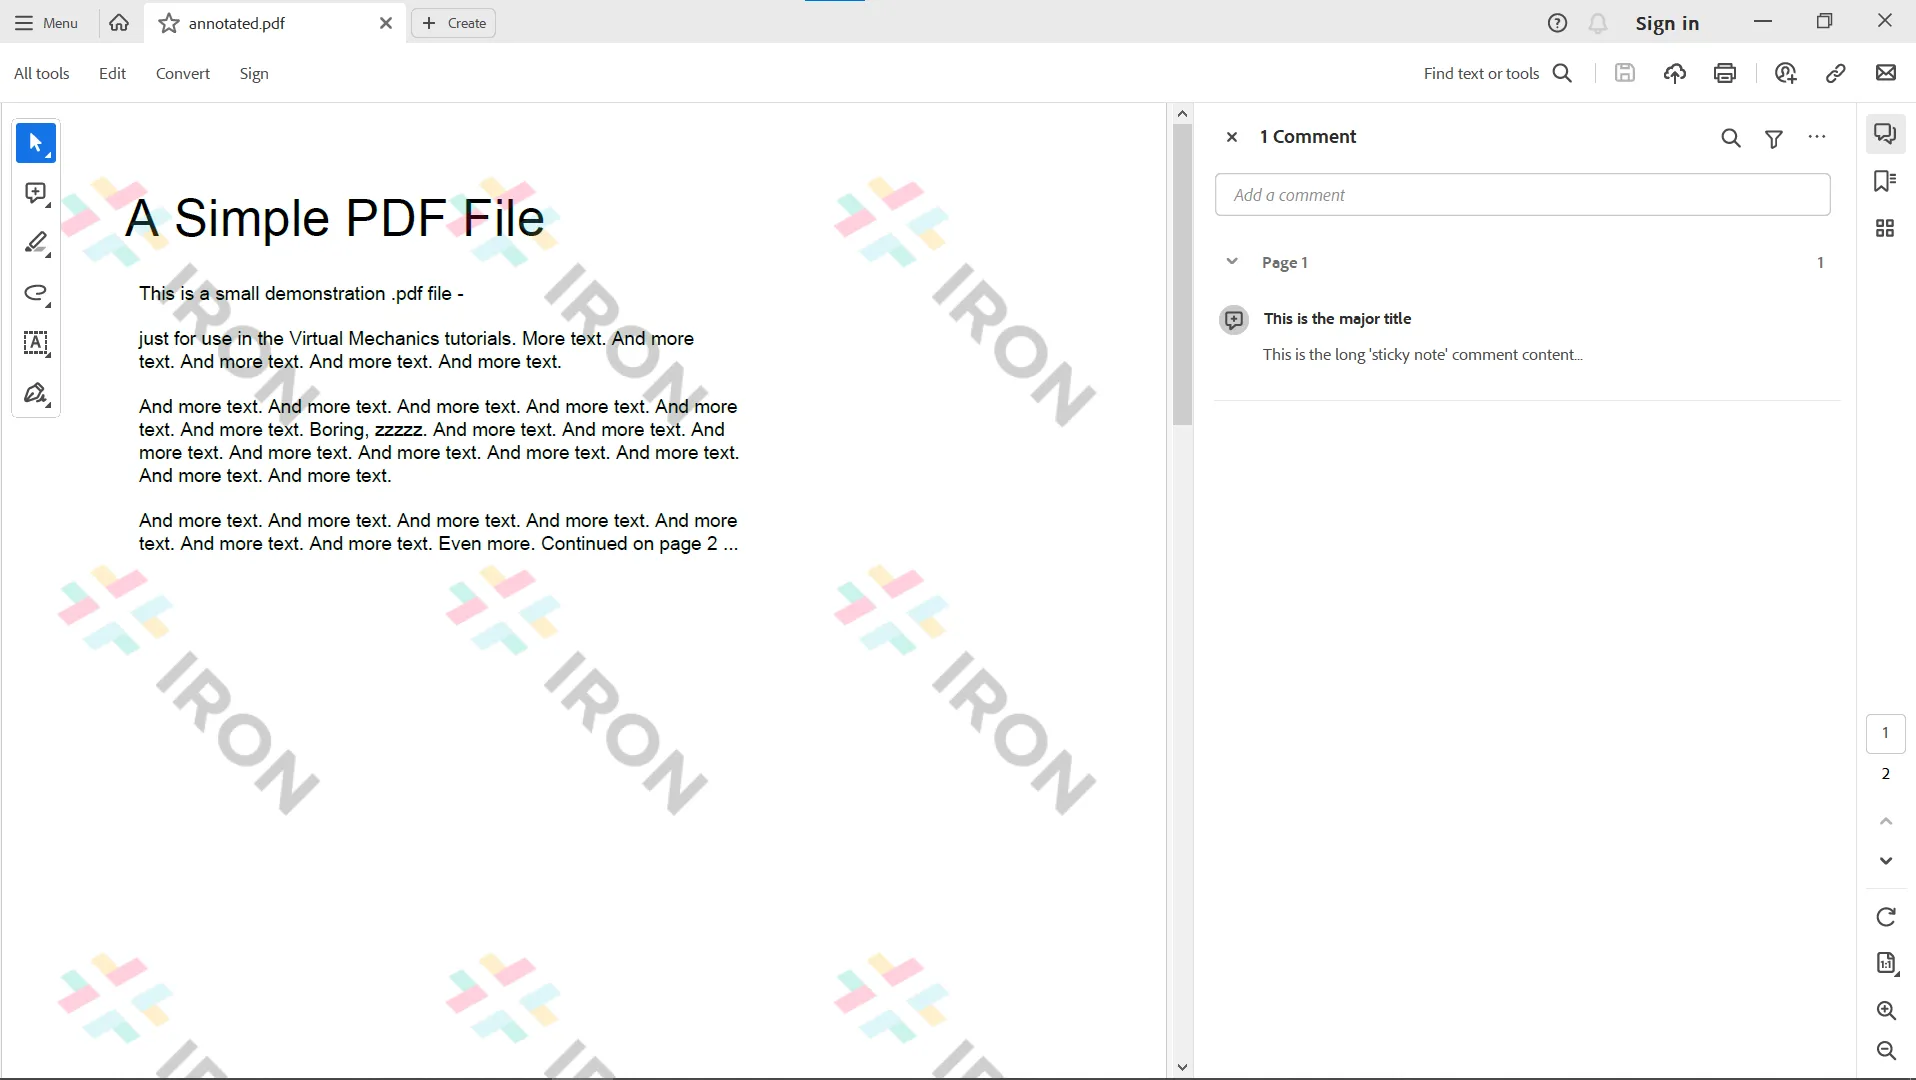 出力PDFファイル
結論
この記事で概説されている手順に従うことで、IronPDF の機能を活用して PDF 注釈ワークフローを自動化し、ドキュメント管理プロセスを改善できます。 IronPDF は、異なるページまたは同じページにまたがる PDF ドキュメント内のリンク注釈の追加と既存の注釈の編集のプロセスを簡素化し、プログラムによる作成、変更、注釈付けのための強力なツール セットを提供します。
さらに、IronPDF では、インタラクティブな PDF ドキュメントの作成、インタラクティブなフォームへの入力と送信、PDF ファイルの分割と結合、PDF ファイルからのテキストと画像の抽出、PDF ファイル内の特定の単語の検索、 PDF ページの画像へのラスタライズ、PDF から HTML への変換、 PDF ファイルの印刷などの機能も提供されます。
今すぐ IronPDF を試して、ドキュメント管理プロセスがどのように変革されるかを確認してください。 IronPDF では無料トライアルを提供しているため、ライセンスを購入する前に完全な機能をテストできます。 ライセンスは$799から始まり、役立つ追加オプションを付けることができます。 公式 Web サイトから IronPDF for Python をダウンロードして、今すぐ PDF プロジェクトの向上を始めましょう。
よくある質問
Pythonを使用してPDFに注釈を付ける方法は?
IronPDFを使用して、PythonでPDFに注釈を付けることができます。ライブラリをインポートし、PDFをロードし、タイトルや内容など、注釈パラメータを設定し、注釈を追加し、更新されたPDFを保存します。
PythonでIronPDFを使用するためのシステム要件は何ですか?
PythonでPDFに注釈を付けるためにIronPDFを使用するには、Pythonがインストールされていること、PyCharmなどのIDE、IronPDFライブラリ、.NET 6.0ランタイムが必要です。
PythonでPDF操作のためにIronPDFをインストールする方法は?
PythonでIronPDFをインストールするには、ターミナルでpip install IronPDFコマンドを実行します。
PythonでIronPDFを使用して作成できるPDF注釈の種類は何ですか?
IronPDFは、テキストコメント、ハイライト、リンク、ファイル添付、図形、画像、スタンプなどの注釈を、そ for Pythonライブラリを使用して作成することを可能にします。
PythonでPDF注釈タスクを自動化できますか?
はい、IronPDFはPDF注釈タスクの自動化をサポートしており、Pythonアプリケーション内でのPDFのプログラムによる作成、修正、管理を可能にします。
IronPDF の試用版はありますか?
はい、IronPDFは、ライセンスの購入を決定する前に、その機能と可能性を探索できる無料試用版を提供しています。
PythonでPDF管理のためにIronPDFが提供する追加機能は何ですか?
IronPDFは、インタラクティブなPDFの作成、フォームの記入、ドキュメントの分割と統合、テキストや画像の抽出、PDFをHTMLに変換する機能などを提供します。
PyCharmでPDFに注釈を付けるため for Pythonスクリプトを実行する方法は?
PyCharmでは、スクリプトエディタ内で右クリックして「Run annotatePDF」を選択すると、結果とエラーがRunコンソールに表示されます。
Python用のIronPDFをどこでダウンロードできますか?
公式のIronPDFウェブサイトからIronPDFをダウンロードできます。そこで、開始に必要なファイルとドキュメントを見つけることができます。
IronPDFを使用してPythonでPDFにテキストコメントを追加するプロセスは何ですか?
IronPDFを使用してPDFにテキストコメントを追加するには、PDFドキュメントをロードし、テキストコンテンツや位置などの注釈パラメータを設定し、注釈を適用し、更新されたドキュメントを保存します。