Cómo Crear Archivos PDF con Texto e Imágenes en Python
En este día y edad digital, la necesidad de generar documentos PDF con contenido dinámico, incluyendo texto e imágenes, es un requisito común. Python es un lenguaje de programación popular que facilita la automatización de procesos rutinarios para ahorrar tiempo y energía. Tener una biblioteca versátil para crear archivos PDF con texto e imágenes en Python puede ser muy útil para la generación automática de informes, recibos o facturas. IronPDF, una versátil biblioteca en Python, simplifica el proceso de crear PDFs con contenido enriquecido.
En este artículo, exploraremos cómo usar IronPDF para generar PDFs que incluyan tanto texto como imágenes en un proyecto de Python.
Cómo crear archivos PDF con texto e imágenes en Python
- Instala la biblioteca IronPDF for Python
- Instanciación de ChromePdfRenderer
- Añadir contenido de texto
- Agregar imagen como datos binarios
- Crear cadena HTML con texto e imágenes
- Renderizar HTML a PDF usando RenderHtmlAsPdf
- Guardar archivo PDF usando el método SaveAs
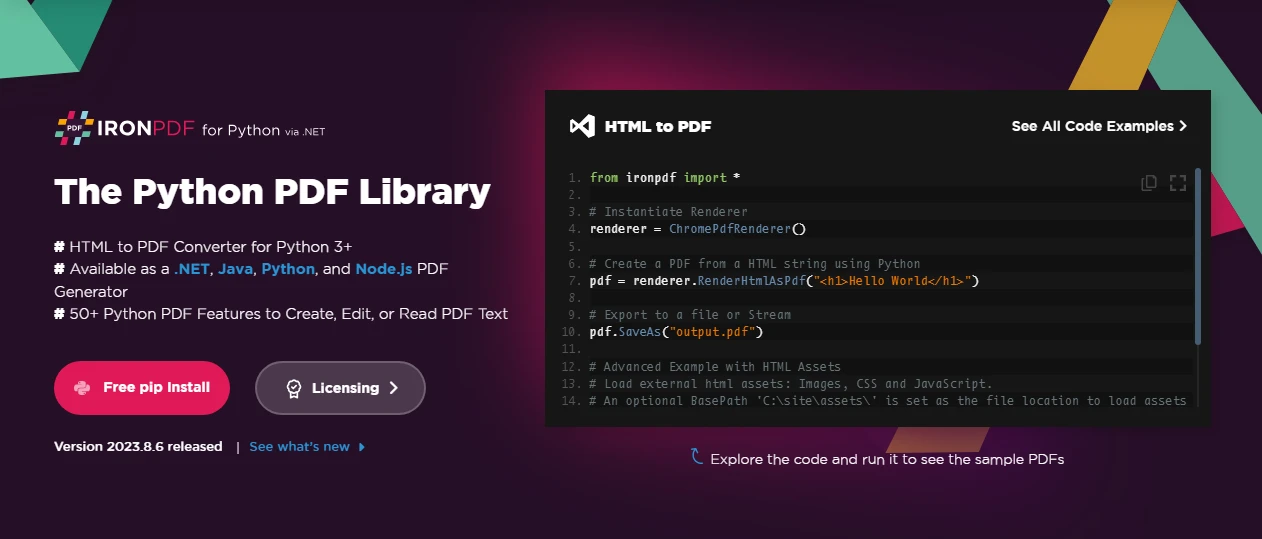
Introducción a IronPDF
IronPDF es una biblioteca rica en funciones for Python que proporciona a los desarrolladores herramientas poderosas para crear, manipular y procesar documentos PDF. Con IronPDF, puede incorporar fácilmente texto, imágenes, tablas y otros elementos en sus PDFs, lo que lo convierte en un activo valioso para una amplia gama de aplicaciones, desde la generación de informes hasta la creación de documentos.
Características clave de IronPDF:
- Integración sencilla: IronPDF se integra sin problemas con entornos de desarrollo populares de Python, lo que lo hace accesible para los desarrolladores que usan herramientas como PyCharm.
- Soporte para texto enriquecido: Soporta el formato de texto enriquecido, permitiendo a los desarrolladores crear documentos PDF visualmente atractivos con facilidad.
- Manejo de imágenes: IronPDF permite la inclusión de imágenes en PDFs, proporcionando flexibilidad en el diseño y personalización de documentos.
- Compatibilidad multiplataforma: IronPDF funciona en diferentes plataformas, asegurando que los PDFs generados puedan ser visualizados e interactuados de manera consistente.
Requisitos previos
Antes de sumergirse en el proceso de creación de documentos PDF usando IronPDF, asegúrese de tener los siguientes requisitos previos:
- Python instalado: Python necesita estar instalado en su computadora. Puede descargar e instalar la última versión desde el sitio web oficial de Python (https://www.python.org/).
- IDE PyCharm: Use PyCharm o cualquier otro IDE de Python de su elección. PyCharm es un entorno de desarrollo integrado popular que proporciona un espacio de trabajo cómodo para el desarrollo en Python.
- IronPDF: Biblioteca IronPDF descargada de aquí o instalada usando PIP (Gestor de Paquetes de Python). También se requiere el runtime de Microsoft .NET para usar funcionalidad IronPDF exitosamente. Los usuarios de Linux, Mac y Windows pueden descargar la versión .NET 6.0 usando este enlace de descarga.
Crear un proyecto de Python en PyCharm
Una vez que se cumplen los requisitos previos, abra PyCharm y cree un nuevo proyecto de Python. Configure un entorno virtual para su proyecto para gestionar dependencias de manera efectiva.
- Haga clic en Archivo > Nuevo Proyecto.
- En la ventana "Nuevo Proyecto":
- Ingrese un nombre para su proyecto en el campo "Ubicación".
- Elija la ubicación donde desea guardar los archivos de su proyecto.
- Bajo "Interprete del Proyecto", seleccione el intérprete de Python. Detectará automáticamente el intérprete de Python si ha instalado Python.
Elija el tipo de proyecto. Para un proyecto simple en Python, puede quedarse con la configuración predeterminada.
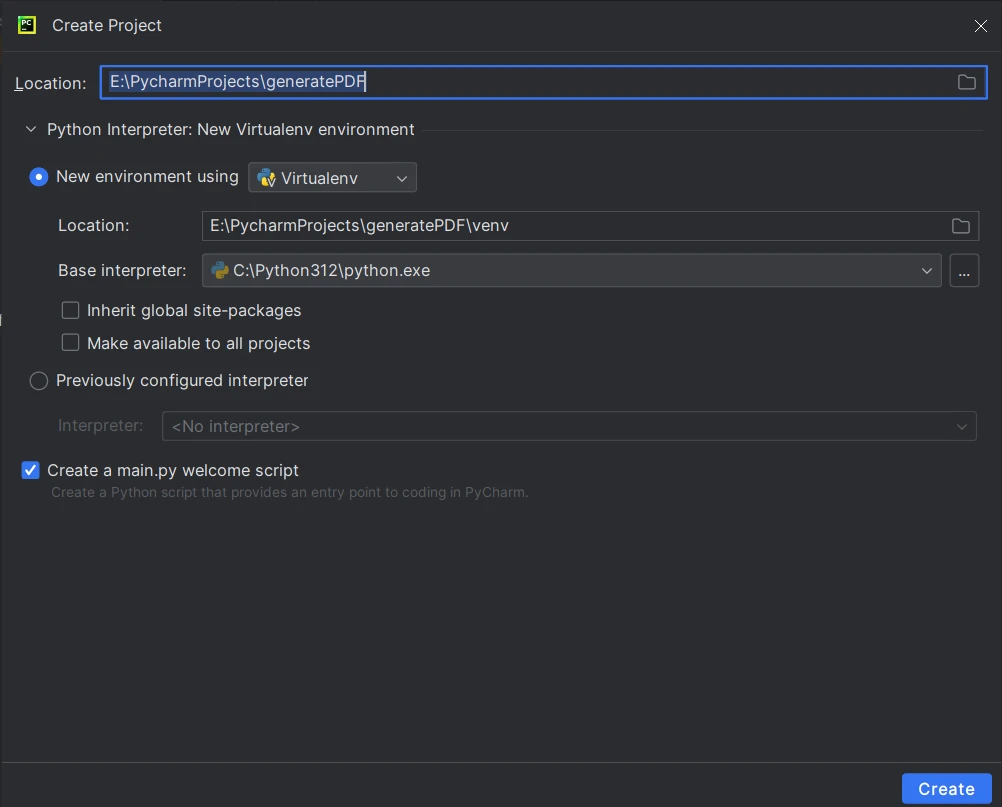
- Haga clic en Crear para crear el proyecto.
- Abra un nuevo archivo python y guárdelo para escribir código para generar archivos PDF usando la biblioteca Python - IronPDF.
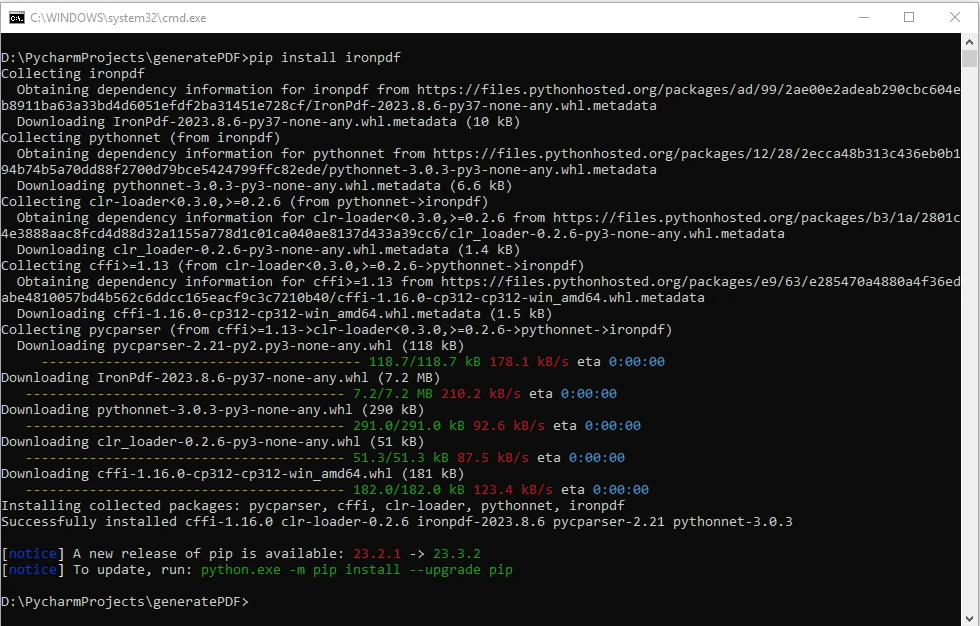
Instalar IronPDF for Python usando PIP
Para instalar IronPDF, use el siguiente comando de PIP en el terminal de su proyecto o en el símbolo del sistema:
pip install ironpdf
Este comando descargará e instalará automáticamente la biblioteca IronPDF junto con sus dependencias.
Creación de un PDF sencillo con texto e imágenes
Recorramos los pasos para crear un documento de página única en PDF que incluya tanto texto como imágenes usando IronPDF:
Paso 1: Importar IronPDF
En este paso, importamos todos los módulos necesarios de IronPDF. Importamos ChromePdfRenderer para renderizar PDFs y base64 para la codificación de datos de imagen.
from ironpdf import ChromePdfRenderer
import base64
from ironpdf import ChromePdfRenderer
import base64Paso 2: Instanciar ChromePdfRenderer
Aquí crearemos una instancia de ChromePdfRenderer, que se usará para renderizar el contenido HTML en un PDF.
# Instantiate Renderer
renderer = ChromePdfRenderer()
# Instantiate Renderer
renderer = ChromePdfRenderer()Paso 3: Añadir contenido de texto
En este paso, definiremos una cadena HTML (html_content) que incluye la estructura del documento HTML, incluyendo el encabezado, cuerpo y una sección con contenido de texto que luego se convierten en un único archivo PDF. Se usa el estilo CSS para posicionar el texto y la imagen.
# HTML String with Text
html_content = """
<!DOCTYPE html>
<html lang="en">
<head>
    <meta charset="UTF-8">
    <meta name="viewport" content="width=device-width, initial-scale=1.0">
    <title>PDF Generation Example</title>
    <style>
        body {
            margin: 0; /* Remove default margin */
            padding: 20px; /* Add padding for better visibility */
            position: relative; /* Set the body as a relative position */
        }
        header {
            text-align: center;
        }
        section {
            margin-top: 20px; /* Add margin to separate sections */
        }
        img {
            position: absolute;
            top: 20px; /* Adjust the top position */
            right: 20px; /* Adjust the right position */
        }
    </style>
</head>
<body>
    <header>
        <h1>PDF Generation Example</h1>
    </header>
    <section id="contentSection">
        <h2>Text and Image in PDF</h2>
        <p>This PDF includes both text and an embedded image:</p>
        <p>IronPDF developed by Ironsoftware is a great PDF creating library for .NET, Python, JAVA, Node.JS.</p>
"""
# HTML String with Text
html_content = """
<!DOCTYPE html>
<html lang="en">
<head>
<meta charset="UTF-8">
<meta name="viewport" content="width=device-width, initial-scale=1.0">
<title>PDF Generation Example</title>
<style>
body {
margin: 0; /* Remove default margin */
padding: 20px; /* Add padding for better visibility */
position: relative; /* Set the body as a relative position */
}
header {
text-align: center;
}
section {
margin-top: 20px; /* Add margin to separate sections */
}
img {
position: absolute;
top: 20px; /* Adjust the top position */
right: 20px; /* Adjust the right position */
}
</style>
</head>
<body>
<header>
<h1>PDF Generation Example</h1>
</header>
<section id="contentSection">
<h2>Text and Image in PDF</h2>
<p>This PDF includes both text and an embedded image:</p>
<p>IronPDF developed by Ironsoftware is a great PDF creating library for .NET, Python, JAVA, Node.JS.</p>
"""Paso 4: Añadir imagen
Aquí, abriremos y leeremos un archivo de imagen (ironpdf-logo.png) en modo binario, lo convertiremos a URI de datos codificados en base64, e incorporaremos en la cadena HTML. La imagen se posiciona luego usando estilos CSS para aparecer en la esquina superior derecha.
# Read image and convert to base64 string
with open("ironpdf-logo.png", "rb") as f:
    pngBinaryData = f.read()
    imgDataUri = "data:image/png;base64," + base64.b64encode(pngBinaryData).decode("utf-8")
    imgHtml = f"""
        <img src='{imgDataUri}' width=100px height=100px
            alt="IronPDF Logo">
    </section>
</body>
</html>
"""
# Read image and convert to base64 string
with open("ironpdf-logo.png", "rb") as f:
pngBinaryData = f.read()
imgDataUri = "data:image/png;base64," + base64.b64encode(pngBinaryData).decode("utf-8")
imgHtml = f"""
<img src='{imgDataUri}' width=100px height=100px
alt="IronPDF Logo">
</section>
</body>
</html>
"""Paso 5: Unir cadena HTML de texto e imagen
Este paso concatena las cadenas HTML de texto e imagen para crear el contenido HTML completo (full_html_content) que se renderizará en un archivo de salida PDF.
full_html_content = html_content + imgHtmlfull_html_content = html_content + imgHtmlPaso 6: Convertir el contenido HTML en un archivo PDF
Aquí, el método RenderHtmlAsPdf se utiliza para convertir el HTML en PDF usando el ChromePdfRenderer.
# Create a PDF from the HTML string
pdf = renderer.RenderHtmlAsPdf(full_html_content)
# Create a PDF from the HTML string
pdf = renderer.RenderHtmlAsPdf(full_html_content)Paso 7: Guardar archivo PDF
Finalmente, el PDF resultante se guarda como "output_with_text_and_image_top_right.pdf". Este archivo contendrá el texto formateado y la imagen incorporada posicionada en la esquina superior derecha.
# Save the PDF to a file
pdf.SaveAs("output_with_text_and_image_top_right.pdf")
# Save the PDF to a file
pdf.SaveAs("output_with_text_and_image_top_right.pdf")Documento PDF de salida
Ahora después de ejecutar el programa, el archivo PDF de salida es el siguiente:
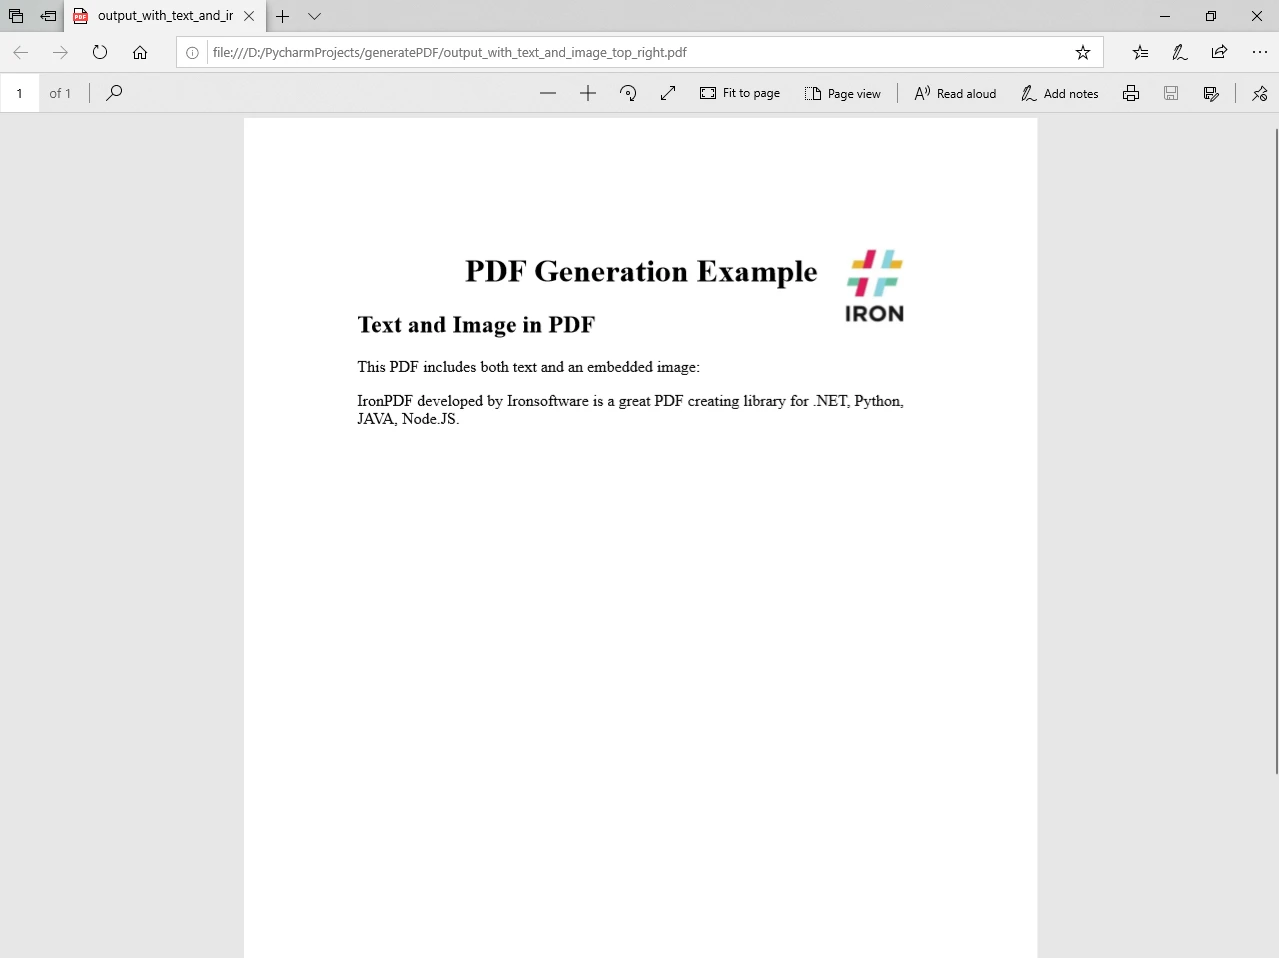
De manera similar, se pueden agregar múltiples páginas PDF a un archivo PDF con facilidad.
Uso avanzado: Personalización de la colocación de texto e imágenes
IronPDF proporciona características adicionales para afinar la colocación y el estilo de texto e imágenes dentro del PDF usando un archivo CSS/JavaScript externo. La ruta base se puede enviar como un argumento opcional al método RenderHtmlAsPdf como se demuestra en el siguiente código:
# Advanced Example with HTML Assets
# Load external HTML assets: Images, CSS, and JavaScript.
# An optional BasePath 'C:\site\assets\' is set as the file location to load assets from.
myAdvancedPdf = renderer.RenderHtmlAsPdf("<img src='icons/iron.png'>", r"C:\site\assets")
myAdvancedPdf.SaveAs("html-with-assets.pdf")
# Advanced Example with HTML Assets
# Load external HTML assets: Images, CSS, and JavaScript.
# An optional BasePath 'C:\site\assets\' is set as the file location to load assets from.
myAdvancedPdf = renderer.RenderHtmlAsPdf("<img src='icons/iron.png'>", r"C:\site\assets")
myAdvancedPdf.SaveAs("html-with-assets.pdf")En este ejemplo de código avanzado, estamos llevando el concepto de incrustar una imagen más allá a través de fuentes externas. El contenido HTML dentro del método RenderHtmlAsPdf incluye una etiqueta señalando un archivo de imagen (iron.png) ubicado en el directorio de activos especificado (C:\site\assets\). Además, este directorio se establece como el parámetro BasePath.
En RenderHtmlAsPdf puede enviar una página web HTML completa como se muestra en los pasos anteriores. El archivo CSS puede ser referenciado usando la ruta base como segundo parámetro opcional. Para obtener información más detallada sobre otras formas de generar formato PDF o modificar un archivo PDF existente, por favor visite los ejemplos de código y la página de documentación.
Conclusión
En este artículo, exploramos cómo usar IronPDF para crear archivos PDF con texto e imágenes en un proyecto Python. Con su API intuitiva y características poderosas, IronPDF empodera a los desarrolladores para generar documentos PDF dinámicos y visualmente atractivos sin esfuerzo. Ya sea que esté creando informes, documentación u otro tipo de contenido, IronPDF proporciona una solución confiable y flexible para la generación de PDF en Python. Experimente con las opciones de personalización para adaptar sus PDFs a requisitos de diseño específicos, convirtiendo a IronPDF en una herramienta valiosa para sus necesidades de generación de documentos.
Licencia de IronPDF license o puede contactar soporte para consultas adicionales.
Puede descargar e instalar la biblioteca desde el sitio web de IronPDF.
Preguntas Frecuentes
¿Cómo puedo crear un PDF con texto e imágenes usando Python?
Puedes usar ChromePdfRenderer de IronPDF para crear un PDF con texto e imágenes en Python. Primero, instala la biblioteca IronPDF, luego crea un string HTML con el contenido deseado. Usa el método RenderHtmlAsPdf para renderizar el HTML en un PDF y, finalmente, guarda el PDF usando el método SaveAs.
¿Cuáles son los pasos para instalar la librería PDF para usar en Python?
Para instalar la biblioteca IronPDF for Python, puedes usar el administrador de paquetes PIP. Ejecuta el comando pip install ironpdf en tu línea de comandos o terminal para descargar e instalar la biblioteca junto con sus dependencias.
¿Qué prerrequisitos se necesitan para usar una librería de creación de PDF en Python?
Necesitarás tener instalado Python en tu máquina, un IDE como PyCharm para el desarrollo y la librería IronPDF. Además, IronPDF requiere el runtime de Microsoft .NET para funcionar.
¿Es posible personalizar PDFs usando CSS o JavaScript externos con las librerías de Python?
Sí, IronPDF te permite usar archivos CSS y JavaScript externos para personalizar el diseño y la disposición de tus PDFs. Esta característica proporciona opciones avanzadas de personalización para la colocación de texto e imágenes.
¿La librería PDF de Python puede manejar la compatibilidad multiplataforma?
IronPDF está diseñado para ser compatible con múltiples plataformas, asegurando que los PDFs que generes puedan ser vistos e interactuados de manera consistente a través de diferentes sistemas operativos.
¿Por qué se usa la codificación base64 para las imágenes en la generación de PDFs con Python?
La codificación base64 se utiliza para convertir los datos binarios de la imagen en un formato de cadena que se puede incrustar directamente en HTML. Esto permite incluir imágenes en el PDF sin tener que referenciar a archivos externos.
¿Cuáles son las características clave de IronPDF for Python?
IronPDF ofrece características como integración fácil con entornos Python, soporte para texto e imágenes enriquecidos y compatibilidad multiplataforma. Estas características lo convierten en una herramienta versátil para generar PDFs con contenido dinámico.
¿Cómo puede ayudar IronPDF en la generación de documentos PDF dinámicos?
IronPDF proporciona una API poderosa que permite a los desarrolladores generar PDFs con contenido dinámico como texto e imágenes. Soporta HTML y CSS para el formato, haciendo sencillo crear documentos visualmente atractivos en Python.