PythonでPDFファイルを作成する方法
PDF(ポータブル・ドキュメント・フォーマット)は、オンラインでデータを送受信するための最も人気のあるデジタルファイル形式です。主にデータのフォーマットを保持し、暗号化されたパスワードでデータを保護するために使用されます。 .pdf拡張子は、ソフトウェアアプリケーション、ハードウェア、またはオペレーティングシステムに依存しません。
この記事では、Pythonプログラミング言語でPDFファイルを作成します。 オンラインで利用できるオプションはたくさんありますが、ここではPythonライブラリを使用してPDFファイルを作成します。 以下は、Pythonで単一または複数ページのPDFドキュメントを生成するための有名な2つのライブラリです:
- Reportlab
- PDFKit
上記のPDF Pythonライブラリから、どちらを使用してもPDFを生成することができます。
PythonでPDFファイルを作成する方法
では、両方のライブラリを順番に見ていきましょう。
Reportlabライブラリを使用してPDFファイルを作成する
Reportlabライブラリは、簡単にPDFファイルを作成できる無料のオープンソースのPDFツールキットです。 複数のページに画像やテキストを特定の位置に追加するための描画ツールが多数提供されています。 encryptCanvas メソッドを使用して暗号化されたPDFファイルを作成することもできます。
インストール
Reportlabをインストールするには、pipパッケージマネージャが必要です。 pipコマンドを使用して要求されたパッケージを自動的にダウンロードおよびインストールします。 WindowsのcmdまたはPowerShellで次のコマンドを入力します:
pip install reportlabpip install reportlab注意: Pythonをインストールする際、cmdまたはPowerShellからどこからでも上記のコマンドを実行できるようにするために、パス環境変数に追加する必要があります。 PipはPython 3+のための推奨ツールです。これは更新されたバージョンです。
新しいPythonファイルを開く
Reportlabライブラリを使用するには、Pythonファイルにコードを書き込み、実行してPDFファイルを作成する必要があります。
- Windowsの検索バーからPythonデフォルトIDLEシェルを検索して開き、Ctrl + Nを押すか、ファイルタブから"新しいファイル"を選択します。 これにより、コードを書くためのテキストエディタが開きます。
- 次に、ファイルに適切な名前で保存します。 私は"createpdf.py"と名付けます。
PDF作成用 for Pythonコード
次のコードは文書要素を描画し、数秒でPDFを生成します:
# Importing required modules from ReportLab
from reportlab.pdfgen import canvas
from reportlab.pdfbase.ttfonts import TTFont
from reportlab.pdfbase import pdfmetrics
from reportlab.lib import colors

# File and document attributes
fileName = 'sample.pdf'
documentTitle = 'sample'
title = 'Create PDF'
subTitle = 'Using ReportLab !!'

# Creating a PDF object
pdf = canvas.Canvas(fileName)

# Setting the title of the document
pdf.setTitle(documentTitle)

# Registering a TrueType font
pdfmetrics.registerFont(TTFont('abc', 'Arial.ttf'))

# Creating the title by setting its font and placing it on the canvas
pdf.setFont('abc', 36)
pdf.drawCentredString(300, 770, title)

# Creating the subtitle by setting its font, color, and placing it on the canvas
pdf.setFillColorRGB(0, 0, 255)  # Set color to blue
pdf.setFont("Courier-Bold", 24)
pdf.drawCentredString(290, 720, subTitle)

# Saving the PDF
pdf.save()
# Importing required modules from ReportLab
from reportlab.pdfgen import canvas
from reportlab.pdfbase.ttfonts import TTFont
from reportlab.pdfbase import pdfmetrics
from reportlab.lib import colors
# File and document attributes
fileName = 'sample.pdf'
documentTitle = 'sample'
title = 'Create PDF'
subTitle = 'Using ReportLab !!'
# Creating a PDF object
pdf = canvas.Canvas(fileName)
# Setting the title of the document
pdf.setTitle(documentTitle)
# Registering a TrueType font
pdfmetrics.registerFont(TTFont('abc', 'Arial.ttf'))
# Creating the title by setting its font and placing it on the canvas
pdf.setFont('abc', 36)
pdf.drawCentredString(300, 770, title)
# Creating the subtitle by setting its font, color, and placing it on the canvas
pdf.setFillColorRGB(0, 0, 255) # Set color to blue
pdf.setFont("Courier-Bold", 24)
pdf.drawCentredString(290, 720, subTitle)
# Saving the PDF
pdf.save()コードの説明
すべてのモジュールとパッケージをインポートした後、まずPDFファイルに書き込まれるすべてのコンテンツを初期化しました。
fileName = 'sample.pdf'
documentTitle = 'sample'
title = 'Create PDF'
subTitle = 'Using ReportLab !!'fileName = 'sample.pdf'
documentTitle = 'sample'
title = 'Create PDF'
subTitle = 'Using ReportLab !!'次に、PDFキャンバスを作成し、ドキュメントのタイトルを設定し、キャンバスに適切なフォントとサイズで中央揃えのタイトルとサブタイトルを追加しました。
# Creating a PDF object
pdf = canvas.Canvas(fileName)

# Setting the title of the document
pdf.setTitle(documentTitle)

# Registering a TrueType font
pdfmetrics.registerFont(TTFont('abc', 'Arial.ttf'))

# Creating the title by setting its font and placing it on the canvas
pdf.setFont('abc', 36)
pdf.drawCentredString(300, 770, title)

# Creating the subtitle by setting its font, color, and placing it on the canvas
pdf.setFillColorRGB(0, 0, 255)  # Set color to blue
pdf.setFont("Courier-Bold", 24)
pdf.drawCentredString(290, 720, subTitle)
# Creating a PDF object
pdf = canvas.Canvas(fileName)
# Setting the title of the document
pdf.setTitle(documentTitle)
# Registering a TrueType font
pdfmetrics.registerFont(TTFont('abc', 'Arial.ttf'))
# Creating the title by setting its font and placing it on the canvas
pdf.setFont('abc', 36)
pdf.drawCentredString(300, 770, title)
# Creating the subtitle by setting its font, color, and placing it on the canvas
pdf.setFillColorRGB(0, 0, 255) # Set color to blue
pdf.setFont("Courier-Bold", 24)
pdf.drawCentredString(290, 720, subTitle)最後に、キャンバス上にすべてが描かれたら、PDFファイルを保存します。
# Saving the PDF
pdf.save()
# Saving the PDF
pdf.save()PythonでReportlabを使用して簡単なPDFファイルを作成するために、drawString および drawText メソッドを使用することもできます。
PDFKitライブラリを使用してPDFファイルを作成する
PDFKitライブラリは、PythonでPDFファイルを作成する場合の最良のアプローチの1つです。 HTMLコードを使用してPDFファイルを作成できます。 シンプルで複雑なHTMLファイルやURLからのHTMLをピクセルパーフェクトな印刷可能なPDFページにレンダリングできます。 しかし、PDFKitはHTMLをPDFに変換するためにwkhtmltopdf 機能を統合しています。 Windows、Linux、Mac用のwkhtmltopdf をインストールするには、このリンクを訪問してください。
注意: Windows OSでは、wkhtmltopdf はプログラムファイルにインストールされます。
インストール
PDFKitをインストールするために次のコマンドを使用してください:
pip install pdfkitpip install pdfkitURLからPDFファイルを作成する
PDFKitを使用してPDFファイルを作成するのは非常に簡単で、1行のプロセスです。
import pdfkit

# Convert a webpage from a URL to a PDF file
pdfkit.from_url('http://google.com', 'out.pdf')
import pdfkit
# Convert a webpage from a URL to a PDF file
pdfkit.from_url('http://google.com', 'out.pdf')HTMLファイルからPDFファイルを作成する
import pdfkit

# Convert an HTML file to a PDF file
pdfkit.from_file('index.html', 'out.pdf')
import pdfkit
# Convert an HTML file to a PDF file
pdfkit.from_file('index.html', 'out.pdf')HTMLテンプレートからPDFファイルを作成する
HTMLテンプレートを文字列として渡し、それをPDFとして出力ファイルに変換できます。
import pdfkit

# HTML content to convert to PDF
html_string = """
    <html>
        <head>
        <meta name="pdfkit-page-size" content="Legal"/>
        <meta name="pdfkit-orientation" content="Landscape"/>
        </head>
        <body>Hello World!</body>
    </html>
    """

# Convert HTML string to a PDF file
pdfkit.from_string(html_string, 'out.pdf')
import pdfkit
# HTML content to convert to PDF
html_string = """
<html>
<head>
<meta name="pdfkit-page-size" content="Legal"/>
<meta name="pdfkit-orientation" content="Landscape"/>
</head>
<body>Hello World!</body>
</html>
"""
# Convert HTML string to a PDF file
pdfkit.from_string(html_string, 'out.pdf')PDFKitを使用すると、HTMLテンプレートを使用してPythonで簡単にPDFを作成できます。
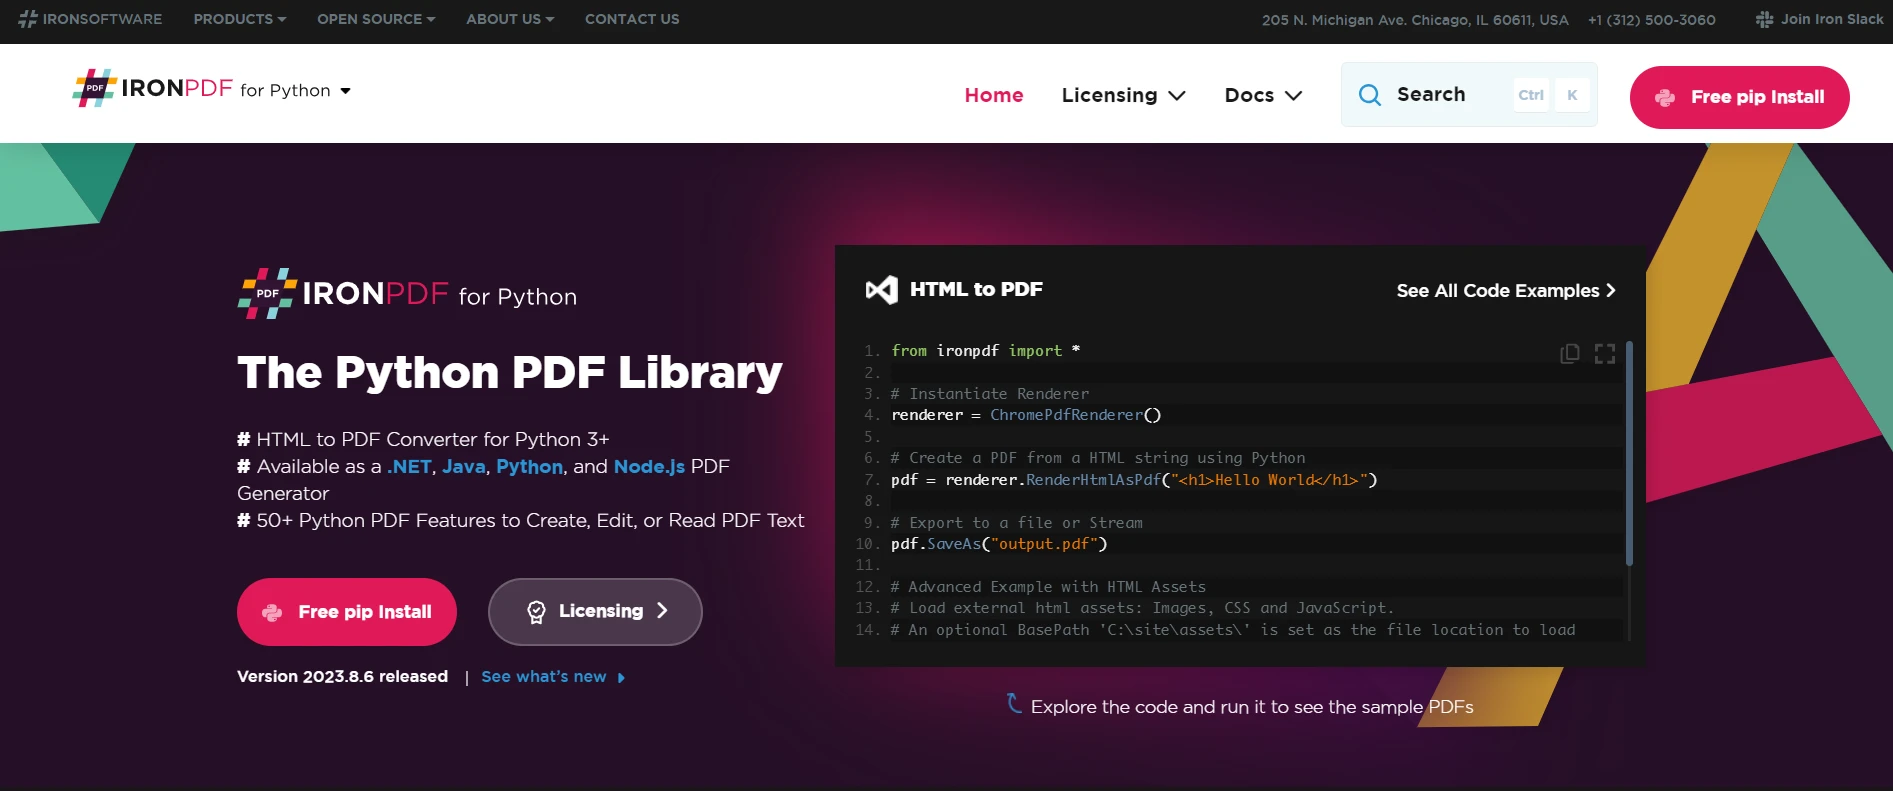
IronPDFライブラリ
IronPDFは、.NETプロジェクトでPDFファイルを作成する便利なツールです。 このライブラリの一般的な使用法は"HTML to PDF"レンダリングであり、HTMLがPDFドキュメントをレンダリングするためのデザイン言語として使用されます。
IronPDFは.NET Chromiumエンジンを使用してHTMLページをPDFファイルにレンダリングします。 HTMLからPDFへの変換では、PDFを配置またはデザインするために複雑なAPIを使用する必要はありません。 IronPDFは、標準的なウェブページ技術すべてをサポートしています:HTML、ASPX、JS、CSS、および画像。
また、HTML5、CSS、JavaScript、画像を使用して.NET PDFライブラリを作成することもできます。 PDFの編集、スタンプ、ヘッダーとフッターの追加を簡単に行えます。 さらに、PDFテキストを読み取り、画像を抽出するのが非常に簡単です。
IronPDFを開始するには、NuGetパッケージをインストールする必要があります(このステップが認証されるか、.NET開発環境で実行されていることを確認してください):
pip install ironpdf
以下の例は、URLから直接PDFを作成するのに役立ちます:
from ironpdf import ChromePdfRenderer

# Instantiate Renderer
renderer = ChromePdfRenderer()

# Create a PDF from a URL
pdf = renderer.RenderUrlAsPdf("https://ironpdf.com/")

# Export to a file
pdf.SaveAs("url.pdf")
from ironpdf import ChromePdfRenderer
# Instantiate Renderer
renderer = ChromePdfRenderer()
# Create a PDF from a URL
pdf = renderer.RenderUrlAsPdf("https://ironpdf.com/")
# Export to a file
pdf.SaveAs("url.pdf")以下のコードは、HTMLコードとともにCSSやJavaScriptを使用してPDFファイルを作成するのに役立ちます:
from ironpdf import ChromePdfRenderer

# Instantiate Renderer
renderer = ChromePdfRenderer()

# Create a PDF from an HTML string using Python
pdf = renderer.RenderHtmlAsPdf("<h1>Hello World</h1>")

# Export to a file
pdf.SaveAs("output.pdf")

# Advanced Example with HTML Assets
# Load external HTML assets: Images, CSS, and JavaScript.
# An optional BasePath is set as the file location to load assets from
myAdvancedPdf = renderer.RenderHtmlAsPdf("<img src='icons/iron.png'>", base_path=r"C:\site\assets")
myAdvancedPdf.SaveAs("html-with-assets.pdf")
from ironpdf import ChromePdfRenderer
# Instantiate Renderer
renderer = ChromePdfRenderer()
# Create a PDF from an HTML string using Python
pdf = renderer.RenderHtmlAsPdf("<h1>Hello World</h1>")
# Export to a file
pdf.SaveAs("output.pdf")
# Advanced Example with HTML Assets
# Load external HTML assets: Images, CSS, and JavaScript.
# An optional BasePath is set as the file location to load assets from
myAdvancedPdf = renderer.RenderHtmlAsPdf("<img src='icons/iron.png'>", base_path=r"C:\site\assets")
myAdvancedPdf.SaveAs("html-with-assets.pdf")上記のコードからわかるように、非常にシンプルでクリーンです。 HTMLコードからPDFファイルを作成するために必要なコード行はごくわずかです。 これは迅速、信頼性があり、時間を節約するソリューションで、正確な結果をもたらします。
IronPDFをダウンロードして無料で試してください。 トライアル期間終了後、ライセンスは$799 から始まります。