
如何在 Python 中建立 PDF 文件

PDF (便攜式文件格式) 是最受歡迎的數位文件格式,用於線上傳送和接收資料。它主要用於保持資料格式並以加密的密碼保護資料。 .pdf 擴展名與軟體應用程式、硬體或操作系統無關。
在本文中,我們將使用Python程式語言建立一個PDF文件。 有許多線上選擇可用,但在這裡我們將使用Python程式庫來建立PDF文件。 以下是兩個著名的程式庫,用於在Python中生成單頁或多頁的PDF文件:
- Reportlab
- PDFKit
從上述提到的PDF Python程式庫中,我們可以使用任何一種來生成PDF文件。
如何使用Python建立PDF文件?
讓我們逐一查看這兩個程式庫。
使用Reportlab程式庫建立PDF文件
Reportlab 程式庫是一個免費的開源PDF工具包,可以用於輕鬆建立PDF文件。 它提供了一堆繪圖工具,可以在多個頁面上的某個位置新增影像和文字。 您還可以使用 encryptCanvas 方法來建立加密的PDF文件。
安裝
要安裝Reportlab,需要使用pip套件管理器。 它會自動下載並安裝所請求的套件,使用pip命令。 只需在Windows cmd或PowerShell中輸入以下命令:
pip install reportlabpip install reportlab注意: 安裝Python時,必須將其新增到路徑環境變數,以便能夠在cmd或PowerShell中的任何位置執行上述命令。 建議使用Pip進行Python 3+的安裝,因為這是更新的版本。
開啟一個新的Python文件
要使用Reportlab程式庫,我們需要在Python文件中編寫程式碼並執行它來建立PDF文件。
- 從Windows搜尋欄中搜尋並開啟Python預設IDLE shell,然後按Ctrl + N或從文件選項卡中選擇"新檔案"。 這將打開供撰寫程式碼的文字編輯器。
- 接下來,將文件保存為適當的名稱。 我將其命名為 "createpdf.py"。
建立PDF的Python程式碼
以下程式碼將繪製文件元素並在幾秒鐘內生成一個PDF:
# Importing required modules from ReportLab
from reportlab.pdfgen import canvas
from reportlab.pdfbase.ttfonts import TTFont
from reportlab.pdfbase import pdfmetrics
from reportlab.lib import colors

# File and document attributes
fileName = 'sample.pdf'
documentTitle = 'sample'
title = 'Create PDF'
subTitle = 'Using ReportLab !!'

# Creating a PDF object
pdf = canvas.Canvas(fileName)

# Setting the title of the document
pdf.setTitle(documentTitle)

# Registering a TrueType font
pdfmetrics.registerFont(TTFont('abc', 'Arial.ttf'))

# Creating the title by setting its font and placing it on the canvas
pdf.setFont('abc', 36)
pdf.drawCentredString(300, 770, title)

# Creating the subtitle by setting its font, color, and placing it on the canvas
pdf.setFillColorRGB(0, 0, 255)  # Set color to blue
pdf.setFont("Courier-Bold", 24)
pdf.drawCentredString(290, 720, subTitle)

# Saving the PDF
pdf.save()
# Importing required modules from ReportLab
from reportlab.pdfgen import canvas
from reportlab.pdfbase.ttfonts import TTFont
from reportlab.pdfbase import pdfmetrics
from reportlab.lib import colors
# File and document attributes
fileName = 'sample.pdf'
documentTitle = 'sample'
title = 'Create PDF'
subTitle = 'Using ReportLab !!'
# Creating a PDF object
pdf = canvas.Canvas(fileName)
# Setting the title of the document
pdf.setTitle(documentTitle)
# Registering a TrueType font
pdfmetrics.registerFont(TTFont('abc', 'Arial.ttf'))
# Creating the title by setting its font and placing it on the canvas
pdf.setFont('abc', 36)
pdf.drawCentredString(300, 770, title)
# Creating the subtitle by setting its font, color, and placing it on the canvas
pdf.setFillColorRGB(0, 0, 255) # Set color to blue
pdf.setFont("Courier-Bold", 24)
pdf.drawCentredString(290, 720, subTitle)
# Saving the PDF
pdf.save()程式碼解釋
在導入所有模組和套件之後,我們首先初始化將寫入PDF文件的所有內容。
fileName = 'sample.pdf'
documentTitle = 'sample'
title = 'Create PDF'
subTitle = 'Using ReportLab !!'fileName = 'sample.pdf'
documentTitle = 'sample'
title = 'Create PDF'
subTitle = 'Using ReportLab !!'現在,我們建立PDF畫布,設置文件標題,然後在畫布上以適當的字型和大小新增居中的標題和副標題。
# Creating a PDF object
pdf = canvas.Canvas(fileName)

# Setting the title of the document
pdf.setTitle(documentTitle)

# Registering a TrueType font
pdfmetrics.registerFont(TTFont('abc', 'Arial.ttf'))

# Creating the title by setting its font and placing it on the canvas
pdf.setFont('abc', 36)
pdf.drawCentredString(300, 770, title)

# Creating the subtitle by setting its font, color, and placing it on the canvas
pdf.setFillColorRGB(0, 0, 255)  # Set color to blue
pdf.setFont("Courier-Bold", 24)
pdf.drawCentredString(290, 720, subTitle)
# Creating a PDF object
pdf = canvas.Canvas(fileName)
# Setting the title of the document
pdf.setTitle(documentTitle)
# Registering a TrueType font
pdfmetrics.registerFont(TTFont('abc', 'Arial.ttf'))
# Creating the title by setting its font and placing it on the canvas
pdf.setFont('abc', 36)
pdf.drawCentredString(300, 770, title)
# Creating the subtitle by setting its font, color, and placing it on the canvas
pdf.setFillColorRGB(0, 0, 255) # Set color to blue
pdf.setFont("Courier-Bold", 24)
pdf.drawCentredString(290, 720, subTitle)最後,當所有內容都繪制在畫布上時,我們保存PDF文件。
# Saving the PDF
pdf.save()
# Saving the PDF
pdf.save()我們還可以使用 drawString 和 drawText 方法來使用Reportlab在Python中建立一個簡單的PDF文件。
使用PDFKit程式庫建立PDF文件
PDFKit 程式庫是在Python中建立PDF文件時的最佳方法之一。 它可以使用HTML程式碼建立PDF文件。 您可以將簡單和複雜的HTML文件或來自URL的HTML轉換為精準呈現的可列印PDF頁面。 然而,PDFKit整合了 wkhtmltopdf 特性來將HTML轉換為PDF。 要在Windows、Linux和Mac中安裝 wkhtmltopdf,請存取此 連結。
注意: 在Windows操作系統中,wkhtmltopdf 將安裝在程式檔案中。
安裝
使用以下命令來安裝PDFKit:
pip install pdfkitpip install pdfkit從URL建立PDF文件
使用PDFKit建立PDF文件非常簡單,並且是一行的過程。
import pdfkit

# Convert a webpage from a URL to a PDF file
pdfkit.from_url('http://google.com', 'out.pdf')
import pdfkit
# Convert a webpage from a URL to a PDF file
pdfkit.from_url('http://google.com', 'out.pdf')從HTML文件建立PDF文件
import pdfkit

# Convert an HTML file to a PDF file
pdfkit.from_file('index.html', 'out.pdf')
import pdfkit
# Convert an HTML file to a PDF file
pdfkit.from_file('index.html', 'out.pdf')從HTML模板建立PDF文件
您可以將HTML模板作為字串傳遞,以將其轉換為PDF作為輸出文件。
import pdfkit

# HTML content to convert to PDF
html_string = """
    <html>
        <head>
        <meta name="pdfkit-page-size" content="Legal"/>
        <meta name="pdfkit-orientation" content="Landscape"/>
        </head>
        <body>Hello World!</body>
    </html>
    """

# Convert HTML string to a PDF file
pdfkit.from_string(html_string, 'out.pdf')
import pdfkit
# HTML content to convert to PDF
html_string = """
<html>
<head>
<meta name="pdfkit-page-size" content="Legal"/>
<meta name="pdfkit-orientation" content="Landscape"/>
</head>
<body>Hello World!</body>
</html>
"""
# Convert HTML string to a PDF file
pdfkit.from_string(html_string, 'out.pdf')PDFKit允許您使用HTML模板輕鬆地在Python中建立PDF。
IronPDF程式庫
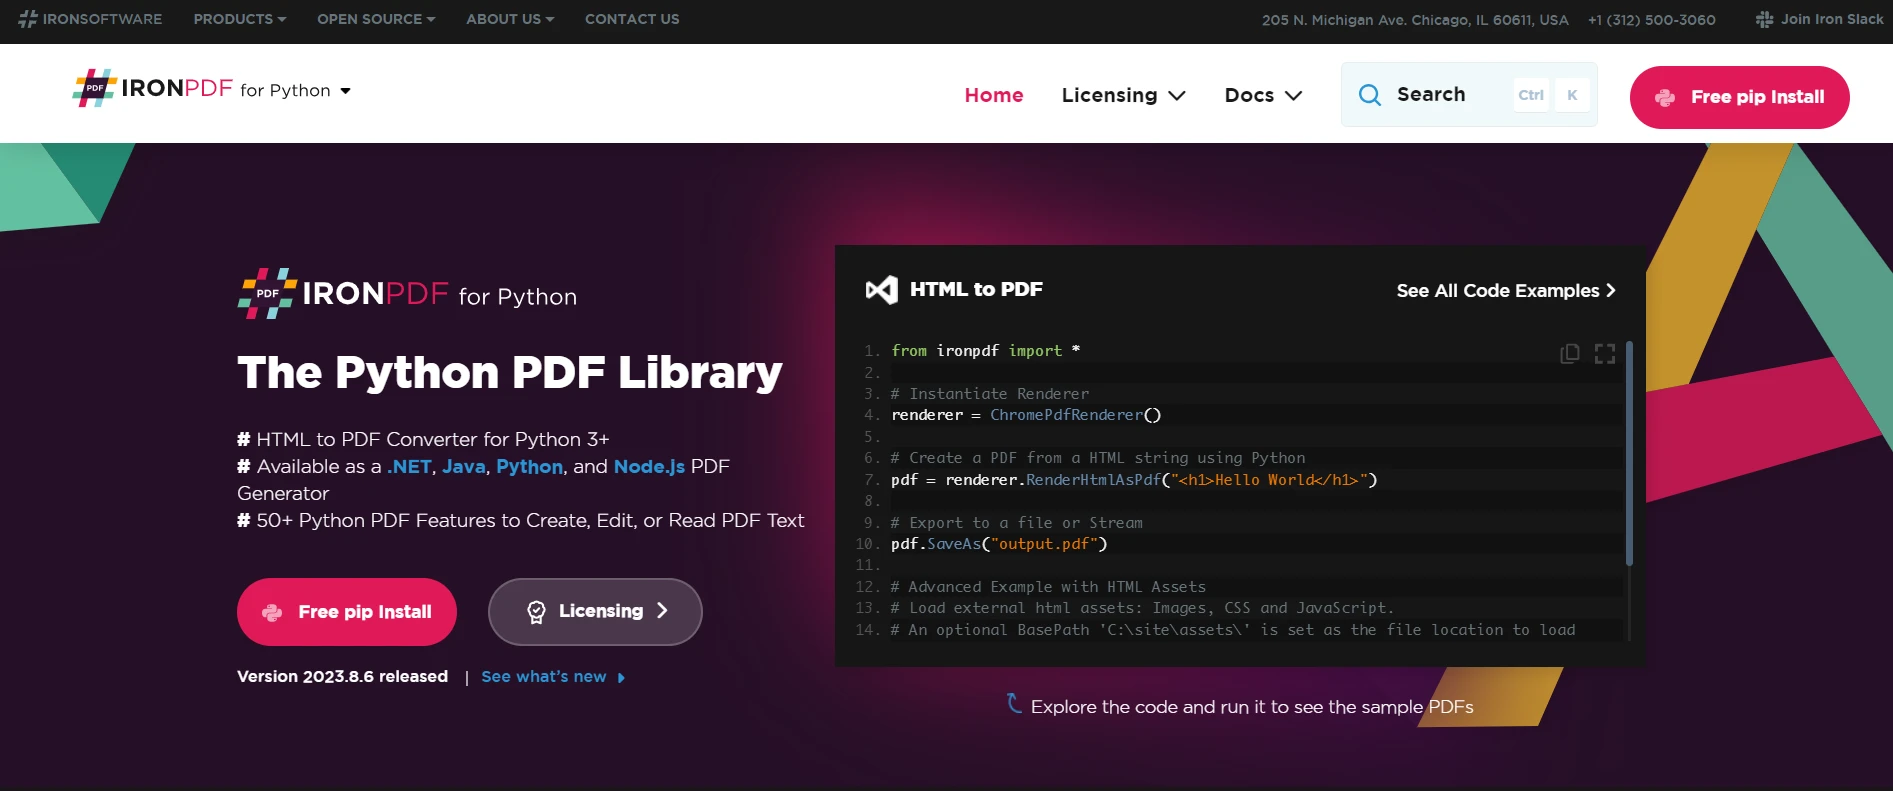
IronPDF 是一個有用的工具,用於在.NET專案中建立PDF文件。 這個程式庫的一個常見用途是"HTML轉PDF"渲染,HTML被用作渲染PDF文件的設計語言。
IronPDF使用.NET的Chromium引擎來將HTML頁面渲染為PDF文件。 通過HTML到PDF轉換,無需使用複雜的API來定位或設計PDF。 IronPDF還支持所有標準網頁技術:HTML、ASPX、JS、CSS和圖像。
它還使您能夠使用HTML5、CSS、JavaScript和圖像建立一個.NET PDF程式庫。 您可以輕鬆地編輯、蓋章並向PDF新增頁首和頁尾。 此外,它使閱讀PDF文字和提取圖像非常簡單。
開始使用IronPDF,您需要安裝NuGet套件(確保此步驟被認證或在.NET開發環境中運行):
pip install ironpdf
以下範例將幫助您直接從URL建立PDF:
from ironpdf import ChromePdfRenderer

# Instantiate Renderer
renderer = ChromePdfRenderer()

# Create a PDF from a URL
pdf = renderer.RenderUrlAsPdf("https://ironpdf.com/")

# Export to a file
pdf.SaveAs("url.pdf")
from ironpdf import ChromePdfRenderer
# Instantiate Renderer
renderer = ChromePdfRenderer()
# Create a PDF from a URL
pdf = renderer.RenderUrlAsPdf("https://ironpdf.com/")
# Export to a file
pdf.SaveAs("url.pdf")以下程式碼將幫助您使用HTML程式碼以及任何CSS或JavaScript建立PDF文件:
from ironpdf import ChromePdfRenderer

# Instantiate Renderer
renderer = ChromePdfRenderer()

# Create a PDF from an HTML string using Python
pdf = renderer.RenderHtmlAsPdf("<h1>Hello World</h1>")

# Export to a file
pdf.SaveAs("output.pdf")

# Advanced Example with HTML Assets
# Load external HTML assets: Images, CSS, and JavaScript.
# An optional BasePath is set as the file location to load assets from
myAdvancedPdf = renderer.RenderHtmlAsPdf("<img src='icons/iron.png'>", base_path=r"C:\site\assets")
myAdvancedPdf.SaveAs("html-with-assets.pdf")
from ironpdf import ChromePdfRenderer
# Instantiate Renderer
renderer = ChromePdfRenderer()
# Create a PDF from an HTML string using Python
pdf = renderer.RenderHtmlAsPdf("<h1>Hello World</h1>")
# Export to a file
pdf.SaveAs("output.pdf")
# Advanced Example with HTML Assets
# Load external HTML assets: Images, CSS, and JavaScript.
# An optional BasePath is set as the file location to load assets from
myAdvancedPdf = renderer.RenderHtmlAsPdf("<img src='icons/iron.png'>", base_path=r"C:\site\assets")
myAdvancedPdf.SaveAs("html-with-assets.pdf")從上述程式碼可以看出,它相當簡單而乾淨。 只需很少的程式碼就可以從HTML程式碼建立PDF文件。 這是一個快速、可靠且節省時間的解決方案,並且結果準確。
下載IronPDF並免費試用。 試用期之後,授權開始於 $999。







 免費開始
免費開始 免費開始
免費開始 預訂免費直播演示