Python으로 PDF 파일을 만드는 방법
PDF(Portable Document Format)는 온라인에서 데이터를 주고받는 데 가장 널리 사용되는 디지털 파일 형식입니다. 주로 데이터 형식을 유지하고 암호화된 비밀번호로 데이터를 보호하는 데 사용됩니다. .pdf 확장자는 소프트웨어 애플리케이션, 하드웨어 또는 운영 체제와는 무관합니다.
이 글에서는 Python 프로그래밍 언어를 사용하여 PDF 파일을 생성하는 방법을 살펴보겠습니다. 온라인에는 다양한 옵션이 있지만, 여기서는 Python 라이브러리를 사용하여 PDF 파일을 생성하겠습니다. 다음은 Python에서 단일 페이지 또는 여러 페이지로 구성된 PDF 문서를 생성하는 데 사용되는 두 가지 유명한 라이브러리입니다.
- 리포트랩
- PDFKit
위에서 언급한 PDF Python 라이브러리 중 하나를 사용하여 PDF를 생성할 수 있습니다.
Python으로 PDF 파일을 만드는 방법은 무엇인가요?
두 라이브러리를 하나씩 살펴보겠습니다.
Reportlab 라이브러리를 사용하여 PDF 파일 생성
Reportlab 라이브러리는 PDF 파일을 쉽게 생성할 수 있는 무료 오픈 소스 PDF 툴킷입니다. 이 프로그램은 여러 페이지의 특정 위치에 이미지와 텍스트를 추가할 수 있는 다양한 그리기 도구를 제공합니다. 또한 encryptCanvas 메서드를 사용하여 암호화된 PDF 파일을 생성할 수 있습니다.
설치
Reportlab을 설치하려면 pip 패키지 관리자가 필요합니다. pip 명령어를 사용하여 요청된 패키지를 자동으로 다운로드하고 설치합니다. Windows 명령 프롬프트(cmd) 또는 PowerShell에 다음 명령어를 입력하십시오.
pip install reportlabpip install reportlab참고: Python을 설치할 때, 명령 프롬프트(cmd)나 PowerShell에서 위의 명령을 실행하려면 Python을 PATH 환경 변수에 추가해야 합니다. Pip은 최신 버전이므로 Python 3 이상에서 사용하는 것이 좋습니다.
새 Python 파일을 엽니다.
Reportlab 라이브러리를 사용하려면 Python 파일에 코드를 작성하고 실행하여 PDF 파일을 생성해야 합니다.
- Windows 검색창에서 Python 기본 IDLE 셸을 검색하여 열고 Ctrl + N을 누르거나 파일 탭에서 "새 파일"을 선택합니다. 이렇게 하면 코드를 작성할 수 있는 텍스트 편집기가 열립니다.
- 다음으로, 적절한 이름으로 파일을 저장하십시오. 파일 이름을 "createpdf.py" 로 지정하겠습니다.
PDF를 생성하는 Python 코드
다음 코드는 문서 요소를 그리고 몇 초 안에 PDF를 생성합니다.
# Importing required modules from ReportLab
from reportlab.pdfgen import canvas
from reportlab.pdfbase.ttfonts import TTFont
from reportlab.pdfbase import pdfmetrics
from reportlab.lib import colors

# File and document attributes
fileName = 'sample.pdf'
documentTitle = 'sample'
title = 'Create PDF'
subTitle = 'Using ReportLab !!'

# Creating a PDF object
pdf = canvas.Canvas(fileName)

# Setting the title of the document
pdf.setTitle(documentTitle)

# Registering a TrueType font
pdfmetrics.registerFont(TTFont('abc', 'Arial.ttf'))

# Creating the title by setting its font and placing it on the canvas
pdf.setFont('abc', 36)
pdf.drawCentredString(300, 770, title)

# Creating the subtitle by setting its font, color, and placing it on the canvas
pdf.setFillColorRGB(0, 0, 255)  # Set color to blue
pdf.setFont("Courier-Bold", 24)
pdf.drawCentredString(290, 720, subTitle)

# Saving the PDF
pdf.save()
# Importing required modules from ReportLab
from reportlab.pdfgen import canvas
from reportlab.pdfbase.ttfonts import TTFont
from reportlab.pdfbase import pdfmetrics
from reportlab.lib import colors
# File and document attributes
fileName = 'sample.pdf'
documentTitle = 'sample'
title = 'Create PDF'
subTitle = 'Using ReportLab !!'
# Creating a PDF object
pdf = canvas.Canvas(fileName)
# Setting the title of the document
pdf.setTitle(documentTitle)
# Registering a TrueType font
pdfmetrics.registerFont(TTFont('abc', 'Arial.ttf'))
# Creating the title by setting its font and placing it on the canvas
pdf.setFont('abc', 36)
pdf.drawCentredString(300, 770, title)
# Creating the subtitle by setting its font, color, and placing it on the canvas
pdf.setFillColorRGB(0, 0, 255) # Set color to blue
pdf.setFont("Courier-Bold", 24)
pdf.drawCentredString(290, 720, subTitle)
# Saving the PDF
pdf.save()코드 설명
모든 모듈과 패키지를 가져온 후, 먼저 PDF 파일에 기록될 모든 콘텐츠를 초기화했습니다.
fileName = 'sample.pdf'
documentTitle = 'sample'
title = 'Create PDF'
subTitle = 'Using ReportLab !!'fileName = 'sample.pdf'
documentTitle = 'sample'
title = 'Create PDF'
subTitle = 'Using ReportLab !!'이제 PDF 캔버스를 생성하고 문서 제목을 설정한 다음, 적절한 글꼴과 크기로 캔버스 중앙에 제목과 부제목을 추가합니다.
# Creating a PDF object
pdf = canvas.Canvas(fileName)

# Setting the title of the document
pdf.setTitle(documentTitle)

# Registering a TrueType font
pdfmetrics.registerFont(TTFont('abc', 'Arial.ttf'))

# Creating the title by setting its font and placing it on the canvas
pdf.setFont('abc', 36)
pdf.drawCentredString(300, 770, title)

# Creating the subtitle by setting its font, color, and placing it on the canvas
pdf.setFillColorRGB(0, 0, 255)  # Set color to blue
pdf.setFont("Courier-Bold", 24)
pdf.drawCentredString(290, 720, subTitle)
# Creating a PDF object
pdf = canvas.Canvas(fileName)
# Setting the title of the document
pdf.setTitle(documentTitle)
# Registering a TrueType font
pdfmetrics.registerFont(TTFont('abc', 'Arial.ttf'))
# Creating the title by setting its font and placing it on the canvas
pdf.setFont('abc', 36)
pdf.drawCentredString(300, 770, title)
# Creating the subtitle by setting its font, color, and placing it on the canvas
pdf.setFillColorRGB(0, 0, 255) # Set color to blue
pdf.setFont("Courier-Bold", 24)
pdf.drawCentredString(290, 720, subTitle)마지막으로, 캔버스에 모든 그림이 그려지면 PDF 파일을 저장합니다.
# Saving the PDF
pdf.save()
# Saving the PDF
pdf.save()우리는 Python에서 Reportlab을 사용하여 간단한 PDF 파일을 생성하기 위해 drawString 및 drawText 메서드도 사용할 수 있습니다.
PDFKit 라이브러리를 사용하여 PDF 파일을 생성합니다.
PDFKit 라이브러리는 Python으로 PDF 파일을 생성하는 데 있어 가장 좋은 방법 중 하나입니다. 이 프로그램은 HTML 코드를 사용하여 PDF 파일을 생성할 수 있습니다. 간단하고 복잡한 HTML 파일 또는 URL의 HTML을 픽셀 단위까지 정확한 인쇄 가능한 PDF 페이지로 렌더링할 수 있습니다. 그러나 PDFKit은 HTML을 PDF로 변환하는 wkhtmltopdf 기능과 통합됩니다. Windows, Linux 및 Mac에 wkhtmltopdf을 설치하려면 이 링크를 방문하세요.
참고: Windows OS에서 wkhtmltopdf는 프로그램 파일에 설치됩니다.
설치
PDFKit을 설치하려면 다음 명령어를 사용하십시오.
pip install pdfkitpip install pdfkitURL에서 PDF 파일 생성하기
PDFKit을 사용하여 PDF 파일을 생성하는 것은 매우 간단하며 단 한 줄의 코드로 완료됩니다.
import pdfkit

# Convert a webpage from a URL to a PDF file
pdfkit.from_url('http://google.com', 'out.pdf')
import pdfkit
# Convert a webpage from a URL to a PDF file
pdfkit.from_url('http://google.com', 'out.pdf')HTML 파일에서 PDF 파일 생성하기
import pdfkit

# Convert an HTML file to a PDF file
pdfkit.from_file('index.html', 'out.pdf')
import pdfkit
# Convert an HTML file to a PDF file
pdfkit.from_file('index.html', 'out.pdf')HTML 템플릿을 사용하여 PDF 파일 생성하기
HTML 템플릿을 문자열로 전달하여 PDF 출력 파일로 변환할 수 있습니다.
import pdfkit

# HTML content to convert to PDF
html_string = """
    <html>
        <head>
        <meta name="pdfkit-page-size" content="Legal"/>
        <meta name="pdfkit-orientation" content="Landscape"/>
        </head>
        <body>Hello World!</body>
    </html>
    """

# Convert HTML string to a PDF file
pdfkit.from_string(html_string, 'out.pdf')
import pdfkit
# HTML content to convert to PDF
html_string = """
<html>
<head>
<meta name="pdfkit-page-size" content="Legal"/>
<meta name="pdfkit-orientation" content="Landscape"/>
</head>
<body>Hello World!</body>
</html>
"""
# Convert HTML string to a PDF file
pdfkit.from_string(html_string, 'out.pdf')PDFKit을 사용하면 HTML 템플릿을 이용하여 Python으로 PDF를 쉽게 생성할 수 있습니다.
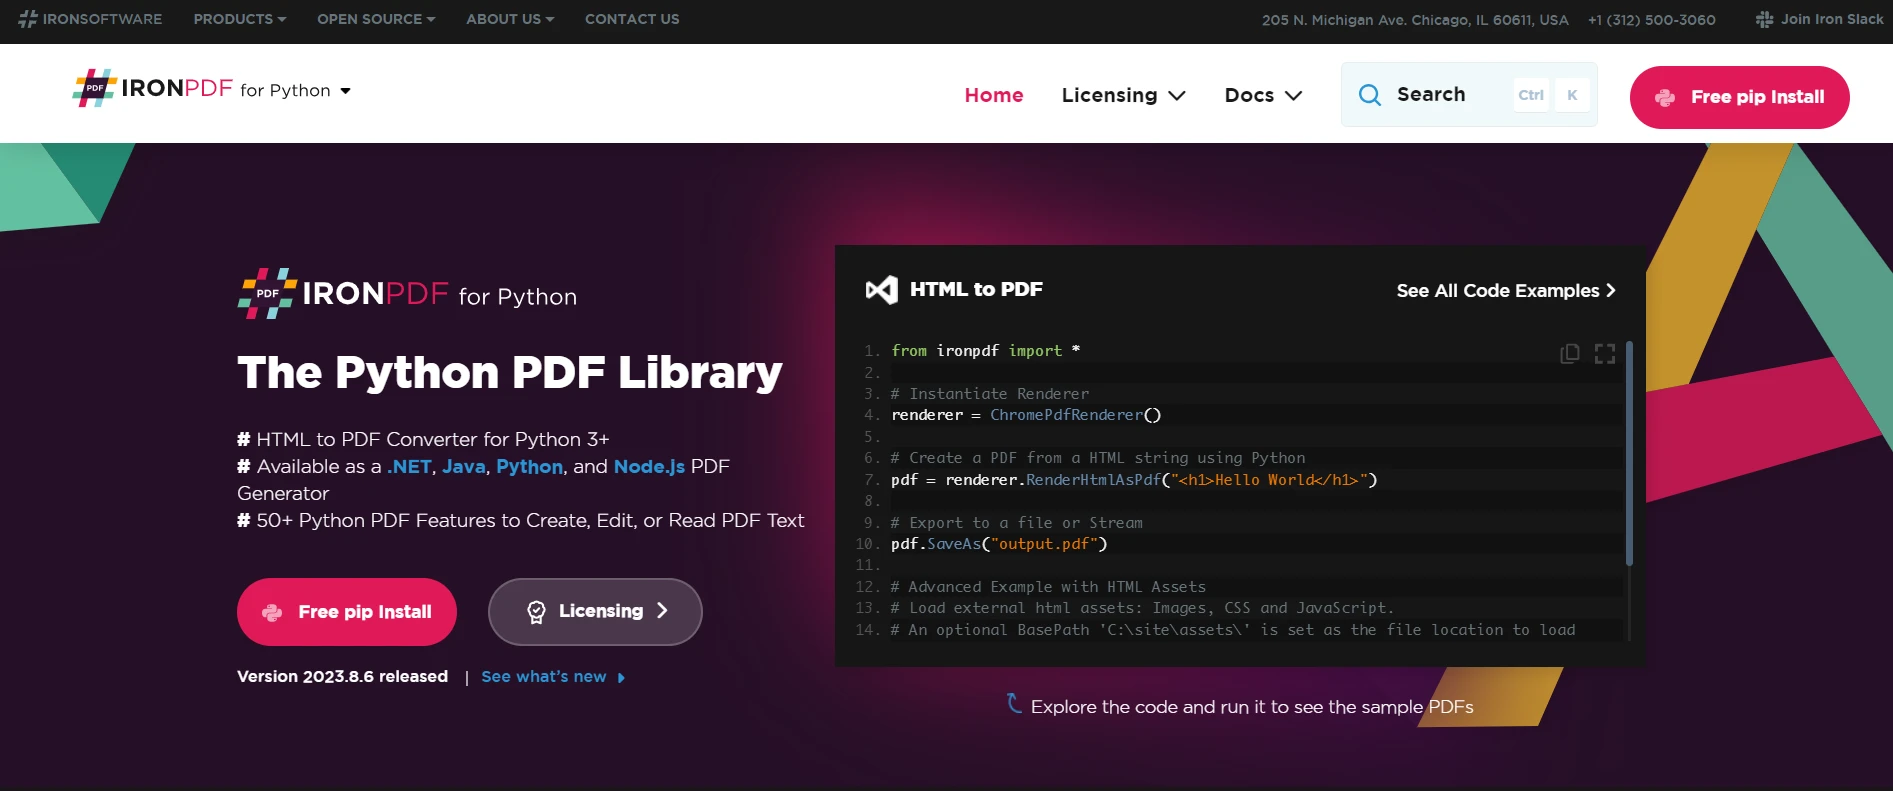
IronPDF 라이브러리
IronPDF 는 .NET 프로젝트에서 PDF 파일을 생성하는 데 유용한 도구입니다. 이 라이브러리의 일반적인 용도 중 하나는 HTML을 PDF 문서 렌더링을 위한 디자인 언어로 사용하는 "HTML을 PDF로 변환"입니다.
IronPDF .NET Chromium 엔진을 사용하여 HTML 페이지를 PDF 파일로 렌더링합니다. HTML을 PDF로 변환하면 복잡한 API를 사용하지 않고도 PDF의 위치를 지정하거나 디자인할 수 있습니다. IronPDF HTML, ASPX, JS, CSS 및 이미지와 같은 모든 표준 웹 페이지 기술을 지원합니다.
또한 HTML5, CSS, JavaScript 및 이미지를 사용하여 .NET PDF 라이브러리를 만들 수 있습니다. PDF 파일을 손쉽게 편집하고, 스탬프를 찍고, 머리글과 바닥글을 추가할 수 있습니다. 또한 PDF 텍스트를 읽고 이미지를 추출하는 것이 매우 쉽습니다.
IronPDF 를 시작하려면 NuGet 패키지를 설치해야 합니다(이 단계는 인증된 환경에서 실행하거나 .NET 개발 환경에서 실행해야 합니다).
pip install ironpdf
다음 예시는 URL에서 바로 PDF 파일을 생성하는 방법을 보여줍니다.
from ironpdf import ChromePdfRenderer

# Instantiate Renderer
renderer = ChromePdfRenderer()

# Create a PDF from a URL
pdf = renderer.RenderUrlAsPdf("https://ironpdf.com/")

# Export to a file
pdf.SaveAs("url.pdf")
from ironpdf import ChromePdfRenderer
# Instantiate Renderer
renderer = ChromePdfRenderer()
# Create a PDF from a URL
pdf = renderer.RenderUrlAsPdf("https://ironpdf.com/")
# Export to a file
pdf.SaveAs("url.pdf")다음 코드는 HTML 코드와 CSS 또는 JavaScript 함께 사용하여 PDF 파일을 생성하는 데 도움이 됩니다.
from ironpdf import ChromePdfRenderer

# Instantiate Renderer
renderer = ChromePdfRenderer()

# Create a PDF from an HTML string using Python
pdf = renderer.RenderHtmlAsPdf("<h1>Hello World</h1>")

# Export to a file
pdf.SaveAs("output.pdf")

# Advanced Example with HTML Assets
# Load external HTML assets: Images, CSS, and JavaScript.
# An optional BasePath is set as the file location to load assets from
myAdvancedPdf = renderer.RenderHtmlAsPdf("<img src='icons/iron.png'>", base_path=r"C:\site\assets")
myAdvancedPdf.SaveAs("html-with-assets.pdf")
from ironpdf import ChromePdfRenderer
# Instantiate Renderer
renderer = ChromePdfRenderer()
# Create a PDF from an HTML string using Python
pdf = renderer.RenderHtmlAsPdf("<h1>Hello World</h1>")
# Export to a file
pdf.SaveAs("output.pdf")
# Advanced Example with HTML Assets
# Load external HTML assets: Images, CSS, and JavaScript.
# An optional BasePath is set as the file location to load assets from
myAdvancedPdf = renderer.RenderHtmlAsPdf("<img src='icons/iron.png'>", base_path=r"C:\site\assets")
myAdvancedPdf.SaveAs("html-with-assets.pdf")위 코드를 보시면 아시겠지만, 매우 간단하고 깔끔합니다. HTML 코드에서 PDF 파일을 생성하는 데 필요한 코드는 극히 적습니다. 빠르고 안정적이며 시간을 절약해주는 동시에 정확한 결과를 제공하는 솔루션입니다.
IronPDF 다운로드하고 무료 로 사용해 보세요. 체험 기간이 끝난 후, 라이선스는 $999부터 시작됩니다.