

Python에서 HTML을 PDF로 변환하기
IronPDF는 Python 개발자에게 HTML 마크업에서 프로덕션 준비 PDF 파일로 직접적인 경로를 제공합니다. 중간 디자인 도구, 독점 레이아웃 엔진, 별도의 렌더링 파이프라인은 없습니다. 라이브러리의 ChromePdfRenderer 클래스는 Chromium 기반 엔진을 내부적으로 사용하므로 Chrome에서 올바르게 표시되는 HTML은 정확하게 PDF로 변환됩니다. 이 튜토리얼은 모든 지원 변환 방법 — HTML 문자열, 로컬 HTML 파일, 라이브 URL — 을 거쳐서 페이지 크기, 여백, 헤더, 푸터 등을 제어할 수 있는 렌더링 옵션을 다룹니다.
급한 경우, HTML을 PDF로 변환하는 .NET 응용 프로그램과 관련된 C# 또는 VB.NET 워크플로를 위한 동반 튜토리얼이 제공됩니다.
빠른 시작: Python에서 HTML을 PDF로 변환
Python을 사용하여 HTML을 PDF로 변환하는 방법
- pip을 통해 Python용 IronPDF 설치
from ironpdf import *를 사용하여 라이브러리 가져오기ChromePdfRenderer인스턴스화RenderHtmlAsPdf,RenderUrlAsPdf, 또는RenderHtmlFileAsPdf호출pdf.SaveAs("output.pdf")로 결과 저장
목차
- Python용 IronPDF를 설치하는 방법은?
- 변환 전에 IronPDF를 어떻게 구성합니까?
- HTML 문자열을 PDF로 변환하는 방법은?
- URL을 PDF로 변환하는 방법은?
- HTML 파일을 PDF로 변환하는 방법은?
- PDF 렌더링 옵션을 제어하는 방법은?
- 사용자 지정 헤더와 푸터를 추가하는 방법은?
- 다음 단계는?
시작하기
Python에서 IronPDF 설치 방법은?
IronPDF는 Python의 표준 패키지 관리자 pip을 통해 배포됩니다. 터미널에서 다음 명령을 실행하여 최신 버전을 설치하세요:
pip install ironpdf
특정 릴리스를 고정하고 싶을 때—CI 파이프라인이나 컨테이너화된 환경에서 유용—버전 번호를 추가하세요:
pip install ironpdf==2024.x.x
[IronPDF for Python은 IronPDF .NET 라이브러리 위에 구축되었으며 .NET 6.0 SDK 이상이 필요합니다. SDK를 설치한 후 IronPDF Python 코드를 실행하세요.)}]
IronPDF가 처음 초기화되면 호환 가능한 Chromium 바이너리를 다운로드합니다. 새 컴퓨터에서 이 다운로드는 잠시 걸리지만 한 환경당 한 번만 발생합니다. 그 이후 실행은 바이너리가 로컬에 캐시되므로 훨씬 빨리 시작됩니다.
사용 방법 안내 및 코드 예제
변환 전에 IronPDF를 어떻게 구성합니까?
첫 변환 전에 완료할 가치가 있는 두 가지 설정 작업: 라이센스 키 설정 및 — 선택사항으로 — 로그 파일 위치 구성.
패키지 가져오기
IronPDF를 사용하는 Python 파일마다 이 단일 가져오기 라인이 필요합니다. 파일 맨 위에 배치하세요:
:path=/static-assets/pdf/content-code-examples/tutorials/html-to-pdf/import.pyfrom ironpdf import *
모든 IronPDF 클래스 — ChromePdfRenderer, PdfDocument, License, Logger 및 나머지 — 와일드카드 임포트를 통해 사용할 수 있습니다.
라이센스 키 설정
라이센스 키 없이 IronPDF는 생성된 모든 PDF에 타일형 워터마크를 추가합니다. 워터마크는 개발 및 테스트에 적합하지만, 실제 배포에는 유효한 키가 필요합니다.
라이센스 키 없이 생성된 PDF는 타일형 워터마크를 포함합니다. 키를 얻으려면 라이센스 페이지를 방문하세요.
다른 IronPDF 호출 전에 키를 설정하세요:
:path=/static-assets/pdf/content-code-examples/tutorials/html-to-pdf/set-license.pyfrom ironpdf import *
# Set the license key before any PDF operations
License.LicenseKey = "IRONPDF-MYLICENSE-KEY-1EF01"
로그 출력 구성
IronPDF는 진단 출력을 스크립트의 작업 디렉터리에 Default.log라는 파일에 기록합니다. 다른 경로로 로그를 리다이렉트하거나 디버깅을 위해 더 많은 세부 정보를 캡처하려면 첫 번째 변환 전에 Logger 속성을 설정하세요.
:path=/static-assets/pdf/content-code-examples/tutorials/html-to-pdf/configure-logging.pyfrom ironpdf import *
# Configure logging before running any conversions
Logger.EnableDebugging = True
Logger.LogFilePath = "ironpdf-debug.log"
Logger.LoggingMode = Logger.LoggingModes.All
(Logger.LogFilePath는 첫 PDF 변환 호출 전에 설정해야 합니다. 그 후의 변경 사항은 현재 세션에 영향을 주지 않습니다.)}]
자세한 로그는 특정 HTML 페이지가 예상대로 렌더링되지 않을 때 진단하는 데 가장 유용합니다 — 네트워크 요청, CSS 로딩 이벤트, JavaScript 실행 시간을 캡처합니다.
HTML 문자열을 PDF로 변환하는 방법은?
메모리 내 HTML 문자열을 변환하는 것이 가장 직접적 접근 방법이며 HTML이 예: Jinja2 템플릿이나 데이터베이스 기반 보고서에서 프로그래밍 적으로 생성될 때 잘 작동합니다.
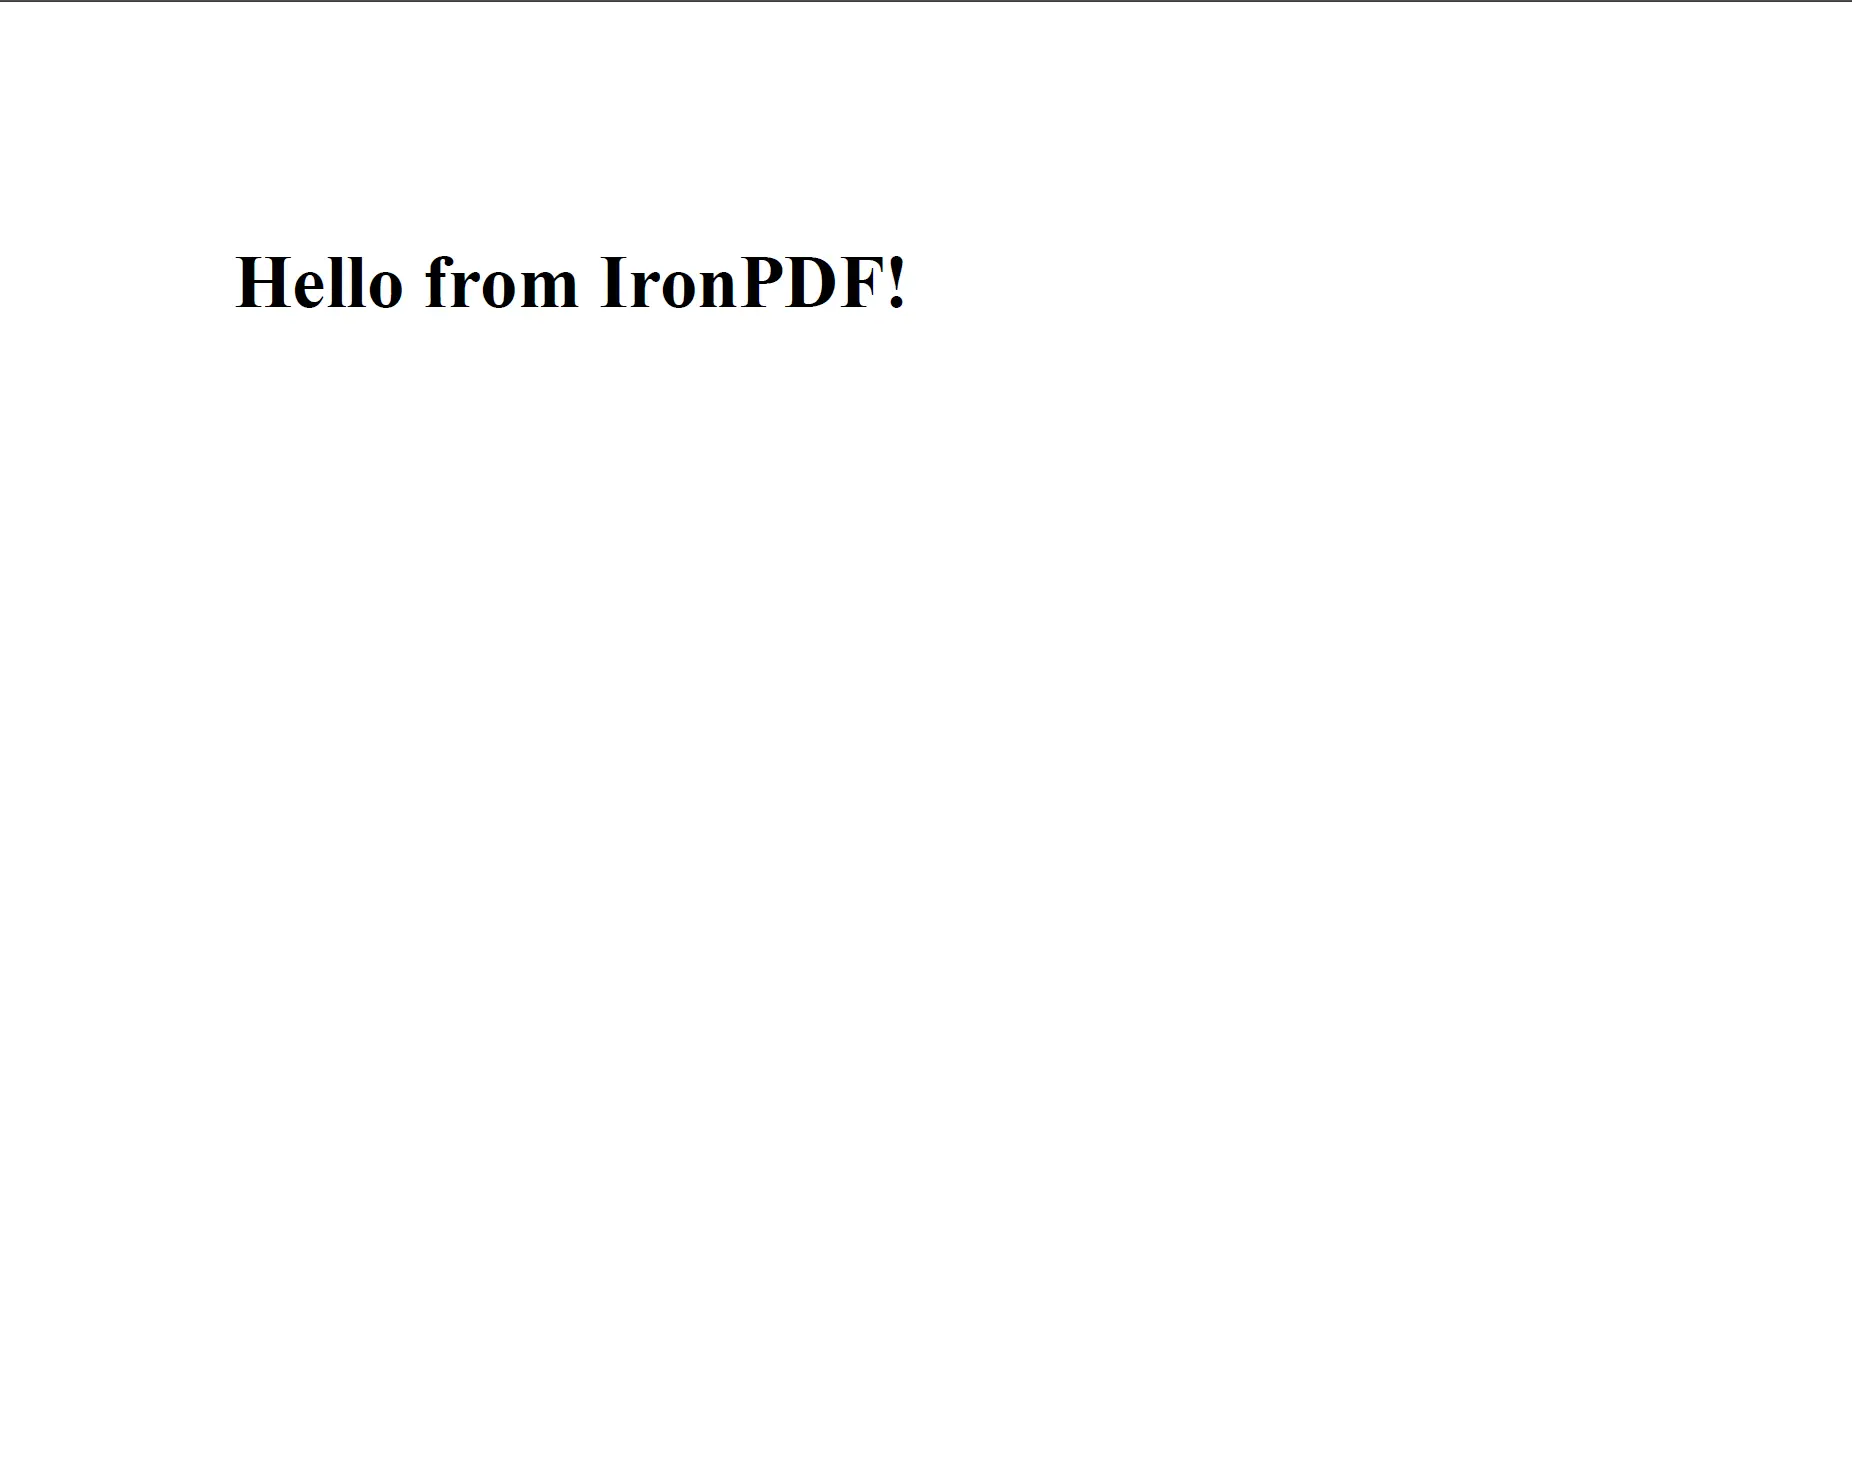
기본 HTML 문자열 변환
ChromePdfRenderer를 인스턴스화하고 HTML 문자열을 RenderHtmlAsPdf에 전달한 후, 반환된 PdfDocument에 대해 SaveAs를 호출하세요.
:path=/static-assets/pdf/content-code-examples/tutorials/html-to-pdf/html-string-basic.pyfrom ironpdf import *
renderer = ChromePdfRenderer()
# Convert an HTML string to a PDF document
pdf = renderer.RenderHtmlAsPdf("<h1>Hello from IronPDF!</h1><p>Generated in Python.</p>")
pdf.SaveAs("hello.pdf")
RenderHtmlAsPdf는 CSS와 JavaScript를 포함하여 HTML을 Chrome과 정확히 동일하게 처리합니다.
ChromePdfRenderer는 현대 브라우저가 처리하는 것과 같은 방식으로 HTML, CSS 및 JavaScript를 처리합니다. Chrome에서 올바르게 렌더링되는 모든 콘텐츠는 정확한 PDF를 생성합니다.
외부 자산을 포함한 HTML 문자열
HTML 문자열이 로컬 자산 — 스타일시트, 이미지, 스크립트 — 을 참조할 때는 디렉터리 경로를 RenderHtmlAsPdf에 대한 두 번째 인수로 전달하세요. IronPDF는 이 경로를 상대 참조를 해결할 때 기본 URL로 사용합니다:
:path=/static-assets/pdf/content-code-examples/tutorials/html-to-pdf/html-string-assets.pyfrom ironpdf import *
html_content = """
<html>
<head>
<title>Styled Report</title>
<link rel='stylesheet' href='assets/style.css'>
</head>
<body>
<h1>Monthly Report</h1>
<img src='assets/logo.png' alt='Company logo'>
<p>Data as of Q1 2024.</p>
</body>
</html>
"""
renderer = ChromePdfRenderer()
# The second argument sets the base path for resolving relative asset URLs
pdf = renderer.RenderHtmlAsPdf(html_content, "./")
pdf.SaveAs("styled-report.pdf")
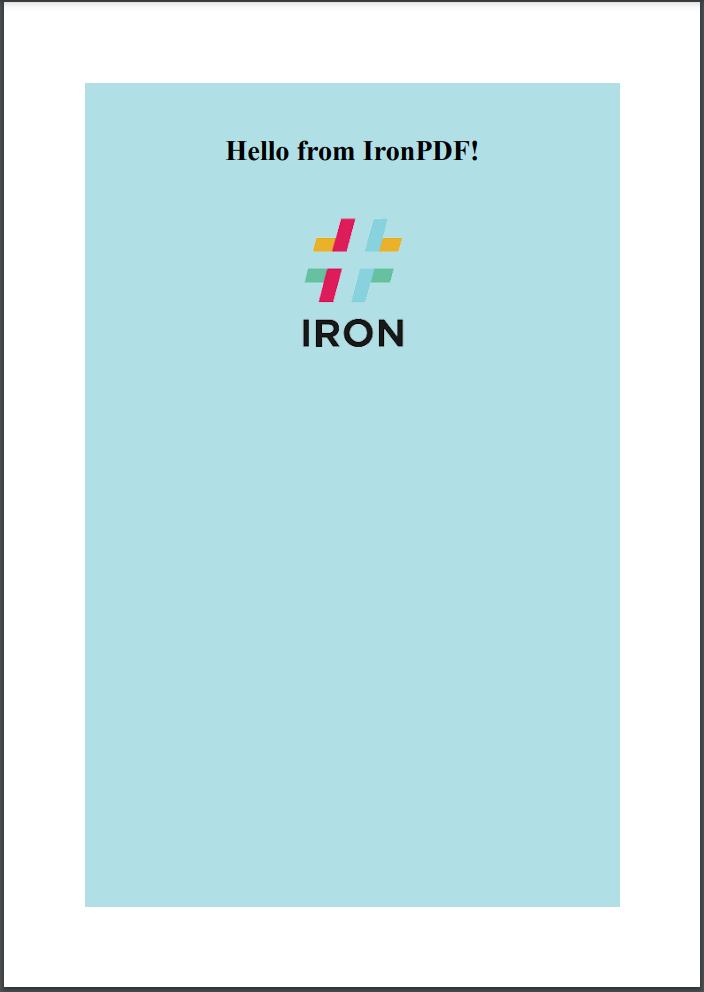
기본 경로를 RenderHtmlAsPdf에 제공하면 외부 CSS와 이미지가 올바르게 로드됩니다.
기본 경로는 로컬 디렉토리나 네트워크 공유를 가리킬 수 있습니다. 하위 디렉토리의 자산은 이에 상대적으로 해결됩니다. 복잡한 HTML 문자열을 사용하는 추가 패턴에 대해서는 HTML 문자열을 PDF로 변환하는 코드 예제를 참조하세요.
이 종류의 라이브러리 중 가장 좋아하는 것은 IronPDF입니다. PDF 파일을 빠르고 효율적으로 조작할 수 있습니다. 또한 PDF/A 형식으로 내보내기 및 PDF 문서의 디지털 서명과 같은 많은 유용한 기능을 가지고 있습니다.
URL을 PDF로 변환하는 방법은?
RenderUrlAsPdf 메서드는 실시간 URL을 가져와, JavaScript 중심 콘텐츠를 포함하여 페이지가 완전히 로드될 때까지 기다린 후 렌더링된 결과를 PDF로 변환합니다. 이는 대시보드, 보고서 또는 최종 시각적 상태가 JavaScript 실행에 따라 달라지는 페이지를 캡처하는 데 적합합니다.
:path=/static-assets/pdf/content-code-examples/tutorials/html-to-pdf/url-to-pdf.pyfrom ironpdf import *
renderer = ChromePdfRenderer()
# Fetch and convert a live web page to PDF
pdf = renderer.RenderUrlAsPdf("https://en.wikipedia.org/wiki/Portable_Document_Format")
pdf.SaveAs("wikipedia-pdf.pdf")
IronPDF는 라이브 URL을 가져와 JavaScript가 포함된 전체 페이지를 렌더링한 후 PDF를 생성합니다.
인증이 필요한 페이지의 경우, RenderUrlAsPdf를 호출하기 전에 ChromePdfRenderer 인스턴스에 쿠키나 HTTP 요청 헤더를 설정하세요. HTTP 로그인 자격 증명 가이드를 참조하세요.)}]
대상 페이지가 비동기 콘텐츠를 로드할 때, IronPDF는 문서가 완벽하게 그려졌다는 표시를 Chromium 렌더링 엔진이 신호할 때까지 대기합니다. JavaScript가 많거나 네트워크 요청이 지연되는 페이지에 대해서는 렌더링 옵션 섹션에서 다루는 ChromePdfRenderOptions의 WaitFor 속성을 조정하는 것을 고려하세요. URL을 PDF로 변환하는 코드 예제는 추가 구성 패턴을 보여줍니다.
HTML 파일을 PDF로 어떻게 변환합니까?
RenderHtmlFileAsPdf는 로컬 HTML 파일의 경로를 받아 이를 직접 변환합니다. HTML 내부의 상대 경로 — CSS 파일, 이미지 또는 JavaScript — 는 HTML 파일의 자체 디렉토리를 기준으로 자동으로 해결되므로 기본 경로 인수가 필요하지 않습니다.
:path=/static-assets/pdf/content-code-examples/tutorials/html-to-pdf/html-file-to-pdf.pyfrom ironpdf import *
renderer = ChromePdfRenderer()
# Convert a local HTML file (and its linked CSS/JS) to PDF
pdf = renderer.RenderHtmlFileAsPdf("invoices/TestInvoice1.html")
pdf.SaveAs("invoice.pdf")
이 방법은 서버 측 문서 생성에 특히 유용하며 HTML 템플릿이 이미 디스크에 작성된 경우 — Django 또는 Flask를 사용하는 경우, Jinja2 템플릿을 파일로 렌더링하고 다운로드를 위해 PDF로 변환하기 전의 일반적인 패턴입니다.
IronPDF는 H<그림>MTL 파일 위치를 기준으로 <link>, <script> 및 <img> 태그를 해결하므로, 연결된 스타일시트, 내장된 글꼴 및 이미지는 브라우저에서처럼 PDF에 정확히 나타납니다. 이 프로세스는 브라우저에서 인라인 자산을 처리하는 방식과 유사하지만, 명시적인 기본 경로를 제공할 필요가 없습니다.
PDF 렌더링 옵션 제어 방법은?
ChromePdfRenderer (또는 직접 렌더링 메서드)로 전달되는 구성 객체인 ChromePdfRenderOptions는 페이지 레이아웃, 여백, 용지 크기 및 기타 출력 특성을 제어합니다. 변환 전에 옵션 설정은 PDF 출력을 맞춤화하는 표준적인 방법입니다.
용지 크기 및 방향
:path=/static-assets/pdf/content-code-examples/tutorials/html-to-pdf/render-options-paper.pyfrom ironpdf import *
renderer = ChromePdfRenderer()
# Configure page layout before rendering
renderer.RenderingOptions.PaperSize = PdfPaperSize.A4
renderer.RenderingOptions.PaperOrientation = PdfPaperOrientation.Landscape
renderer.RenderingOptions.MarginTop = 20
renderer.RenderingOptions.MarginBottom = 20
renderer.RenderingOptions.MarginLeft = 15
renderer.RenderingOptions.MarginRight = 15
pdf = renderer.RenderHtmlAsPdf("<h1>Landscape Report</h1><p>Content here.</p>")
pdf.SaveAs("landscape-a4.pdf")
여백은 밀리미터로 표시됩니다. PdfPaperSize는 모든 표준 ISO 크기 — A0부터 A10, Letter, Legal, Tabloid — 를 지원하며, CustomPaperWidth와 CustomPaperHeight에 의해 정의된 임의의 차원을 위한 Custom도 지원합니다.
사용자 지정 용지 크기
표준 용지 크기가 출력 요구 사항에 맞지 않는 경우 — 예: 영수증 또는 라벨 인쇄 형식 — 폭과 높이를 명시적으로 정의합니다:
:path=/static-assets/pdf/content-code-examples/tutorials/html-to-pdf/render-options-custom-size.pyfrom ironpdf import *
renderer = ChromePdfRenderer()
# Set a custom paper size (in millimetres)
renderer.RenderingOptions.PaperSize = PdfPaperSize.Custom
renderer.RenderingOptions.CustomPaperWidth = 80 # 80 mm receipt roll width
renderer.RenderingOptions.CustomPaperHeight = 200
pdf = renderer.RenderHtmlAsPdf("<h2>Receipt</h2><p>Total: $12.50</p>")
pdf.SaveAs("receipt.pdf")
JavaScript 실행 가능화
기본적으로 IronPDF는 렌더링 중 JavaScript를 실행합니다. 페이지가 본문을 표시하기 위해 JavaScript를 사용한다면 — 차트, 데이터 테이블, 동적 양식 값 — 이 동작은 렌더링된 PDF에 최종 DOM 상태를 반영합니다. JavaScript가 필요하지 않은 페이지에 대해 비활성화하려면:
:path=/static-assets/pdf/content-code-examples/tutorials/html-to-pdf/render-options-javascript.pyfrom ironpdf import *
renderer = ChromePdfRenderer()
# Disable JavaScript for static HTML pages
renderer.RenderingOptions.EnableJavaScript = False
pdf = renderer.RenderHtmlAsPdf("<p>Static content only.</p>")
pdf.SaveAs("static.pdf")
JavaScript를 비활성화하면 단순한 정적 HTML 문서의 렌더링 시간이 줄어듭니다.
더 많은 렌더링 구성 세부 정보는 PDF 생성 설정과 사용자 지정 용지 크기 예제를 참조하세요.
사용자 정의 헤더 및 푸터를 추가하는 방법은?
IronPDF의 헤더 및 바닥글은 HtmlHeaderFooter나 TextHeaderFooter 객체를 통해 렌더러의 RenderingOptions에 적용됩니다. HtmlHeaderFooter는 완전한 HTML과 CSS 제어를 제공하므로 로고가 있는 브랜드 레터헤드에 이상적입니다. TextHeaderFooter는 더 간단하며 동적 페이지 번호를 포함한 대부분의 텍스트 기반 요구를 다룹니다.
텍스트 기반 헤더와 푸터
:path=/static-assets/pdf/content-code-examples/tutorials/html-to-pdf/headers-footers-text.pyfrom ironpdf import *
renderer = ChromePdfRenderer()
# Add a text header with the document title
renderer.RenderingOptions.TextHeader = TextHeaderFooter()
renderer.RenderingOptions.TextHeader.CenterText = "Quarterly Report — Q1 2024"
renderer.RenderingOptions.TextHeader.DrawDividerLine = True
renderer.RenderingOptions.TextHeader.FontSize = 10
# Add a footer with page numbers
renderer.RenderingOptions.TextFooter = TextHeaderFooter()
renderer.RenderingOptions.TextFooter.RightText = "Page {page} of {total-pages}"
renderer.RenderingOptions.TextFooter.FontSize = 9
renderer.RenderingOptions.TextFooter.DrawDividerLine = True
html = "<h1>Executive Summary</h1><p>Revenue increased 12% year-over-year.</p>"
pdf = renderer.RenderHtmlAsPdf(html)
pdf.SaveAs("report-with-footer.pdf")
{page} 및 {total-pages} 플레이스홀더는 렌더링 시 올바른 값으로 대체됩니다. 다른 사용 가능한 플레이스홀더에는 {date}, {time}, 및 {url}이 있습니다.
로고가 포함된 HTML 기반 헤더
브랜드 헤더가 필요한 경우 — 회사 로고, 색 밴드, 포맷 된 주소 블록 — 대신 HtmlHeaderFooter을 사용하세요:
:path=/static-assets/pdf/content-code-examples/tutorials/html-to-pdf/headers-footers-html.pyfrom ironpdf import *
renderer = ChromePdfRenderer()
header_html = """
<div style="font-family: Arial, sans-serif; border-bottom: 2px solid #003366; padding: 8px 0;">
<img src='assets/logo.png' style='height: 40px; float: left;' alt='Company logo'>
<span style='float: right; font-size: 11px; color: #666;'>Confidential</span>
<div style='clear:both;'></div>
</div>
"""
renderer.RenderingOptions.HtmlHeader = HtmlHeaderFooter()
renderer.RenderingOptions.HtmlHeader.HtmlFragment = header_html
renderer.RenderingOptions.HtmlHeader.BaseUrl = "./"
html_body = "<h1>Project Status Update</h1><p>All milestones on track.</p>"
pdf = renderer.RenderHtmlAsPdf(html_body, "./")
pdf.SaveAs("branded-report.pdf")
(HtmlHeaderFooter에서 문서 본문에 사용된 것과 동일한 기본 경로로 BaseUrl을 설정하세요. 이렇게 하면 헤더 HTML 내부에서 참조되는 이미지와 스타일시트가 올바르게 해석됩니다.)}]
헤더와 푸터는 생성된 PDF의 모든 페이지, 여러 페이지 문서를 포함하여 나타납니다. 푸터에 페이지 수준 메타데이터가 있는 작동 예제를 보려면 HTML 헤더 및 푸터 코드 예제를 참조하십시오.
헤더 및 푸터에 대한 여백 조정
헤더 또는 푸터를 추가할 때 내용이 페이지 본문과 겹치지 않도록 해당 여백을 늘리십시오:
:path=/static-assets/pdf/content-code-examples/tutorials/html-to-pdf/headers-footers-margins.pyfrom ironpdf import *
renderer = ChromePdfRenderer()
renderer.RenderingOptions.MarginTop = 30 # Make room for header
renderer.RenderingOptions.MarginBottom = 20 # Make room for footer
renderer.RenderingOptions.TextHeader = TextHeaderFooter()
renderer.RenderingOptions.TextHeader.CenterText = "Internal Use Only"
renderer.RenderingOptions.TextFooter = TextHeaderFooter()
renderer.RenderingOptions.TextFooter.CenterText = "Page {page} of {total-pages}"
pdf = renderer.RenderHtmlAsPdf("<h1>Internal Document</h1><p>Body content.</p>")
pdf.SaveAs("margined-report.pdf")
레이아웃이 중요한 문서의 경우, 출력물을 인쇄 사양에 맞추기 위해 여백 조정을 PaperSize 설정과 결합하세요. 추가 레이아웃 제어 — IronSoftwareSystemDrawingColor 배경 채우기 및 CSS @page 규칙 등 — 는 사용자 정의 여백 예제에 자세히 설명되어 있습니다.
다음 단계는 무엇인가요?
이 튜토리얼에서는 세 가지 핵심 HTML-to-PDF 변환 방법과 그 출력을 제어하는 렌더링 옵션을 다루었습니다. 다음 안내서는 이 기초를 기반으로 하여 보다 전문화된 작업을 다루고 있습니다:
- PDF 생성 설정 —
ChromePdfRenderOptions에 대한 상세 정보: DPI, 배경 렌더링, CSS 미디어 타입, JavaScript 대기 전략 및 인쇄 대 화면 모드. - HTML 헤더와 푸터 — 로고, 페이지 번호, 날짜 및 여러 열 레이아웃이 포함된 브랜드 헤더 및 푸터 템플릿.
- 사용자 정의 여백 및 종이 크기 — 인쇄 준비 출력 및 비표준 형식을 위한 페이지 기하학을 미세 조정합니다.
- PDF에 워터마크 추가 — 생성되었거나 새로 생성된 PDF에 텍스트 또는 이미지 워터마크를 스탬프합니다.
- PDF에서 텍스트 추출 — 생성되었거나 기존 PDF에서 텍스트 콘텐츠를 프로그램적으로 읽습니다.
무료 30일 체험을 시작하십시오 평과 중 무제한, 워터마크 없는 PDF를 생성하십시오. 프로덕션 준비가 된 경우, 팀 및 기업 배포를 위한 라이센스 옵션을 확인하세요.
자주 묻는 질문
Python에서 HTML 문자열을 PDF로 어떻게 변환하나요?
ChromePdfRenderer를 인스턴스화한 다음 renderer.RenderHtmlAsPdf(html_string)을 호출하세요. 이 메서드는 인라인 CSS와 JavaScript를 포함한 모든 유효한 HTML을 허용합니다. 반환된 PdfDocument를 pdf.SaveAs("output.pdf")로 저장하세요.
Python용 IronPDF를 어떻게 설치하나요?
터미널에서 pip install ironpdf를 실행하세요. IronPDF for Python은 초기 사용 전에 별도로 설치되어야 하는 .NET 6.0 SDK 이상을 필요로 합니다.
IronPDF가 Python에서 실시간 URL을 PDF로 변환할 수 있나요?
예. renderer.RenderUrlAsPdf("https://example.com")를 사용하세요. IronPDF는 Chromium 엔진을 사용하여 페이지를 가져오고, JavaScript 실행이 완료될 때까지 기다린 후 완전히 렌더링된 DOM에서 PDF를 생성합니다.
로컬 HTML 파일을 PDF로 어떻게 변환하나요?
renderer.RenderHtmlFileAsPdf("path/to/file.html")을 호출하세요. IronPDF는 HTML 파일의 디렉토리에 상대적인 모든 자산 경로 — 스타일시트, 이미지, 스크립트 — 를 자동으로 해석합니다.
IronPDF에서 생성한 PDF에서 워터마크를 어떻게 제거하나요?
모든 PDF 작업 전에 License.LicenseKey = "YOUR-KEY"로 유효한 라이선스 키를 설정하세요. 키가 없으면 IronPDF는 개발에 적합하지만, 프로덕션 사용에 적합하지 않은 타일 형식의 워터마크를 추가합니다.
IronPDF가 Python에서 노출하는 렌더링 옵션은 무엇인가요?
renderer.RenderingOptions의 속성으로 용지 크기 (PaperSize), 방향 (PaperOrientation), 여백 (MarginTop, MarginLeft, 등), 사용자 정의 크기 (CustomPaperWidth, CustomPaperHeight), JavaScript 실행 (EnableJavaScript) 등을 제어합니다.
Python에서 IronPDF를 사용하여 PDF에 페이지 번호를 어떻게 추가하나요?
renderer.RenderingOptions.TextFooter에 TextHeaderFooter를 할당하고 {page} 또는 {total-pages} 자리 표시자를 RightText 또는 CenterText와 같은 텍스트 속성에 포함하세요.
생성된 PDF의 페이지마다 브랜드 로고 헤더를 추가할 수 있나요?
예. HtmlHeaderFooter를 사용하여 <img> 태그를 포함한 HTML 조각을 사용하세요. 이를 renderer.RenderingOptions.HtmlHeader에 할당하고 이미지 경로가 올바르게 해석되도록 BaseUrl을 설정하세요.
IronPDF는 Python에서 사용자 정의 용지 크기를 지원하나요?
예. renderer.RenderingOptions.PaperSize를 PdfPaperSize.Custom으로 설정한 다음, 밀리미터 단위로 CustomPaperWidth와 CustomPaperHeight를 할당하여 임의의 페이지 크기를 정의하세요.
IronPDF for Python이 필요로 하는 .NET 버전은 무엇인가요?
IronPDF for Python은 .NET 6.0 SDK 이상을 필요로 합니다. SDK는 Microsoft .NET 다운로드 페이지에서 무료로 제공되며, IronPDF를 pip 설치하거나 실행하기 전에 설치해야 합니다.


아직도 스크롤하고 계신가요?
빠른 증거를 원하시나요?
샘플을 실행하세요 HTML이 PDF로 변환되는 것을 지켜보세요.


