How to Create PDF Files with Text and Images in Python
In this digital day and age, the need to generate PDF documents with dynamic content, including text and images, is a common requirement. Python is a popular programming language which makes it easy to automate routine processes to save time and energy. Having a versatile library to create PDF files with text and images in Python can be very handy for automatic generation of reports, receipts, or invoices. IronPDF, a versatile Python library, simplifies the process of creating PDFs with rich content.
In this article, we will explore how to use IronPDF to generate PDFs that include both text and images in a Python project.
How to Create PDF Files with Text and Images in Python
- Install IronPDF for Python Library
- Instantiate ChromePdfRenderer
- Add Text Content
- Add Image as binary data
- Create HTML String with text and images
- Render HTML to PDF using RenderHtmlAsPdf
- Save PDF file using SaveAs method
Introduction to IronPDF
IronPDF is a feature-rich Python library that provides developers with powerful tools for creating, manipulating, and processing PDF documents. With IronPDF, you can easily incorporate text, images, tables, and other elements into your PDFs, making it a valuable asset for a wide range of applications, from report generation to document creation.
Key Features of IronPDF:
- Easy Integration: IronPDF seamlessly integrates with popular Python development environments, making it accessible to developers using tools like PyCharm.
- Rich Text Support: It supports rich text formatting, allowing developers to create visually appealing PDF documents with ease.
- Image Handling: IronPDF enables the inclusion of images in PDFs, providing flexibility in designing and customizing documents.
- Cross-Platform Compatibility: IronPDF works across different platforms, ensuring that generated PDFs can be viewed and interacted with consistently.
Prerequisites
Before diving into the process to create PDF documents using IronPDF, ensure that you have the following prerequisites in place:
- Python Installed: Python needs to be installed on your computer. You can download and install the latest version from the official Python website (https://www.python.org/).
- PyCharm IDE: Use PyCharm or any other Python IDE of your choice. PyCharm is a popular integrated development environment that provides a comfortable workspace for Python development.
- IronPDF: IronPDF library downloaded from here or installed using PIP (Python Package Manager). Microsoft .NET runtime is also required to successfully use IronPDF functionality. Linux, Mac, and Windows users can download the .NET 6.0 version using this download link.
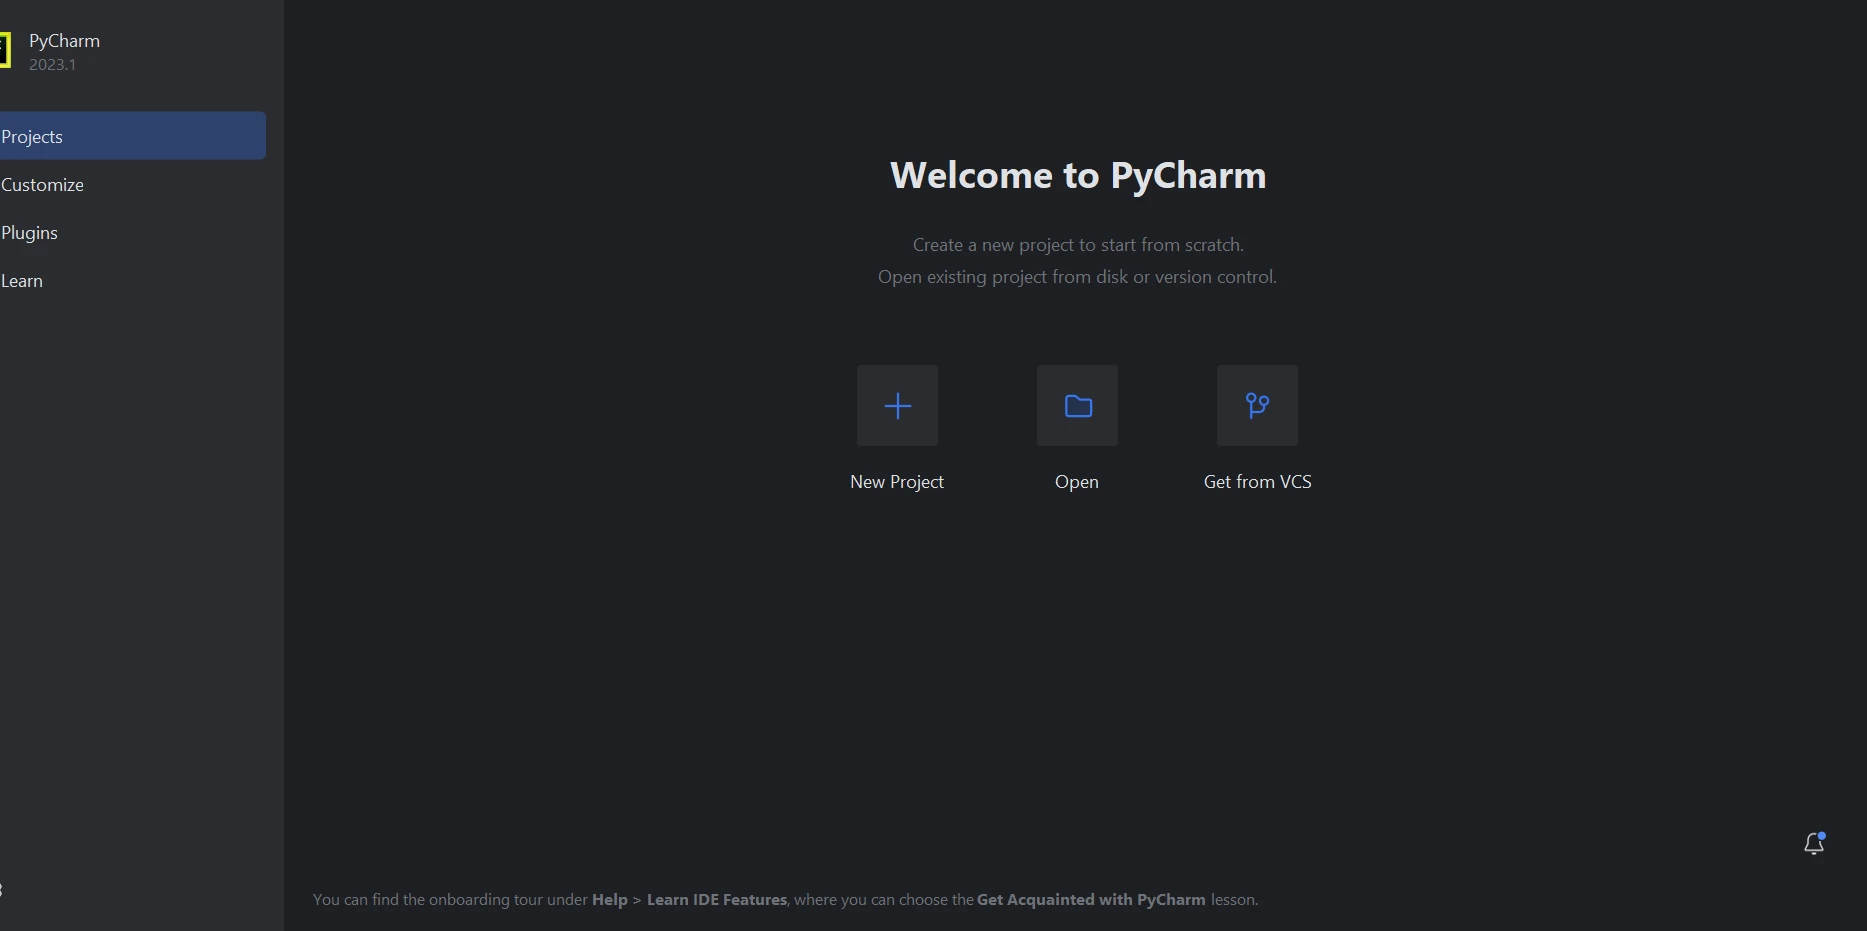
Create Python Project in PyCharm
Once the prerequisites are met, open PyCharm and create a new Python project. Set up a virtual environment for your project to manage dependencies effectively.
- Click on File > New Project.
- In the "New Project" window:
- Enter a name for your project in the "Location" field.
- Choose the location where you want to save your project files.
- Under "Project Interpreter," select the Python interpreter. It will automatically detect the Python Interpreter if you installed Python.
Choose the project type. For a simple Python project, you can stick with the default settings.
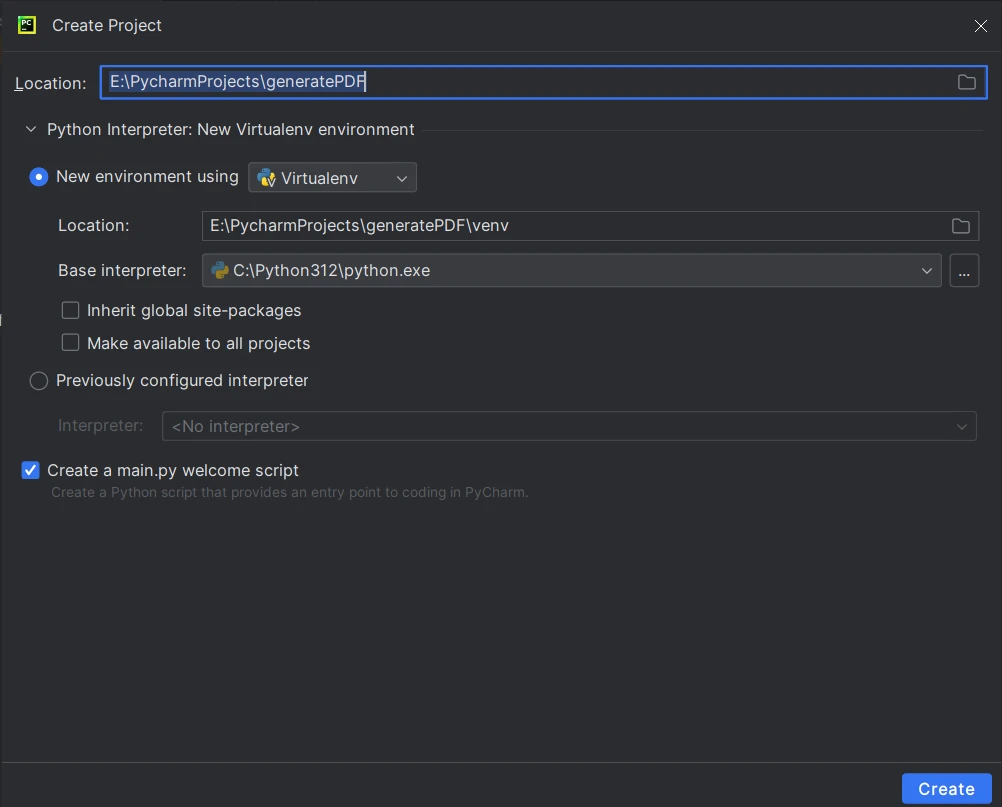
- Click Create to create the project.
- Open a new python file and save it to write code to generate PDF files using Python library - IronPDF.
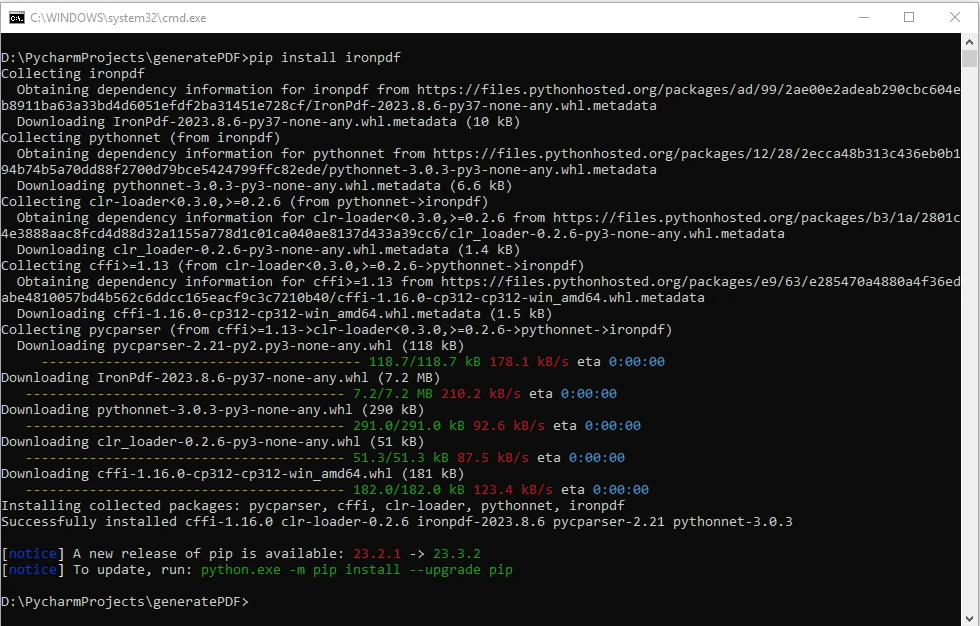
Install IronPDF for Python Using PIP
To install IronPDF, use the following PIP command in your project's terminal or command prompt:
pip install ironpdf
This command will automatically download and install the IronPDF library along with its dependencies.
Creating a Simple PDF with Text and Images
Let's walk through the steps to create a single PDF page document that includes both text and image using IronPDF:
Step 1: Import IronPDF
In this step, we import all the required modules from IronPDF. We import ChromePdfRenderer for rendering PDFs and base64 for encoding image data.
from ironpdf import ChromePdfRenderer
import base64
from ironpdf import ChromePdfRenderer
import base64Step 2: Instantiate ChromePdfRenderer
Here, we will create an instance of the ChromePdfRenderer, which will be used to render the HTML content into a PDF.
# Instantiate Renderer
renderer = ChromePdfRenderer()
# Instantiate Renderer
renderer = ChromePdfRenderer()Step 3: Add Text Content
In this step, we will define an HTML string (html_content) that includes the structure of the HTML document, including the header, body, and a section with text content that is later converted to a single PDF file. CSS styling is used to position the text and image.
# HTML String with Text
html_content = """
<!DOCTYPE html>
<html lang="en">
<head>
    <meta charset="UTF-8">
    <meta name="viewport" content="width=device-width, initial-scale=1.0">
    <title>PDF Generation Example</title>
    <style>
        body {
            margin: 0; /* Remove default margin */
            padding: 20px; /* Add padding for better visibility */
            position: relative; /* Set the body as a relative position */
        }
        header {
            text-align: center;
        }
        section {
            margin-top: 20px; /* Add margin to separate sections */
        }
        img {
            position: absolute;
            top: 20px; /* Adjust the top position */
            right: 20px; /* Adjust the right position */
        }
    </style>
</head>
<body>
    <header>
        <h1>PDF Generation Example</h1>
    </header>
    <section id="contentSection">
        <h2>Text and Image in PDF</h2>
        <p>This PDF includes both text and an embedded image:</p>
        <p>IronPDF developed by Ironsoftware is a great PDF creating library for .NET, Python, JAVA, Node.JS.</p>
"""
# HTML String with Text
html_content = """
<!DOCTYPE html>
<html lang="en">
<head>
<meta charset="UTF-8">
<meta name="viewport" content="width=device-width, initial-scale=1.0">
<title>PDF Generation Example</title>
<style>
body {
margin: 0; /* Remove default margin */
padding: 20px; /* Add padding for better visibility */
position: relative; /* Set the body as a relative position */
}
header {
text-align: center;
}
section {
margin-top: 20px; /* Add margin to separate sections */
}
img {
position: absolute;
top: 20px; /* Adjust the top position */
right: 20px; /* Adjust the right position */
}
</style>
</head>
<body>
<header>
<h1>PDF Generation Example</h1>
</header>
<section id="contentSection">
<h2>Text and Image in PDF</h2>
<p>This PDF includes both text and an embedded image:</p>
<p>IronPDF developed by Ironsoftware is a great PDF creating library for .NET, Python, JAVA, Node.JS.</p>
"""Step 4: Add Image
Here, we will open and read an image file (ironpdf-logo.png) in binary mode, convert it to a base64-encoded data URI, and embed it in the HTML string. The image is then positioned using CSS styles to appear in the top-right corner.
# Read image and convert to base64 string
with open("ironpdf-logo.png", "rb") as f:
    pngBinaryData = f.read()
    imgDataUri = "data:image/png;base64," + base64.b64encode(pngBinaryData).decode("utf-8")
    imgHtml = f"""
        <img src='{imgDataUri}' width=100px height=100px
            alt="IronPDF Logo">
    </section>
</body>
</html>
"""
# Read image and convert to base64 string
with open("ironpdf-logo.png", "rb") as f:
pngBinaryData = f.read()
imgDataUri = "data:image/png;base64," + base64.b64encode(pngBinaryData).decode("utf-8")
imgHtml = f"""
<img src='{imgDataUri}' width=100px height=100px
alt="IronPDF Logo">
</section>
</body>
</html>
"""Step 5: Join Text and Image HTML String
This step concatenates the text and image HTML strings to create the complete HTML content (full_html_content) that will be rendered into a PDF output file.
full_html_content = html_content + imgHtmlfull_html_content = html_content + imgHtmlStep 6: Render HTML Content as PDF File
Here, the RenderHtmlAsPdf method is used to convert the HTML to PDF using the ChromePdfRenderer.
# Create a PDF from the HTML string
pdf = renderer.RenderHtmlAsPdf(full_html_content)
# Create a PDF from the HTML string
pdf = renderer.RenderHtmlAsPdf(full_html_content)Step 7: Save PDF File
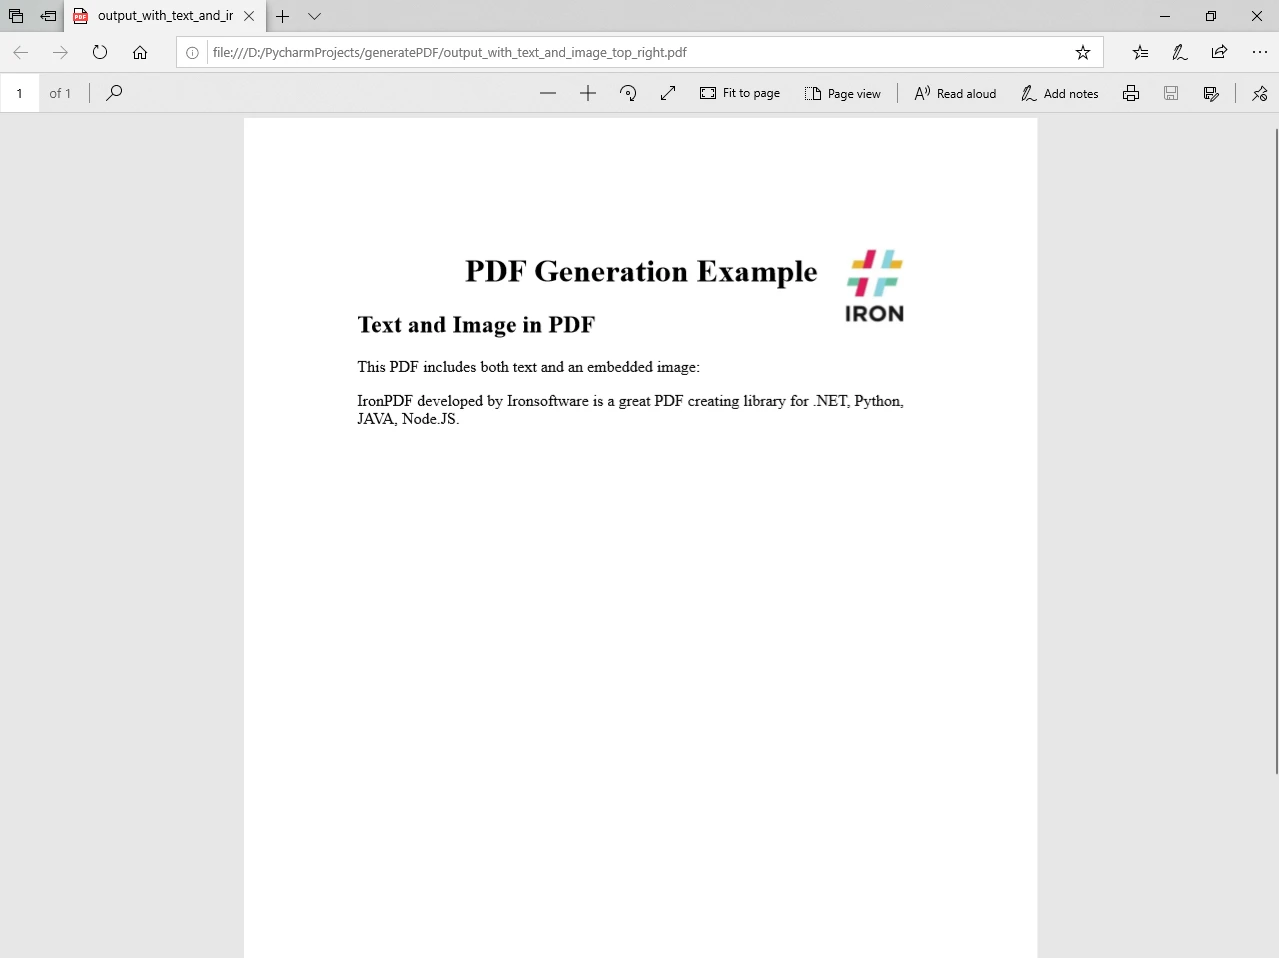
Finally, the resulting PDF is saved as "output_with_text_and_image_top_right.pdf". This file will contain the formatted text and the embedded image positioned in the top-right corner.
# Save the PDF to a file
pdf.SaveAs("output_with_text_and_image_top_right.pdf")
# Save the PDF to a file
pdf.SaveAs("output_with_text_and_image_top_right.pdf")Output PDF Document
Now after executing the program, the output PDF file is as follows:
Similarly, multiple PDF pages can be added to a PDF file with ease.
Advanced Usage: Customizing Text and Image Placement
IronPDF provides additional features for fine-tuning the placement and styling of text and images within the PDF using an external CSS/JavaScript file. The base path can be sent as an optional argument to the RenderHtmlAsPdf method as demonstrated in the following code:
# Advanced Example with HTML Assets
# Load external HTML assets: Images, CSS, and JavaScript.
# An optional BasePath 'C:\site\assets\' is set as the file location to load assets from.
myAdvancedPdf = renderer.RenderHtmlAsPdf("<img src='icons/iron.png'>", r"C:\site\assets")
myAdvancedPdf.SaveAs("html-with-assets.pdf")
# Advanced Example with HTML Assets
# Load external HTML assets: Images, CSS, and JavaScript.
# An optional BasePath 'C:\site\assets\' is set as the file location to load assets from.
myAdvancedPdf = renderer.RenderHtmlAsPdf("<img src='icons/iron.png'>", r"C:\site\assets")
myAdvancedPdf.SaveAs("html-with-assets.pdf")In this advanced code example, we are taking the concept of embedding an image further through external sources. The HTML content within the RenderHtmlAsPdf method includes an tag pointing to an image file (iron.png) located in the specified assets directory (C:\site\assets\). Additionally, this directory is set as the BasePath parameter.
In RenderHtmlAsPdf you can send a complete HTML web page as shown in the above steps. The CSS file can be referenced using the base path as the second optional parameter. For more detailed information on other ways of generating PDF format or modifying an existing PDF file, please visit the code examples and documentation page.
Conclusion
In this article, we explored how to use IronPDF to create PDF files with text and images in a Python project. With its intuitive API and powerful features, IronPDF empowers developers to generate dynamic and visually appealing PDF documents effortlessly. Whether you're creating reports, documentation, or any other type of content, IronPDF provides a reliable and flexible solution for PDF generation in Python. Experiment with the customization options to tailor your PDFs to specific design requirements, making IronPDF a valuable tool for your document generation needs.
IronPDF license or you can contact support for further queries.
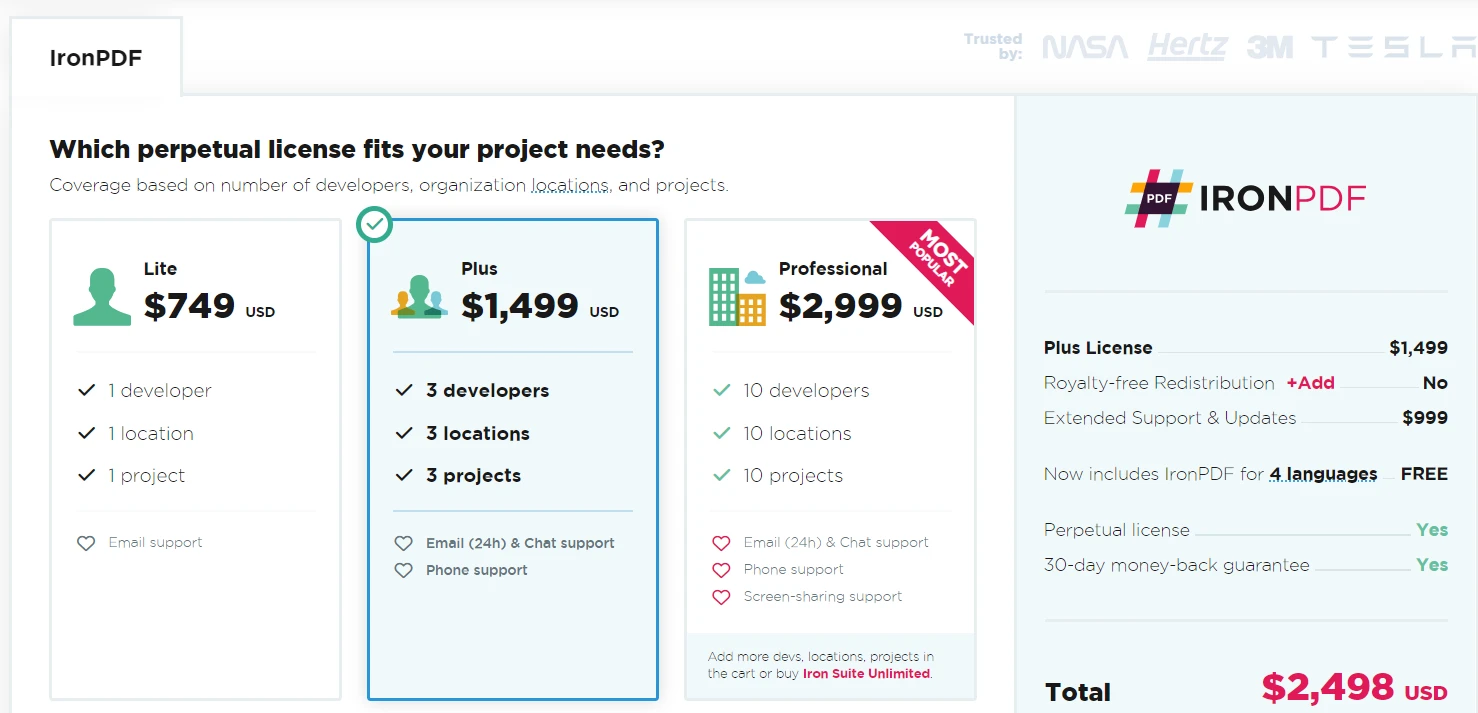
You can download and install the library from IronPDF's website.
Frequently Asked Questions
How can I create a PDF with text and images using Python?
You can use IronPDF's ChromePdfRenderer to create a PDF with text and images in Python. First, install the IronPDF library, then create an HTML string with the desired content. Use the RenderHtmlAsPdf method to render the HTML into a PDF, and finally, save the PDF using the SaveAs method.
What are the steps to install the PDF library for use in Python?
To install the IronPDF library for Python, you can use the PIP package manager. Run the command pip install ironpdf in your command line or terminal to download and install the library along with its dependencies.
What prerequisites are needed to use a PDF creation library in Python?
You will need Python installed on your machine, an IDE such as PyCharm for development, and the IronPDF library. Additionally, IronPDF requires the Microsoft .NET runtime to function.
Is it possible to customize PDFs using external CSS or JavaScript with Python libraries?
Yes, IronPDF allows you to use external CSS and JavaScript files to customize the layout and design of your PDFs. This feature provides advanced customization options for text and image placement.
Can the PDF Python library handle cross-platform compatibility?
IronPDF is designed to be cross-platform compatible, ensuring that the PDFs you generate can be viewed and interacted with consistently across different operating systems.
Why is base64 encoding used for images in PDF generation with Python?
Base64 encoding is used to convert image binary data into a string format that can be embedded directly into HTML. This allows images to be included in the PDF without having to reference external files.
What are the key features of IronPDF for Python?
IronPDF offers features like easy integration with Python environments, support for rich text and images, and cross-platform compatibility. These features make it a versatile tool for generating PDFs with dynamic content.
How can IronPDF assist in generating dynamic PDF documents?
IronPDF provides a powerful API that allows developers to generate PDFs with dynamic content such as text and images. It supports HTML and CSS for formatting, making it easy to create visually appealing documents in Python.