加密 Python(开发人员如何使用)
Cryptography 是数字时代数据和通信安全的关键。 这个包含丰富库的包使得实现加密技术变得简单明了。 Python中最受欢迎的加密库之一是cryptography包,它提供高层次和低层次接口的加密方案。 稍后在文章中,我们还将研究一款名为IronPDF的多功能PDF生成库,来自Iron Software。
关键特性
1.高级配方:密码学包含一个高级密码配方层,用于常见的密码任务,例如对称加密、对称密码、消息摘要和密钥派生函数。 高级对称加密方案帮助快速且简单地实施复杂的算法。 2.底层接口:它还提供了加密算法的底层接口,从而可以进行更精细的控制和定制。 3.对称加密和非对称加密:该库支持常见的加密算法,包括对称加密(例如 AES)和非对称加密(例如 RSA)算法。 4.加密原语:加密标准库包含 Python 开发人员可以使用的加密方法和原语,其中包括哈希、密钥派生和消息认证码 (MAC) 的原语。 5.开发者支持:开发者可以提交问题报告,并且还提供邮件列表进行开发讨论。
安装
要安装cryptography包,可以使用pip:
pip install cryptographypip install cryptography基本用法
这里是一个使用Fernet模块进行对称加密的简单示例:
from cryptography.fernet import Fernet

# Generate a key
key = Fernet.generate_key()
cipher_suite = Fernet(key)

# Encrypt a message
message = b"IronPDF is awesome"  # This must be a really secret message
cipher_text = cipher_suite.encrypt(message)
print(cipher_text)

# Decrypt the message
plain_text = cipher_suite.decrypt(cipher_text)
print(plain_text)
from cryptography.fernet import Fernet
# Generate a key
key = Fernet.generate_key()
cipher_suite = Fernet(key)
# Encrypt a message
message = b"IronPDF is awesome" # This must be a really secret message
cipher_text = cipher_suite.encrypt(message)
print(cipher_text)
# Decrypt the message
plain_text = cipher_suite.decrypt(cipher_text)
print(plain_text)在这个例子中,我们生成一个密钥,加密一条消息,然后使用Fernet模块解密它。
输出
![]()
用例
1.数据加密:在将敏感数据存储到数据库或通过网络传输之前对其进行加密。 2.安全通信:确保双方交换的信息是保密的且不可篡改的。 3.身份验证:使用加密签名验证数据的完整性和真实性。
IronPDF 简介

IronPDF 是一个强大的Python库,设计用于使用HTML、CSS、图像和JavaScript来创建、编辑和签署PDF,支持现代网络标准。 它提供商业级性能,并具有低内存占用。 关键特性包括:
HTML 转 PDF: IronPDF可以将HTML文件、HTML字符串和URL转换为PDF。 例如,使用Chrome PDF渲染器将网页呈现为PDF。
跨平台支持: IronPDF设计用于Python 3+,也可以运行在Windows、Mac、Linux或云平台上。
IronPDF 也可用于.NET、Java、Python和Node.js。
编辑和签名: 使用IronPDF设置属性、通过密码和权限添加安全性,并将数字签名应用到您的PDF中。
页面模板和设置: 您可以使用IronPDF自定义PDF的页眉、页脚、页码和可调整的边距。 它还支持自定义纸张大小和响应式布局。
标准符合性: IronPDF符合PDF标准,包括PDF/A和PDF/UA,支持UTF-8字符编码,并管理如图像、CSS和字体的资源。
安装
pip install ironpdf
使用IronPDF和Cryptography生成PDF文档
前提条件
- 确保安装了Visual Studio Code
- 已安装Python 3版本
首先,让我们创建一个Python文件以添加我们的脚本。
打开Visual Studio Code并创建一个文件,cryptographyDemo.py。
安装所需的库:
pip install cryptography
pip install ironpdf
pip install cryptography
pip install ironpdf然后添加以下代码来演示IronPDF和cryptography Python包的使用:
from cryptography.fernet import Fernet
from ironpdf import ChromePdfRenderer, License

# Apply your license key
License.LicenseKey = "your key"

# Create a PDF from an HTML string using Python
content = "<h1>Awesome IronPDF with Cryptography</h1>"

# Generate a key
content += "<h2>Generate a key</h2>"
key = Fernet.generate_key()
cipher_suite = Fernet(key)
content += "<p>Fernet.generate_key() = " + str(key) + "</p>"

# Encrypt a message
content += "<h2>Encrypt a message</h2>"
message = b"IronPDF is awesome"
cipher_text = cipher_suite.encrypt(message)
content += "<p>cipher_suite.encrypt(message)</p>"
content += "<p>" + str(cipher_text) + "</p>"

# Decrypt the message
content += "<h2>Decrypt the message</h2>"
plain_text = cipher_suite.decrypt(cipher_text)
content += "<p>cipher_suite.decrypt(cipher_text)</p>"
content += "<p>" + plain_text.decode() + "</p>"

# Generate PDF using IronPDF
renderer = ChromePdfRenderer()
pdf = renderer.RenderHtmlAsPdf(content)

# Export to a file or Stream
pdf.SaveAs("Demo-cryptography.pdf")
from cryptography.fernet import Fernet
from ironpdf import ChromePdfRenderer, License
# Apply your license key
License.LicenseKey = "your key"
# Create a PDF from an HTML string using Python
content = "<h1>Awesome IronPDF with Cryptography</h1>"
# Generate a key
content += "<h2>Generate a key</h2>"
key = Fernet.generate_key()
cipher_suite = Fernet(key)
content += "<p>Fernet.generate_key() = " + str(key) + "</p>"
# Encrypt a message
content += "<h2>Encrypt a message</h2>"
message = b"IronPDF is awesome"
cipher_text = cipher_suite.encrypt(message)
content += "<p>cipher_suite.encrypt(message)</p>"
content += "<p>" + str(cipher_text) + "</p>"
# Decrypt the message
content += "<h2>Decrypt the message</h2>"
plain_text = cipher_suite.decrypt(cipher_text)
content += "<p>cipher_suite.decrypt(cipher_text)</p>"
content += "<p>" + plain_text.decode() + "</p>"
# Generate PDF using IronPDF
renderer = ChromePdfRenderer()
pdf = renderer.RenderHtmlAsPdf(content)
# Export to a file or Stream
pdf.SaveAs("Demo-cryptography.pdf")代码解释
此代码片段演示如何使用Fernet模块进行信息加密和解密,然后使用IronPDF生成PDF文档。 以下是代码每个部分的说明:
1.导入和许可证密钥设置:
- 从
Fernet类以实现加密和解密功能。 - 从IronPDF中导入
License以生成PDF。 - 设置IronPDF的许可证密钥以启用其功能。
HTML内容设置:初始化
content变量,以包含在PDF文档中的HTML标记。生成一个密钥:使用
cipher_suite)。 在HTML内容中包含生成的密钥。加密信息:定义要加密的信息(
b"IronPDF is awesome")。 使用cipher_suite.encrypt()方法加密信息,并将密文包含在HTML内容中。解密信息:使用
cipher_text,并将解密后的明文包含在HTML内容中。- PDF生成:使用
contentHTML字符串渲染为PDF文档。 将生成的PDF文件保存为"Demo-cryptography.pdf"。
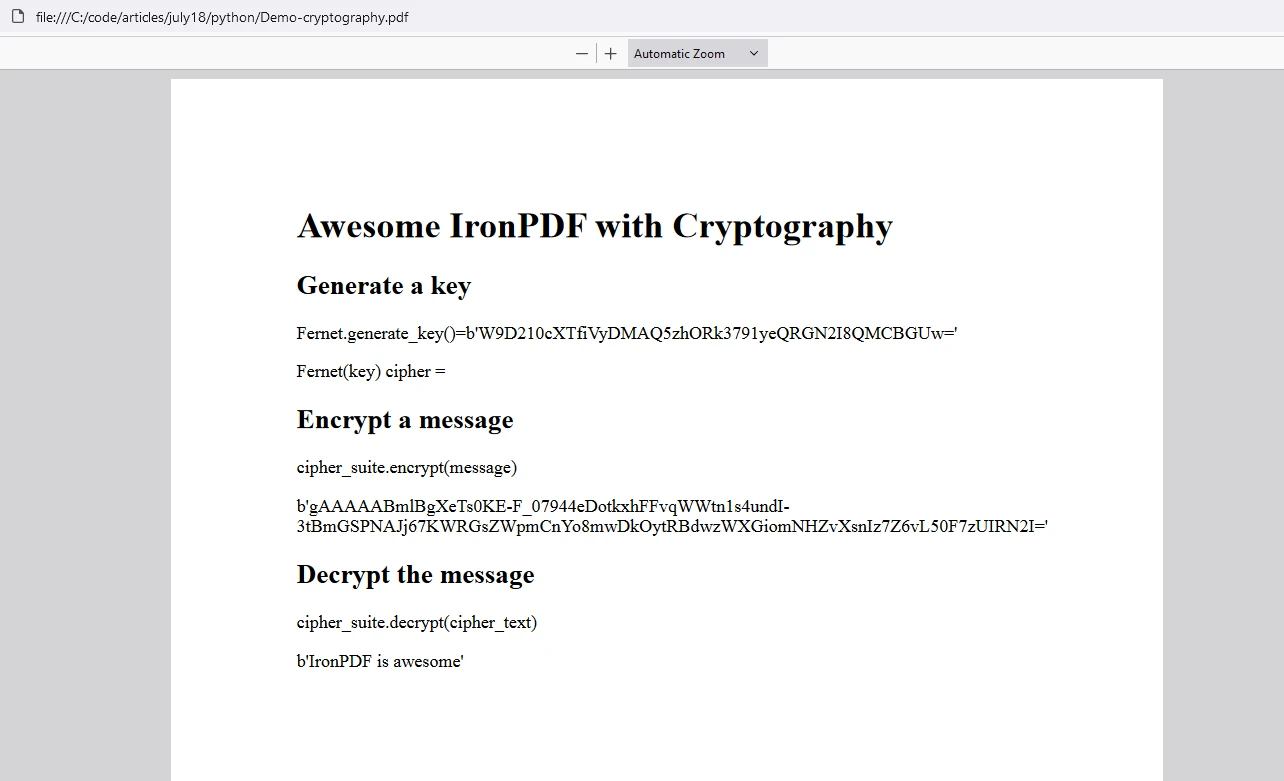
此设置允许创建一个展示cryptography库提供的加密和解密功能的PDF文档,并结合IronPDF的PDF生成能力。
输出

IronPDF 许可证
IronPDF提供试用许可证密钥,允许用户在购买前查看其广泛的功能。
在使用IronPDF包之前,将许可证密钥放在脚本开头:
from ironpdf import License

# Apply your license key
License.LicenseKey = "key"
from ironpdf import License
# Apply your license key
License.LicenseKey = "key"结论
Python中的cryptography库是实现安全数据加密和解密的强大工具。 其易用性和全面功能对希望增强其应用程序安全性的开发者来说是一个绝佳的选择。
另一方面,IronPDF是一个多功能且功能丰富的PDF生成库,将以标准方式帮助记录结果。 这两个库都可以为开发者提高技能提供极大帮助。