Cómo Agregar Firma Digital en Python
Las firmas digitales son un aspecto crucial de la ciberseguridad, asegurando la autenticidad e integridad de los mensajes y documentos digitales. Python, con su rico ecosistema de bibliotecas, proporciona una plataforma accesible para implementar dichas firmas con o sin una clave utilizando def sign y def verify. Esta guía te llevará a través de la creación y confirmación de una firma digital con una clave privada o clave pública usando IronPDF y bibliotecas de criptografía.
Introducción a las firmas digitales
Antes de sumergirse en el código, entendamos qué son las firmas digitales. Al igual que su contraparte física, una firma digital se utiliza para verificar la autenticidad de un documento digital. Ofrece un sello seguro y evidente a alteraciones, asegurando la no repudio, lo que significa que el firmante no puede negar la autenticidad de su firma en un documento.
Cómo funcionan las firmas digitales
Las firmas digitales usan una combinación de claves privadas y públicas. La clave privada se usa para crear la firma y debe ser mantenida segura por el firmante. La clave pública, compartida con cualquiera, se usa para verificar que la clave privada correspondiente creó la firma. Esto se basa en la criptografía de clave pública, a menudo implementada usando algoritmos como RSA.
Introducción a IronPDF
 IronPDF
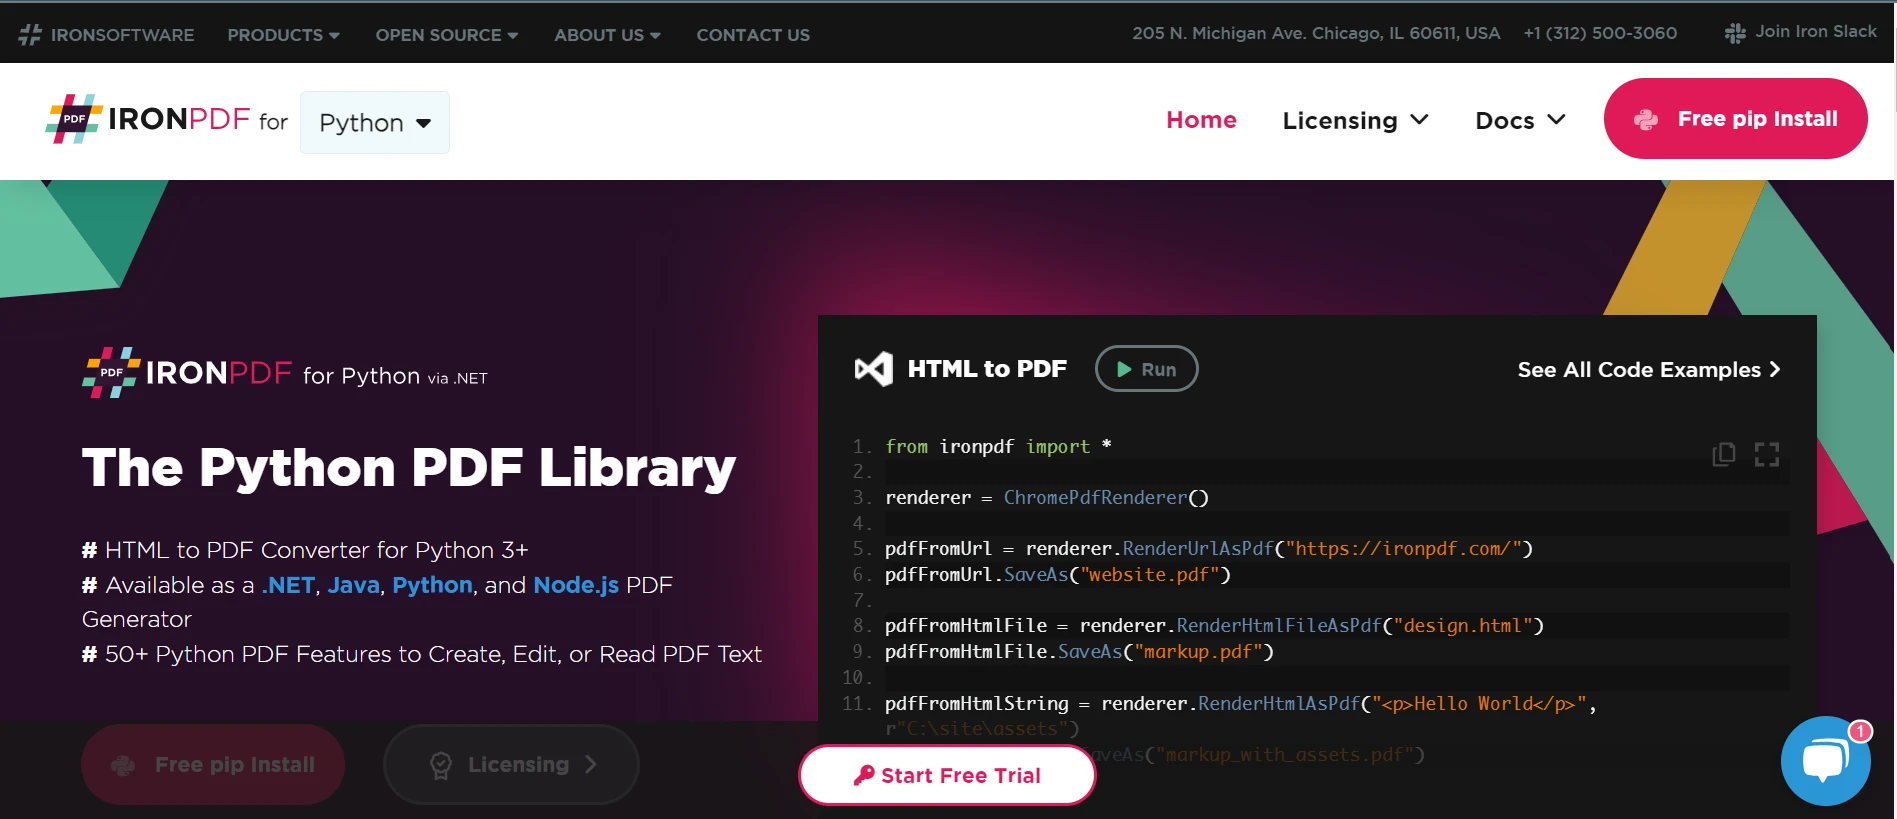
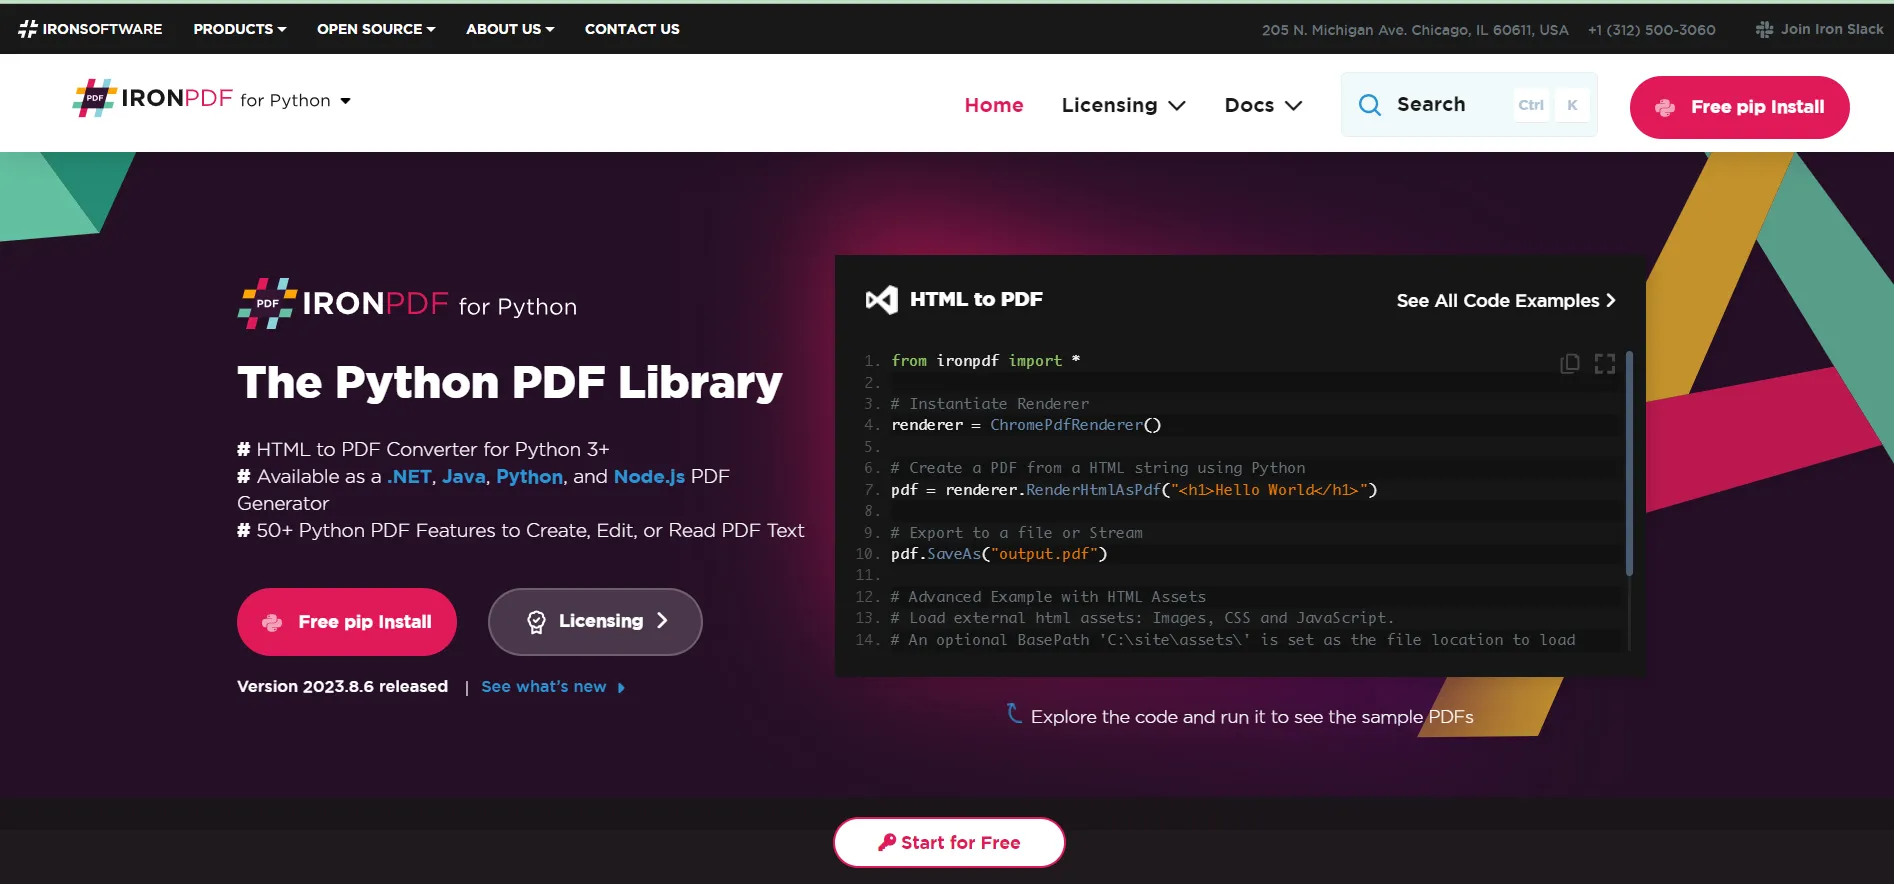
IronPDF es una biblioteca versátil usada en Python para trabajar con PDFs. Ofrece una amplia gama de funcionalidades, incluyendo la creación, edición y renderización de PDFs, así como la capacidad de incrustar firmas digitales o mensajes en archivos PDF. Esta biblioteca destaca por su facilidad de uso y potentes funciones, lo que la convierte en una excelente opción para los desarrolladores que buscan integrar la funcionalidad de PDF en sus aplicaciones Python.
Las capacidades de IronPDF van más allá de la manipulación básica de PDFs, proporcionando características avanzadas como la renderización de HTML a PDF, soporte para CSS y JavaScript, y, lo más importante, la capacidad de añadir firmas digitales seguras criptográficamente a documentos PDF usando criptografía de clave pública como RSA. Esto la hace particularmente útil en escenarios donde la autenticidad de los documentos es primordial, como en procesos de documentación legal, financiera y oficial.
Requisitos previos
Antes de implementar firmas digitales en Python, debes completar varios prerrequisitos y pasos de configuración. Estos pasos aseguran que tenga el entorno, herramientas y comprensión necesarios para trabajar eficazmente con firmas digitales. Aquí tienes una guía detallada de lo que necesitas para comenzar:
1. Instalar Python
El primer paso es tener Python instalado en tu máquina. Python es un lenguaje de programación versátil que usarás para escribir tus scripts de firmas digitales. Puedes descargarlo desde el sitio web oficial de Python si aún no lo has instalado. Asegúrate de descargar una versión compatible con tu sistema operativo (Windows, macOS o Linux).
2. Editor de código
Un buen editor de código hará que escribir y probar tus scripts de Python sea más fácil. Elige un editor con el que te sientas cómodo y que soporte la sintaxis de Python y que, preferiblemente, tenga soporte de terminal integrado para pruebas y funciones de depuración fáciles.
3. Configurar un entorno de desarrollo Python
Tener un buen entorno de desarrollo puede hacer que la codificación en el mundo de Python sea mucho más sencilla. Puedes usar un editor de texto como Visual Studio Code o Sublime Text o un Entorno de Desarrollo Integrado (IDE) como PyCharm o Jupyter Notebook. Estas herramientas proporcionan características como el resaltado de sintaxis, la autocompletación de código y la depuración, que son invaluables al escribir y probar código.
4. Instalar las bibliotecas necesarias
Necesitarás bibliotecas específicas para firmas digitales en Python, principalmente IronPDF. IronPDF se usa para trabajar con documentos PDF. Puedes instalar esta biblioteca usando pip, el instalador de paquetes de Python. Abre tu línea de comandos o terminal y ejecuta los siguientes comandos:
pip install ironpdf
5. Generación de claves criptográficas
Necesitarás un par de claves criptográficas (claves privadas y públicas) para crear y verificar firmas digitales. Estas pueden generarse usando herramientas como OpenSSL o Adobe Acrobat Reader para crear certificados .pfx o .p12. Asegúrate de almacenar estas claves de manera segura, ya que son cruciales para la integridad y seguridad de tus firmas digitales.
Generación de claves
Antes de firmar un documento, necesitas un par de claves criptográficas. Puedes generar un certificado .pfx o .p12 usando Adobe Acrobat Reader u otras herramientas de gestión de certificados.
Firma de documentos con IronPDF
Firma digital sencilla
Con IronPDF, firmar un PDF puede ser tan sencillo como lo siguiente:
from ironpdf import PdfSignature

# Cryptographically sign an existing PDF in 1 line of code!
PdfSignature(r"./certificates/IronSoftware.p12", "123456").SignPdfFile("any.pdf")
from ironpdf import PdfSignature
# Cryptographically sign an existing PDF in 1 line of code!
PdfSignature(r"./certificates/IronSoftware.p12", "123456").SignPdfFile("any.pdf")En el código anterior, se utiliza la función PdfSignature con una ruta proporcionada a un certificado .p12 y la contraseña correspondiente. Esta función luego se llama para firmar un documento PDF especificado.
Firma digital avanzada
Para un enfoque más controlado, puedes firmar el documento en etapas:
Paso 1: Crear un PDF
Primero, crea un documento PDF a partir del contenido HTML usando la clase ChromePdfRenderer:
from ironpdf import ChromePdfRenderer

# Create a PDF document from HTML content
renderer = ChromePdfRenderer()
doc = renderer.RenderHtmlAsPdf("<h1>Testing 2048 bit digital security</h1>")
from ironpdf import ChromePdfRenderer
# Create a PDF document from HTML content
renderer = ChromePdfRenderer()
doc = renderer.RenderHtmlAsPdf("<h1>Testing 2048 bit digital security</h1>")Paso 2: Crear un objeto de firma
A continuación, crea un objeto de firma con tu certificado:
from ironpdf import PdfSignature

# Initialize the signature object with your .pfx certificate and password
signature = PdfSignature(r"./certificates/IronSoftware.pfx", "123456")
from ironpdf import PdfSignature
# Initialize the signature object with your .pfx certificate and password
signature = PdfSignature(r"./certificates/IronSoftware.pfx", "123456")Paso 3: Opciones de firma opcionales
Puedes establecer opciones adicionales como el contacto, la ubicación y el motivo de la firma:
# Set additional signing options
signature.SigningContact = "support@ironsoftware.com"
signature.SigningLocation = "Chicago, USA"
signature.SigningReason = "To show how to sign a PDF"
# Set additional signing options
signature.SigningContact = "support@ironsoftware.com"
signature.SigningLocation = "Chicago, USA"
signature.SigningReason = "To show how to sign a PDF"Paso 4: Firmar el PDF
Ahora, firma el PDF usando el objeto de firma:
# Sign the PDF document with the signature
doc.Sign(signature)
# Sign the PDF document with the signature
doc.Sign(signature)Paso 5: Guardar el PDF firmado
El documento no está firmado hasta que se guarda:
# Save the signed PDF document
doc.SaveAs("signed.pdf")
# Save the signed PDF document
doc.SaveAs("signed.pdf") Salida del PDF Firmado
Proceso de verificación
Importancia
La verificación asegura que la integridad del documento no ha sido comprometida y que la firma es válida. Esto implica desencriptar el objeto hash del documento con la clave pública del firmante para asegurarse de que coincida con el hash esperado.
Verificación de firmas
Para verificar una firma digital, usarías la clave pública asociada con la clave privada usada para firmar. Si bien la biblioteca IronPDF simplifica el proceso de firma, la verificación generalmente implica el uso de bibliotecas criptográficas como pycryptodome para comparar el hash del documento con el hash de la firma descifrado. Ejecute el siguiente comando para usar pycryptodome:
pip install pycryptodomepip install pycryptodomeSeguridad y buenas prácticas
Mientras que la biblioteca IronPDF maneja la complejidad de firmar PDFs, es esencial entender e implementar la autenticación de usuarios, gestionar las claves de manera segura y usar algoritmos de hash como RSA para la integridad de los datos en la implementación de firmas digitales.
Claves de seguridad
Siempre mantén tu clave privada segura. Si alguien más obtiene acceso, podría firmar documentos como tú.
Hashing para la integridad
Siempre hashea los datos antes de firmar. Esto asegura que la firma sea única para el contenido del documento.
Verificación de confianza
Siempre verifica las firmas antes de confiar en un documento. Esto asegura que el documento no ha sido alterado después de ser firmado.
Conclusión
Las firmas digitales en Python son mucho más sencillas con una biblioteca como IronPDF. Permite a los desarrolladores firmar y verificar documentos con mínima complicación mientras asegura transacciones digitales seguras y auténticas.
Esta guía proporcionó un entendimiento fundamental y un enfoque práctico para aplicar firmas digitales a documentos PDF usando Python. Siguiendo los ejemplos y mejores prácticas destacadas, puedes implementar un proceso robusto de firmas digitales en tus aplicaciones.
IronPDF ofrece una prueba gratuita, permitiendo a los usuarios explorar sus características completas antes de comprometerse. Para un uso continuo más allá del período de prueba, las licencias comienzan desde $799, con acceso gratuito para fines de desarrollo.
IronPDF también te permite crear formularios interactivos, dividir y combinar archivos PDF, extraer texto e imágenes de archivos PDF, buscar ciertas palabras dentro de un archivo PDF, rasterizar páginas PDF a imágenes, convertir PDF a HTML, e imprimir archivos PDF.
Preguntas Frecuentes
¿Qué es una firma digital en el contexto de los PDFs?
Una firma digital en PDFs es una técnica criptográfica utilizada para asegurar la autenticidad e integridad de un documento, verificando que no ha sido alterado y confirmando la identidad del firmante.
¿Cómo puedo implementar firmas digitales en Python utilizando IronPDF?
Puedes implementar firmas digitales en Python usando IronPDF al utilizar sus funciones para aplicar una firma a un PDF. Esto implica generar claves criptográficas y usar un archivo .pfx para firmar el documento.
¿Cuáles son los pasos para generar claves criptográficas para firmas digitales?
Para generar claves criptográficas para firmas digitales, puedes usar herramientas como OpenSSL para crear certificados .pfx o .p12, que son esenciales para firmar y verificar documentos PDF en Python.
¿Cómo ayuda IronPDF a trabajar con PDFs en Python?
IronPDF simplifica el trabajo con PDFs en Python al ofrecer funcionalidades tales como crear, editar, firmar PDFs, renderizar HTML a PDF y soportar firmas digitales, mejorando la seguridad y gestión de documentos.
¿Cuáles son los requisitos previos para usar IronPDF para firmas digitales en Python?
Para usar IronPDF para firmas digitales en Python, necesitas instalar Python, configurar un entorno de desarrollo e instalar la biblioteca IronPDF. También necesitas claves criptográficas, que se pueden generar usando OpenSSL.
¿Cómo puedo verificar una firma digital en un PDF usando Python?
Para verificar una firma digital en un PDF usando Python, puedes usar las funciones de verificación de IronPDF con la clave pública para comprobar la autenticidad del documento y asegurarte de que no ha sido alterado.
¿Qué prácticas de seguridad deben seguirse al usar firmas digitales?
Al usar firmas digitales, es importante mantener segura tu clave privada, hashear los datos antes de firmar para garantizar firmas únicas, y siempre verificar las firmas para mantener la integridad del documento.
¿Qué funcionalidades adicionales de PDF soporta IronPDF en Python?
IronPDF en Python soporta funcionalidades adicionales de PDF como la construcción de formularios interactivos, dividir y combinar PDFs, extraer texto e imágenes, y convertir PDFs a varios formatos, lo que lo convierte en una herramienta versátil para desarrolladores.
¿Puedo probar IronPDF gratis antes de comprar una licencia?
Sí, IronPDF ofrece una prueba gratuita que permite a los usuarios explorar sus características, incluyendo la manipulación de PDF y capacidades de firma digital, antes de comprar una licencia para uso continuo.
¿Cómo facilita IronPDF la conversión de HTML a PDF en Python?
IronPDF facilita la conversión de HTML a PDF en Python proporcionando métodos para renderizar cadenas o archivos HTML en PDFs, permitiendo la creación y gestión dinámica de documentos.