Next-Auth NPM (개발자를 위한 작동 방식)
인증은 최신 웹 애플리케이션에 매우 중요하며, 사용자가 데이터와 기능에 안전하게 접근할 수 있도록 보장하고 인프라 지원을 제공합니다. NextAuth.js는 Next.js와 완벽하게 연동되도록 설계된 강력하고 유연한 인증 라이브러리입니다. 이 글에서는 Next.js 프로젝트에서 NextAuth.js를 설정하고 사용하는 방법을 살펴보고, 이를 통해 사용자 데이터를 손쉽게 보호하는 방법을 알아보겠습니다. 또한 이 npm 패키지를 IronPDF 라이브러리와 같은 다른 라이브러리와 통합하여 프로젝트에 직관적인 상태 비저장 인증을 구현하는 방법도 보여드리겠습니다.
NextAuth.js란 무엇인가요?
NextAuth.js는 Next.js 애플리케이션을 위한 오픈 소스 인증 라이브러리로, 웹 앱에서 인증을 구현하는 유연하고 안전한 방법을 제공합니다. NextAuth.js를 사용하면 개발자는 복잡한 사용자 인증 및 세션 관리에 신경 쓰지 않고도 Next.js 프로젝트에 인증 기능을 쉽게 통합할 수 있습니다.
이 패키지는 구성 가능성이 매우 높아 개발자가 인증 흐름을 사용자 지정하고, API 경로를 보호하고, 사용자 세션을 원활하게 처리할 수 있습니다. 향상된 기능을 통해 계정 접근 관리 절차를 만들고, JSON 웹 토큰을 암호화 및 디코딩하고, 사용자 지정 쿠키 보안 정책 및 세션 속성을 설정하여 계정 접근 및 세션 확인 빈도를 제어할 수 있습니다.
NextAuth.js를 선택해야 하는 이유는 무엇일까요?
NextAuth.js는 다음과 같은 여러 가지 이점을 제공합니다.
- 사용 편의성: 최소한의 설정으로 간편하게 설치할 수 있습니다.
- 유연성: OAuth, 이메일/비밀번호 등 다양한 인증 방식을 지원합니다.
- 보안: 사용자 데이터베이스 보호를 위한 내장 보안 기능.
- 확장성: 사용자 지정 인증 요구 사항에 맞게 쉽게 확장할 수 있습니다.
NextAuth.js npm 시작하기
먼저, 새로운 Next.js 프로젝트를 생성해 보겠습니다. 터미널을 열고 다음 명령어를 실행하세요:
npx create-next-app@latest my-next-auth-app
cd my-next-auth-app
npx create-next-app@latest my-next-auth-app
cd my-next-auth-app다음으로 NextAuth.js를 설치하세요.
npm install next-authnpm install next-authNextAuth.js 설정하기
API 경로에서 인증을 처리할 수 있도록 새 파일을 생성하세요. 다음 [...nextauth].js 파일을 pages/api/auth 디렉토리에 생성하십시오:
// pages/api/auth/[...nextauth].js
import NextAuth from 'next-auth';
import GitHubProvider from 'next-auth/providers/github';
import GoogleProvider from 'next-auth/providers/google';

// Configuring NextAuth to use GitHub and Google providers for authentication
export default NextAuth({
  providers: [
    GitHubProvider({
      clientId: process.env.GITHUB_ID,
      clientSecret: process.env.GITHUB_SECRET,
    }),
    GoogleProvider({
      clientId: process.env.GOOGLE_CLIENT_ID,
      clientSecret: process.env.GOOGLE_CLIENT_SECRET,
    }),
  ],
  secret: process.env.NEXTAUTH_SECRET, // Secret for encrypting tokens if needed
});
// pages/api/auth/[...nextauth].js
import NextAuth from 'next-auth';
import GitHubProvider from 'next-auth/providers/github';
import GoogleProvider from 'next-auth/providers/google';
// Configuring NextAuth to use GitHub and Google providers for authentication
export default NextAuth({
providers: [
GitHubProvider({
clientId: process.env.GITHUB_ID,
clientSecret: process.env.GITHUB_SECRET,
}),
GoogleProvider({
clientId: process.env.GOOGLE_CLIENT_ID,
clientSecret: process.env.GOOGLE_CLIENT_SECRET,
}),
],
secret: process.env.NEXTAUTH_SECRET, // Secret for encrypting tokens if needed
});환경 변수
프로젝트의 루트에 환경 변수를 저장할 .env.local 파일을 생성하십시오:
# Just make sure to fill out the variables with your actual information!
GITHUB_ID=your_github_client_id
GITHUB_SECRET=your_github_client_secret
GOOGLE_CLIENT_ID=your_google_client_id
GOOGLE_CLIENT_SECRET=your_google_client_secret
NEXTAUTH_SECRET=your_nextauth_secret
앱에 인증 기능 추가하기
이제 애플리케이션에 인증 기능을 추가해 보겠습니다. 사용자 정보를 표시하는 로그인 버튼과 프로필 구성 요소를 만드세요.
// components/LoginButton.js
import { signIn, signOut, useSession } from 'next-auth/react';

const LoginButton = () => {
  const { data: session, status } = useSession();
  const loading = status === "loading"; // Used to determine loading state
  return (
    <div>
      {!session && ( // Render sign-in buttons when session is not active
        <>
          <button onClick={() => signIn('github')}>Sign in with GitHub</button>
          <button onClick={() => signIn('google')}>Sign in with Google</button>
        </>
      )}
      {session && ( // Display user info and sign-out option when session is active
        <>
          <p>Signed in as {session.user.email}</p>
          <button onClick={() => signOut()}>Sign out</button>
        </>
      )}
    </div>
  );
};

export default LoginButton;
// components/LoginButton.js
import { signIn, signOut, useSession } from 'next-auth/react';
const LoginButton = () => {
const { data: session, status } = useSession();
const loading = status === "loading"; // Used to determine loading state
return (
<div>
{!session && ( // Render sign-in buttons when session is not active
<>
<button onClick={() => signIn('github')}>Sign in with GitHub</button>
<button onClick={() => signIn('google')}>Sign in with Google</button>
</>
)}
{session && ( // Display user info and sign-out option when session is active
<>
<p>Signed in as {session.user.email}</p>
<button onClick={() => signOut()}>Sign out</button>
</>
)}
</div>
);
};
export default LoginButton;코드 설명
LoginButton 컴포넌트는 NextAuth.js를 사용하여 Next.js 애플리케이션에서 사용자 인증을 처리합니다. 이 코드는 useSession 훅을 사용하여 사용자가 로그인했는지 여부를 확인합니다. 사용자가 인증되지 않은 경우, GitHub 또는 Google을 사용하여 로그인할 수 있는 버튼이 표시됩니다. 사용자가 인증된 경우, 사용자의 이메일 주소와 로그아웃 버튼이 포함된 메시지가 표시됩니다. 이 구성 요소는 세션 객체를 조작하여 사용자 로그인 및 로그아웃 작업을 관리하기 위한 간단한 인터페이스를 제공합니다.
경로 보호
경로를 보호하고 인증된 사용자만 특정 페이지에 접근할 수 있도록 하려면 NextAuth.js의 getSession 함수를 사용하세요.
// pages/protected.js
import { getSession } from 'next-auth/react';

const ProtectedPage = ({ session }) => {
  if (!session) {
    return <p>You need to be authenticated to view this page.</p>;
  }
  return <p>Welcome, {session.user.email}!</p>;
};

export async function getServerSideProps(context) {
  const session = await getSession(context); // Fetch session data server-side
  return {
    props: { session },
  };
}

export default ProtectedPage;
// pages/protected.js
import { getSession } from 'next-auth/react';
const ProtectedPage = ({ session }) => {
if (!session) {
return <p>You need to be authenticated to view this page.</p>;
}
return <p>Welcome, {session.user.email}!</p>;
};
export async function getServerSideProps(context) {
const session = await getSession(context); // Fetch session data server-side
return {
props: { session },
};
}
export default ProtectedPage;코드 설명
Next.js 애플리케이션의 ProtectedPage 컴포넌트는 NextAuth.js를 사용하여 인증된 사용자에게만 접근을 허용합니다. 이 메서드는 getServerSideProps를 사용하여 서버 측에서 사용자의 세션 속성을 가져와 컴포넌트에 prop으로 전달합니다. 사용자가 인증되지 않은 경우, 페이지에는 인증이 필요하다는 메시지가 표시됩니다. 사용자가 인증되면 사용자의 이메일 주소를 표시하여 환영 메시지를 보여줍니다. 이러한 설정은 로그인한 사용자만 페이지 콘텐츠에 접근할 수 있도록 보장합니다.
IronPDF 소개합니다
IronPDF 개발자가 Node.js 프로젝트에서 PDF를 생성하고 편집할 수 있도록 해주는 강력한 Node.js PDF 라이브러리입니다. HTML에서 PDF를 생성하거나, 기존 PDF를 수정하거나, 웹 페이지를 PDF 형식으로 변환해야 하는 경우 IronPDF 모든 것을 해결해 드립니다.

주요 특징
HTML을 PDF로 변환
HTML 콘텐츠를 PDF 문서로 손쉽게 변환하세요. 이 기능은 웹 콘텐츠에서 동적 PDF를 생성하는 데 특히 유용합니다.
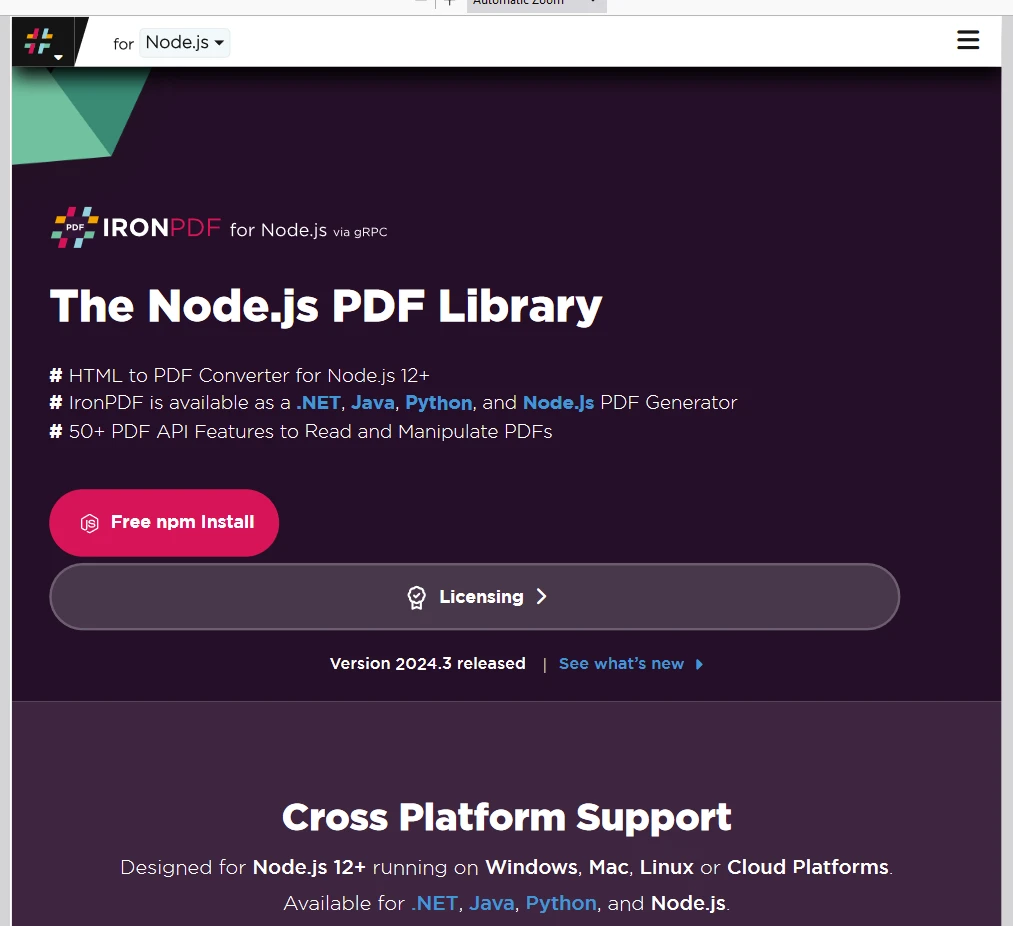
URL을 PDF로 변환
URL에서 직접 PDF를 생성하여 웹 페이지의 콘텐츠를 캡처하고 프로그램 방식으로 PDF 파일로 저장할 수 있습니다.
PDF 조작
기존 PDF 문서를 손쉽게 병합, 분할 및 편집하세요. IronPDF 페이지 추가, 문서 분할 등의 기능을 제공합니다.
PDF 보안
PDF 문서를 암호로 암호화하거나 디지털 서명을 적용하여 보안을 강화하세요. IronPDF 무단 접근으로부터 중요한 문서를 보호할 수 있는 다양한 옵션을 제공합니다.
고품질 출력
텍스트, 이미지 및 서식이 정확하게 표현된 고품질 PDF 문서를 제작하세요. IronPDF 생성된 PDF 파일이 원본 콘텐츠와 동일한 품질을 유지하도록 보장합니다.
크로스 플랫폼 호환성
IronPDF 는 Windows, Linux, macOS를 비롯한 다양한 플랫폼과 호환되므로 폭넓은 개발 환경에 적합합니다.
간단한 통합
IronPDF의 npm 패키지를 사용하면 IronPDF Node.js 애플리케이션에 쉽게 통합할 수 있습니다. API 문서가 잘 되어 있어 프로젝트에 PDF 생성 기능을 쉽게 통합할 수 있습니다.
설치
IronPDF 패키지를 설치하려면 다음 명령어를 사용하십시오.
yarn add @ironsoftware/ironpdf @ironsoftware/ironpdf-engine-windows-x64yarn add @ironsoftware/ironpdf @ironsoftware/ironpdf-engine-windows-x64IronPDF 와 NextAuth.js를 사용하여 PDF 문서를 생성합니다.
필수 구성 요소 설치: 먼저 다음 명령어를 사용하여 새 Next.js 프로젝트를 생성합니다(아직 생성하지 않은 경우).
npx create-next-app@latest nextauth-pdf --use-npm --example "https://github.com/vercel/next-learn/tree/main/basics/learn-starter"npx create-next-app@latest nextauth-pdf --use-npm --example "https://github.com/vercel/next-learn/tree/main/basics/learn-starter"다음으로 프로젝트 디렉토리로 이동하세요.
cd nextauthcd nextauth필요한 패키지를 설치하세요:
yarn add @ironsoftware/ironpdf @ironsoftware/ironpdf-engine-windows-x64
yarn add next-auth
yarn add @ironsoftware/ironpdf @ironsoftware/ironpdf-engine-windows-x64
yarn add next-authPDF 생성기 만들기
PDF 생성 API: 첫 번째 단계는 PDF 문서를 생성하는 백엔드 API를 만드는 것입니다. IronPDF 서버 측에서만 실행되므로 사용자가 PDF를 생성하고자 할 때 호출할 API를 만들어야 합니다. 경로 pages/api/pdf.js에 파일을 생성하고 아래 내용을 추가하세요:
// pages/api/pdf.js
import { IronPdf } from "@ironsoftware/ironpdf";
import { format } from 'date-fns'; // Import the format function for date formatting

// Apply your IronPDF license key
IronPdf.GlobalSettings.LicenseKey = "Your license key goes here";

export default async function handler(req, res) {
  try {
    const currentDate = new Date();
    const formattedDate = format(currentDate, 'MMMM do, yyyy');
    // Defining the HTML content for the PDF
    let content = "<h1>Demo React Hook Form and Generate PDF Using IronPDF</h1>";
    content += `<p>Date: ${currentDate}</p>`;
    content += `<p>Formatted Date: ${formattedDate}</p>`;
    // Convert HTML content to PDF
    const pdf = await IronPdf.HtmlToPdfDocument({ htmlContent: content });
    const data = await pdf.toBuffer(); // Convert the PDF to a buffer for response
    res.setHeader("Content-Type", "application/pdf");
    res.setHeader(
      "Content-Disposition",
      "attachment; filename=awesomeIron.pdf"
    );
    res.send(data); // Send the PDF file as a response
  } catch (error) {
    console.error("Error generating PDF:", error);
    res.status(500).end();
  }
}
// pages/api/pdf.js
import { IronPdf } from "@ironsoftware/ironpdf";
import { format } from 'date-fns'; // Import the format function for date formatting
// Apply your IronPDF license key
IronPdf.GlobalSettings.LicenseKey = "Your license key goes here";
export default async function handler(req, res) {
try {
const currentDate = new Date();
const formattedDate = format(currentDate, 'MMMM do, yyyy');
// Defining the HTML content for the PDF
let content = "<h1>Demo React Hook Form and Generate PDF Using IronPDF</h1>";
content += `<p>Date: ${currentDate}</p>`;
content += `<p>Formatted Date: ${formattedDate}</p>`;
// Convert HTML content to PDF
const pdf = await IronPdf.HtmlToPdfDocument({ htmlContent: content });
const data = await pdf.toBuffer(); // Convert the PDF to a buffer for response
res.setHeader("Content-Type", "application/pdf");
res.setHeader(
"Content-Disposition",
"attachment; filename=awesomeIron.pdf"
);
res.send(data); // Send the PDF file as a response
} catch (error) {
console.error("Error generating PDF:", error);
res.status(500).end();
}
}이 코드는 IronPDF 라이브러리를 사용하여 PDF 파일을 생성하는 Next.js API 경로를 생성합니다. 이 함수는 헤더와 현재 날짜를 포함하는 HTML 문자열을 생성하고, date-fns를 사용하여 날짜 형식을 지정한 다음, 해당 HTML을 PDF로 변환합니다. 생성된 PDF 파일은 응답에서 다운로드 가능한 파일로 제공됩니다. 이 접근 방식을 통해 서버 측 환경에서 동적으로 PDF를 생성할 수 있으므로 보고서, 송장 또는 기타 문서를 즉시 생성하는 데 유용합니다.
이제 Next-Auth를 사용하여 프런트엔드 웹사이트에 GIT 로그인 기능을 추가해 보겠습니다. 이를 위해서는 사용자의 GitID와 시크릿 키를 얻어야 합니다. Git 계정에 로그인하고 아래와 같이 개발자 설정으로 이동하세요.
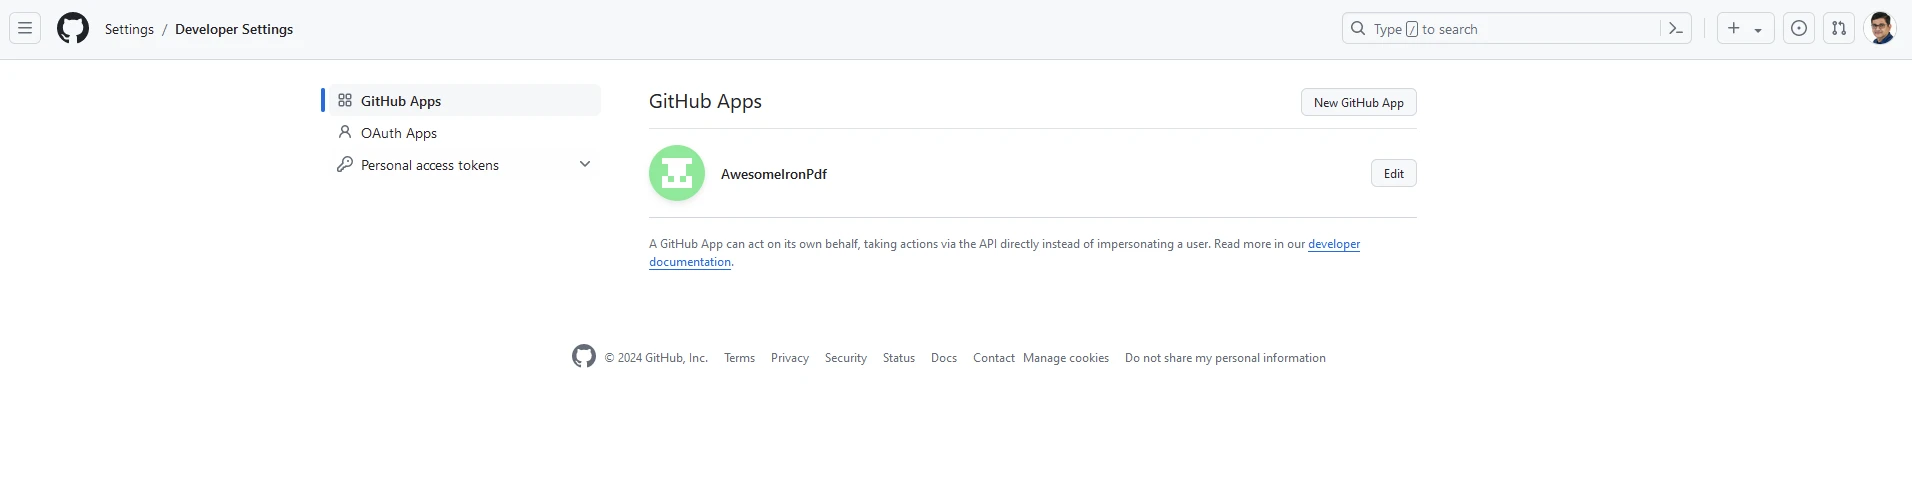
'새 GitHub 앱'을 클릭하고 웹사이트 정보를 추가하세요.
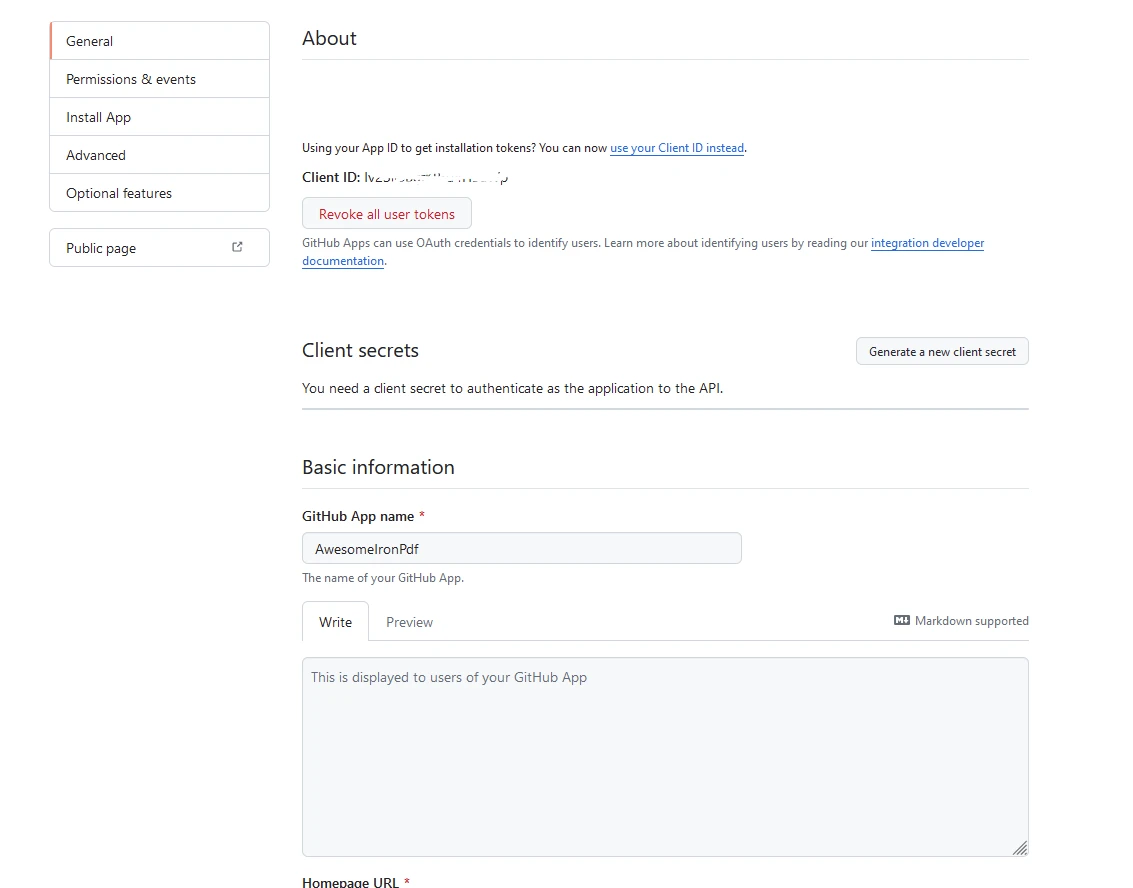
앱 ID와 클라이언트 ID를 안전한 곳에 보관하세요. 그런 다음, 환경 변수를 저장할 .env.local 파일을 프로젝트의 루트에 생성하십시오:
# Here you can use the App and Client ID you just got from GitHub
GITHUB_ID=your_github_client_id
GITHUB_SECRET=your_github_client_secret
NEXTAUTH_SECRET=secret
API 경로에서 인증을 처리할 수 있도록 새 파일을 생성하세요. pages/api/auth 디렉토리에 [...nextauth].js 파일을 다음과 같이 생성하십시오:
// pages/api/auth/[...nextauth].js
import NextAuth from 'next-auth';
import GitHubProvider from 'next-auth/providers/github';

// Setting up NextAuth with GitHub provider
export default NextAuth({
  providers: [
    GitHubProvider({
      clientId: process.env.GITHUB_ID,
      clientSecret: process.env.GITHUB_SECRET,
    }),
  ],
  secret: process.env.NEXTAUTH_SECRET,
});
// pages/api/auth/[...nextauth].js
import NextAuth from 'next-auth';
import GitHubProvider from 'next-auth/providers/github';
// Setting up NextAuth with GitHub provider
export default NextAuth({
providers: [
GitHubProvider({
clientId: process.env.GITHUB_ID,
clientSecret: process.env.GITHUB_SECRET,
}),
],
secret: process.env.NEXTAUTH_SECRET,
});그리고 LoginButton.js라는 구성 요소를 추가하십시오. 다음 내용이 포함될 것입니다:
// components/LoginButton.js
import { useSession, signIn, signOut } from "next-auth/react"

export default function Component() {
  const { data: session } = useSession()
  if (session) { // Display sign-out button and user info when session is active
    return (
      <>
        Signed in as {session.user.email} <br />
        <button onClick={() => signOut()}>Sign out</button>
      </>
    )
  }
  return ( // Display sign-in button when not signed in
    <>
      Not signed in <br />
      <button onClick={() => signIn()}>Sign in</button>
    </>
  )
}
// components/LoginButton.js
import { useSession, signIn, signOut } from "next-auth/react"
export default function Component() {
const { data: session } = useSession()
if (session) { // Display sign-out button and user info when session is active
return (
<>
Signed in as {session.user.email} <br />
<button onClick={() => signOut()}>Sign out</button>
</>
)
}
return ( // Display sign-in button when not signed in
<>
Not signed in <br />
<button onClick={() => signIn()}>Sign in</button>
</>
)
}다음과 같이 index.js을 수정하세요:
// pages/index.js
import Head from "next/head";
import styles from "../styles/Home.module.css";
import React, { useState, useEffect } from "react";
import { format } from "date-fns";
import LoginButton from "../components/LoginButton";
import { useSession } from "next-auth/react";
export default function Home() {
const [text, setText] = useState("");
const { data: session } = useSession();
useEffect(() => {
const currentDate = new Date();
const formattedDate = format(currentDate, "MMMM do, yyyy");
setText(formattedDate); // Set initial text state to formatted current date
}, []);
const generatePdf = async () => {
try {
const response = await fetch("/api/pdf-datefns?f=" + text);
const blob = await response.blob();
const url = window.URL.createObjectURL(new Blob([blob]));
const link = document.createElement("a");
link.href = url;
link.setAttribute("download", "awesomeIron.pdf");
document.body.appendChild(link);
link.click();
link.parentNode.removeChild(link); // Clean up after downloading
} catch (error) {
console.error("Error generating PDF:", error);
}
};
const handleChange = (event) => {
setText(event.target.value); // Update the text state with input value
};
return (
<div className={styles.container}>
<Head>
<title>Generate PDF Using IronPDF</title>
<link rel="icon" href="/favicon.ico" />
</Head>
<main>
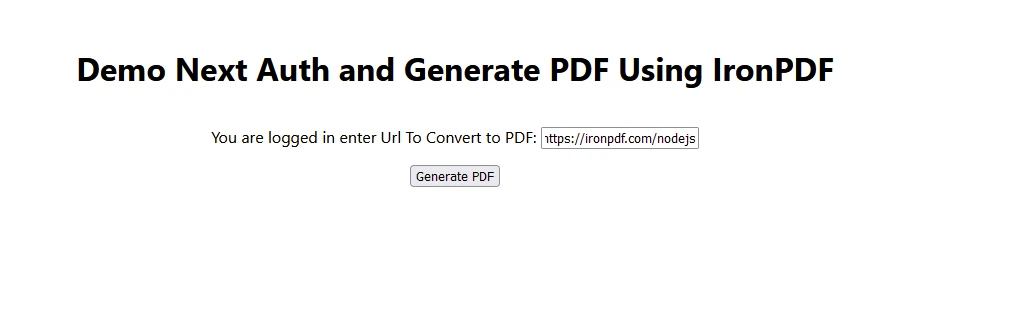
<h1>Demo Next Auth and Generate PDF Using IronPDF</h1>
{!session && <LoginButton />}
{session && (
<>
<p className="w-full text-center">
<span className="px-4 text-xl border-gray-500">
You are logged in enter URL to convert to PDF:
</span>
<input
className="border border-gray-700 w-1/4"
onChange={handleChange}
placeholder="Enter URL here..."
/>
</p>
<button
className="rounded-sm bg-blue-800 p-2 m-12 text-xl text-white"
onClick={generatePdf}
>
Generate PDF
</button>
</>
)}
</main>
<style jsx>{`
main {
padding: 5rem 0;
flex: 1;
display: flex;
flex-direction: column;
justify-content: center;
align-items: center;
}
footer {
width: 100%;
height: 100px;
border-top: 1px solid #eaeaea;
display: flex;
justify-content: center;
align-items: center;
}
footer img {
margin-left: 0.5rem;
}
footer a {
display: flex;
justify-content: center;
align-items: center;
text-decoration: none;
color: inherit;
}
code {
background: #fafafa;
border-radius: 5px;
padding: 0.75rem;
font-size: 1.1rem;
font-family:
Menlo,
Monaco,
Lucida Console,
Liberation Mono,
DejaVu Sans Mono,
Bitstream Vera Sans Mono,
Courier New,
monospace;
}
`}</style>
<style jsx global>{`
html,
body {
padding: 0;
margin: 0;
font-family:
-apple-system,
BlinkMacSystemFont,
Segoe UI,
Roboto,
Oxygen,
Ubuntu,
Cantarell,
Fira Sans,
Droid Sans,
Helvetica Neue,
sans-serif;
}
* {
box-sizing: border-box;
}
`}</style>
</div>
);
}// pages/index.js
import Head from "next/head";
import styles from "../styles/Home.module.css";
import React, { useState, useEffect } from "react";
import { format } from "date-fns";
import LoginButton from "../components/LoginButton";
import { useSession } from "next-auth/react";
export default function Home() {
const [text, setText] = useState("");
const { data: session } = useSession();
useEffect(() => {
const currentDate = new Date();
const formattedDate = format(currentDate, "MMMM do, yyyy");
setText(formattedDate); // Set initial text state to formatted current date
}, []);
const generatePdf = async () => {
try {
const response = await fetch("/api/pdf-datefns?f=" + text);
const blob = await response.blob();
const url = window.URL.createObjectURL(new Blob([blob]));
const link = document.createElement("a");
link.href = url;
link.setAttribute("download", "awesomeIron.pdf");
document.body.appendChild(link);
link.click();
link.parentNode.removeChild(link); // Clean up after downloading
} catch (error) {
console.error("Error generating PDF:", error);
}
};
const handleChange = (event) => {
setText(event.target.value); // Update the text state with input value
};
return (
<div className={styles.container}>
<Head>
<title>Generate PDF Using IronPDF</title>
<link rel="icon" href="/favicon.ico" />
</Head>
<main>
<h1>Demo Next Auth and Generate PDF Using IronPDF</h1>
{!session && <LoginButton />}
{session && (
<>
<p className="w-full text-center">
<span className="px-4 text-xl border-gray-500">
You are logged in enter URL to convert to PDF:
</span>
<input
className="border border-gray-700 w-1/4"
onChange={handleChange}
placeholder="Enter URL here..."
/>
</p>
<button
className="rounded-sm bg-blue-800 p-2 m-12 text-xl text-white"
onClick={generatePdf}
>
Generate PDF
</button>
</>
)}
</main>
<style jsx>{`
main {
padding: 5rem 0;
flex: 1;
display: flex;
flex-direction: column;
justify-content: center;
align-items: center;
}
footer {
width: 100%;
height: 100px;
border-top: 1px solid #eaeaea;
display: flex;
justify-content: center;
align-items: center;
}
footer img {
margin-left: 0.5rem;
}
footer a {
display: flex;
justify-content: center;
align-items: center;
text-decoration: none;
color: inherit;
}
code {
background: #fafafa;
border-radius: 5px;
padding: 0.75rem;
font-size: 1.1rem;
font-family:
Menlo,
Monaco,
Lucida Console,
Liberation Mono,
DejaVu Sans Mono,
Bitstream Vera Sans Mono,
Courier New,
monospace;
}
`}</style>
<style jsx global>{`
html,
body {
padding: 0;
margin: 0;
font-family:
-apple-system,
BlinkMacSystemFont,
Segoe UI,
Roboto,
Oxygen,
Ubuntu,
Cantarell,
Fira Sans,
Droid Sans,
Helvetica Neue,
sans-serif;
}
* {
box-sizing: border-box;
}
`}</style>
</div>
);
}코드 예제의 출력 결과
첫 페이지
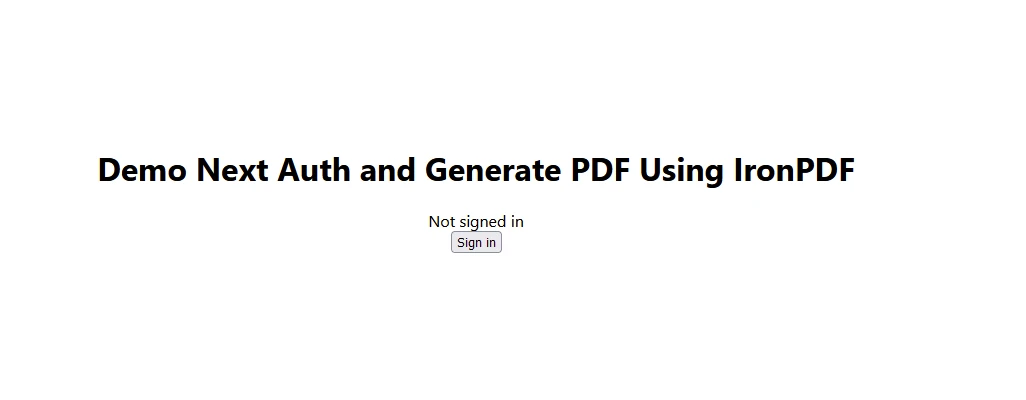
로그인 페이지
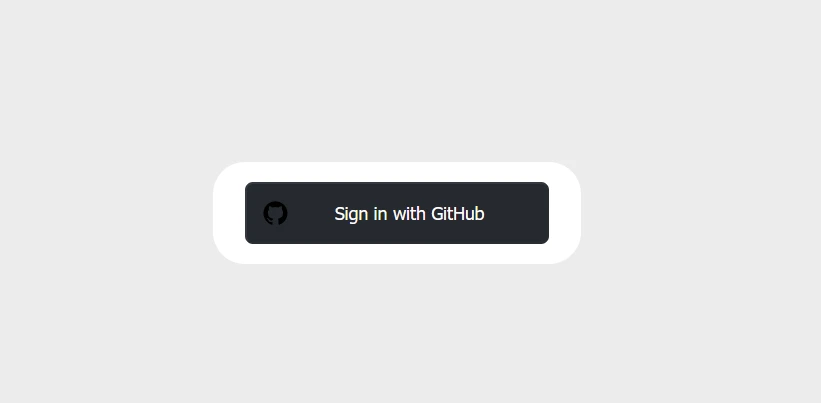
로그인 후
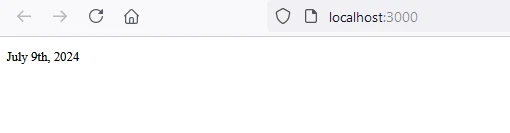
생성된 PDF 출력
IronPDF 라이선스
IronPDF .
받으신 라이선스 키를 코드 시작 부분에 다음과 같이 입력하는 것을 잊지 마세요.
// Adjust paths as necessary depending on how you import IronPDF
import { IronPdfGlobalConfig, PdfDocument } from "@ironsoftware/ironpdf";

// Apply your IronPDF license key
IronPdfGlobalConfig.getConfig().licenseKey = "Add Your key here";
// Adjust paths as necessary depending on how you import IronPDF
import { IronPdfGlobalConfig, PdfDocument } from "@ironsoftware/ironpdf";
// Apply your IronPDF license key
IronPdfGlobalConfig.getConfig().licenseKey = "Add Your key here";결론
결론적으로 NextAuth.js는 Next.js 애플리케이션에 인증 기능을 추가하는 과정을 간소화합니다. 다양한 공급업체를 지원하고 강력한 보안 기능을 갖춘 이 솔루션은 사용자 인증을 처리하는 데 탁월한 선택입니다. 더 자세한 설정 및 기능은 NextAuth.js 문서를 참조하십시오. 게다가 IronPDF Node.js 애플리케이션에 강력한 PDF 생성 및 조작 기능을 제공하며 최신 애플리케이션 개발 환경과도 잘 통합됩니다.