scikit-image Python 사용법 (개발자를 위한 가이드: 작동 방식)
Scikit-image 는 Python으로 이미지 처리를 위해 설계된 알고리즘 모음입니다. 이 소프트웨어는 무료로 제한 없이 이용할 수 있으며, 활발한 자원봉사자 커뮤니티에서 작성한 고품질의 동료 검토를 거친 코드를 자랑합니다. Scikit-image 프로젝트는 2009년 Google의 Google Summer Code 프로그램의 일환으로 Stefan van der Walt 및 기타 Scikit-image 기고자들의 멘토링 하에 시작되었습니다. 이 프로젝트는 학술 및 산업 분야에서 사용하기 쉽고 효율적이며 확장 가능한 이미지 처리용 Python 라이브러리를 만드는 것을 목표로 했습니다. 이 기사에서는 Scikit-image Python 이미지 라이브러리 및 Iron Software의 PDF 생성 라이브러리인 IronPDF에 대해 알아볼 것입니다.
시작하기
Scikit-image에 대해 자세히 알아보려면 공식 웹사이트를 참조하세요. 또한 Data Carpentry는 Scikit을 사용하여 Python으로 이미지를 처리하는 훌륭한 강의를 제공합니다.
pip를 통한 설치
Python이 설치되어 있는지 확인하십시오(최소 버전 3.10). 터미널 또는 명령 프롬프트를 여세요.
- pip 업데이트:
python -m pip install -U pippython -m pip install -U pipSHELL- pip를 통해 scikit-image를 설치하세요:
python -m pip install -U scikit-imagepython -m pip install -U scikit-imageSHELL데모 데이터 세트에 액세스하려면 다음을 사용하세요.
python -m pip install -U scikit-image[data]python -m pip install -U scikit-image[data]SHELL- 병렬 처리 기능을 포함한 추가 과학 패키지는 다음과 같습니다.
python -m pip install -U scikit-image[optional]python -m pip install -U scikit-image[optional]SHELL
기본 예시
import skimage.io
import matplotlib.pyplot as plt

# Load an image from file
image = skimage.io.imread(fname='land.jpg')

# Display the image
plt.imshow(image)
plt.show()
import skimage.io
import matplotlib.pyplot as plt
# Load an image from file
image = skimage.io.imread(fname='land.jpg')
# Display the image
plt.imshow(image)
plt.show()필터
import skimage as ski

# Load a sample image from the scikit-image default collection
image = ski.data.coins()

# Apply a Sobel filter to detect edges
edges = ski.filters.sobel(image)

# Display the edges
ski.io.imshow(edges)
ski.io.show()
import skimage as ski
# Load a sample image from the scikit-image default collection
image = ski.data.coins()
# Apply a Sobel filter to detect edges
edges = ski.filters.sobel(image)
# Display the edges
ski.io.imshow(edges)
ski.io.show()Scikit-image(줄여서 skimage라고도 함)는 이미지 처리 작업을 위한 강력한 Python 라이브러리입니다. 이 라이브러리는 NumPy 배열, SciPy 및 matplotlib을 기반으로 구축되었으며 이미지를 조작하고 분석하는 다양한 함수와 알고리즘을 제공합니다. skimage.data.coins()는 라이브러리에서 샘플 이미지를 얻기 위해 사용됩니다. skimage.filters는 내장된 필터와 유틸리티 함수에 대한 접근을 제공합니다.
Scikit-image의 주요 기능
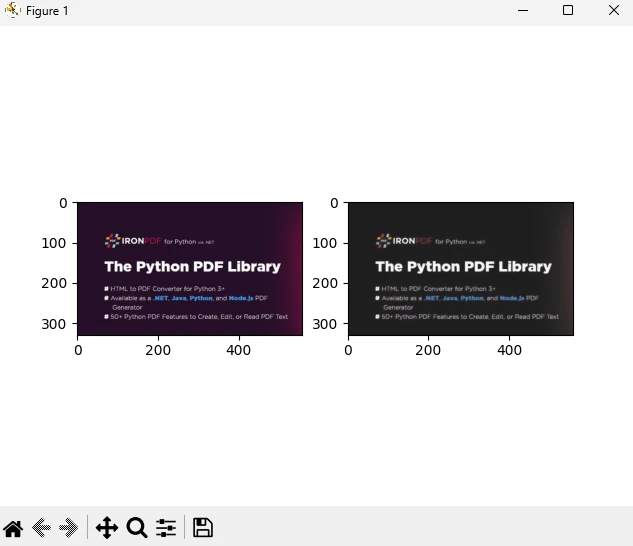
1. 이미지 필터링 및 에지 검출
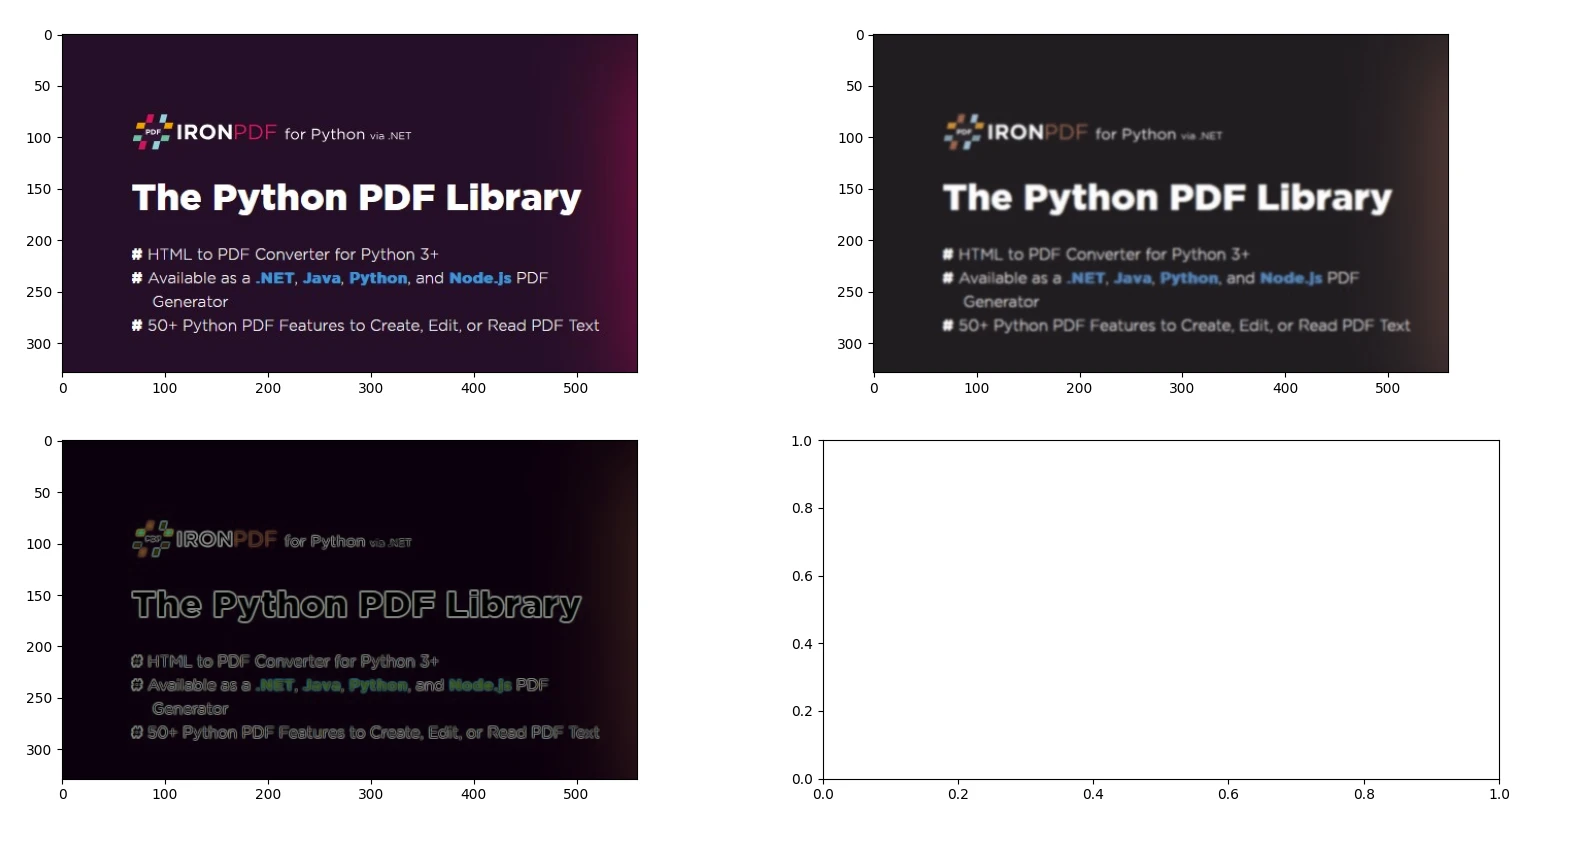
from skimage import io, filters

# Load an image
image = io.imread('image.jpg')

# Apply Gaussian blur
blurred_image = filters.gaussian(image, sigma=1.0)

# Apply Sobel edge detection
edges = filters.sobel(image)

# Display the original image, blurred image, and edges
io.imshow_collection([image, blurred_image, edges])
io.show()
from skimage import io, filters
# Load an image
image = io.imread('image.jpg')
# Apply Gaussian blur
blurred_image = filters.gaussian(image, sigma=1.0)
# Apply Sobel edge detection
edges = filters.sobel(image)
# Display the original image, blurred image, and edges
io.imshow_collection([image, blurred_image, edges])
io.show()산출
2. HOG(방향 경사 히스토그램)를 이용한 특징 추출
from skimage import io, color, feature

# Load an example image and convert to grayscale
image = io.imread('image.jpg')
gray_image = color.rgb2gray(image)

# Compute HOG features and visualize them
hog_features, hog_image = feature.hog(gray_image, visualize=True)

# Display the original image and the HOG image
io.imshow_collection([image, gray_image, hog_image])
io.show()
from skimage import io, color, feature
# Load an example image and convert to grayscale
image = io.imread('image.jpg')
gray_image = color.rgb2gray(image)
# Compute HOG features and visualize them
hog_features, hog_image = feature.hog(gray_image, visualize=True)
# Display the original image and the HOG image
io.imshow_collection([image, gray_image, hog_image])
io.show()산출
3. 기하학적 변환 - 크기 조정 및 회전
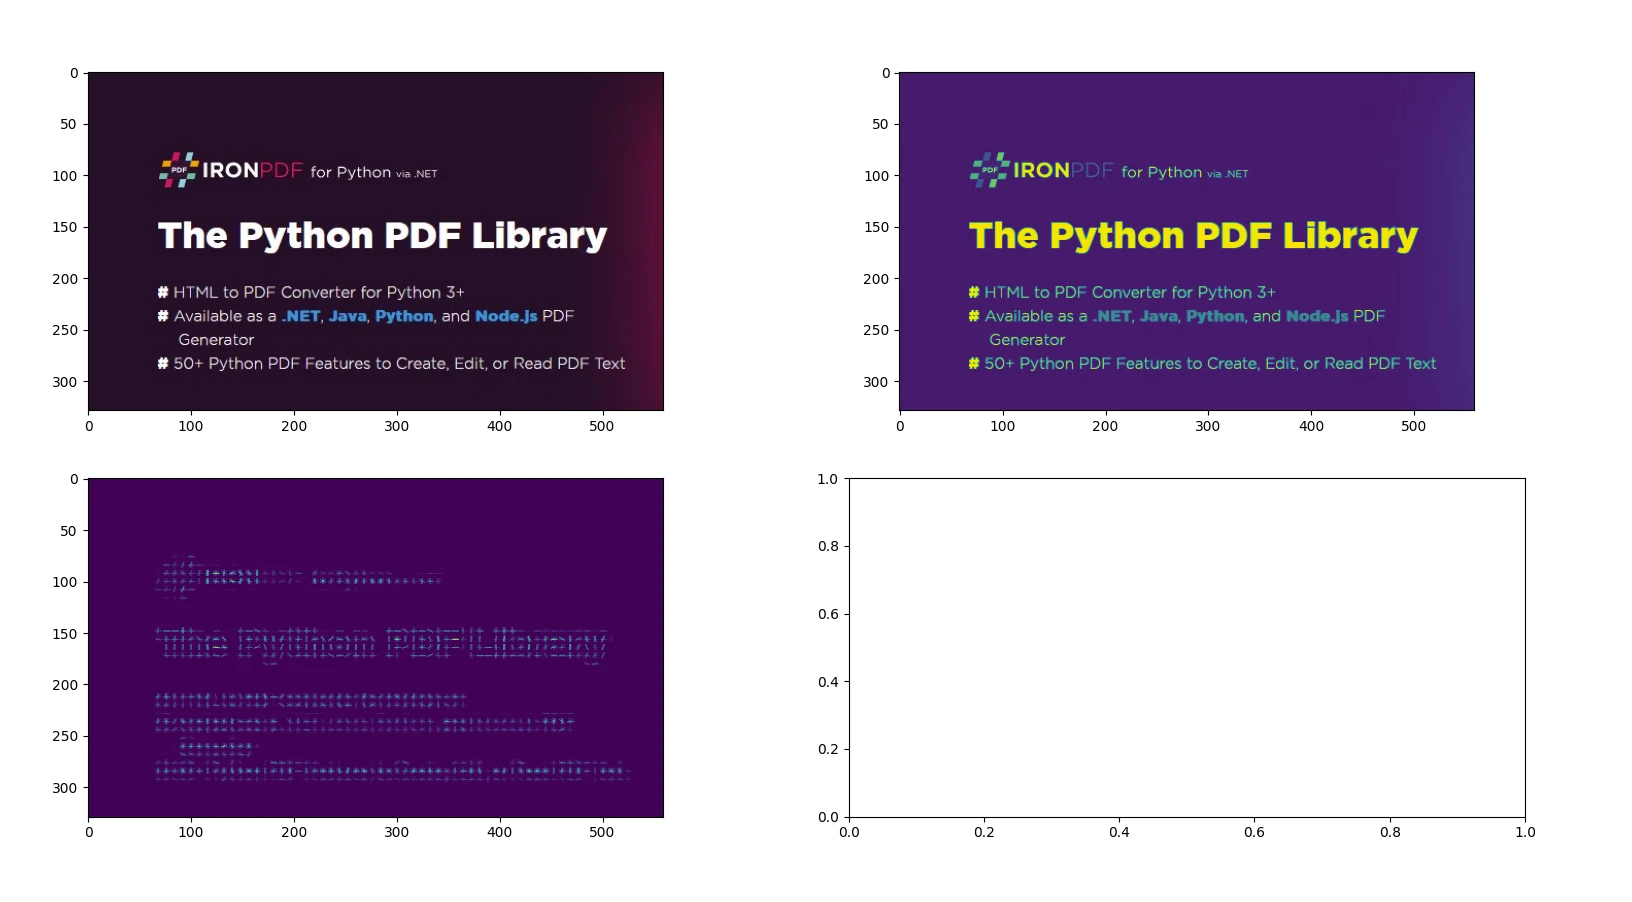
from skimage import io, transform

# Load an image
image = io.imread('image.jpg')

# Resize image by dividing its dimensions by 2
resized_image = transform.resize(image, (image.shape[0] // 2, image.shape[1] // 2))

# Rotate image by 45 degrees
rotated_image = transform.rotate(image, angle=45)

# Display the original image, resized image, and rotated image
io.imshow_collection([image, resized_image, rotated_image])
io.show()
from skimage import io, transform
# Load an image
image = io.imread('image.jpg')
# Resize image by dividing its dimensions by 2
resized_image = transform.resize(image, (image.shape[0] // 2, image.shape[1] // 2))
# Rotate image by 45 degrees
rotated_image = transform.rotate(image, angle=45)
# Display the original image, resized image, and rotated image
io.imshow_collection([image, resized_image, rotated_image])
io.show()산출
4. 총변동 필터를 이용한 이미지 노이즈 제거
from skimage import io, restoration

# Load a noisy image
image = io.imread('image.jpg')

# Apply total variation denoising
denoised_image = restoration.denoise_tv_chambolle(image, weight=0.1)

# Display the noisy image and the denoised image
io.imshow_collection([image, denoised_image])
io.show()
from skimage import io, restoration
# Load a noisy image
image = io.imread('image.jpg')
# Apply total variation denoising
denoised_image = restoration.denoise_tv_chambolle(image, weight=0.1)
# Display the noisy image and the denoised image
io.imshow_collection([image, denoised_image])
io.show()출력
이미지 처리 및 NumPy 배열에 대한 자세한 내용은 공식 페이지 에서 확인할 수 있습니다.
IronPDF 소개합니다

IronPDF 는 HTML, CSS, 이미지 및 JavaScript 사용하여 PDF 문서를 생성, 편집 및 서명하도록 설계된 강력한 Python 라이브러리입니다. 이 프로그램은 성능 효율성을 최우선으로 하며 최소한의 메모리 사용량으로 작동합니다. 주요 특징은 다음과 같습니다.
HTML을 PDF로 변환: Chrome PDF 렌더러를 사용하여 웹페이지를 렌더링하는 등의 기능을 활용하여 HTML 파일, HTML 문자열 및 URL을 PDF 문서로 변환합니다.
크로스 플랫폼 지원: Windows, Mac, Linux 및 다양한 클라우드 플랫폼에서 Python 3 이상 버전과 호환됩니다. IronPDF 는 .NET, Java, Python 및 Node.js 환경에서도 사용할 수 있습니다.
편집 및 서명: PDF 속성을 사용자 지정하고, 암호 및 권한과 같은 보안 조치를 적용하고, 디지털 서명을 간편하게 적용할 수 있습니다.
페이지 템플릿 및 설정: 머리글, 바닥글, 페이지 번호, 여백 조정, 사용자 지정 용지 크기 및 반응형 디자인과 같은 기능을 사용하여 PDF 레이아웃을 만들 수 있습니다.
- 표준 준수: PDF/A 및 PDF/UA와 같은 PDF 표준을 엄격히 준수하고, UTF-8 문자 인코딩 호환성을 보장하며, 이미지, CSS 스타일시트, 글꼴과 같은 자산을 능숙하게 관리합니다.
설치
pip install ironpdf scikit-image
IronPDF 와 Scikit Image를 사용하여 PDF 문서를 생성합니다.
필수 조건
- Visual Studio Code가 코드 편집기로 설치되어 있는지 확인하십시오.
- Python 버전 3이 설치되어 있습니다.
우선 스크립트를 추가할 Python 파일을 만들어 보겠습니다.
Visual Studio Code를 열고 파일을 생성합니다, scikitDemo.py.
필요한 라이브러리를 설치하세요:
pip install scikit-image ironpdf
다음으로 아래 Python 코드를 추가하여 IronPDF 및 scikit-image Python 패키지의 사용법을 보여주세요.
from skimage import io, filters
from ironpdf import *
# Apply your license key
License.LicenseKey = "YOUR_LICENSE_KEY"
# Load an image
image = io.imread('image.jpg')
# Apply Gaussian blur
blurred_image = filters.gaussian(image, sigma=1.0)
# Apply Sobel edge detection
edges = filters.sobel(image)
# Save the results to a file
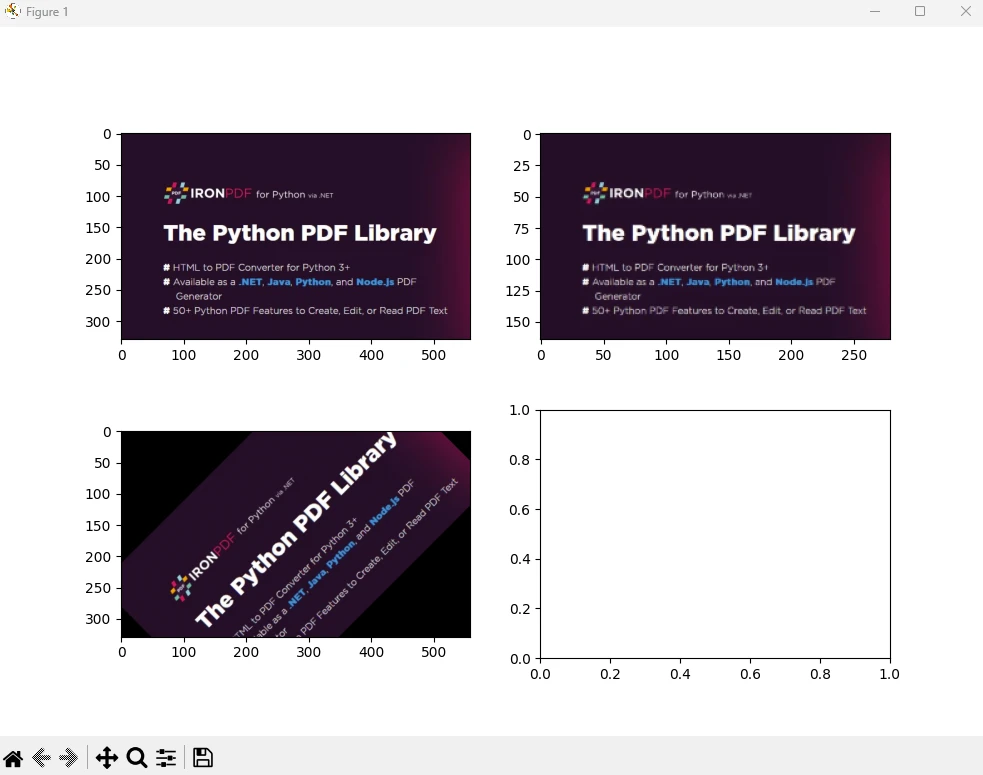
io.imshow_collection([image, blurred_image, edges]).savefig('ironPdf-skimage.png')
# Convert the saved image to a PDF document
ImageToPdfConverter.ImageToPdf("ironPdf-skimage.png").SaveAs("ironPdf-skimage.pdf")
# Display the images
io.show()from skimage import io, filters
from ironpdf import *
# Apply your license key
License.LicenseKey = "YOUR_LICENSE_KEY"
# Load an image
image = io.imread('image.jpg')
# Apply Gaussian blur
blurred_image = filters.gaussian(image, sigma=1.0)
# Apply Sobel edge detection
edges = filters.sobel(image)
# Save the results to a file
io.imshow_collection([image, blurred_image, edges]).savefig('ironPdf-skimage.png')
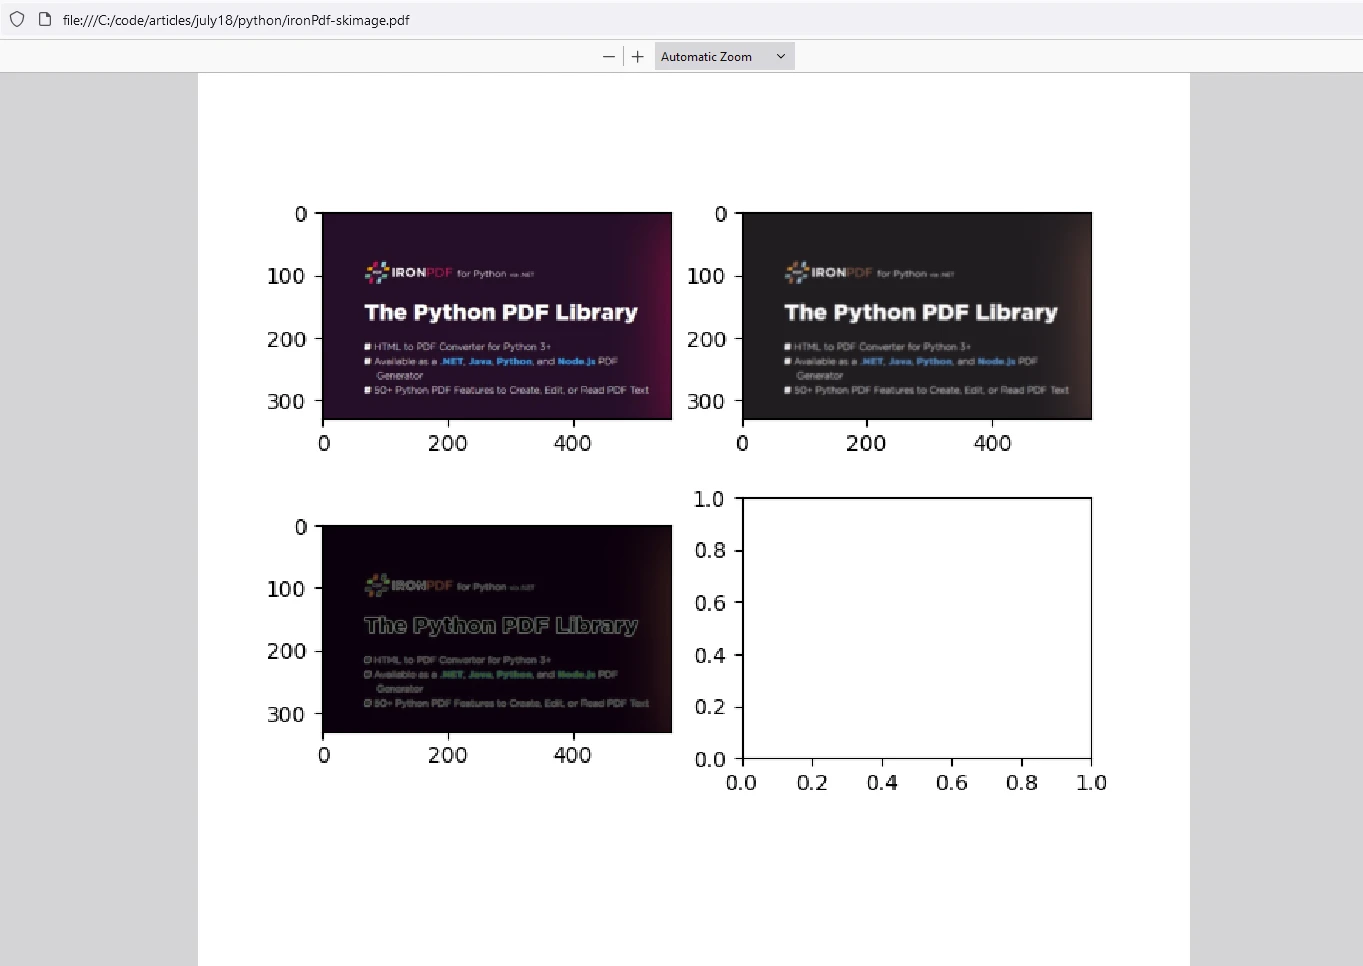
# Convert the saved image to a PDF document
ImageToPdfConverter.ImageToPdf("ironPdf-skimage.png").SaveAs("ironPdf-skimage.pdf")
# Display the images
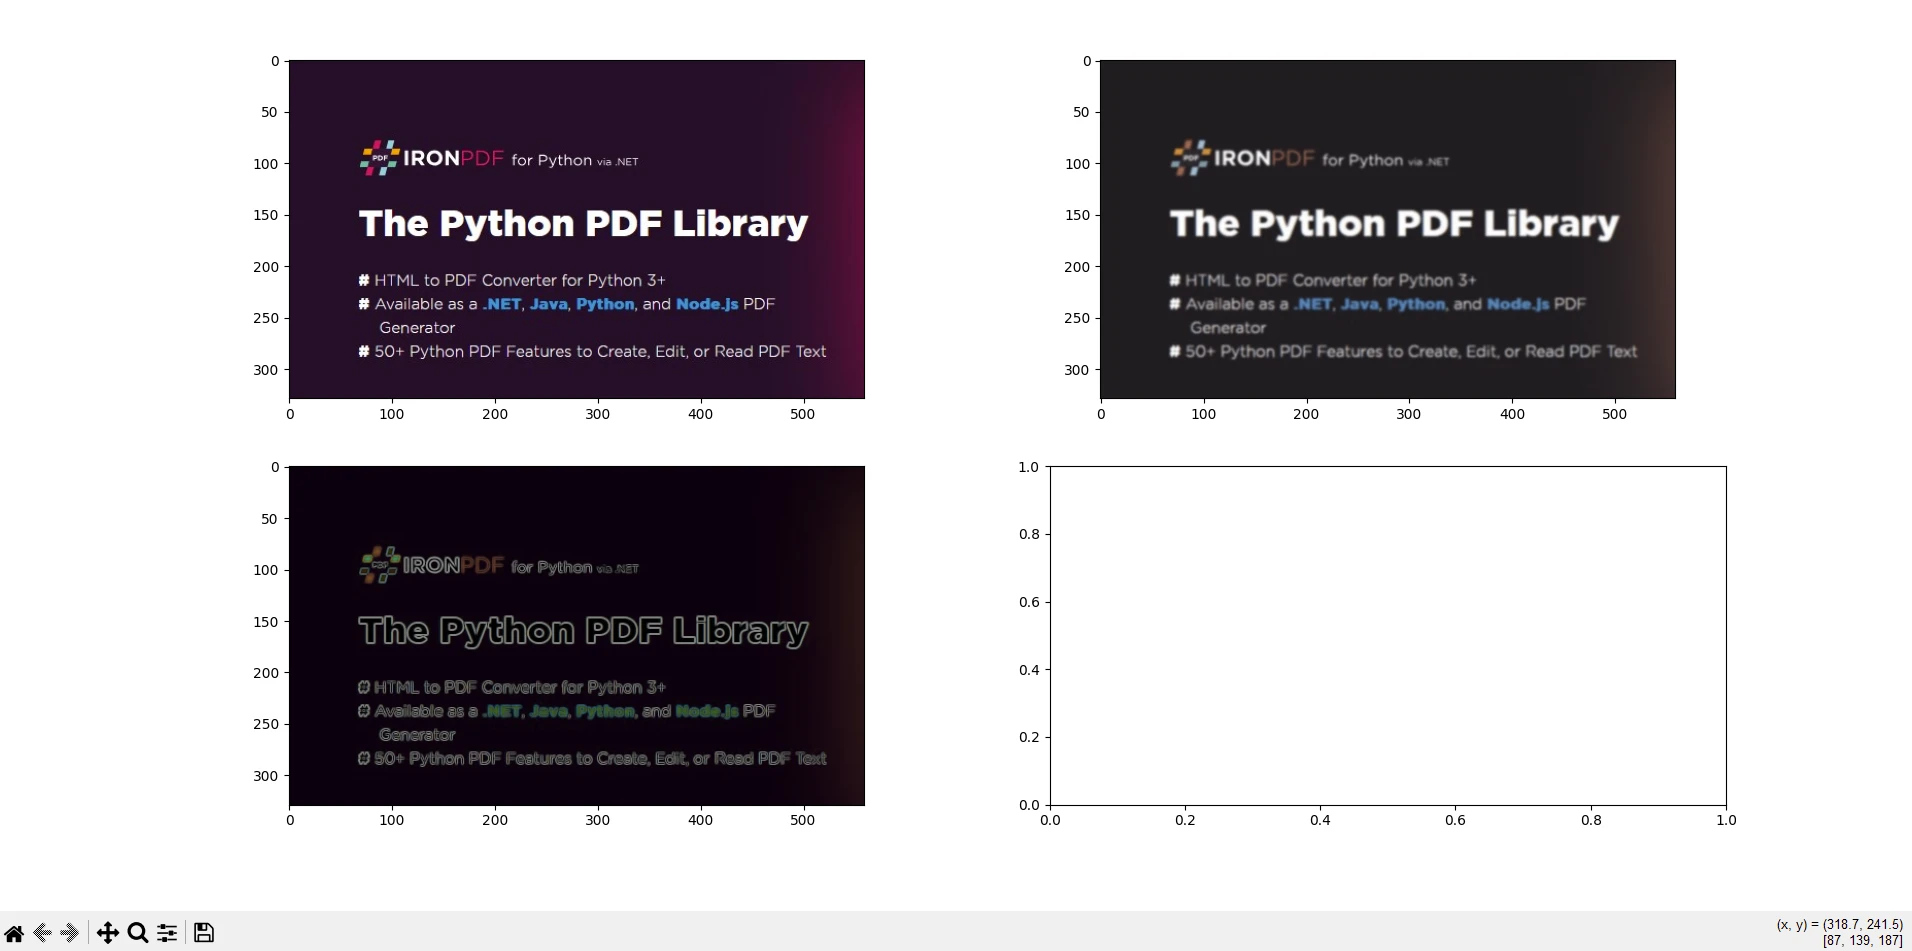
io.show()코드 설명
이 코드 조각은 scikit-image (skimage)와 IronPDF를 함께 사용하여 이미지를 처리하고 결과를 PDF 문서로 변환하는 방법을 보여줍니다. 각 부분에 대한 설명은 다음과 같습니다.
가져오기 문: 이미지 로딩 및 이미지 필터링에 필요한 scikit-image 함수를 가져오고, IronPDF 기능도 가져옵니다.
라이선스 키 적용: IronPDF 에 대한 라이선스 키를 설정합니다. 이 단계는 IronPDF 기능을 사용하기 위해 필수적입니다.
이미지 로딩 및 처리: scikit-image의
io.imread함수를 사용하여'image.jpg'이라는 이름의 이미지를 로드합니다. 이후filters.gaussian를 사용하여 로드된 이미지에 시그마 값 1.0의 가우시안 블러를 적용하고,filters.sobel를 사용하여 로드된 이미지에 소벨 엣지 검출을 적용합니다.결과 표시 및 저장:
io.imshow_collection([image, blurred_image, edges]).savefig('ironPdf-skimage.png'): 원본, 블러 적용된 이미지 및 엣지 이미지를'ironPdf-skimage.png'로 저장합니다.이미지를 PDF로 변환:
ImageToPdfConverter.ImageToPdf("ironPdf-skimage.png").SaveAs("ironPdf-skimage.pdf"): 저장된 PNG 이미지를 IronPDF의 기능을 사용하여 PDF 문서로 변환합니다.- 이미지 표시:
io.show(): 그래픽 창에서 이미지를 표시합니다.
이 코드 조각은 이미지 처리를 위한 scikit-image의 기능과 처리된 이미지를 PDF 문서로 변환하는 IronPDF 의 기능을 결합합니다. 이 예제는 이미지를 불러와 가우시안 블러와 소벨 에지 검출을 적용하고, PNG 파일로 저장하고, IronPDF 사용하여 PNG 파일을 PDF로 변환하고, 처리된 이미지를 표시하는 과정을 보여줍니다. 이 통합 기능은 과학 연구, 이미지 분석 보고서 또는 자동 문서 생성 워크플로와 같이 이미지를 처리, 분석 및 PDF 형식으로 문서화해야 하는 작업에 유용합니다.
산출
IronPDF 라이선스
IronPDF Python용 라이선스 키로 실행됩니다. IronPDF for Python은 사용자가 구매 전에 다양한 기능을 확인해 볼 수 있도록 무료 평가판 라이선스를 제공합니다.
IronPDF 패키지를 사용하기 전에 스크립트 시작 부분에 라이선스 키를 배치하십시오.
from ironpdf import *
# Apply your license key
License.LicenseKey = "YOUR_LICENSE_KEY"from ironpdf import *
# Apply your license key
License.LicenseKey = "YOUR_LICENSE_KEY"결론
scikit-image는 Python 개발자가 이미지 관련 작업을 효율적으로 처리할 수 있도록 지원합니다. 컴퓨터 비전, 의료 영상 또는 예술 프로젝트 등 어떤 분야에서 작업하든 이 패키지 하나로 모든 것을 해결할 수 있습니다. scikit-image는 Python에서 이미지 처리를 위한 다재다능하고 강력한 라이브러리로, 필터링, 분할, 특징 추출 및 기하학적 변환과 같은 작업을 위한 광범위한 함수와 알고리즘을 제공합니다. 다른 과학 라이브러리와의 원활한 통합 덕분에 이미지 분석 및 컴퓨터 비전 애플리케이션을 사용하는 연구원, 개발자 및 엔지니어에게 선호되는 선택지가 되었습니다.
IronPDF 는 Python 애플리케이션 내에서 PDF 문서를 생성, 편집 및 조작하는 것을 용이하게 해주는 Python 라이브러리입니다. 이 프로그램은 HTML, 이미지 또는 기존 PDF 파일과 같은 다양한 소스에서 PDF 파일을 생성하는 등의 기능을 제공합니다. 또한 IronPDF PDF 문서 병합 또는 분할, 주석, 워터마크 또는 디지털 서명 추가, PDF에서 텍스트 또는 이미지 추출, 메타데이터 및 보안 설정과 같은 문서 속성 관리 등의 작업을 지원합니다. 이 라이브러리는 PDF 관련 작업을 프로그래밍 방식으로 효율적으로 처리할 수 있는 방법을 제공하므로 문서 생성, 보고서 작성 또는 문서 관리 기능이 필요한 애플리케이션에 적합합니다.
두 라이브러리를 함께 사용하면 사용자는 이미지를 효율적으로 처리하고 보관을 위해 결과를 PDF 문서로 저장할 수 있습니다.