How to Easily Annotate PDFs in Python Using IronPDF
If you're interested in learning how to add annotations to PDF files using the IronPDF for Python library, keep reading. This article will guide you through the process step by step.
Understanding PDF Annotations
PDF annotation is the process of adding additional information, notes, highlights, or other visual elements to a PDF document. Annotations serve as a way to provide context, collaborate on documents, and enhance the readability of the content. Common types of annotations include text comments, adding links via link annotation, adding file attachments, highlighting, underlining, strikethrough, shapes, and even adding images or stamps.
IronPDF - A Python PDF Library
IronPDF is a popular Python library that enables developers to work with PDF documents seamlessly. It offers a comprehensive set of features, including PDF creation, manipulation, and annotation. With IronPDF, you can easily integrate PDF generation and modification capabilities into your Python applications, allowing you to automate tasks and streamline document workflows.
IronPDF supports various annotation types, allowing you to create a rich and interactive reading experience for your PDF documents. Whether you want to add textual explanations using text annotation, highlight important sections, attach other PDFs with the file attachment type, or even include stamps to mark documents as "Approved" or "Confidential" using stamp annotation, IronPDF has you covered.
Prerequisites
Before diving into annotating PDFs using IronPDF, ensure you have the following prerequisites in place:
- Python: Ensure that Python is installed on your computer. To download the latest version, visit the official Python website.
- Install an IDE: Before you can start working on your PDFs with IronPDF, you will need to install an IDE. PyCharm is recommended as a popular integrated development environment (IDE) for Python. Alternatively, you can use any IDE of your choice if you don't want to use PyCharm.
IronPDF Library: Install the IronPDF library using the following command in the terminal:
pip install IronPDFpip install IronPDFSHELL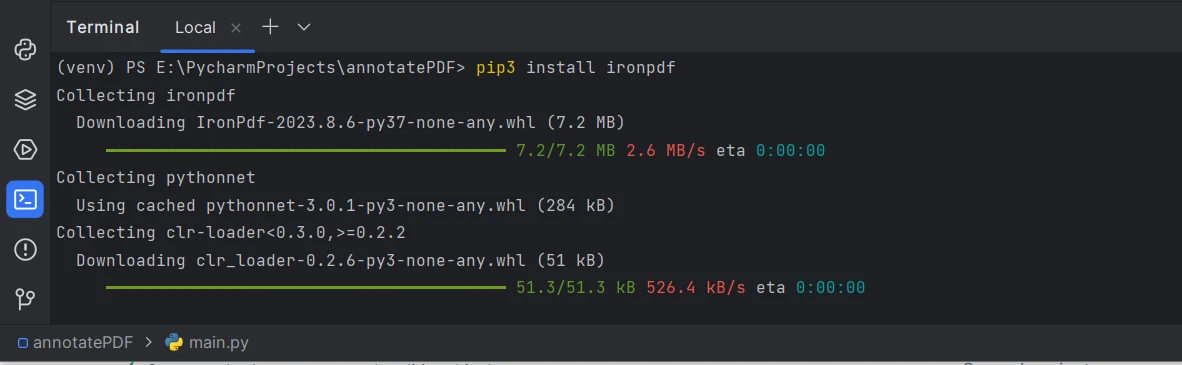 Install IronPDF package
- .NET 6.0 Runtime: IronPDF for Python relies on .NET 6.0 technology to work properly. This means you need to have .NET 6.0 runtime installed on your computer to use IronPDF for Python effectively. Most likely, it will automatically install with IronPDF dependencies at the time of project execution.
Note: When installing IronPDF using pip (Python Package Manager), it is important to ensure that the IronPDF installation path is included in the system's PATH variable. This step is crucial to ensure that pip can locate the IronPDF package and its associated components during installation and usage.
Creating a Project in PyCharm
Let's start by creating a new project in PyCharm:
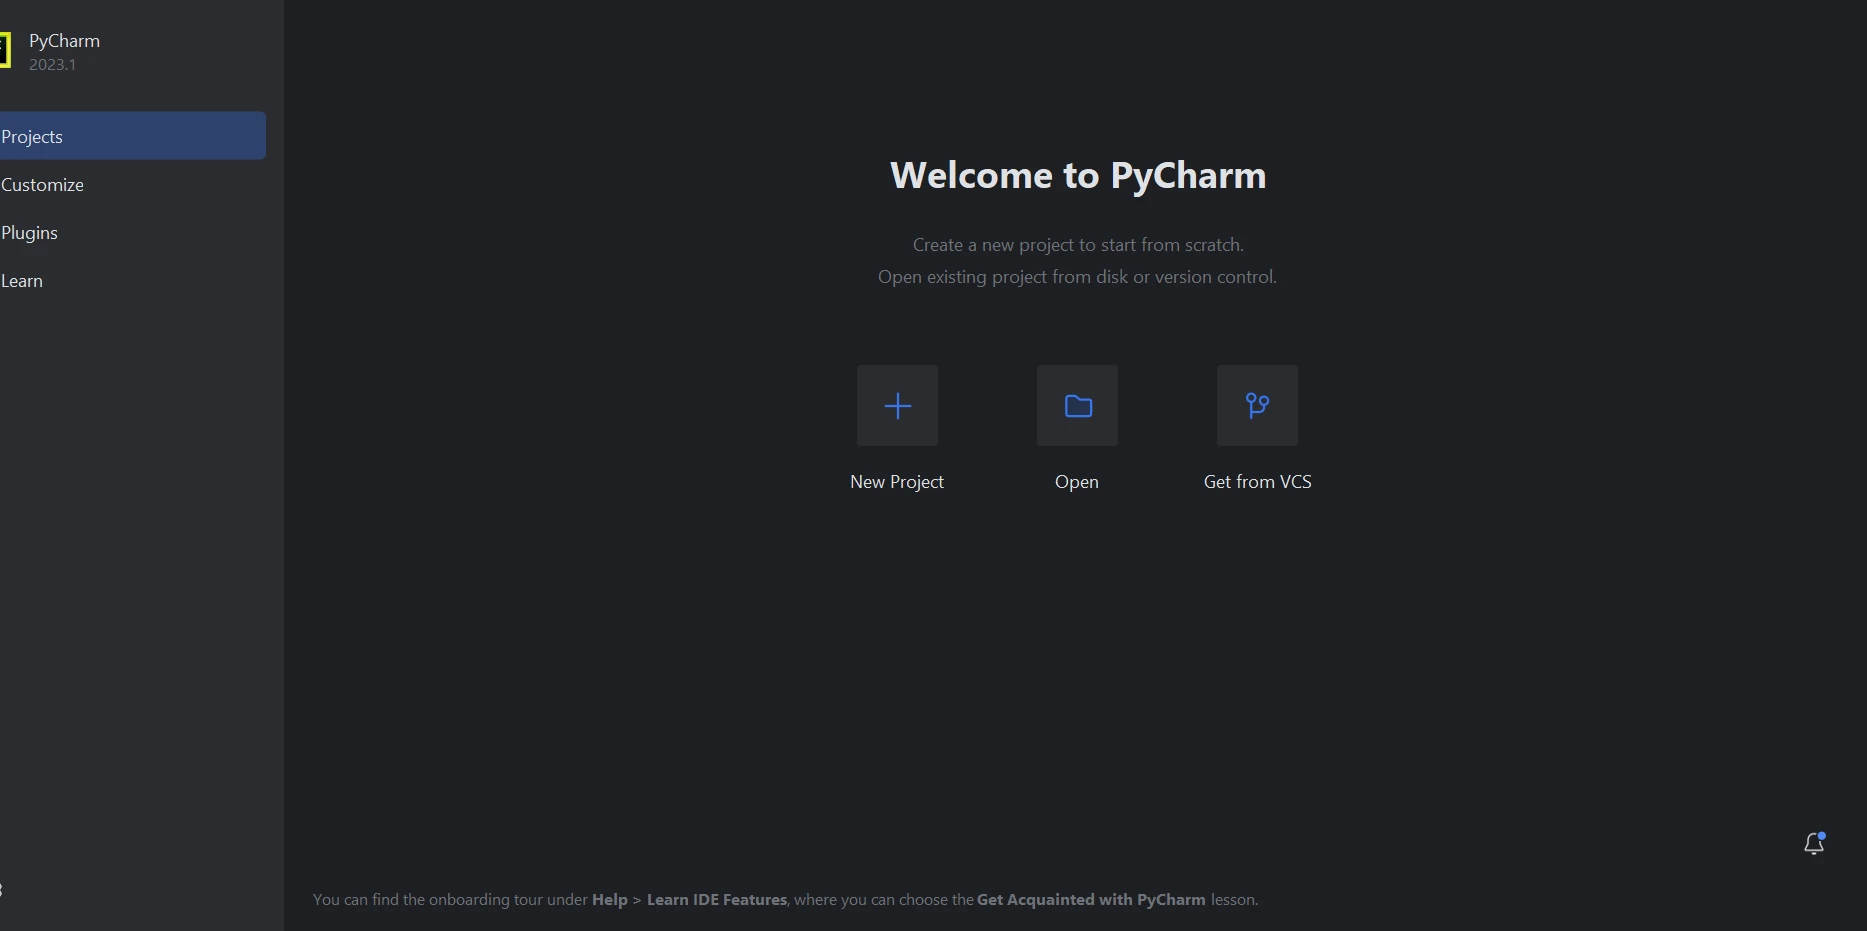
Open PyCharm and click on "Create New Project".
 PyCharm IDE
Choose a location for your project and select the appropriate interpreter (Python).
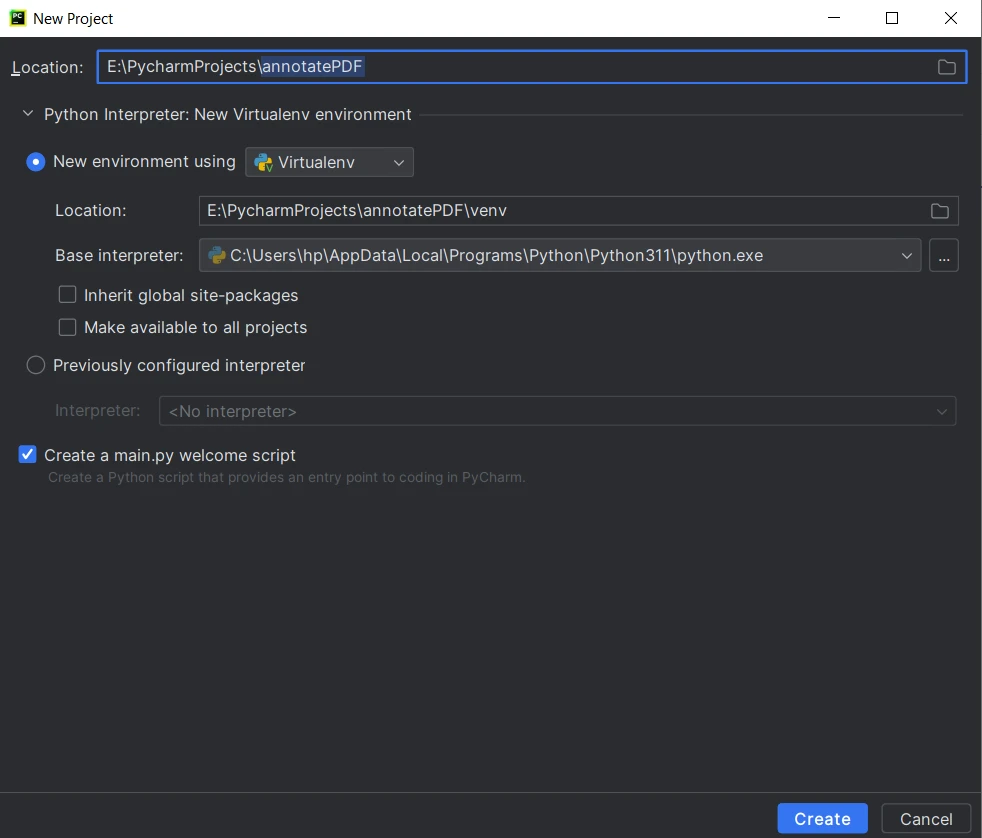 Create a new Python project
- Click 'Create' and the project is created. The main.py file will also be created to write the code for execution.
Now that the demo project is set up, let's proceed to annotate a PDF using IronPDF.
Steps to Annotate PDF Documents in Python
Step 1: Importing the IronPDF Library
The first line imports the required modules from the IronPDF library, allowing access to the necessary classes and functions for PDF manipulation and annotation.
from ironpdf import PdfDocument, TextAnnotationfrom ironpdf import PdfDocument, TextAnnotationStep 2: Loading an Existing PDF Document
In this step, an existing PDF file named "existing.pdf" is loaded using the PdfDocument class. This document will be used as the base to add annotations. Also, set the page index on which supported annotation types will be added.
# Load the PDF document and set the target page index for annotation
pdf = PdfDocument("existing.pdf")
pageIndex = 0
# Load the PDF document and set the target page index for annotation
pdf = PdfDocument("existing.pdf")
pageIndex = 0Step 3: Setting Annotation Parameters
The following lines of code define various properties for text annotation that will be added to the PDF. These properties provide information about the annotation's appearance and behavior:
# Create a text annotation and configure its properties
annotation = TextAnnotation(pageIndex)
annotation.Title = "This is the major title"
annotation.Subject = "This is a subtitle"
annotation.Contents = "This is the long 'sticky note' comment content..."
annotation.Icon = TextAnnotation.AnnotationIcon.Help
annotation.X = 150
annotation.Y = 200
annotation.Width = 200
annotation.Height = 50
annotation.Opacity = 0.9
annotation.Printable = False
annotation.Hidden = False
annotation.OpenByDefault = True
annotation.ReadOnly = False
annotation.Rotatable = True
# Create a text annotation and configure its properties
annotation = TextAnnotation(pageIndex)
annotation.Title = "This is the major title"
annotation.Subject = "This is a subtitle"
annotation.Contents = "This is the long 'sticky note' comment content..."
annotation.Icon = TextAnnotation.AnnotationIcon.Help
annotation.X = 150
annotation.Y = 200
annotation.Width = 200
annotation.Height = 50
annotation.Opacity = 0.9
annotation.Printable = False
annotation.Hidden = False
annotation.OpenByDefault = True
annotation.ReadOnly = False
annotation.Rotatable = TrueHere's what each property represents:
- Annotation: Setting up the annotation variable and declaring the annotation type.
- Title: The major title of the new annotation.
- Subject: A subtitle or additional information about the annotation.
- Contents: The main content of the annotation, resembles a "sticky note" comment.
- Icon: The visual icon associated with the annotation (in this case, a help icon).
- X and Y: The coordinates of the annotation's top-left corner on the page.
- Width and Height: The dimensions of the annotation's bounding box.
- Opacity: The opacity level of the annotation (ranging from 0 to 1).
- Printable: Whether the annotation should be printed.
- Hidden: Whether the annotation is initially hidden.
- OpenByDefault: Whether the annotation should be open by default.
- ReadOnly: Whether the annotation is read-only.
- Rotatable: Whether the annotation can be rotated.
For more annotation types and properties visit this code examples page.
Step 4: Adding the Annotation to the PDF
The following line of code adds the created text annotation to a specific page within the PDF document:
# Add the text annotation to the specified page in the PDF document
pdf.Annotations.Add(annotation)
# Add the text annotation to the specified page in the PDF document
pdf.Annotations.Add(annotation)Step 5: Saving the Annotated PDF
Finally, the updated PDF document with the added annotation is saved using the SaveAs method:
# Save the PDF document with the new annotations
pdf.SaveAs("annotated.pdf")
# Save the PDF document with the new annotations
pdf.SaveAs("annotated.pdf")Step 6: Running the Script
Now, let's put all the code together and run the script in the PyCharm project that was created earlier.
- To run the script within PyCharm, right-click anywhere within the script editor and select Run annotatePDF.
- PyCharm will execute the script, and you will see the output and any potential errors in the Run console at the bottom of the IDE.
- Once the script is completed, you can find the annotated PDF ("annotated.pdf") in the same directory as your project.
Output:
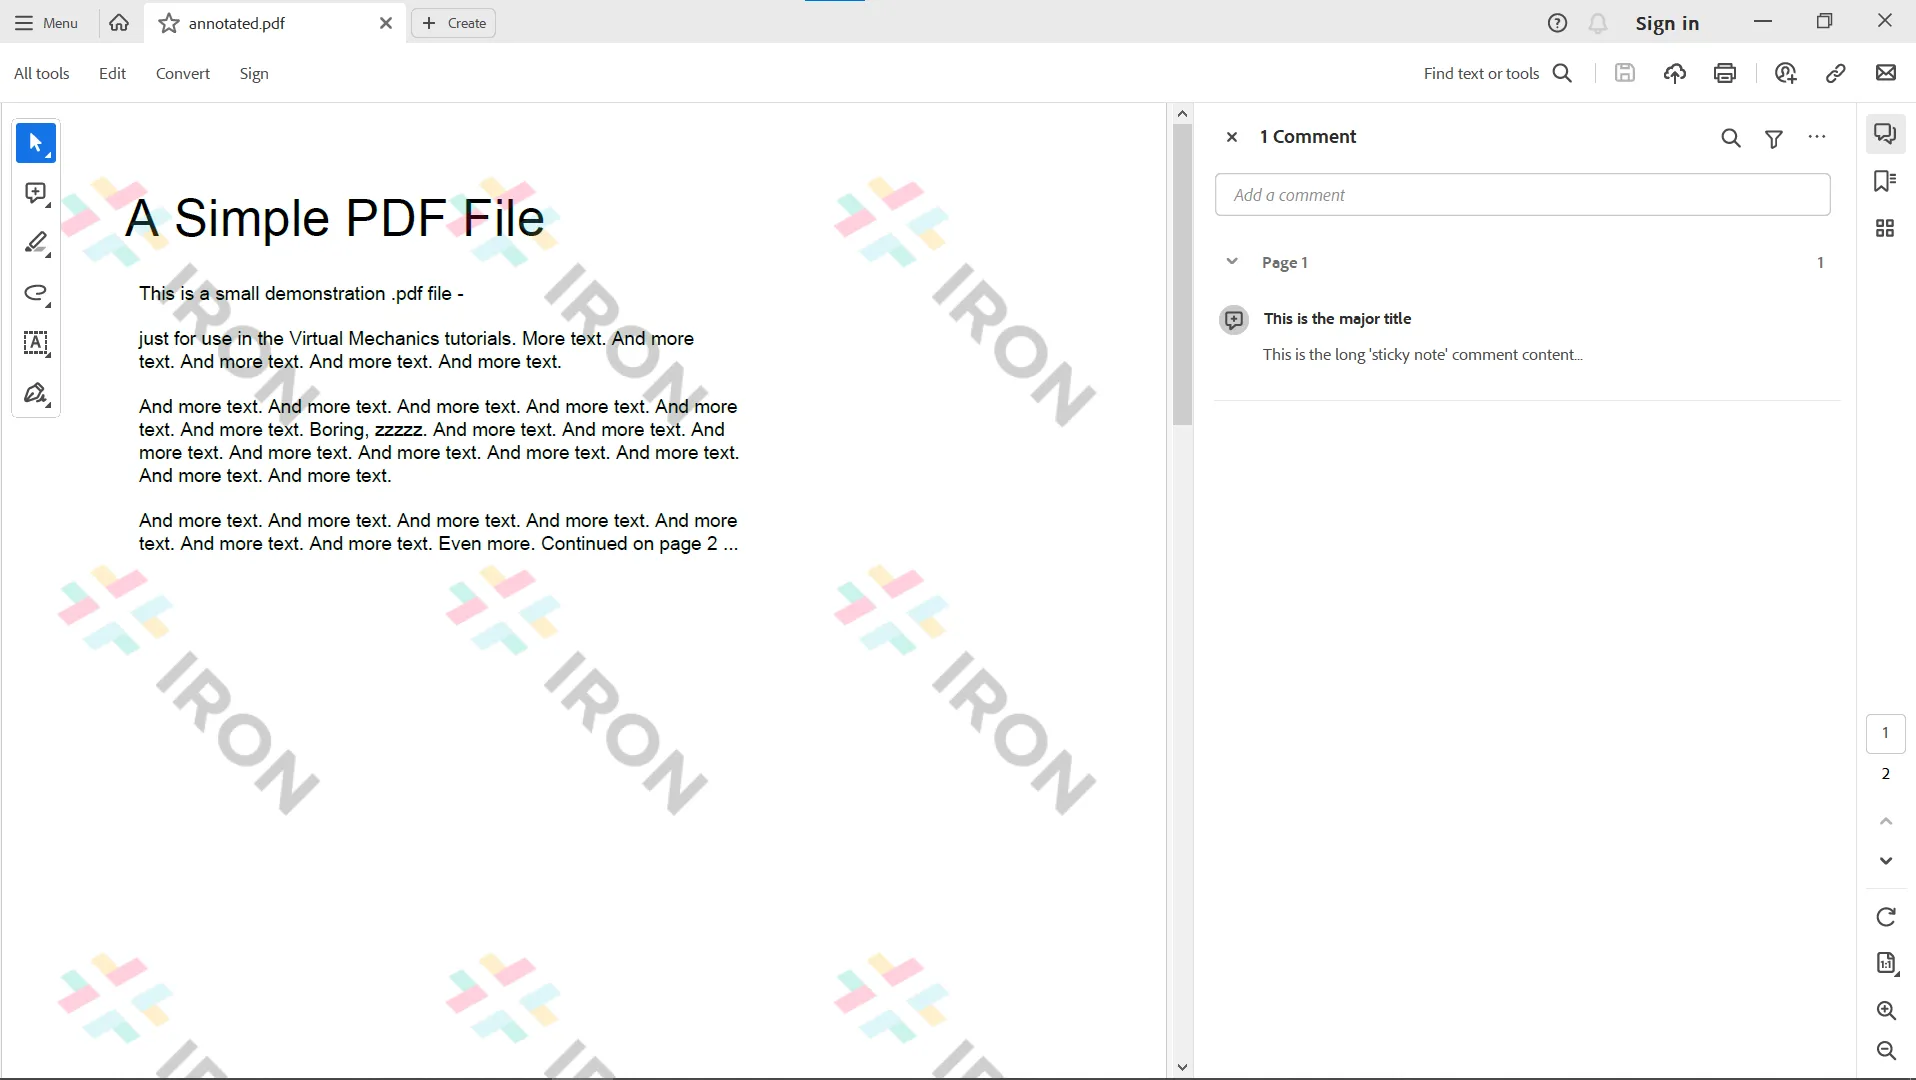 The output PDF file
Conclusion
By following the steps outlined in this article, you can harness the power of IronPDF to automate your PDF annotation workflows and improve your document management processes. IronPDF simplifies the process of adding link annotations and editing existing annotations in PDF documents that are either spread across different pages or on the same page, and offers a robust set of tools for creating, modifying, and annotating programmatically.
Additionally, IronPDF offers you to build interactive PDF documents, fill out and send interactive forms, split and combine PDF files, extract text and images from PDF files, search for certain words within a PDF file, rasterize PDF pages to images, convert PDF to HTML, and print PDF files.
Start experimenting with IronPDF today, and see how it can transform your document management processes. IronPDF offers a free trial so you can test out its complete functionality before purchasing a license. Licenses start from $799, with the option to add on helpful extras. Download IronPDF for Python from the official website and start elevating your PDF projects today.
Frequently Asked Questions
How can I annotate a PDF using Python?
You can annotate a PDF in Python using IronPDF by importing the library, loading the PDF, setting annotation parameters like title and contents, adding the annotations, and saving the updated PDF.
What are the system requirements for using IronPDF with Python?
To use IronPDF for annotating PDFs in Python, you need to have Python installed, an IDE such as PyCharm, the IronPDF library, and the .NET 6.0 Runtime.
How do I install IronPDF for PDF manipulation in Python?
To install IronPDF for Python, run the command pip install IronPDF in your terminal.
What types of PDF annotations can be created using IronPDF in Python?
IronPDF allows you to create various types of annotations like text comments, highlights, links, file attachments, shapes, images, and stamps using its Python library.
Can I automate PDF annotation tasks in Python?
Yes, IronPDF supports automation of PDF annotation tasks, enabling programmatic creation, modification, and management of PDFs within Python applications.
Is there a trial version available for IronPDF?
Yes, IronPDF offers a free trial that lets you explore its features and capabilities before deciding to purchase a license.
What additional functionalities does IronPDF provide for PDF management in Python?
IronPDF offers functionalities such as creating interactive PDFs, filling forms, splitting and merging documents, extracting text and images, converting PDFs to HTML, and more.
How do I execute a Python script to annotate PDFs in PyCharm?
In PyCharm, you can execute your script by right-clicking within the script editor and selecting 'Run annotatePDF', after which the results and any errors will be displayed in the Run console.
Where can I download IronPDF for Python?
You can download IronPDF from the official IronPDF website, where you'll find the necessary files and documentation to get started.
What is the process for adding a text comment to a PDF in Python with IronPDF?
To add a text comment to a PDF using IronPDF, load the PDF document, set your annotation parameters such as the text content and position, apply the annotation, and save the updated document.