Wand Python(开发人员如何使用)
Wand 是一个功能强大且用户友好的 Python 库,它充当了 ImageMagick 的绑定,后者是一个流行的图像处理工具。 它允许您轻松执行各种图像操作任务,使其成为开发人员和数据科学家进行图像操作的理想选择。 在本文中,我们将使用 Wand Python 并演示其用法。 此外,我们将研究来自 Iron Software 的 IronPDF,并了解如何使用这两个库进行图像处理和将图像存档为 PDF。
为什么使用 Wand?
Wand 提供了一个面向 Python 的接口给 ImageMagick,使得 Python 开发人员更容易使用。 以下是一些考虑使用 Wand 的主要原因:
1.全面的图像处理: Wand 支持多种图像格式,并提供多种图像处理功能,包括调整大小、裁剪、旋转和添加效果。 2.与 NumPy 集成: Wand 可以与 NumPy 无缝协作,使其适用于涉及图像数据的机器学习和数据分析任务。 3.跨平台兼容性: Wand 可在各种操作系统上运行,包括 Windows、macOS 和 Linux。
开始使用 Wand
安装
要安装 Wand,您需要在系统上安装 ImageMagick。 您可以使用 pip 安装 Wand:
pip install Wandpip install Wand基本用法
这里是一个简单的例子来演示如何使用 Wand 进行基本的图像操纵:
from wand.image import Image

# Open an image file and initialize the image class
with Image(filename='example.jpg') as img:
    print(f'Original size: {img.size}')
    # Resize the image
    img.resize(200, 200)
    img.save(filename='resized_example.jpg')
    print(f'Resized size: {img.size}')  # Resized size: 200x200
from wand.image import Image
# Open an image file and initialize the image class
with Image(filename='example.jpg') as img:
print(f'Original size: {img.size}')
# Resize the image
img.resize(200, 200)
img.save(filename='resized_example.jpg')
print(f'Resized size: {img.size}') # Resized size: 200x200在这个例子中,Wand 打开一个图像文件,打印其原始大小,将其调整为 200x200 像素,并保存调整大小的图像。
高级功能
Python Wand 提供了许多用于更复杂的图像处理任务的高级特性:
1.图像效果:应用各种效果,如模糊、锐化和浮雕。 2.颜色处理:调整颜色、转换为灰度等。 3.图像变换:执行旋转、缩放和裁剪等变换。 4.特效:添加噪点、创建宝丽来效果等等。
示例:应用效果
这是一个如何使用 Wand 对图像应用一些效果的示例:
from wand.image import Image  # Import image class
from wand.display import display

# Open an image file
with Image(filename='image.jpg') as img:
    # Apply a blur effect
    img.blur(radius=5, sigma=3)  # Can also use flip function, circle function, etc.
    img.save(filename='blurred_image.jpg')
    # Display the blurred image
    display(img)
from wand.image import Image # Import image class
from wand.display import display
# Open an image file
with Image(filename='image.jpg') as img:
# Apply a blur effect
img.blur(radius=5, sigma=3) # Can also use flip function, circle function, etc.
img.save(filename='blurred_image.jpg')
# Display the blurred image
display(img)上述代码使用模糊功能来模糊输入图像。
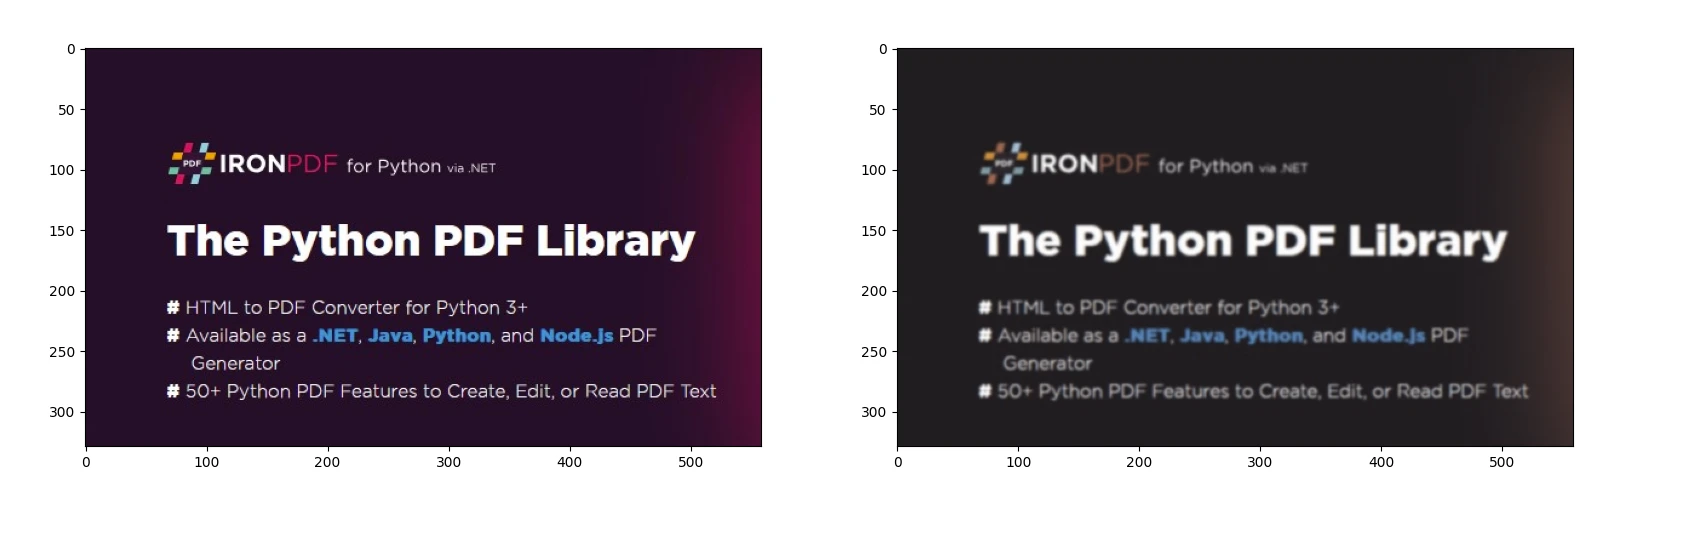
输出
IronPDF 简介
IronPDF是一个强大的Python库,旨在通过使用HTML、CSS、图像和JavaScript处理PDF文档的创建、编辑和签名。 它注重性能效率并以最小的内存使用方式运行。 关键特性包括:
- HTML 到 PDF 转换:利用 Chrome PDF 渲染器的功能,将 HTML 文件、HTML 字符串和 URL 转换为 PDF 文档。
- 跨平台支持:兼容于 Windows、Mac、Linux 和各种云平台上的 Python 3+。 IronPDF也适用于.NET、Java、Python和Node.js环境。
- 编辑和签名:自定义 PDF 属性,实施诸如密码和权限之类的安全措施,轻松应用数字签名。
- 页面模板和设置:通过页眉、页脚、页码、可调节的页边距、自定义纸张大小和响应式设计等功能量身定制 PDF 布局。
- 标准合规:严格遵循 PDF 标准,如 PDF/A 和 PDF/UA,确保 UTF-8 字符编码兼容性,并能熟练管理如图像、CSS 样式表和字体等资产。
安装
pip install ironpdf
pip install scikit-image
pip install ironpdf
pip install scikit-image使用 IronPDF 和 Wand 生成 PDF 文档
前提条件
- 确保安装了 Visual Studio Code 作为代码编辑器。
- 安装了Python版本3。
- 安装 ImageMagick。
- 确保环境变量
MAGICK_HOME设置为安装路径。
首先,让我们创建一个Python文件以添加我们的脚本。
打开Visual Studio Code并创建一个文件,wandDemo.py。
安装必要的库:
pip install wand
pip install ironpdf
pip install wand
pip install ironpdf然后添加以下 Python 代码演示 IronPDF 和 Wand Python 包的用法:
from wand.image import Image  # Import image class
from wand.display import display
from ironpdf import *

# Apply your license key
License.LicenseKey = "key"

# Open an image file
with Image(filename='image.jpg') as img:
    # Apply a blur effect
    img.blur(radius=5, sigma=3)
    img.save(filename='blurred_image.jpg')
    # Display the image
    display(img)
    # Save the transformed image as PNG
    img.savefig('ironPdf-wand.png')
    # Convert the PNG image to PDF
    ImageToPdfConverter.ImageToPdf("ironPdf-wand.png").SaveAs("ironPdf-wand.pdf")
from wand.image import Image # Import image class
from wand.display import display
from ironpdf import *

# Apply your license key
License.LicenseKey = "key"
# Open an image file
with Image(filename='image.jpg') as img:
# Apply a blur effect
img.blur(radius=5, sigma=3)
img.save(filename='blurred_image.jpg')
# Display the image
display(img)
# Save the transformed image as PNG
img.savefig('ironPdf-wand.png')
# Convert the PNG image to PDF
ImageToPdfConverter.ImageToPdf("ironPdf-wand.png").SaveAs("ironPdf-wand.pdf")代码解释
这个Python脚本演示了使用IronPDF库进行图像处理和PDF生成:
- 此脚本首先使用
image.jpg)进行模糊效果处理。 - 保存经过模糊处理的图像并显示出来。
- 该图像再次保存为PNG文件(
ironPdf-wand.png)。 - 最后,使用IronPDF将此PNG图像转换为PDF(
ironPdf-wand.pdf)。
它展示了 Python 中图像处理和 PDF 生成库之间的集成。
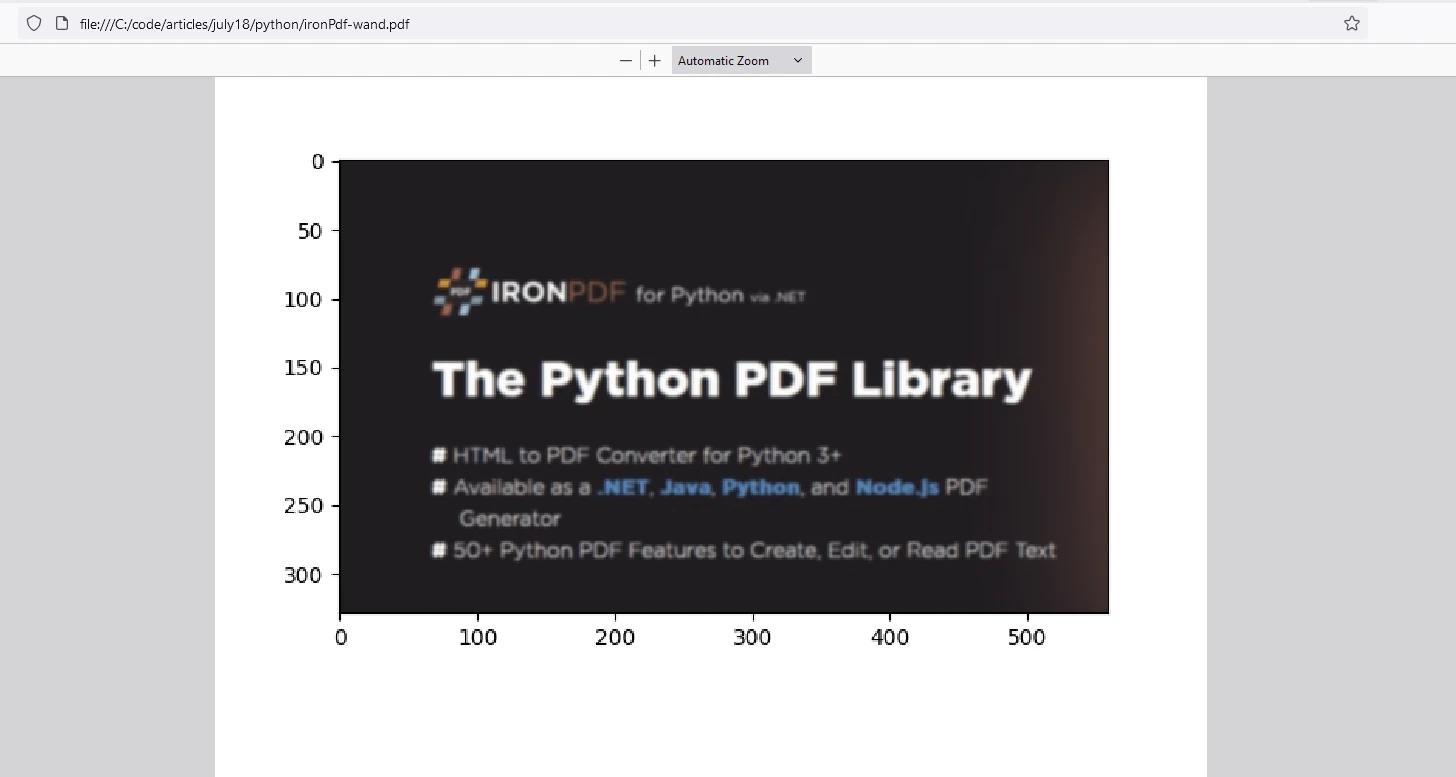
输出PDF
IronPDF 许可证
IronPDF 许可证密钥允许用户在购买之前检出其丰富的功能。
在使用 IronPDF 包 之前,将许可证密钥放置在脚本的开头:
from ironpdf import *

# Apply your license key
License.LicenseKey = "key"from ironpdf import *
# Apply your license key
License.LicenseKey = "key"结论
Wand 是一个适用于 Python 的多功能且强大的图像处理库。 它与 ImageMagick 和 NumPy 的集成使其成为开发人员和数据科学家的有价值工具。 无论您是需要进行简单的图像操作还是复杂的变换,Wand 都能为您提供所需的功能,且其为 Python 和易于使用的包。
IronPDF 是一个为编程创建、操作和转换 PDF 文档而设计的 Python 库。 它提供了从各种来源(如图像和 HTML)生成 PDF、合并 PDF、增加安全功能等特性。 IronPDF 具有多功能性,支持跨平台开发,并能很好地与 Python 应用程序集成,使其成为有效处理 PDF 相关任务的强大工具。
结合这些库可用于图像处理,并以标准 PDF 格式存储结果以供归档。