C# Forms (How it Works For Developers)
Introduction to Windows Form Project Type
Windows Forms, commonly referred to as "WinForms", is a graphical user interface (GUI) library in the .NET Framework and .NET Core Framework. With Windows Forms, developers can create rich, interactive desktop applications for Windows. This tutorial will walk you through the steps to create a new project on the basic Windows Forms app using Visual Studio, a popular integrated development environment (IDE) for .NET developers.
Setting Up Visual Studio
Before diving into creating your Windows Forms app, you'll need Visual Studio installed. It's the primary tool used to develop Windows Forms applications.
Installing Visual Studio
Download Visual Studio from the official Visual Studio website.
Run the installer and select the ".NET desktop development" workload. This includes the necessary tools for building Windows Forms applications.
Complete the installation process.
Starting a New Windows Forms Project
- Open Visual Studio.
- Go to the File option in the menu bar and select New > Project. This will open the 'new project dialog box'.
- In the dialog box, search for "Windows Forms App" and select it. Ensure you're choosing the right version based on whether you're using the .NET Core Framework or the older .NET Framework.
- Click on Next, give your project a name, and click Create in the dialog box.
You've now successfully created a new Windows Form application!
The Basics of Windows Forms
When you create a new Windows Form application in Visual Studio, a blank form titled 'Form1' will be displayed. This form is the canvas where you'll design your application's GUI.
Understanding the Visual Studio Interface
- Solution Explorer: On the right side, the Solution Explorer shows all files and resources in your project. Double-click on 'Form1.cs' here to bring the form into view.
- Properties Window: Below the Solution Explorer, the properties window displays the properties of the selected item on the form. Here, you can modify properties like size, color, text, etc.
- Toolbox: On the left side, this contains all the controls (such as buttons, labels, text boxes) you can drag onto your form.
Adding Controls to Your Form
Adding controls to your form is as easy as dragging and dropping from the toolbox:
- Find the Button control in the toolbox and drag it onto your form. This is your 'button control'.
- Similarly, drag a Label control and a CheckBox control onto your form.
- Adjust their positions as needed.
Each of these controls has properties that can be adjusted in the properties window. For instance, select the button control and change its Text property to "Click Me".
Making Your Windows Forms App Interactive
An app is more than just its appearance; it needs functionality!
Adding Event Handlers to Controls
Double-click on the button control you added. Visual Studio will automatically create an event handler in the code behind the form.
In this event handler method, add the following code:
// This event handler changes the text of 'label1' when the button is clicked.
private void button1_Click(object sender, EventArgs e)
{
    label1.Text = "Button was clicked!";
}
// This event handler changes the text of 'label1' when the button is clicked.
private void button1_Click(object sender, EventArgs e)
{
label1.Text = "Button was clicked!";
}' This event handler changes the text of 'label1' when the button is clicked.
Private Sub button1_Click(ByVal sender As Object, ByVal e As EventArgs)
label1.Text = "Button was clicked!"
End SubNow, every time you click the button in your Windows form application, the label's text will change to "Button was clicked!".
Running Your Application
Click on the green 'Start' button at the top or press F5. This will compile and run your application. The main method is the entry point of the app, and your form should appear on the screen. Try clicking the button to see your label's text change.
Advanced Controls and Features
Grouping Controls
Using the GroupBox control, you can group related controls, enhancing organization and user experience.
- From the toolbox, drag a GroupBox onto your form.
- Add other controls into this group by dragging them inside the GroupBox.
Using the MenuStrip Control
A MenuStrip control provides a menu bar for your Windows Forms app.
- Drag the MenuStrip control from the toolbox onto your form.
- Click on it to add menu items like "File", "Edit", etc.
Handling Multiple Forms
A real-world Windows Forms application often uses multiple forms.
- Right-click on your project in the solution explorer > Add > New Item.
- Choose "Windows Form", name it, and click Add.
- To open this new form from your main form, use:
// Opens 'Form2' when called.
private void OpenForm2()
{
    Form2 newForm = new Form2();
    newForm.Show();
}
// Opens 'Form2' when called.
private void OpenForm2()
{
Form2 newForm = new Form2();
newForm.Show();
}' Opens 'Form2' when called.
Private Sub OpenForm2()
Dim newForm As New Form2()
newForm.Show()
End SubIntegrating Iron Suite Products into Windows Forms Application
Windows Forms, being a highly flexible platform, allows the integration of third-party tools and libraries to further extend its capabilities. One such notable suite of tools comes from Iron Suite, which comprises a set of powerful products tailored for developers. Let's delve into these products and see how they can supercharge your Windows Forms applications.
Iron Suite is a compilation of developer tools designed to simplify complex tasks within C# and .NET projects. These tools, while standalone in their capabilities, complement one another, making them ideal for comprehensive projects such as those you might be developing with Windows Forms.
IronPDF
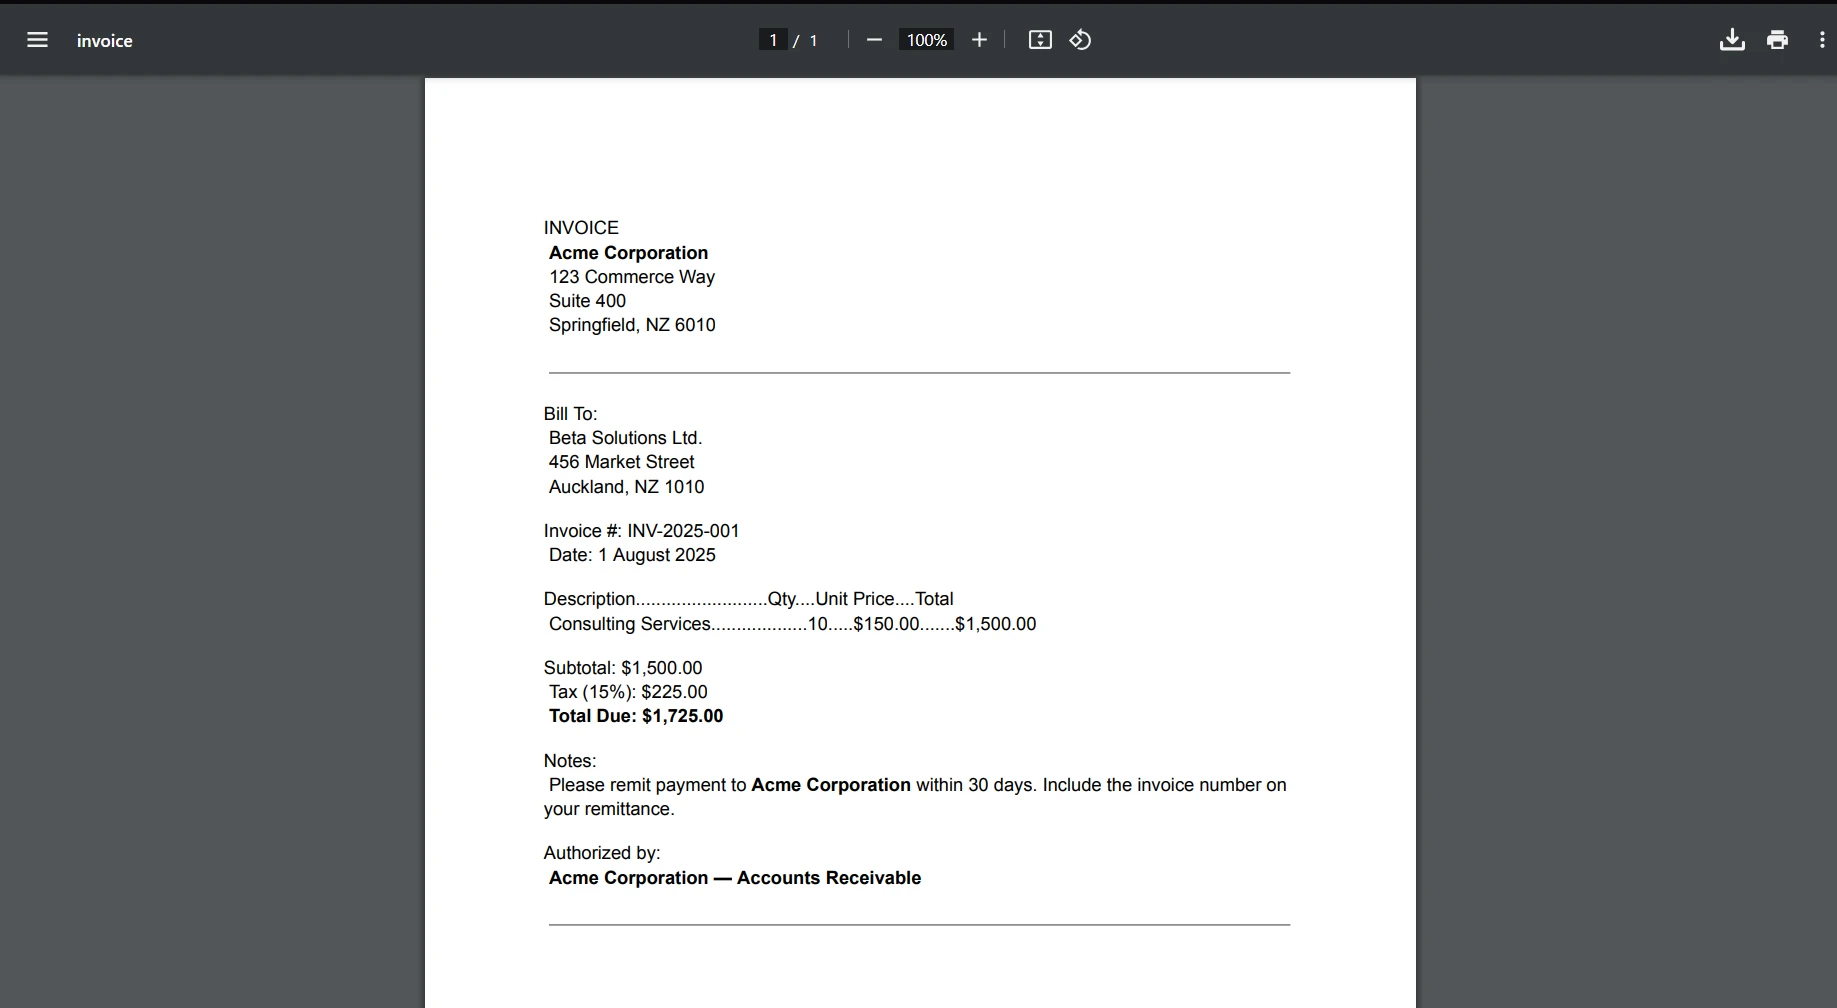
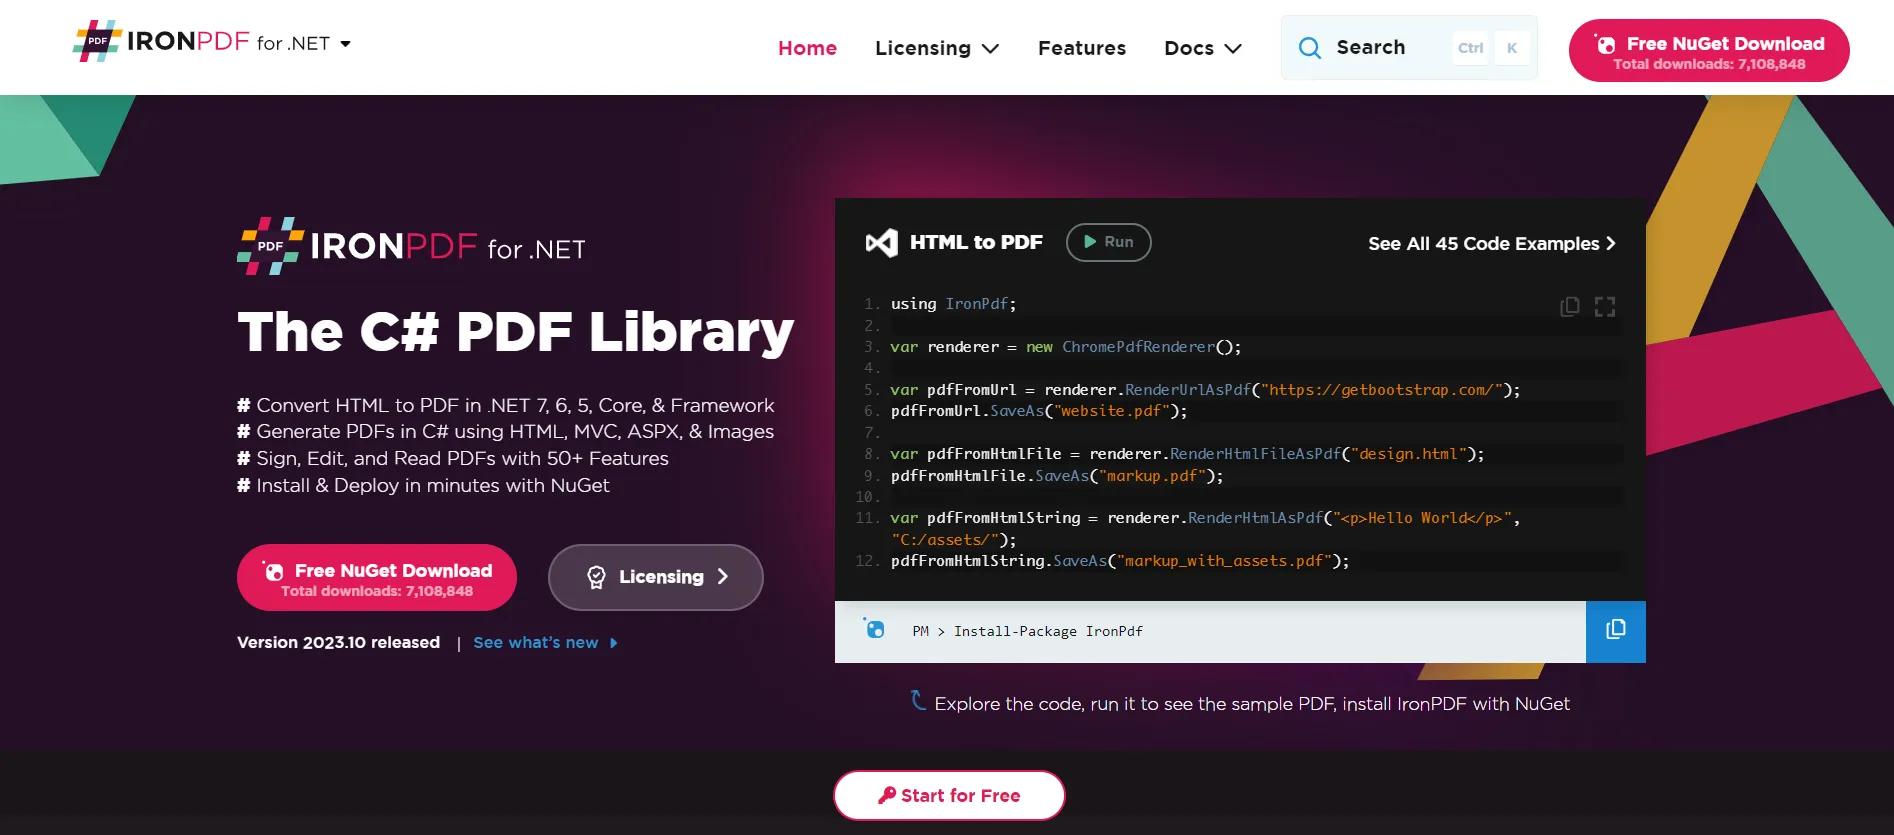 Explore IronPDF's PDF Manipulation Capabilities is a versatile library designed to work with PDFs within the .NET environment. Imagine creating a Windows Forms app that generates reports or manages documents. With IronPDF, you can generate, edit, and even convert PDFs seamlessly. It can easily be integrated into your Windows Forms application, allowing you to provide robust PDF functionalities without much hassle.
IronXL
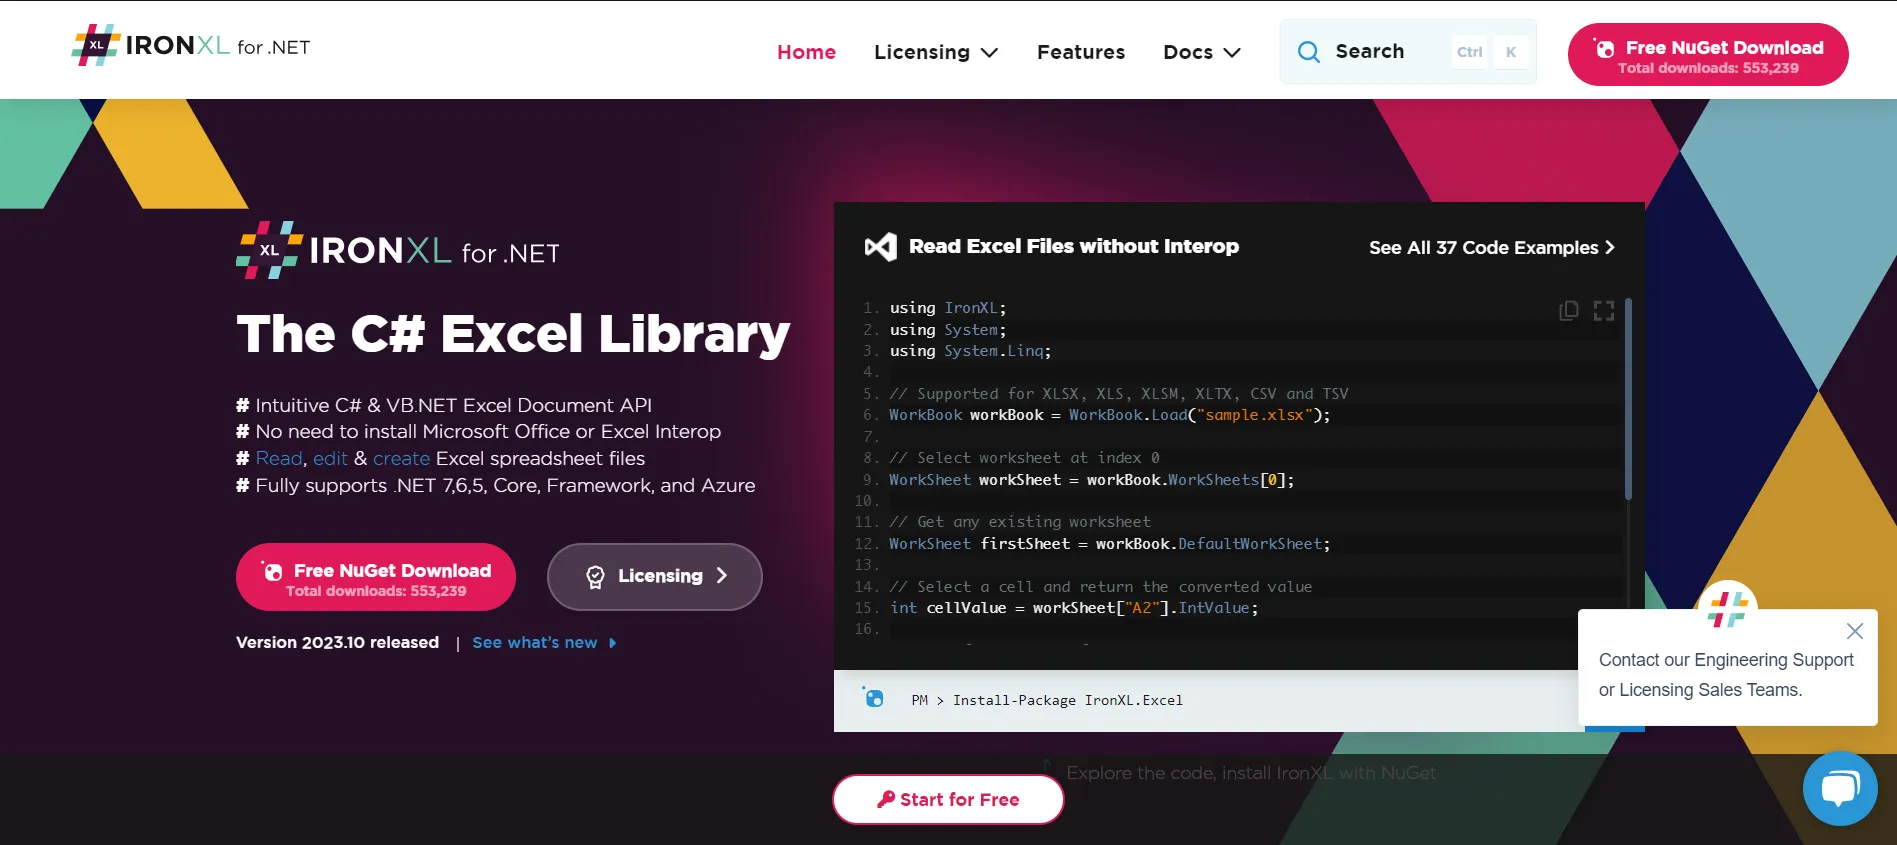 Learn About IronXL for Excel File Management Dealing with Excel files is common in many applications, especially those centered around data management. IronXL is your go-to tool for this purpose. With IronXL, your Windows Forms application can read, write, edit, and even create Excel spreadsheets. This opens up myriad possibilities like creating dynamic reports, managing datasets, or importing/exporting data to and from your application.
IronOCR
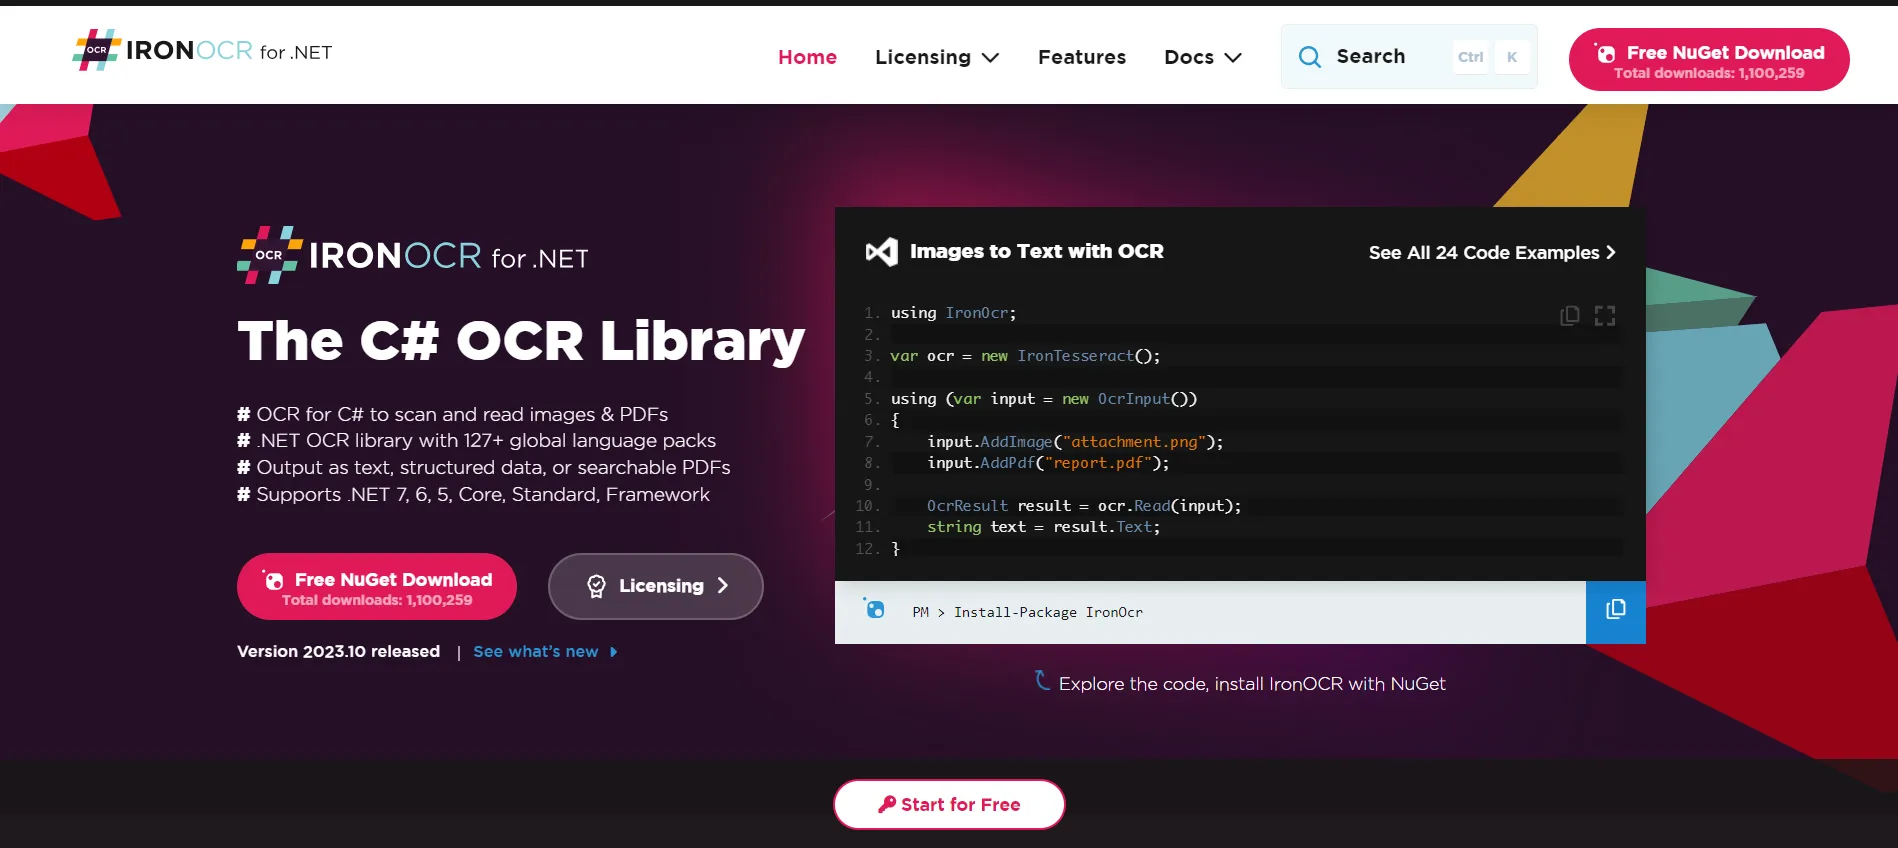 Discover the Power of IronOCR Optical Character Recognition (OCR) is a technology that converts different types of documents, such as scanned paper documents, PDFs, or images captured by a digital camera, into editable data. IronOCR is a leading tool in this domain. By integrating IronOCR into your Windows Forms application, you can extract text from images, scanned documents, or even PDFs. Think of applications that digitize printed data or tools that assist in document management – IronOCR can be the backbone of these functionalities.
IronBarcode
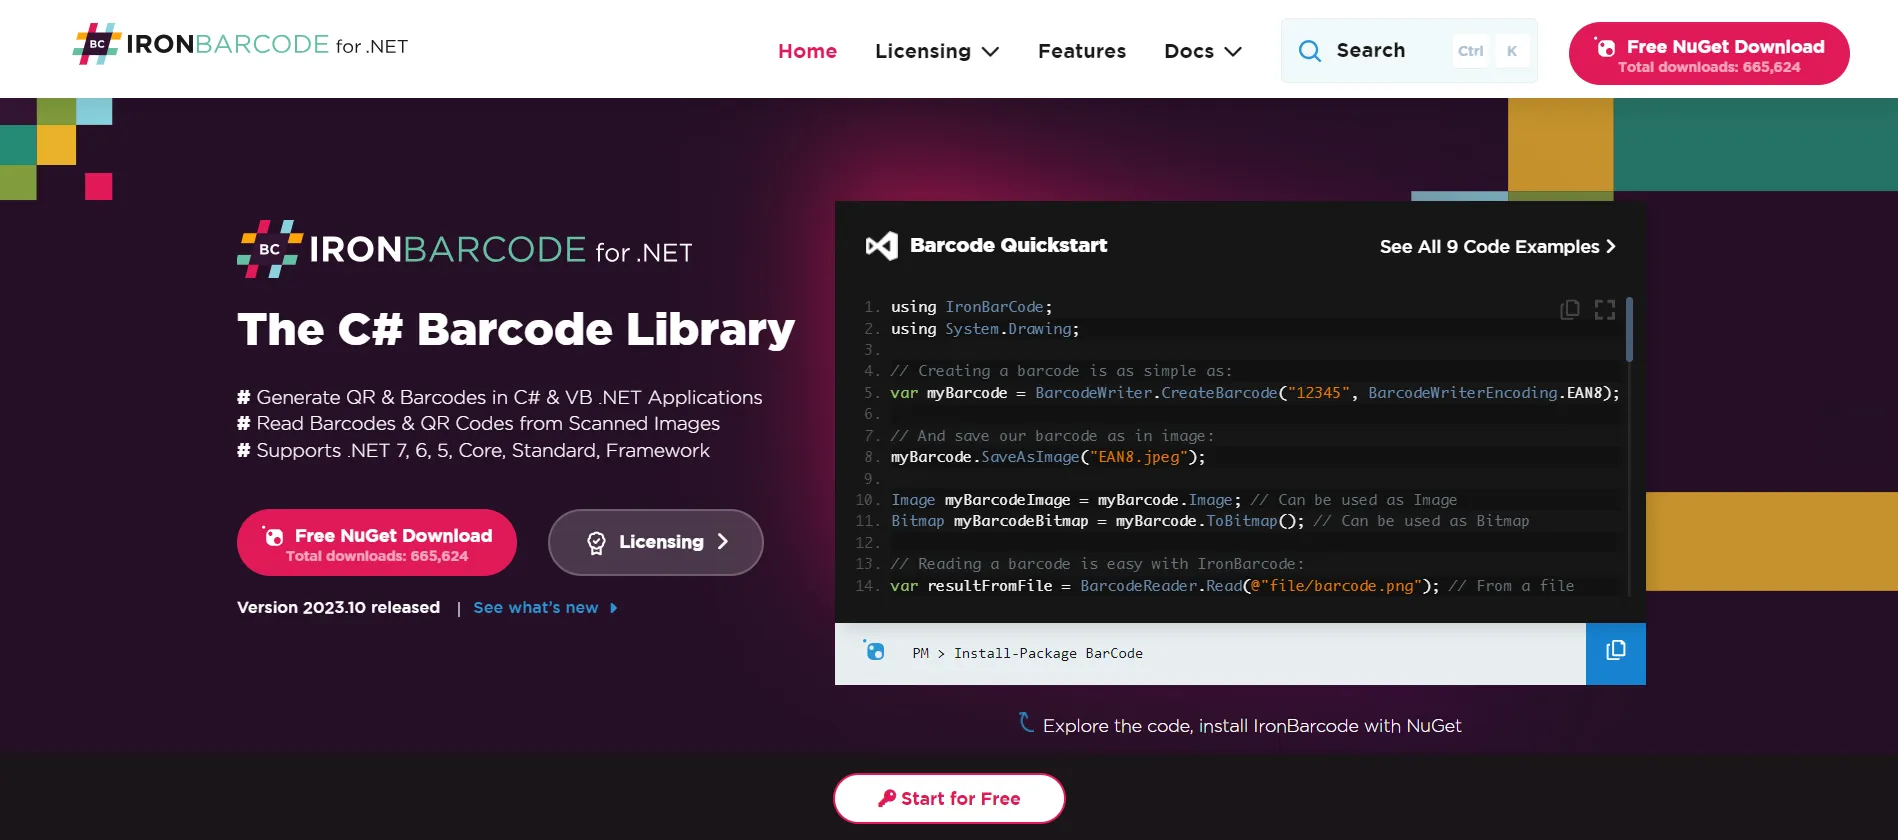 Leverage IronBarcode for Barcode Solutions In today's digital age, barcodes and QR codes are ubiquitous. Whether for inventory management, ticket verification, or product scanning, these codes are essential. IronBarcode allows your Windows Forms application to generate, read, and work with various barcodes and QR codes. Integrating this can lead to more interactive and dynamic applications, especially in retail, event management, or inventory-related projects.
Conclusion
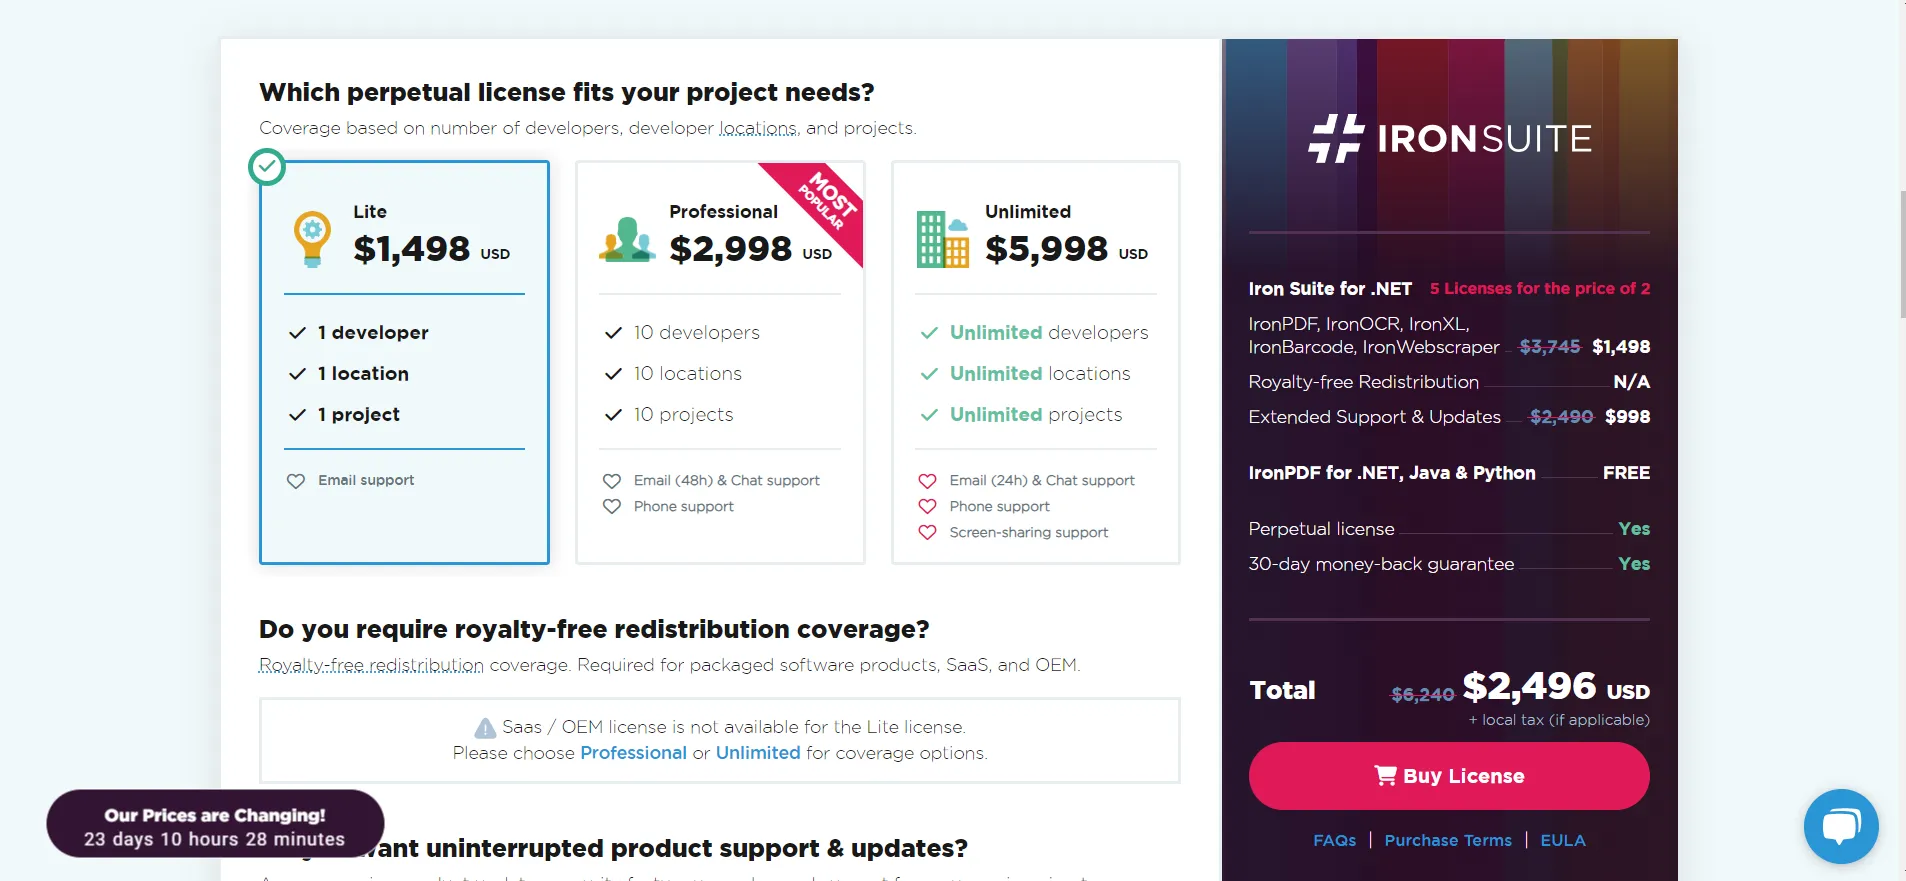 Windows Forms offers a vast landscape for creating interactive applications, and when paired with tools like those from Iron Suite, the possibilities become endless. Each product from Iron Suite, whether it's IronPDF, IronXL, IronOCR, or IronBarcode, starts from $999. What's even more enticing is that each product offers a 30-day free trial of Iron Suite products, allowing you to test and experience their capabilities fully.
For those looking to maximize value, Iron Suite provides a compelling offer: you can acquire the entire Iron Suite for the price of just two products. This not only provides financial savings but also equips you with a comprehensive set of tools to elevate your Windows Forms applications to new heights.
Frequently Asked Questions
How do I set up a Windows Forms project in Visual Studio?
You can set up a Windows Forms project in Visual Studio by navigating to File > New > Project, selecting 'Windows Forms App', and following the setup prompts. Ensure the '.NET desktop development' workload is installed.
What is the role of Solution Explorer in Windows Forms development?
Solution Explorer in Visual Studio helps manage your project's files and resources, allowing you to easily navigate and organize the components of your Windows Forms application.
How can I make my Windows Forms application interactive?
You can make your application interactive by adding event handlers to respond to user actions like button clicks. These are methods that execute when specific events occur.
What advanced features can I implement in a Windows Forms application?
Advanced features include grouping controls, using the MenuStrip control for easy navigation, and managing multiple forms to create complex applications.
Can I manage PDF files within a Windows Forms application?
Yes, by integrating IronPDF into your project, you can manage PDF files, enabling functionalities like generating, editing, and converting PDFs directly within your application.
How can Excel files be handled in a Windows Forms app?
IronXL can be used to handle Excel files in a Windows Forms app, providing capabilities to read, write, edit, and create Excel spreadsheets dynamically.
What is the benefit of using IronOCR in Windows Forms applications?
IronOCR allows Windows Forms applications to perform optical character recognition, making it possible to extract text from images and scanned documents efficiently.
How do I add barcode scanning capabilities to a Windows Forms application?
You can add barcode scanning capabilities by using IronBarcode, which allows your application to generate and read both barcodes and QR codes for various applications like inventory management.