C# WebRTC (How It Works For Developers)
WebRTC stands for Web Real-Time Communication, a technology that enables direct, real-time communication between web browsers and other platforms without the need for intermediate servers for data transfer, except for the initial connection setup. It supports video, audio, and generic data to be shared between peers, making it a powerful tool for developing real-time communication applications.
This tutorial introduces how to create a WebRTC solution using C#, focusing on the .NET Core framework, and provides insights into setting up a signaling server, understanding TURN servers, and integrating WebRTC into your IronPDF C# applications.
Setting Up Your Environment
To start developing a WebRTC application in C#, you need to set up your development environment. This involves installing .NET Core, which is a cross-platform version of .NET for building websites, services, and console apps. You can download and install .NET Core from Microsoft's official website. Once installed, you can use Visual Studio, a popular integrated development environment (IDE) for C# development, or any other editor of your choice to write your code.
Creating a New Console Application
Start by setting up a new console application project. Open your terminal or command line interface and move to the directory where you plan to establish your project. Next, execute the command below:
dotnet new console -n WebRTCSampledotnet new console -n WebRTCSampleThis command creates a new directory named WebRTCSample with a simple "Hello World" console application. Navigate into your project directory, and you're ready to start coding your WebRTC app.
Understanding WebRTC and Signaling
WebRTC enables real-time communication, but it requires a mechanism to coordinate communication and send control messages, a process known as signaling. Signaling is used to exchange metadata about the communication session, such as session descriptions and candidate information for establishing a connection. C# applications can implement signaling over any message transport mechanism, such as WebSockets or REST APIs.
Implementing a Signaling Server in .NET Core
A signaling server acts as the intermediary to exchange messages between peers before the direct peer-to-peer connection is established. You can implement a signaling server using .NET Core by creating a simple web application that handles WebSocket connections.
using Microsoft.AspNetCore.Builder;
using Microsoft.AspNetCore.Hosting;
using Microsoft.Extensions.DependencyInjection;
using Microsoft.Extensions.Hosting;

public class Startup
{
    // Configures services for the web application.
    public void ConfigureServices(IServiceCollection services)
    {
        services.AddCors(options => options.AddDefaultPolicy(
            builder => builder.AllowAnyOrigin().AllowAnyMethod().AllowAnyHeader()));
        services.AddSignalR();
    }

    // Configures the HTTP request pipeline.
    public void Configure(IApplicationBuilder app, IWebHostEnvironment env)
    {
        if (env.IsDevelopment())
        {
            app.UseDeveloperExceptionPage();
        }
        app.UseCors();
        app.UseRouting();
        app.UseEndpoints(endpoints =>
        {
            endpoints.MapHub<SignalingHub>("/signal");
        });
    }
}
using Microsoft.AspNetCore.Builder;
using Microsoft.AspNetCore.Hosting;
using Microsoft.Extensions.DependencyInjection;
using Microsoft.Extensions.Hosting;
public class Startup
{
// Configures services for the web application.
public void ConfigureServices(IServiceCollection services)
{
services.AddCors(options => options.AddDefaultPolicy(
builder => builder.AllowAnyOrigin().AllowAnyMethod().AllowAnyHeader()));
services.AddSignalR();
}
// Configures the HTTP request pipeline.
public void Configure(IApplicationBuilder app, IWebHostEnvironment env)
{
if (env.IsDevelopment())
{
app.UseDeveloperExceptionPage();
}
app.UseCors();
app.UseRouting();
app.UseEndpoints(endpoints =>
{
endpoints.MapHub<SignalingHub>("/signal");
});
}
}Imports Microsoft.AspNetCore.Builder
Imports Microsoft.AspNetCore.Hosting
Imports Microsoft.Extensions.DependencyInjection
Imports Microsoft.Extensions.Hosting
Public Class Startup
' Configures services for the web application.
Public Sub ConfigureServices(ByVal services As IServiceCollection)
services.AddCors(Function(options) options.AddDefaultPolicy(Function(builder) builder.AllowAnyOrigin().AllowAnyMethod().AllowAnyHeader()))
services.AddSignalR()
End Sub
' Configures the HTTP request pipeline.
Public Sub Configure(ByVal app As IApplicationBuilder, ByVal env As IWebHostEnvironment)
If env.IsDevelopment() Then
app.UseDeveloperExceptionPage()
End If
app.UseCors()
app.UseRouting()
app.UseEndpoints(Sub(endpoints)
endpoints.MapHub(Of SignalingHub)("/signal")
End Sub)
End Sub
End ClassThis code snippet sets up a basic .NET Core application with SignalR, a library for adding real-time web functionalities to apps. SignalR simplifies the process of adding real-time web functionality to applications, making it a good choice for our signaling server.
Connecting Peers with WebRTC
After setting up the signaling server, the next step is to establish a peer-to-peer connection between clients using WebRTC. This involves creating RTCPeerConnection objects on each client, exchanging offer and answer messages, and negotiating the connection details.
Creating the Peer Connection
In your C# application, you'll primarily manage the signaling part and possibly interact with WebRTC APIs through a browser or other platforms like React Native for mobile apps. Below is an example of how to initiate a peer connection from a web client:
// Create a new RTCPeerConnection instance
const peerConnection = new RTCPeerConnection();

// Listen for ICE candidates and send them to the signaling server
peerConnection.onicecandidate = event => {
  if (event.candidate) {
    sendMessage('new-ice-candidate', event.candidate);
  }
};

// Handle incoming media streams
peerConnection.ontrack = event => {
  // Display the video or audio stream
};
// Create a new RTCPeerConnection instance
const peerConnection = new RTCPeerConnection();
// Listen for ICE candidates and send them to the signaling server
peerConnection.onicecandidate = event => {
if (event.candidate) {
sendMessage('new-ice-candidate', event.candidate);
}
};
// Handle incoming media streams
peerConnection.ontrack = event => {
// Display the video or audio stream
};This JavaScript code snippet demonstrates creating a new peer connection, handling ICE candidates, and setting up a callback to display incoming media streams.
Exchanging Offer and Answer
To establish a connection, one peer creates an offer, and the other responds with an answer. These are exchanged through the signaling server implemented earlier.
// Create an offer for the peer connection
async function createOffer() {
  const offer = await peerConnection.createOffer();
  await peerConnection.setLocalDescription(offer);
  sendMessage('offer', offer);
}

// Create an answer after receiving an offer
async function createAnswer(offer) {
  await peerConnection.setRemoteDescription(new RTCSessionDescription(offer));
  const answer = await peerConnection.createAnswer();
  await peerConnection.setLocalDescription(answer);
  sendMessage('answer', answer);
}
// Create an offer for the peer connection
async function createOffer() {
const offer = await peerConnection.createOffer();
await peerConnection.setLocalDescription(offer);
sendMessage('offer', offer);
}
// Create an answer after receiving an offer
async function createAnswer(offer) {
await peerConnection.setRemoteDescription(new RTCSessionDescription(offer));
const answer = await peerConnection.createAnswer();
await peerConnection.setLocalDescription(answer);
sendMessage('answer', answer);
}Integrating WebRTC into .NET Applications
While the core WebRTC implementation is typically handled in the browser or other client-side environments, .NET applications can facilitate the signaling process, manage session control, and interact with other services like TURN servers for NAT traversal. For desktop or server-side applications, libraries like Pion WebRTC (an open-source library for Go) can be wrapped or used in conjunction with C# for handling WebRTC traffic.
Running Your Application
To run your .NET Core application, navigate to the project directory in your terminal and execute:
dotnet rundotnet runThis command compiles and runs your application, starting the signaling server you've implemented. Your web clients can now connect to this server to start exchanging signaling messages.
Introduction to IronPDF
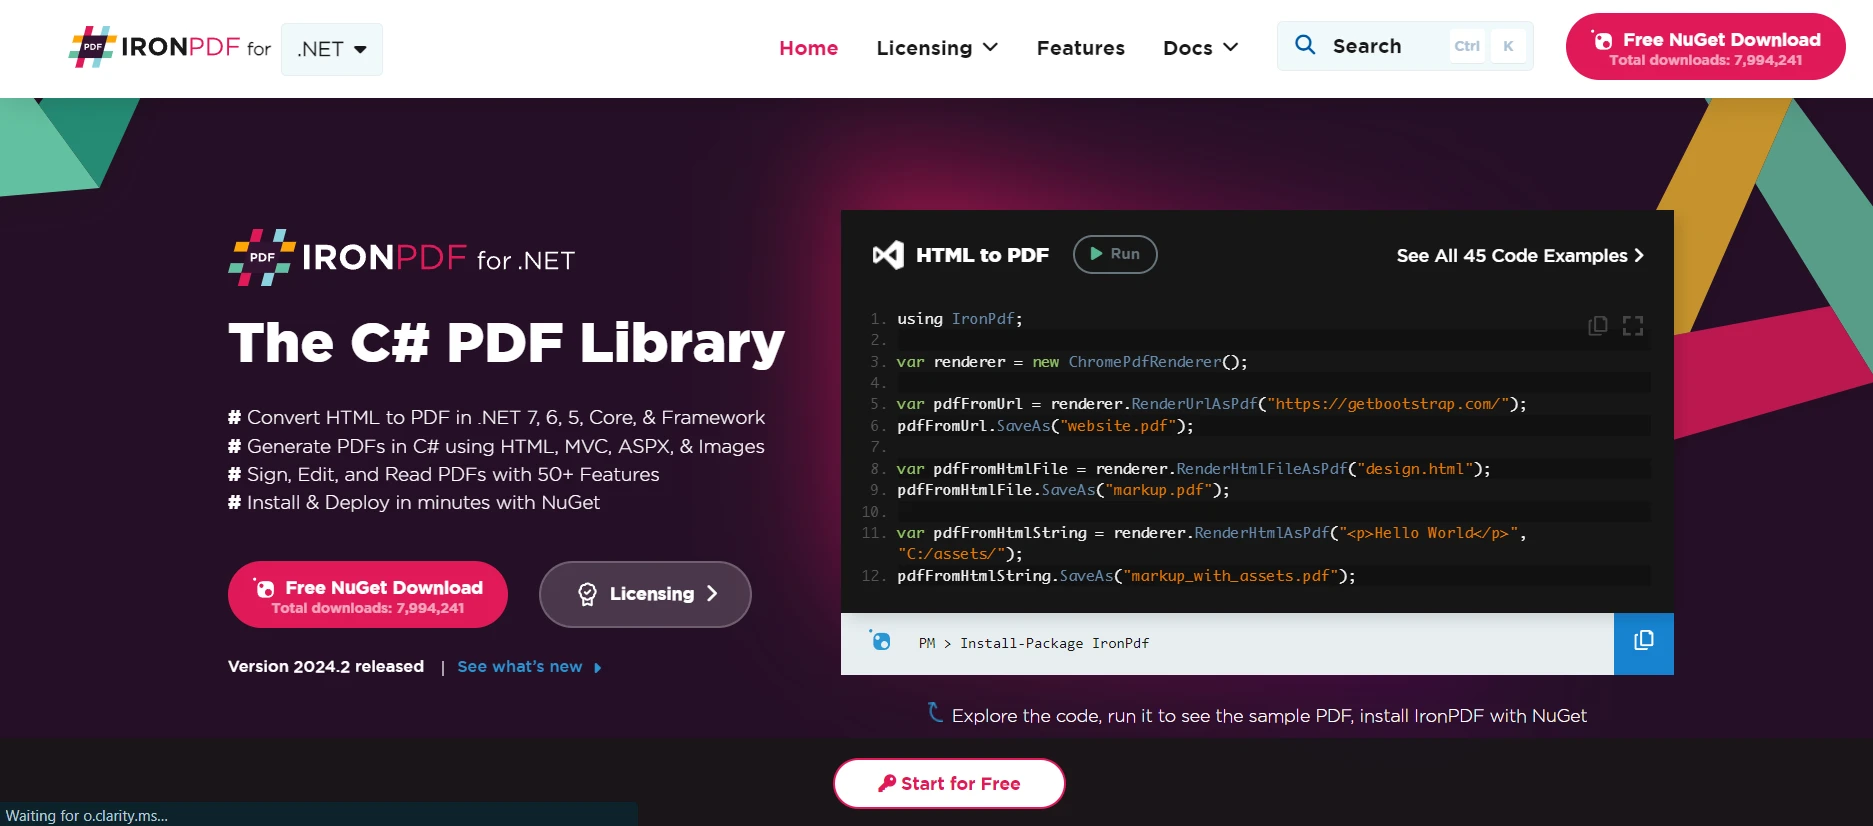
IronPDF is a versatile library that brings PDF generation and manipulation capabilities to .NET applications, allowing developers to create, read, and edit PDF documents programmatically. IronPDF supports a range of tasks, including generating PDFs from HTML, filling forms, extracting text, and securing documents. This makes it incredibly useful for generating reports, invoices, and dynamic documents based on user data or application output.
A key feature of IronPDF is its HTML to PDF capability, keeping your layouts and styles intact. It generates PDFs from web content, making it perfect for reports, invoices, and documentation. You can convert HTML files, URLs, and HTML strings to PDFs easily.
using IronPdf;

class Program
{
    static void Main(string[] args)
    {
        var renderer = new ChromePdfRenderer();

        // 1. Convert HTML String to PDF
        var htmlContent = "<h1>Hello, IronPDF!</h1><p>This is a PDF from an HTML string.</p>";
        var pdfFromHtmlString = renderer.RenderHtmlAsPdf(htmlContent);
        pdfFromHtmlString.SaveAs("HTMLStringToPDF.pdf");

        // 2. Convert HTML File to PDF
        var htmlFilePath = "path_to_your_html_file.html"; // Specify the path to your HTML file
        var pdfFromHtmlFile = renderer.RenderHtmlFileAsPdf(htmlFilePath);
        pdfFromHtmlFile.SaveAs("HTMLFileToPDF.pdf");

        // 3. Convert URL to PDF
        var url = "http://ironpdf.com"; // Specify the URL
        var pdfFromUrl = renderer.RenderUrlAsPdf(url);
        pdfFromUrl.SaveAs("URLToPDF.pdf");
    }
}
using IronPdf;
class Program
{
static void Main(string[] args)
{
var renderer = new ChromePdfRenderer();
// 1. Convert HTML String to PDF
var htmlContent = "<h1>Hello, IronPDF!</h1><p>This is a PDF from an HTML string.</p>";
var pdfFromHtmlString = renderer.RenderHtmlAsPdf(htmlContent);
pdfFromHtmlString.SaveAs("HTMLStringToPDF.pdf");
// 2. Convert HTML File to PDF
var htmlFilePath = "path_to_your_html_file.html"; // Specify the path to your HTML file
var pdfFromHtmlFile = renderer.RenderHtmlFileAsPdf(htmlFilePath);
pdfFromHtmlFile.SaveAs("HTMLFileToPDF.pdf");
// 3. Convert URL to PDF
var url = "http://ironpdf.com"; // Specify the URL
var pdfFromUrl = renderer.RenderUrlAsPdf(url);
pdfFromUrl.SaveAs("URLToPDF.pdf");
}
}Imports IronPdf
Friend Class Program
Shared Sub Main(ByVal args() As String)
Dim renderer = New ChromePdfRenderer()
' 1. Convert HTML String to PDF
Dim htmlContent = "<h1>Hello, IronPDF!</h1><p>This is a PDF from an HTML string.</p>"
Dim pdfFromHtmlString = renderer.RenderHtmlAsPdf(htmlContent)
pdfFromHtmlString.SaveAs("HTMLStringToPDF.pdf")
' 2. Convert HTML File to PDF
Dim htmlFilePath = "path_to_your_html_file.html" ' Specify the path to your HTML file
Dim pdfFromHtmlFile = renderer.RenderHtmlFileAsPdf(htmlFilePath)
pdfFromHtmlFile.SaveAs("HTMLFileToPDF.pdf")
' 3. Convert URL to PDF
Dim url = "http://ironpdf.com" ' Specify the URL
Dim pdfFromUrl = renderer.RenderUrlAsPdf(url)
pdfFromUrl.SaveAs("URLToPDF.pdf")
End Sub
End ClassInstalling IronPDF
Before you can use IronPDF in your project, you need to add it to your .NET application. This can be done using NuGet Package Manager, which simplifies the process of managing external libraries in your projects. To install IronPDF, you can use the following command in the NuGet Package Manager Console:
Install-Package IronPdf
Use Case: Generating Meeting Minutes PDF in a WebRTC Application with IronPDF
Imagine developing a real-time communication application using WebRTC, designed for online meetings or virtual classrooms. This application allows users to engage in audio and video calls, share their screens, and collaborate on documents in real-time. A valuable feature of this application would be the ability to automatically generate and distribute meeting minutes or a summary of the session, including key points discussed, decisions made, and action items, in a PDF format. This is where IronPDF comes into play.
Implementation Steps
- Capture Meeting Content: Throughout the WebRTC session, text-based content such as chat messages, shared notes, or highlighted action items are captured. This content can be formatted as HTML, allowing for easy styling and organization (e.g., using lists for action items and headings for key topics).
- Generate HTML Template: At the end of the session, the captured content is formatted into an HTML template. This template includes the meeting's title, date, participants, and structured sections for different types of content (discussion points, decisions, action items).
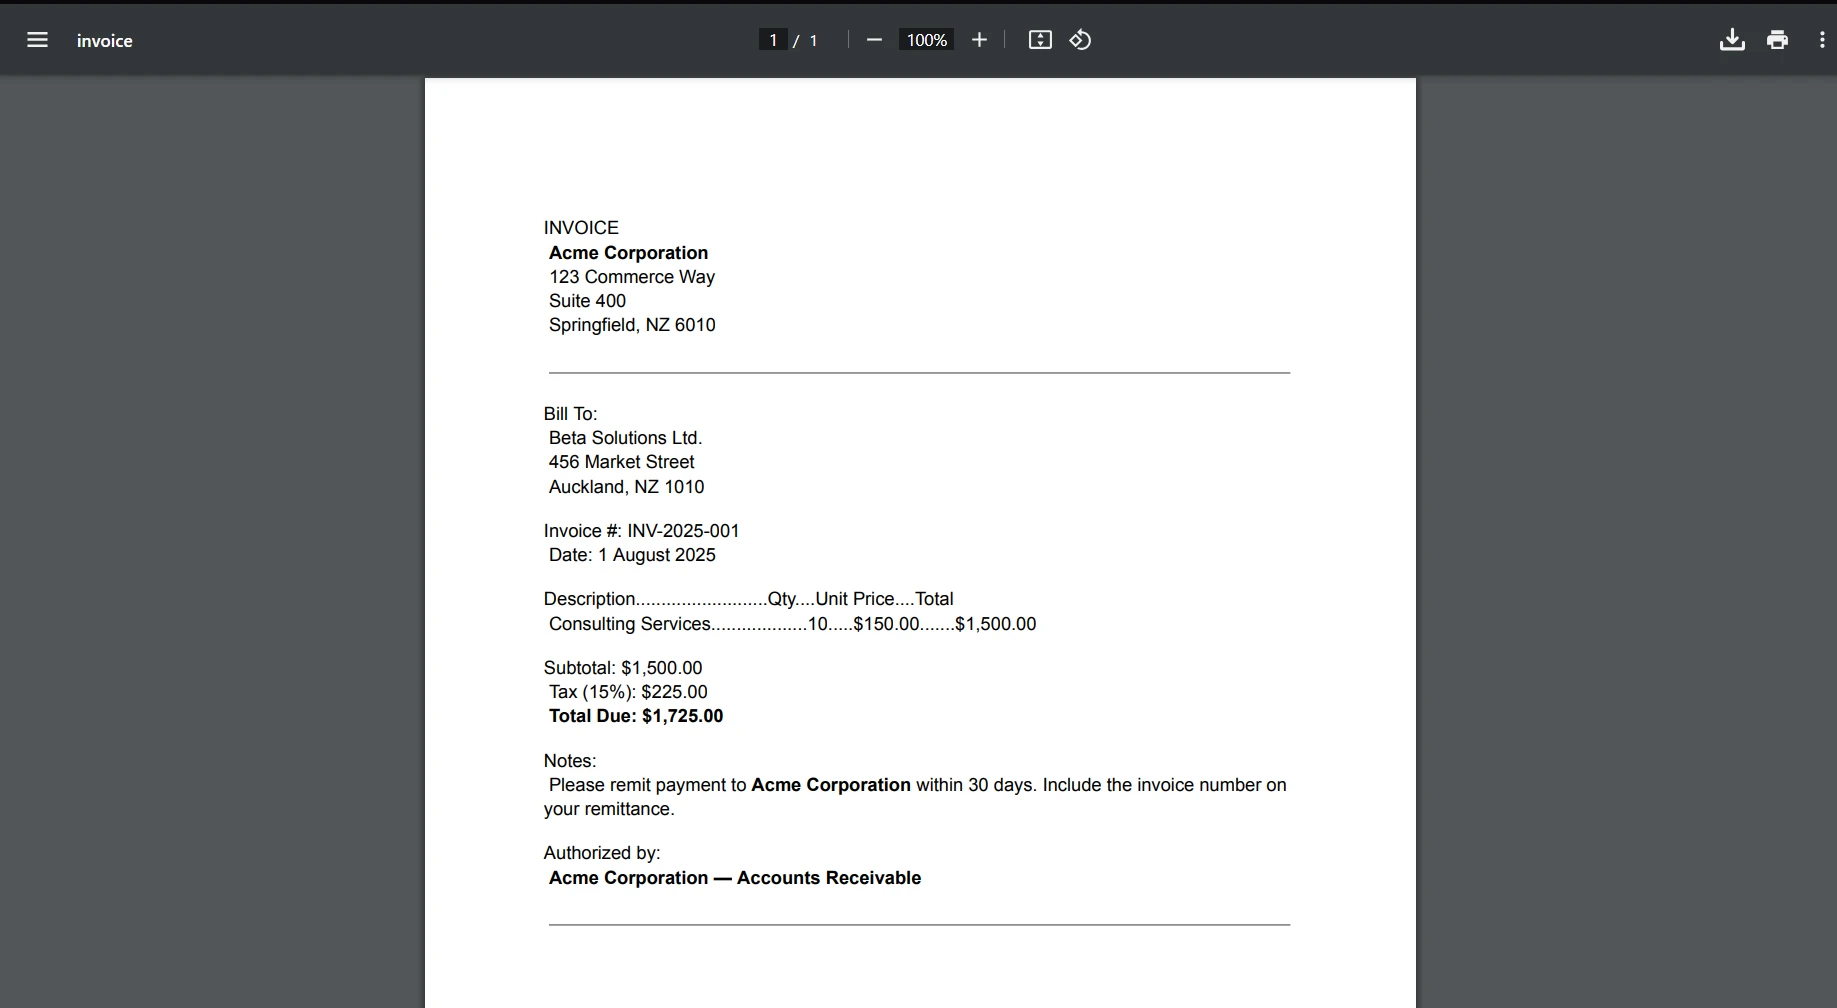
- Convert HTML to PDF: Once the meeting concludes and the HTML template is prepared, IronPDF is used to convert this HTML content into a PDF document. This conversion ensures that the styling and layout defined in the HTML are retained in the PDF, making the document easy to read and professional in appearance.
Here is an example of a sample PDF code:
using IronPdf;

public class MeetingMinutesGenerator
{
    public static void GenerateMeetingMinutesPdf(string htmlContent, string outputPath)
    {
        // Initialize the HTML to PDF converter
        var renderer = new HtmlToPdf();
        renderer.PrintOptions.MarginTop = 40;
        renderer.PrintOptions.MarginBottom = 40;
        renderer.RenderingOptions.HtmlHeader = new HtmlHeaderFooter()
        {
            CenterText = "{pdf-title}",
            DrawDividerLine = true,
            FontSize = 12
        };
        renderer.RenderingOptions.HtmlFooter = new HtmlHeaderFooter()
        {
            LeftText = "{date} {time}",
            RightText = "Page {page} of {total-pages}",
            DrawDividerLine = true,
            FontSize = 12
        };
        // Convert the HTML content to a PDF document
        var pdfDocument = renderer.RenderHtmlAsPdf(htmlContent);
        // Save the PDF document
        pdfDocument.SaveAs(outputPath);
        Console.WriteLine("Meeting minutes PDF generated.");
    }
}
using IronPdf;
public class MeetingMinutesGenerator
{
public static void GenerateMeetingMinutesPdf(string htmlContent, string outputPath)
{
// Initialize the HTML to PDF converter
var renderer = new HtmlToPdf();
renderer.PrintOptions.MarginTop = 40;
renderer.PrintOptions.MarginBottom = 40;
renderer.RenderingOptions.HtmlHeader = new HtmlHeaderFooter()
{
CenterText = "{pdf-title}",
DrawDividerLine = true,
FontSize = 12
};
renderer.RenderingOptions.HtmlFooter = new HtmlHeaderFooter()
{
LeftText = "{date} {time}",
RightText = "Page {page} of {total-pages}",
DrawDividerLine = true,
FontSize = 12
};
// Convert the HTML content to a PDF document
var pdfDocument = renderer.RenderHtmlAsPdf(htmlContent);
// Save the PDF document
pdfDocument.SaveAs(outputPath);
Console.WriteLine("Meeting minutes PDF generated.");
}
}Imports IronPdf
Public Class MeetingMinutesGenerator
Public Shared Sub GenerateMeetingMinutesPdf(ByVal htmlContent As String, ByVal outputPath As String)
' Initialize the HTML to PDF converter
Dim renderer = New HtmlToPdf()
renderer.PrintOptions.MarginTop = 40
renderer.PrintOptions.MarginBottom = 40
renderer.RenderingOptions.HtmlHeader = New HtmlHeaderFooter() With {
.CenterText = "{pdf-title}",
.DrawDividerLine = True,
.FontSize = 12
}
renderer.RenderingOptions.HtmlFooter = New HtmlHeaderFooter() With {
.LeftText = "{date} {time}",
.RightText = "Page {page} of {total-pages}",
.DrawDividerLine = True,
.FontSize = 12
}
' Convert the HTML content to a PDF document
Dim pdfDocument = renderer.RenderHtmlAsPdf(htmlContent)
' Save the PDF document
pdfDocument.SaveAs(outputPath)
Console.WriteLine("Meeting minutes PDF generated.")
End Sub
End ClassConclusion
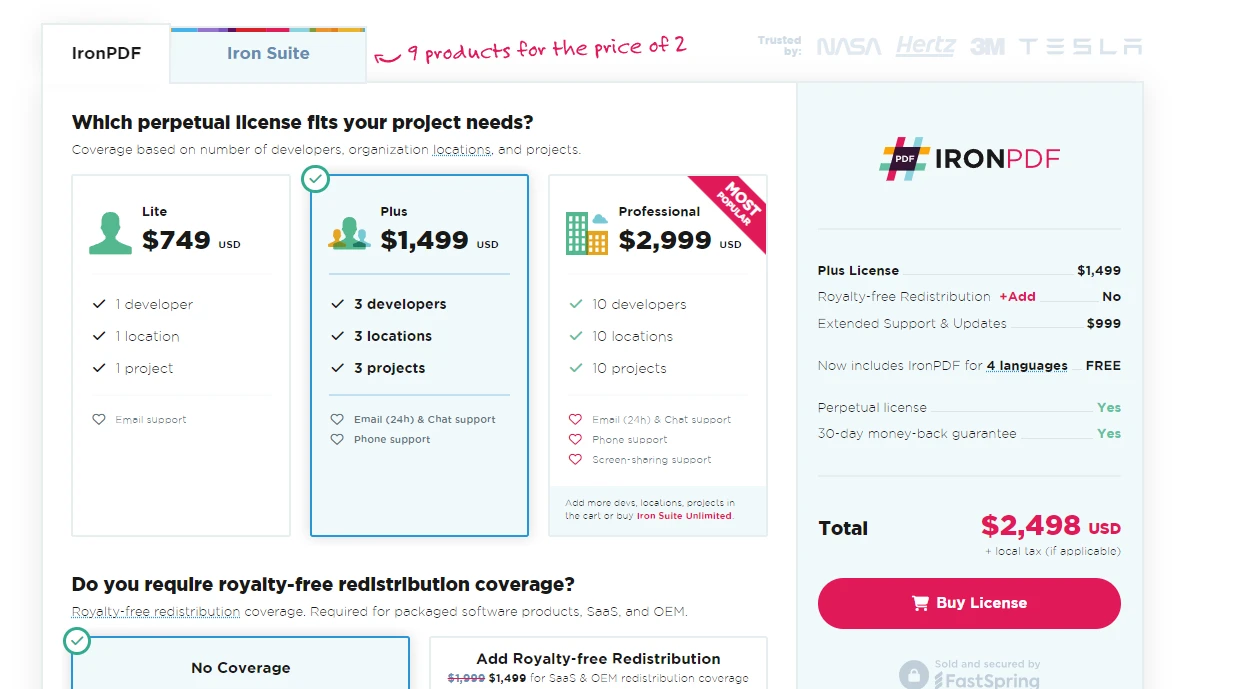
In this article, we've explored how to create a basic WebRTC application using C# and .NET Core. We covered setting up your development environment, creating a new console application, implementing a signaling server, and initiating peer connections for real-time communication. WebRTC opens up numerous possibilities for real-time communication applications, and with C# and .NET Core, you can build robust, scalable solutions that work across different platforms and devices. For licensing and purchase information, visit the IronPDF Licensing Page. Once you decide to buy, the license starts from $999.
Frequently Asked Questions
What are the benefits of using WebRTC with C# and .NET Core?
WebRTC coupled with C# and .NET Core allows developers to create real-time communication applications that leverage the powerful features of both WebRTC and the C# programming environment. This combination supports direct peer-to-peer data transfer and can be integrated with .NET libraries like IronPDF for additional functionalities.
How can I set up a development environment for WebRTC in C#?
To set up a development environment for WebRTC in C#, you need to install .NET Core SDK from the official Microsoft website. Use an IDE such as Visual Studio to manage and write your code efficiently. This setup will allow you to create console applications and integrate WebRTC functionalities.
What role does a signaling server play in a WebRTC application?
A signaling server is crucial in a WebRTC application as it facilitates the exchange of control messages and metadata between peers to establish a connection. It helps in negotiating session descriptions and candidate information before a direct peer-to-peer connection is made.
How can I create a signaling server using .NET Core?
You can create a signaling server using .NET Core by developing a simple web application that manages WebSocket connections. Utilizing SignalR, a library that adds real-time web functionalities, can streamline the process of implementing the signaling server.
How can IronPDF be used to generate PDFs in WebRTC applications?
IronPDF can be integrated into WebRTC applications to generate PDFs from HTML content. This is particularly useful for creating documents like meeting minutes or session summaries, enhancing the functionality of real-time communication applications.
What steps are involved in establishing a peer-to-peer connection in WebRTC?
Establishing a peer-to-peer connection in WebRTC involves creating RTCPeerConnection objects, exchanging offer and answer messages, and negotiating connection details using ICE candidates. This process is essential for enabling direct communication between peers.
How do TURN servers facilitate WebRTC connections?
TURN servers assist in enabling WebRTC connections by relaying media between peers when direct connection is not feasible, particularly in restrictive network environments. This ensures connectivity even in cases where NAT traversal is required.
Can HTML be converted to PDF in .NET applications?
Yes, HTML can be converted to PDF in .NET applications using libraries like IronPDF. Methods such as RenderHtmlAsPdf can be used to convert HTML content into a PDF document while maintaining the original styling and layout.