IronPDF vs Docusign - How to Add a Digital Signature to a PDF
There’s nothing quite as definitive as a signature at the bottom of a page. But with remote work, international offices, and cross-country agreements being made, the classic pen and paper doesn’t cut it anymore. Enter digital signatures - the easy, secure way to get deals over the line without having to be there in person.
In this guide, we’ll be comparing the digital signature functionality of IronPDF and Docusign. From adding messages to placing signature fields, we’ll look at features, example code, and costs to find out which tool is best for you.
Before that, however, let's take a quick look at what a digital signature is and why it's important.
What is a Digital Signature?
A digital signature, or electronic signature, refers to a mathematical formula that is used to authenticate and ensure the integrity of a signed document. They are legally binding in many countries and come equipped with a high level of security - they’re not just a picture on a page.
When a document is digitally signed, the signature is created using a private key known only to the signer. The signature key contains information about the signer, including their name, email address, and other details. To verify the authenticity of digitally signed documents, the recipient must have access to the public key of the signer. The public keys are used to decrypt the signature and verify its authenticity.
Why are Digital Signatures Important?
Digitally signed documents can be used for contracts, financial records, and more, often highly-sensitive documents. In some industries, digital signature standards are enforced. There was even an Electronic Signatures in Global and National Commerce Act, or ‘E-Sign Act’, passed in the USA way back in 2000. E-signatures have been around for a while, and it’s important that they’re secure.
Digital signatures provide several benefits over traditional signatures:
- They can be used to sign documents from anywhere in the world.
- They can be verified electronically, which reduces the need for manual verification.
- They’re more environmentally friendly, reducing paper use and waste.
IronPDF vs Docusign - In-Depth Comparison
Now that we understand what a digital signature is and why it's important, let's take a look at how to create, sign, and verify a digitally signed document. In this guide, we’ll compare, with example code, how IronPDF and Docusign handle these tasks and find out which C# library is better for your project.
Getting Started
Create Your Project in Visual Studio
First of all, open Visual Studio and go to File -> New Project -> Console Application. Enter your project name, choose the location you want to save it to, and hit the Next button. Select the latest .NET Framework and then Create. Once your project is up and running, it’s time to add our library.
Install the IronPDF Library
IronPDF is easy to use, but it’s even easier to install. There are a few ways you can do it:
Method 1: NuGet Package Manager Console
In Visual Studio, in Solution Explorer, right-click References, and then click Manage NuGet Packages. Hit browse, search ‘IronPDF’, and install the latest version. If you see this, it’s working:
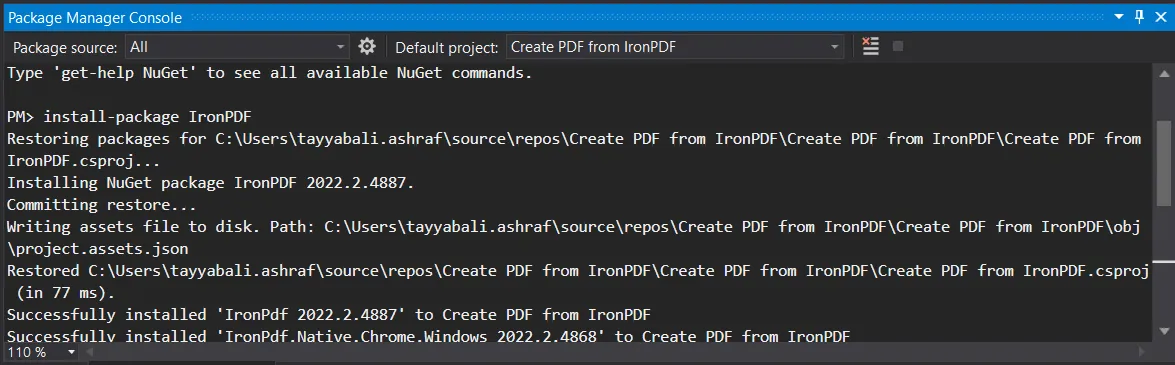
You can also go to Tools -> NuGet Package Manager -> Packet Manager Console, and enter the following line in the Package Manager Tab:
Install-Package IronPdf
Finally, you can get IronPDF directly from NuGet’s official IronPDF page. Select the Download Package option from the menu on the right of the page, double-click your download to install it automatically, and reload the Solution to start using it in your project.
Didn’t work? You can find platform-specific help on our advanced NuGet installation instructions page.
Method 2: Using a DLL file
You can also get the IronPDF DLL file straight from us and add it to Visual Studio manually. For full instructions and links to the Windows, MacOS, and Linux DLL packages, check out our dedicated IronPDF installation instructions page.
Digitally Sign a PDF using IronPDF
Write the following code to digitally sign a PDF file.
using IronPdf;
// Step 1. Create a new PDF or load and edit an existing document.
PdfDocument pdfDocument = new PdfDocument(@"D:/Sample PDF File.pdf");
// Step 2. Create a Signature.
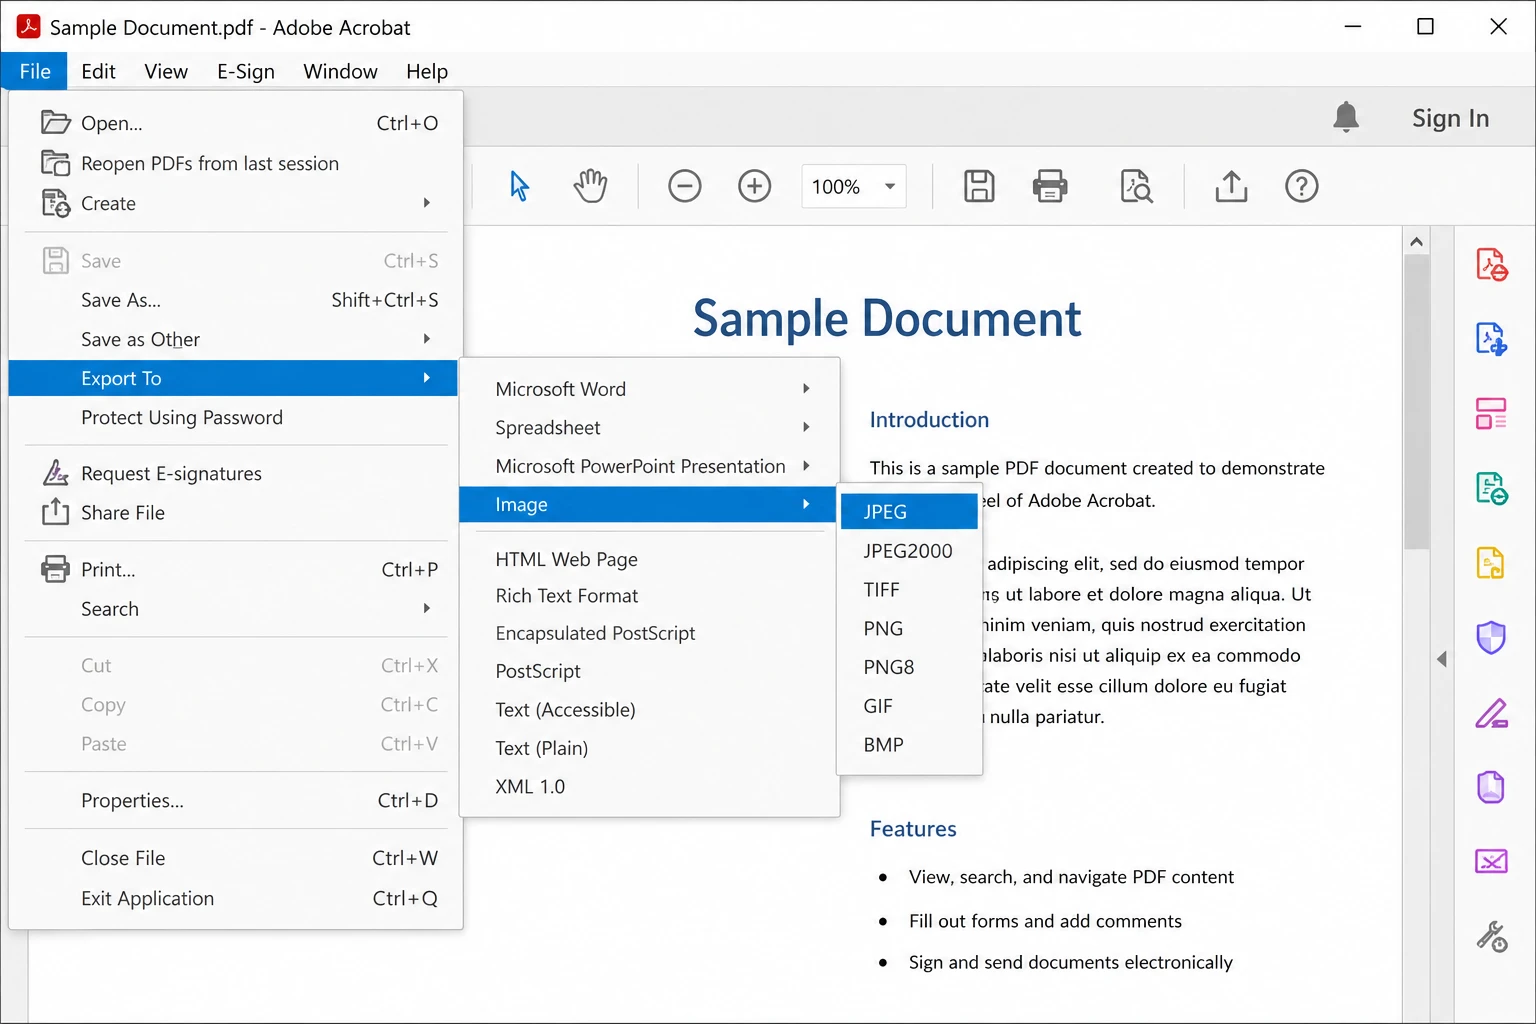
// You may create a .pfx or .p12 PDF signing certificate using Adobe Acrobat Reader.
// Read: https://helpx.adobe.com/acrobat/using/digital-ids.html
var signature = new IronPdf.Signing.PdfSignature("Iron.pfx", "123456")
{
// Step 3. Optional signing options and a handwritten signature graphic
SigningContact = "john@email.com",
SigningLocation = "Chicago, USA",
SigningReason = "To show how to sign a PDF"
};
// Step 4. Sign the PDF with the PdfSignature. Multiple signing certificates may be used.
pdfDocument.Sign(signature);
// Step 5. The PDF is not signed until saved to file, stream, or byte array.
pdfDocument.SaveAs("signed.pdf");using IronPdf;
// Step 1. Create a new PDF or load and edit an existing document.
PdfDocument pdfDocument = new PdfDocument(@"D:/Sample PDF File.pdf");
// Step 2. Create a Signature.
// You may create a .pfx or .p12 PDF signing certificate using Adobe Acrobat Reader.
// Read: https://helpx.adobe.com/acrobat/using/digital-ids.html
var signature = new IronPdf.Signing.PdfSignature("Iron.pfx", "123456")
{
// Step 3. Optional signing options and a handwritten signature graphic
SigningContact = "john@email.com",
SigningLocation = "Chicago, USA",
SigningReason = "To show how to sign a PDF"
};
// Step 4. Sign the PDF with the PdfSignature. Multiple signing certificates may be used.
pdfDocument.Sign(signature);
// Step 5. The PDF is not signed until saved to file, stream, or byte array.
pdfDocument.SaveAs("signed.pdf");Imports IronPdf
' Step 1. Create a new PDF or load and edit an existing document.
Private pdfDocument As New PdfDocument("D:/Sample PDF File.pdf")
' Step 2. Create a Signature.
' You may create a .pfx or .p12 PDF signing certificate using Adobe Acrobat Reader.
' Read: https://helpx.adobe.com/acrobat/using/digital-ids.html
Private signature = New IronPdf.Signing.PdfSignature("Iron.pfx", "123456") With {
.SigningContact = "john@email.com",
.SigningLocation = "Chicago, USA",
.SigningReason = "To show how to sign a PDF"
}
' Step 4. Sign the PDF with the PdfSignature. Multiple signing certificates may be used.
pdfDocument.Sign(signature)
' Step 5. The PDF is not signed until saved to file, stream, or byte array.
pdfDocument.SaveAs("signed.pdf")Digitally Sign a PDF using Docusign
Docusign is an online tool that allows you to send and receive documents requiring an electronic signature. Here’s a quick guide on how to use Docusign:
- Step 1: Sign up to Docusign
- Step 2: Upload Your PDF Documents
- Step 3: Enter recipient’s email address
- Step 4: Add email subject and message
- Step 5: Place Signature Fields
- Step 6: Review and Send
- Step 7: Sign the PDF Document
- Step 8: Complete the Process
Licensing and Pricing
For simple electronic signature functionality, Docusign has plans ranging from $10 to $40 per user, per month. For a Developer API, with functionality closer to that of IronPDF, it ranges from $50 to $480 per month.
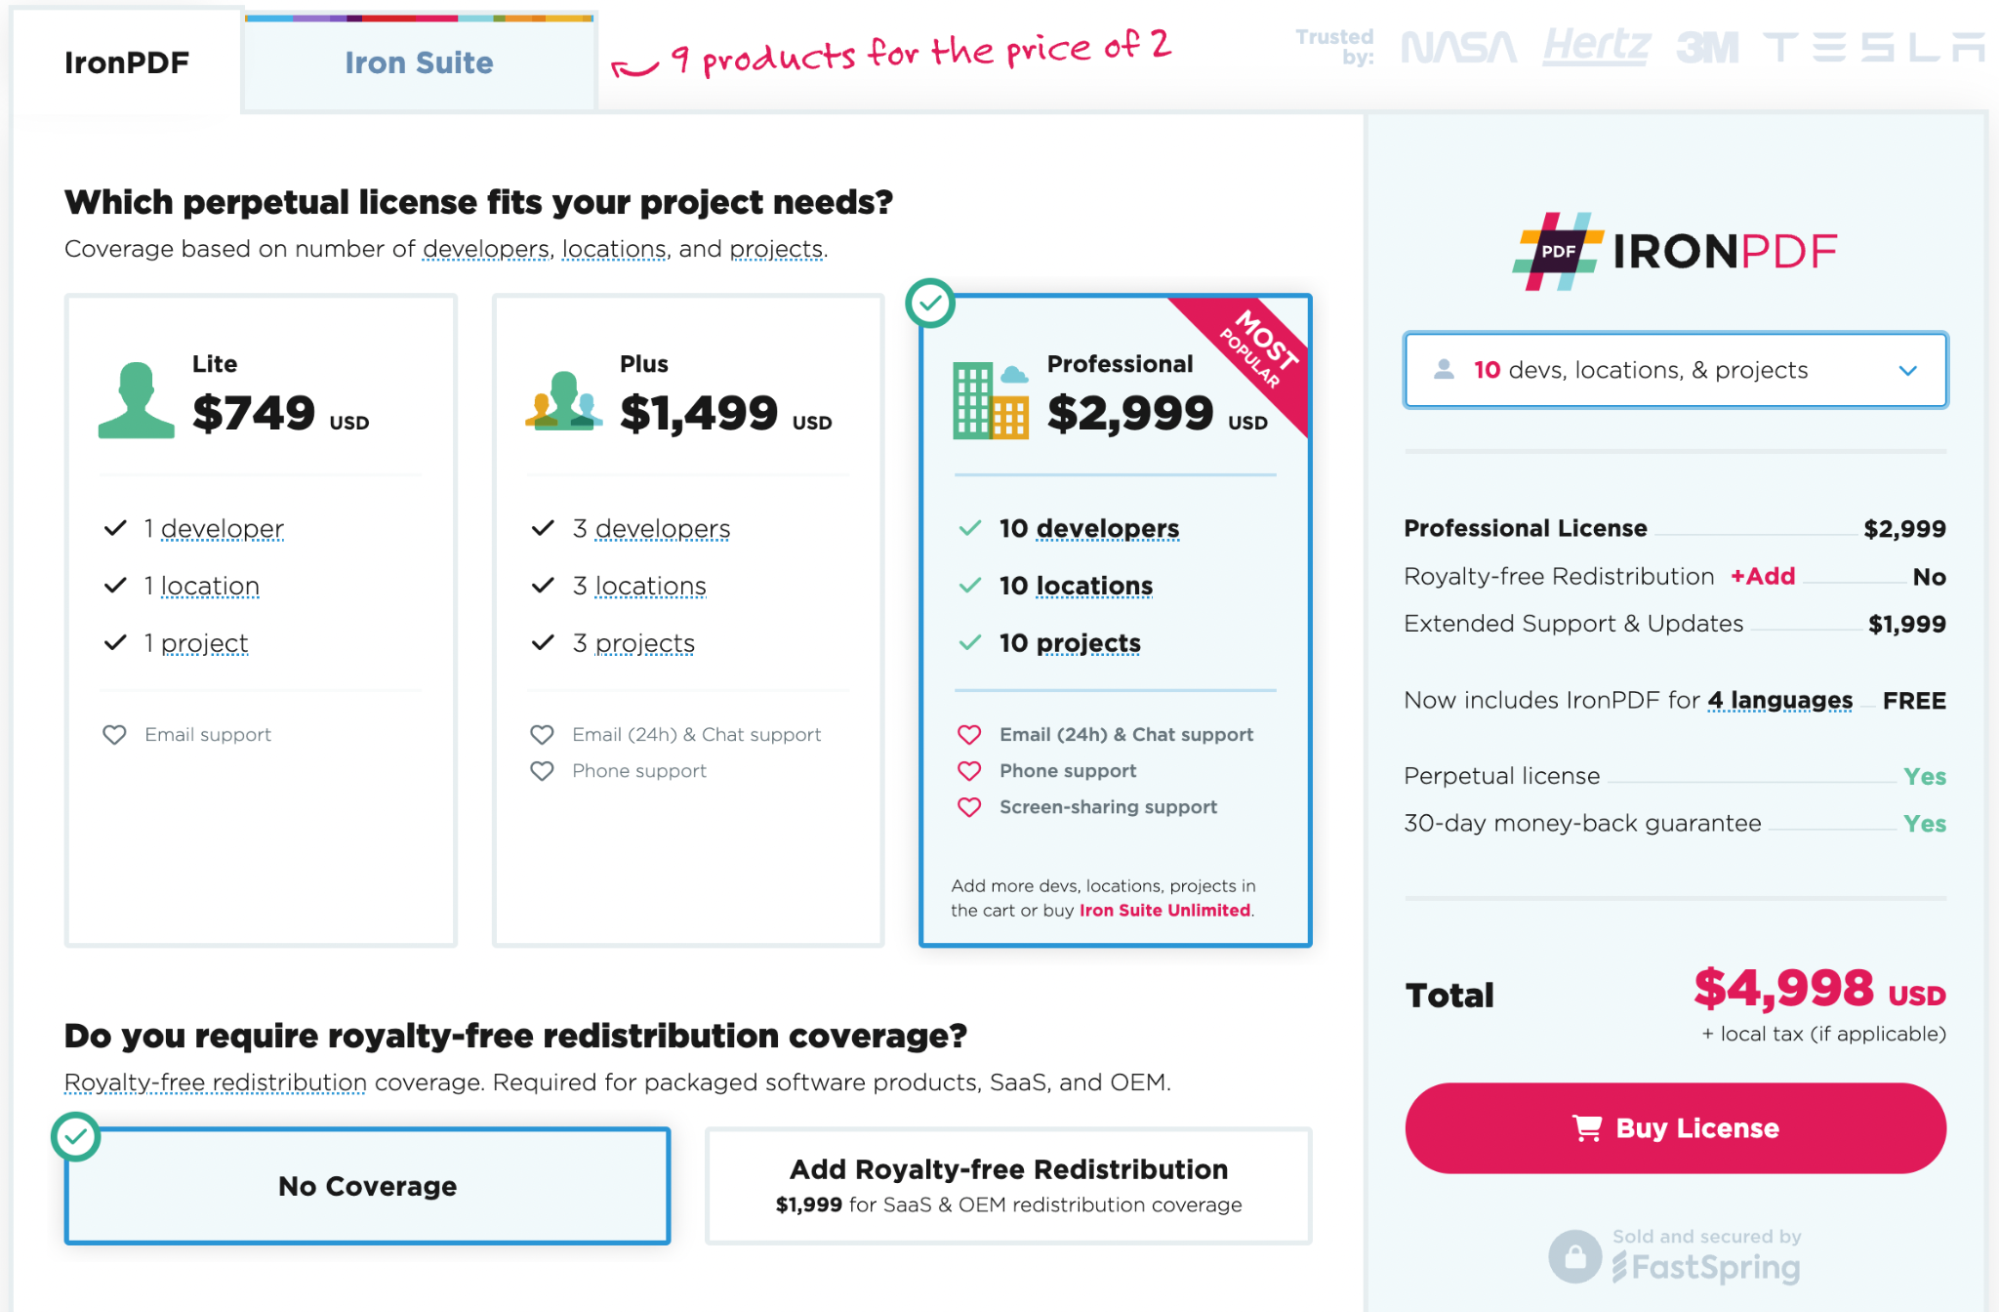
On the other hand, IronPDF is just $750 for a lifetime license, meaning that you don’t have to commit to a long-term contract or keep an active subscription to use our product. Also, every license comes with a year’s free support.
Conclusion
Ready to get your hands on IronPDF? You can start with our IronPDF 30-day free trial. It’s also completely free to use for development purposes, so you can really get to see what it’s made of. And if you like what you see, IronPDF starts as low as $999. For even bigger savings, check out the Iron Suite Pricing Page where you can get all nine Iron Software tools for the price of two. Happy coding!