C# DataTable (Cómo funciona para desarrolladores)
Bienvenido a este tutorial sobre DataTables en C#. Un DataTable es una estructura de datos poderosa proporcionada por el framework .NET, que te permite almacenar, manipular y consultar datos en formato tabular. En este tutorial, exploraremos lo básico de DataTables en C#, incluyendo la creación y modificación de DataTables, agregar columnas y filas, consultar datos y usar DataView para filtrar y ordenar.
Al final de este tutorial, tendrás un buen entendimiento de cómo usar DataTables en tus aplicaciones C#. ¡Comencemos!
Creación de una DataTable
Para crear un DataTable en C#, primero necesitas importar el espacio de nombres System.Data. Este espacio de nombres contiene varias clases y métodos relacionados con la manipulación de datos, incluyendo la clase DataTable.
using System.Data;using System.Data;Imports System.DataA continuación, puedes crear una instancia de la clase DataTable. La forma más sencilla de hacerlo es utilizando el constructor por defecto, de esta manera:
DataTable dt = new DataTable();DataTable dt = new DataTable();Dim dt As New DataTable()También puedes crear un DataTable con un nombre específico pasando un parámetro de tipo cadena al constructor:
DataTable dt = new DataTable("Employees");DataTable dt = new DataTable("Employees");Dim dt As New DataTable("Employees")Métodos de DataTable
Añadir columnas
Una vez que hayas creado un DataTable, puedes comenzar a agregarle columnas. Para agregar una columna, primero necesitas crear una instancia de la clase DataColumn y establecer sus propiedades, como ColumnName y DataType.
Aquí tienes un ejemplo de cómo agregar tres columnas a un DataTable:
DataColumn idColumn = new DataColumn("Id", typeof(int));
DataColumn nameColumn = new DataColumn("Name", typeof(string));
DataColumn ageColumn = new DataColumn("Age", typeof(int));

dt.Columns.Add(idColumn);
dt.Columns.Add(nameColumn);
dt.Columns.Add(ageColumn);
DataColumn idColumn = new DataColumn("Id", typeof(int));
DataColumn nameColumn = new DataColumn("Name", typeof(string));
DataColumn ageColumn = new DataColumn("Age", typeof(int));
dt.Columns.Add(idColumn);
dt.Columns.Add(nameColumn);
dt.Columns.Add(ageColumn);Dim idColumn As New DataColumn("Id", GetType(Integer))
Dim nameColumn As New DataColumn("Name", GetType(String))
Dim ageColumn As New DataColumn("Age", GetType(Integer))
dt.Columns.Add(idColumn)
dt.Columns.Add(nameColumn)
dt.Columns.Add(ageColumn)Puedes agregar múltiples columnas como la columna Id en la tabla de datos.
Añadir filas de datos
Después de definir las columnas, puedes comenzar a agregar filas al DataTable. Para agregar una fila, necesitas crear una nueva instancia de la clase DataRow y llenar sus campos con los datos requeridos.
Aquí hay un ejemplo de cómo agregar una nueva fila a un DataTable:
DataRow newRow = dt.NewRow();

newRow["Id"] = 1;
newRow["Name"] = "John Doe";
newRow["Age"] = 30;

dt.Rows.Add(newRow);
DataRow newRow = dt.NewRow();
newRow["Id"] = 1;
newRow["Name"] = "John Doe";
newRow["Age"] = 30;
dt.Rows.Add(newRow);Dim newRow As DataRow = dt.NewRow()
newRow("Id") = 1
newRow("Name") = "John Doe"
newRow("Age") = 30
dt.Rows.Add(newRow)También puedes agregar múltiples filas de DataTable a la vez usando el mismo método en un bucle.
for (int i = 1; i <= 3; i++)
{
    DataRow row = dt.NewRow();
    row["Id"] = i;
    row["Name"] = "Employee " + i;
    row["Age"] = 20 + i;
    dt.Rows.Add(row);
}
for (int i = 1; i <= 3; i++)
{
DataRow row = dt.NewRow();
row["Id"] = i;
row["Name"] = "Employee " + i;
row["Age"] = 20 + i;
dt.Rows.Add(row);
}For i As Integer = 1 To 3
Dim row As DataRow = dt.NewRow()
row("Id") = i
row("Name") = "Employee " & i
row("Age") = 20 + i
dt.Rows.Add(row)
Next iEn el código anterior, agregamos tres filas de datos.
Acceso a datos
Puedes acceder a los datos almacenados en un DataTable iterando a través de sus colecciones Rows y Columns. Aquí hay un ejemplo de cómo mostrar el contenido de un DataTable en la consola:
foreach (DataRow row in dt.Rows)
{
    foreach (DataColumn col in dt.Columns)
    {
        Console.Write(row[col] + "\t");
    }
    Console.WriteLine();
}
foreach (DataRow row in dt.Rows)
{
foreach (DataColumn col in dt.Columns)
{
Console.Write(row[col] + "\t");
}
Console.WriteLine();
}Imports Microsoft.VisualBasic
For Each row As DataRow In dt.Rows
For Each col As DataColumn In dt.Columns
Console.Write(row(col) & vbTab)
Next col
Console.WriteLine()
Next rowModificación de datos
Puedes modificar los datos en un DataTable actualizando los valores en sus objetos DataRow. Aquí tienes un ejemplo de cómo actualizar la edad de un empleado específico:
var primaryKey = 1;
DataRow employeeRow = dt.Rows.Find(primaryKey); // Find the row with the specified primary key
if (employeeRow != null)
{
    employeeRow["Age"] = 35;
}
var primaryKey = 1;
DataRow employeeRow = dt.Rows.Find(primaryKey); // Find the row with the specified primary key
if (employeeRow != null)
{
employeeRow["Age"] = 35;
}Dim primaryKey = 1
Dim employeeRow As DataRow = dt.Rows.Find(primaryKey) ' Find the row with the specified primary key
If employeeRow IsNot Nothing Then
employeeRow("Age") = 35
End IfEliminación de filas
Puedes eliminar una fila de un DataTable llamando al método Delete en un objeto DataRow:
DataRow employeeRow = dt.Rows.Find(1);
if (employeeRow != null)
{
    employeeRow.Delete();
    dt.AcceptChanges(); // Commit the deletion
}
DataRow employeeRow = dt.Rows.Find(1);
if (employeeRow != null)
{
employeeRow.Delete();
dt.AcceptChanges(); // Commit the deletion
}Dim employeeRow As DataRow = dt.Rows.Find(1)
If employeeRow IsNot Nothing Then
employeeRow.Delete()
dt.AcceptChanges() ' Commit the deletion
End IfTen en cuenta que llamar a Delete en un DataRow solo marca la fila para eliminación. Necesitas llamar al método AcceptChanges en el DataTable para eliminar permanentemente las filas marcadas para eliminación.
Gestión de múltiples tablas
En algunos casos, es posible que necesites trabajar con varias tablas de datos simultáneamente. Puedes crear una variable de conjunto de datos para almacenar varios objetos DataTable y gestionar las relaciones entre ellos.
Consulta de datos con LINQ
LINQ (Language Integrated Query) es una característica poderosa en C# que te permite consultar datos de varias fuentes de datos, incluyendo objetos DataTable. Para usar LINQ con DataTables, necesitas importar el espacio de nombres System.Linq. Aquí tienes un ejemplo de cómo filtrar empleados mayores de 25 años usando LINQ:
using System.Linq;

var filteredRows = dt.AsEnumerable().Where(row => row.Field<int>("Age") > 25);

foreach (DataRow row in filteredRows)
{
    Console.WriteLine(row["Name"]);
}
using System.Linq;
var filteredRows = dt.AsEnumerable().Where(row => row.Field<int>("Age") > 25);
foreach (DataRow row in filteredRows)
{
Console.WriteLine(row["Name"]);
}Imports System.Linq
Private filteredRows = dt.AsEnumerable().Where(Function(row) row.Field(Of Integer)("Age") > 25)
For Each row As DataRow In filteredRows
Console.WriteLine(row("Name"))
Next rowDataView: Ordenación y filtrado
DataView es otra clase útil proporcionada por el espacio de nombres System.Data que te permite crear una vista ordenada o filtrada de un DataTable. Esto es especialmente útil cuando necesitas mostrar los datos en un control de UI como un DataGridView. También podemos hacer enlace de datos para agregar datos al control DataGridView desde un DataTable.
Aquí tienes un ejemplo de cómo crear un DataView para filtrar y ordenar a los empleados según su edad:
DataView view = new DataView(dt);

// Filter employees older than 25
view.RowFilter = "Age > 25";

// Sort by age in descending order
view.Sort = "Age DESC";

// Display the filtered and sorted data
foreach (DataRowView rowView in view)
{
    DataRow row = rowView.Row;
    Console.WriteLine(row["Name"]);
}
DataView view = new DataView(dt);
// Filter employees older than 25
view.RowFilter = "Age > 25";
// Sort by age in descending order
view.Sort = "Age DESC";
// Display the filtered and sorted data
foreach (DataRowView rowView in view)
{
DataRow row = rowView.Row;
Console.WriteLine(row["Name"]);
}Dim view As New DataView(dt)
' Filter employees older than 25
view.RowFilter = "Age > 25"
' Sort by age in descending order
view.Sort = "Age DESC"
' Display the filtered and sorted data
For Each rowView As DataRowView In view
Dim row As DataRow = rowView.Row
Console.WriteLine(row("Name"))
Next rowViewExportación de DataTable a PDF con IronPDF
IronPDF es un poderoso convertidor de HTML a PDF, repleto de funciones de manipulación de PDF fáciles de usar, que permite a los desarrolladores crear, leer y editar documentos PDF dentro de aplicaciones .NET.
using IronPdf;

class Program
{
    static void Main(string[] args)
    {
        var renderer = new ChromePdfRenderer();

        // Convert HTML String to PDF
        var htmlContent = "<h1>Hello, IronPDF!</h1><p>This is a PDF from an HTML string.</p>";
        var pdfFromHtmlString = renderer.RenderHtmlAsPdf(htmlContent);
        pdfFromHtmlString.SaveAs("HTMLStringToPDF.pdf");

        // Convert HTML File to PDF
        var htmlFilePath = "path_to_your_html_file.html"; // Specify the path to your HTML file
        var pdfFromHtmlFile = renderer.RenderHtmlFileAsPdf(htmlFilePath);
        pdfFromHtmlFile.SaveAs("HTMLFileToPDF.pdf");

        // Convert URL to PDF
        var url = "http://ironpdf.com"; // Specify the URL
        var pdfFromUrl = renderer.RenderUrlAsPdf(url);
        pdfFromUrl.SaveAs("URLToPDF.pdf");
    }
}
using IronPdf;
class Program
{
static void Main(string[] args)
{
var renderer = new ChromePdfRenderer();
// Convert HTML String to PDF
var htmlContent = "<h1>Hello, IronPDF!</h1><p>This is a PDF from an HTML string.</p>";
var pdfFromHtmlString = renderer.RenderHtmlAsPdf(htmlContent);
pdfFromHtmlString.SaveAs("HTMLStringToPDF.pdf");
// Convert HTML File to PDF
var htmlFilePath = "path_to_your_html_file.html"; // Specify the path to your HTML file
var pdfFromHtmlFile = renderer.RenderHtmlFileAsPdf(htmlFilePath);
pdfFromHtmlFile.SaveAs("HTMLFileToPDF.pdf");
// Convert URL to PDF
var url = "http://ironpdf.com"; // Specify the URL
var pdfFromUrl = renderer.RenderUrlAsPdf(url);
pdfFromUrl.SaveAs("URLToPDF.pdf");
}
}Imports IronPdf
Friend Class Program
Shared Sub Main(ByVal args() As String)
Dim renderer = New ChromePdfRenderer()
' Convert HTML String to PDF
Dim htmlContent = "<h1>Hello, IronPDF!</h1><p>This is a PDF from an HTML string.</p>"
Dim pdfFromHtmlString = renderer.RenderHtmlAsPdf(htmlContent)
pdfFromHtmlString.SaveAs("HTMLStringToPDF.pdf")
' Convert HTML File to PDF
Dim htmlFilePath = "path_to_your_html_file.html" ' Specify the path to your HTML file
Dim pdfFromHtmlFile = renderer.RenderHtmlFileAsPdf(htmlFilePath)
pdfFromHtmlFile.SaveAs("HTMLFileToPDF.pdf")
' Convert URL to PDF
Dim url = "http://ironpdf.com" ' Specify the URL
Dim pdfFromUrl = renderer.RenderUrlAsPdf(url)
pdfFromUrl.SaveAs("URLToPDF.pdf")
End Sub
End ClassEn esta sección, aprenderemos cómo exportar un DataTable a un documento PDF usando IronPDF.
Primero, necesitas instalar el paquete NuGet de IronPDF. Abra la Consola de Administrador de Paquetes en Visual Studio y ejecute el siguiente comando:
Install-Package IronPdf
Una vez instalado el paquete, puedes comenzar importando los espacios de nombres necesarios en tu código:
using IronPdf;
using System.IO;
using IronPdf;
using System.IO;Imports IronPdf
Imports System.IOA continuación, crea un método de ayuda que convierta el DataTable en una tabla HTML, ya que IronPDF usa HTML para renderizar contenido en documentos PDF:
public static string ConvertDataTableToHtml(DataTable dt)
{
    StringBuilder htmlBuilder = new StringBuilder();

    htmlBuilder.AppendLine("<table border='1' cellpadding='5' cellspacing='0'>");
    htmlBuilder.AppendLine("<tr>");

    // Add column headers
    foreach (DataColumn col in dt.Columns)
    {
        htmlBuilder.AppendFormat("<th>{0}</th>", col.ColumnName);
    }

    htmlBuilder.AppendLine("</tr>");

    // Add rows
    foreach (DataRow row in dt.Rows)
    {
        htmlBuilder.AppendLine("<tr>");

        foreach (DataColumn col in dt.Columns)
        {
            htmlBuilder.AppendFormat("<td>{0}</td>", row[col]);
        }

        htmlBuilder.AppendLine("</tr>");
    }

    htmlBuilder.AppendLine("</table>");

    return htmlBuilder.ToString();
}
public static string ConvertDataTableToHtml(DataTable dt)
{
StringBuilder htmlBuilder = new StringBuilder();
htmlBuilder.AppendLine("<table border='1' cellpadding='5' cellspacing='0'>");
htmlBuilder.AppendLine("<tr>");
// Add column headers
foreach (DataColumn col in dt.Columns)
{
htmlBuilder.AppendFormat("<th>{0}</th>", col.ColumnName);
}
htmlBuilder.AppendLine("</tr>");
// Add rows
foreach (DataRow row in dt.Rows)
{
htmlBuilder.AppendLine("<tr>");
foreach (DataColumn col in dt.Columns)
{
htmlBuilder.AppendFormat("<td>{0}</td>", row[col]);
}
htmlBuilder.AppendLine("</tr>");
}
htmlBuilder.AppendLine("</table>");
return htmlBuilder.ToString();
}Public Shared Function ConvertDataTableToHtml(ByVal dt As DataTable) As String
Dim htmlBuilder As New StringBuilder()
htmlBuilder.AppendLine("<table border='1' cellpadding='5' cellspacing='0'>")
htmlBuilder.AppendLine("<tr>")
' Add column headers
For Each col As DataColumn In dt.Columns
htmlBuilder.AppendFormat("<th>{0}</th>", col.ColumnName)
Next col
htmlBuilder.AppendLine("</tr>")
' Add rows
For Each row As DataRow In dt.Rows
htmlBuilder.AppendLine("<tr>")
For Each col As DataColumn In dt.Columns
htmlBuilder.AppendFormat("<td>{0}</td>", row(col))
Next col
htmlBuilder.AppendLine("</tr>")
Next row
htmlBuilder.AppendLine("</table>")
Return htmlBuilder.ToString()
End FunctionAhora, puedes usar el HtmlToPdf class proporcionado por IronPDF para renderizar la tabla HTML y guardarla como un archivo PDF:
public static void ExportDataTableToPdf(DataTable dt, string outputPath)
{
    // Convert DataTable to HTML
    string htmlTable = ConvertDataTableToHtml(dt);

    // Create a new HTML to PDF renderer
    var renderer = new ChromePdfRenderer();

    // Set global styles for the table
    renderer.RenderingOptions.CssMediaType = PdfPrintOptions.PdfCssMediaType.Print;
    renderer.RenderingOptions.FirstPageNumber = 1;

    // Render the HTML table as a PDF document
    PdfDocument pdf = renderer.RenderHtmlAsPdf(htmlTable);

    // Save the PDF file
    pdf.SaveAs(outputPath);
}
public static void ExportDataTableToPdf(DataTable dt, string outputPath)
{
// Convert DataTable to HTML
string htmlTable = ConvertDataTableToHtml(dt);
// Create a new HTML to PDF renderer
var renderer = new ChromePdfRenderer();
// Set global styles for the table
renderer.RenderingOptions.CssMediaType = PdfPrintOptions.PdfCssMediaType.Print;
renderer.RenderingOptions.FirstPageNumber = 1;
// Render the HTML table as a PDF document
PdfDocument pdf = renderer.RenderHtmlAsPdf(htmlTable);
// Save the PDF file
pdf.SaveAs(outputPath);
}Public Shared Sub ExportDataTableToPdf(ByVal dt As DataTable, ByVal outputPath As String)
' Convert DataTable to HTML
Dim htmlTable As String = ConvertDataTableToHtml(dt)
' Create a new HTML to PDF renderer
Dim renderer = New ChromePdfRenderer()
' Set global styles for the table
renderer.RenderingOptions.CssMediaType = PdfPrintOptions.PdfCssMediaType.Print
renderer.RenderingOptions.FirstPageNumber = 1
' Render the HTML table as a PDF document
Dim pdf As PdfDocument = renderer.RenderHtmlAsPdf(htmlTable)
' Save the PDF file
pdf.SaveAs(outputPath)
End SubEl método ExportDataTableToPdf crea un DataTable a partir de la tabla HTML y lo guarda en el archivo PDF.
Finalmente, llama al método ExportDataTableToPdf con los parámetros apropiados para exportar tu DataTable:
string pdfOutputPath = "Employees.pdf";
ExportDataTableToPdf(dt, pdfOutputPath);
string pdfOutputPath = "Employees.pdf";
ExportDataTableToPdf(dt, pdfOutputPath);Dim pdfOutputPath As String = "Employees.pdf"
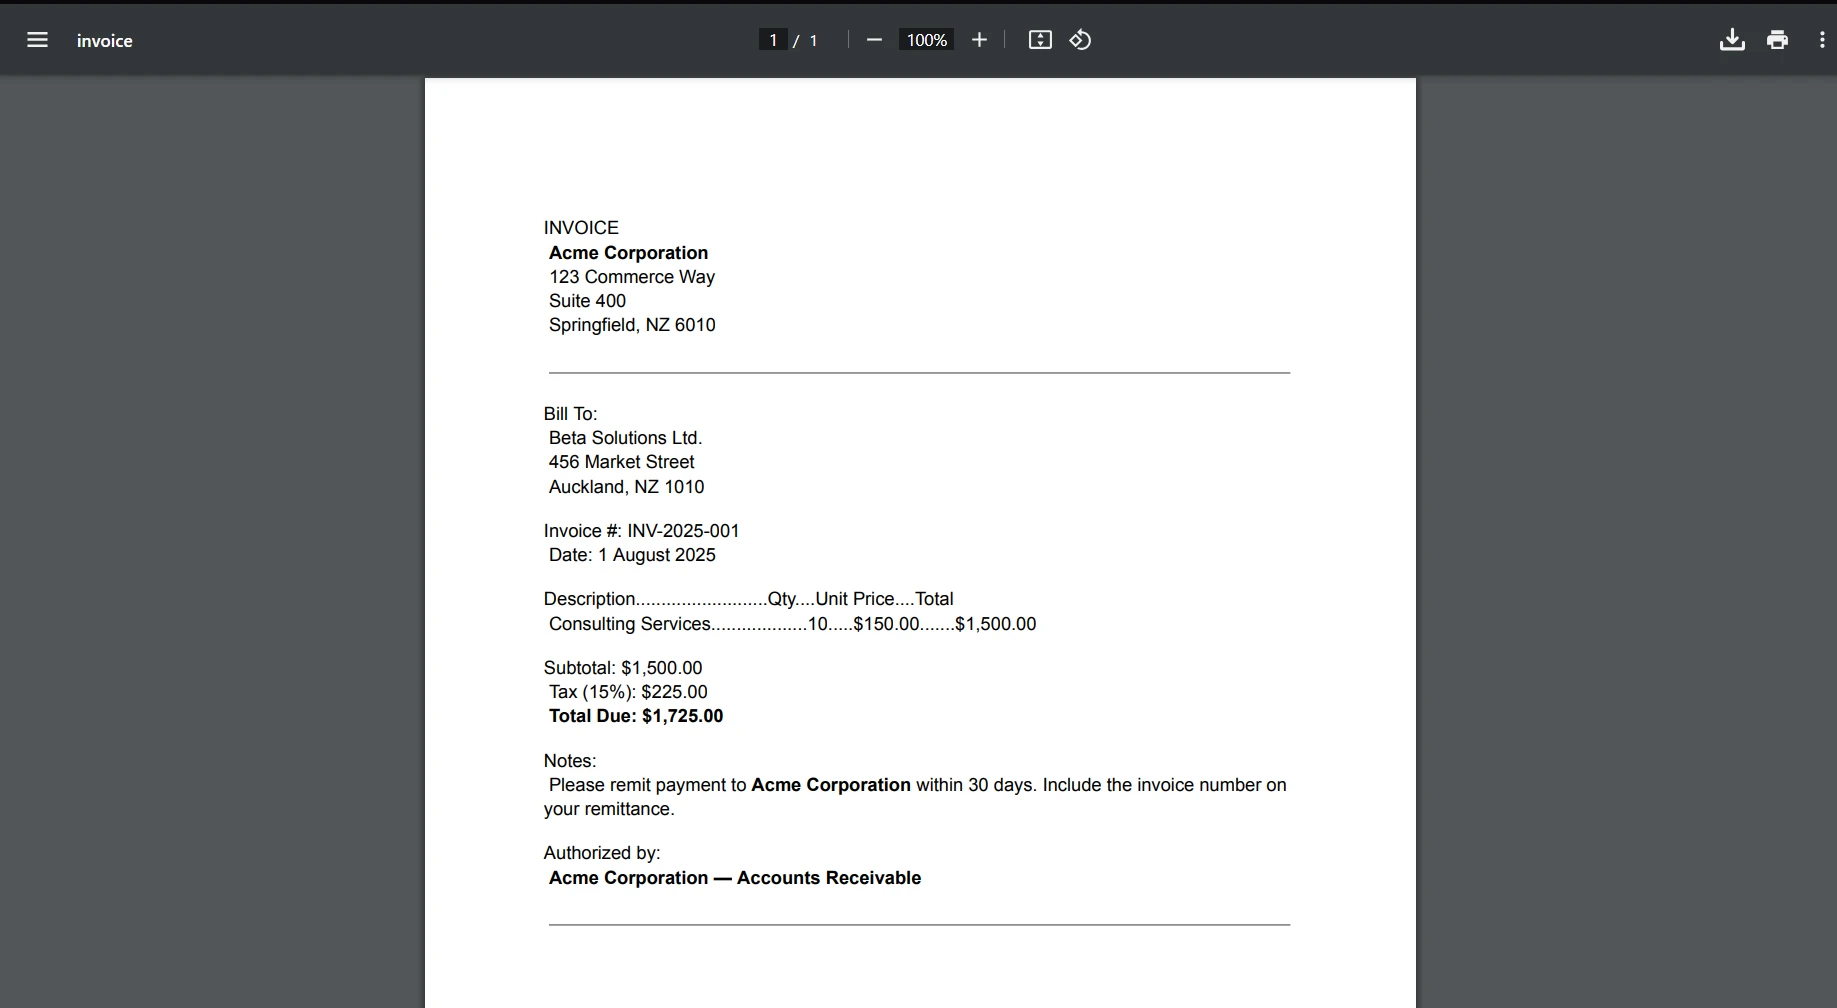
ExportDataTableToPdf(dt, pdfOutputPath)Esto creará un archivo PDF llamado "Employees.pdf" que contiene el contenido de tu DataTable en formato tabular.

Conclusión
En este tutorial, has aprendido lo básico de DataTables en C# y cómo exportar un DataTable a un documento PDF usando la biblioteca IronPDF. Incorporando la columna de clave primaria, variables de conjunto de datos y DataView para filtrar y ordenar, tendrás un mayor control y flexibilidad sobre tus datos. Ahora deberías tener una buena comprensión de los DataTables y cómo usar IronPDF en conjunto con DataTables para crear informes PDF de aspecto profesional en tus aplicaciones C#.
IronPDF ofrece una prueba gratuita de sus funciones, permitiéndote explorar sus capacidades antes de comprometerte a una compra.
Preguntas Frecuentes
¿Qué es un DataTable en C#?
Un DataTable es una estructura de datos versátil en el marco .NET que permite a los desarrolladores almacenar, manipular y consultar datos en un formato tabular, siendo esencial para manejar datos estructurados en aplicaciones.
¿Cómo puedo convertir un DataTable a un documento PDF en C#?
Para convertir un DataTable a un documento PDF en C#, primero transforma el DataTable en una tabla HTML. Usa la clase HtmlToPdf de IronPDF para renderizar el HTML como un documento PDF y guarda el archivo resultante.
¿Cómo se crea un DataTable en C#?
Crear un DataTable en C# implica importar el espacio de nombres System.Data e instanciar la clase DataTable utilizando su constructor, proporcionando opcionalmente un nombre específico para el DataTable.
¿Cuáles son los pasos para agregar columnas a un DataTable?
Para agregar columnas a un DataTable, crea instancias de la clase DataColumn, configura propiedades como ColumnName y DataType, y añádelas a la colección de Columnas del DataTable.
¿Cómo puedo exportar datos de un DataTable a un PDF para fines de reportes?
Puede exportar datos de un DataTable a un PDF convirtiendo el DataTable en un formato de tabla HTML y, a continuación, usando IronPDF para renderizar este HTML en un documento PDF, lo que permite crear informes de calidad profesional.
¿Cómo agregas filas a un DataTable en C#?
Para agregar filas a un DataTable en C#, crea una nueva instancia de DataRow, puebla con datos y añádela a la colección de Filas del DataTable. Este proceso se puede repetir para múltiples filas usando un bucle.
¿Qué es LINQ y cómo se puede usar con DataTables?
LINQ (Consulta Integrada de Lenguaje) es una herramienta de consulta poderosa en C# que permite filtrar, ordenar y manipular datos de varias fuentes, incluyendo DataTables, para agilizar las operaciones de datos.
¿Cómo puedo filtrar y ordenar un DataTable usando un DataView?
Una DataView proporciona una manera conveniente de crear una vista filtrada o ordenada de un DataTable. Al establecer las propiedades RowFilter y Sort, puede controlar cómo se muestran los datos
¿Cómo instalo la biblioteca necesaria para exportar DataTables a PDF?
Para instalar la biblioteca IronPDF necesaria para exportar DataTables a PDF, usa la Consola del Administrador de Paquetes en Visual Studio y ejecuta el comando: Install-Package IronPDF.