PythonでRequestsライブラリを使う:チュートリアル
ウェブ開発とデータ取得の多様な環境において、Pythonは優れた言語です。 そのシンプルさと強力なライブラリがHTTPリクエストの処理を理想的な選択にしています。 これらのライブラリの中でも、Python の Requests モジュールは、Web サービスとのやり取りのための汎用性と使いやすさを兼ね備えたツールとして際立っています。
この記事では、HTTP リクエストの基本について調べ、Requests ライブラリが Python 開発者がそれらを効率的に処理できるようにする方法について探ります。 また、HTTPリクエストをIronPDF for Pythonのようなライブラリと組み合わせて使うことで、PDFの生成と編集が簡単になります。
HTTPリクエストの理解
HTTP(ハイパーテキスト転送プロトコル)は、ワールドワイドウェブ上のデータ通信の基盤です。 それは、クライアント(ウェブブラウザ)とサーバー間でHTMLのようなハイパーテキストの転送を管理するプロトコルです。 HTTPはリクエストとレスポンスのプロトコルとして動作し、クライアントがサーバーにリクエストを送り、サーバーが要求されたリソースで応答します。
HTTPリクエストは通常、いくつかのコンポーネントで構成されます:
- HTTPメソッド:クライアントがHTTPリクエストを行う際に実行したいアクションを指定します。一般的なメソッドには、GET、POST、PUT、DELETEなどがあります。
- URL:要求されているリソースを識別する Uniform Resource Locator。 3.リクエスト ヘッダー:認証資格情報、コンテンツ タイプなど、リクエストとともに送信される追加情報。 4.本文: POST または PUT リクエストで送信されるデータ。
Requestsライブラリの紹介
Python の Requests ライブラリは、HTTP リクエストを行うプロセスを簡素化します。 さまざまな種類のリクエストを送信し、レスポンスをスムーズに処理するためのエレガントで直感的なAPIを提供します。

基本的な使用例をいくつか見ていきましょう。まずは、Requests モジュールのインストール手順を見ていきましょう。
インストール
Requests ライブラリを使用する前に、インストールされていることを確認してください。 pipを介してインストールできます:
pip install requestspip install requestsGETリクエストの作成
指定されたURLに対してGETリクエストを行うには、requests.get() メソッドをここで使用します。
import requests

# Make a GET request to the URL
response = requests.get('https://api.example.com/data')

# Print the response text (content of the response)
print(response.text)
import requests
# Make a GET request to the URL
response = requests.get('https://api.example.com/data')
# Print the response text (content of the response)
print(response.text)このコードは、指定された URL https://api.example.com/data に GET リクエストを送信し、レスポンスボディを出力します。
POSTリクエストの作成
データを含む POST リクエストを行うには、requests.post() メソッドを使用します。
import requests

# Data to send in the POST request
data = {'key': 'value'}

# Make a POST request with data
response = requests.post('https://api.example.com/post', data=data)

# Print the response in JSON format
print(response.json())
import requests
# Data to send in the POST request
data = {'key': 'value'}
# Make a POST request with data
response = requests.post('https://api.example.com/post', data=data)
# Print the response in JSON format
print(response.json())ここでは、https://api.example.com/post に JSON データを含む POST リクエストを送信し、JSON レスポンス データを表示しています。
レスポンスオブジェクトの処理
HTTPリクエストによって返されるレスポンスオブジェクトは、HTTPヘッダ、ステータスコード、コンテンツなど、レスポンスのさまざまな側面にアクセスするためのさまざまな属性とメソッドを提供します。例えば:
import requests

# Make a GET request
response = requests.get('https://api.example.com/data')

# Print the status code of the response
print(response.status_code)

# Print the response headers
print(response.headers)
import requests
# Make a GET request
response = requests.get('https://api.example.com/data')
# Print the status code of the response
print(response.status_code)
# Print the response headers
print(response.headers)エラーハンドリング
HTTPリクエストを行う際には、エラーを穏やかに処理することが重要です。 Requests ライブラリは、接続エラーやタイムアウトなどの一般的なエラーに対して例外を発生させることで、エラー処理を簡素化します。 例えば:
import requests

try:
    # Make a GET request
    response = requests.get('https://api.example.com/data')

    # Raise an exception for HTTP errors
    response.raise_for_status()
except requests.exceptions.HTTPError as err:
    # Print the error message
    print(err)
import requests
try:
# Make a GET request
response = requests.get('https://api.example.com/data')
# Raise an exception for HTTP errors
response.raise_for_status()
except requests.exceptions.HTTPError as err:
# Print the error message
print(err)SSL証明書の検証の無効化
Falseに設定することで、SSL証明書の検証を無効にできます。
import requests

# Make a GET request with SSL verification disabled
response = requests.get('https://api.example.com/data', verify=False)

# Process the response
print(response.text)
import requests
# Make a GET request with SSL verification disabled
response = requests.get('https://api.example.com/data', verify=False)
# Process the response
print(response.text)クエリ文字列の追加
クエリパラメータは、params パラメータを使用して URL に追加することもできます。
import requests

# Define query parameters
params = {'key': 'value', 'param2': 'value2'}

# Make a GET request with query parameters
response = requests.get('https://api.example.com/data', params=params)

# Process the response
print(response.text)
import requests
# Define query parameters
params = {'key': 'value', 'param2': 'value2'}
# Make a GET request with query parameters
response = requests.get('https://api.example.com/data', params=params)
# Process the response
print(response.text)この例では、params ディクショナリにクエリ パラメータが含まれています。 GETリクエストを行うと、これらのパラメータは自動的にURLに追加され、結果としてhttps://api.example.com/data?key=value¶m2=value2のようなリクエストURLになります。
IronPDFとRequestsを統合してPDFを生成
実装に入る前に、IronPDFを簡単に理解しましょう。
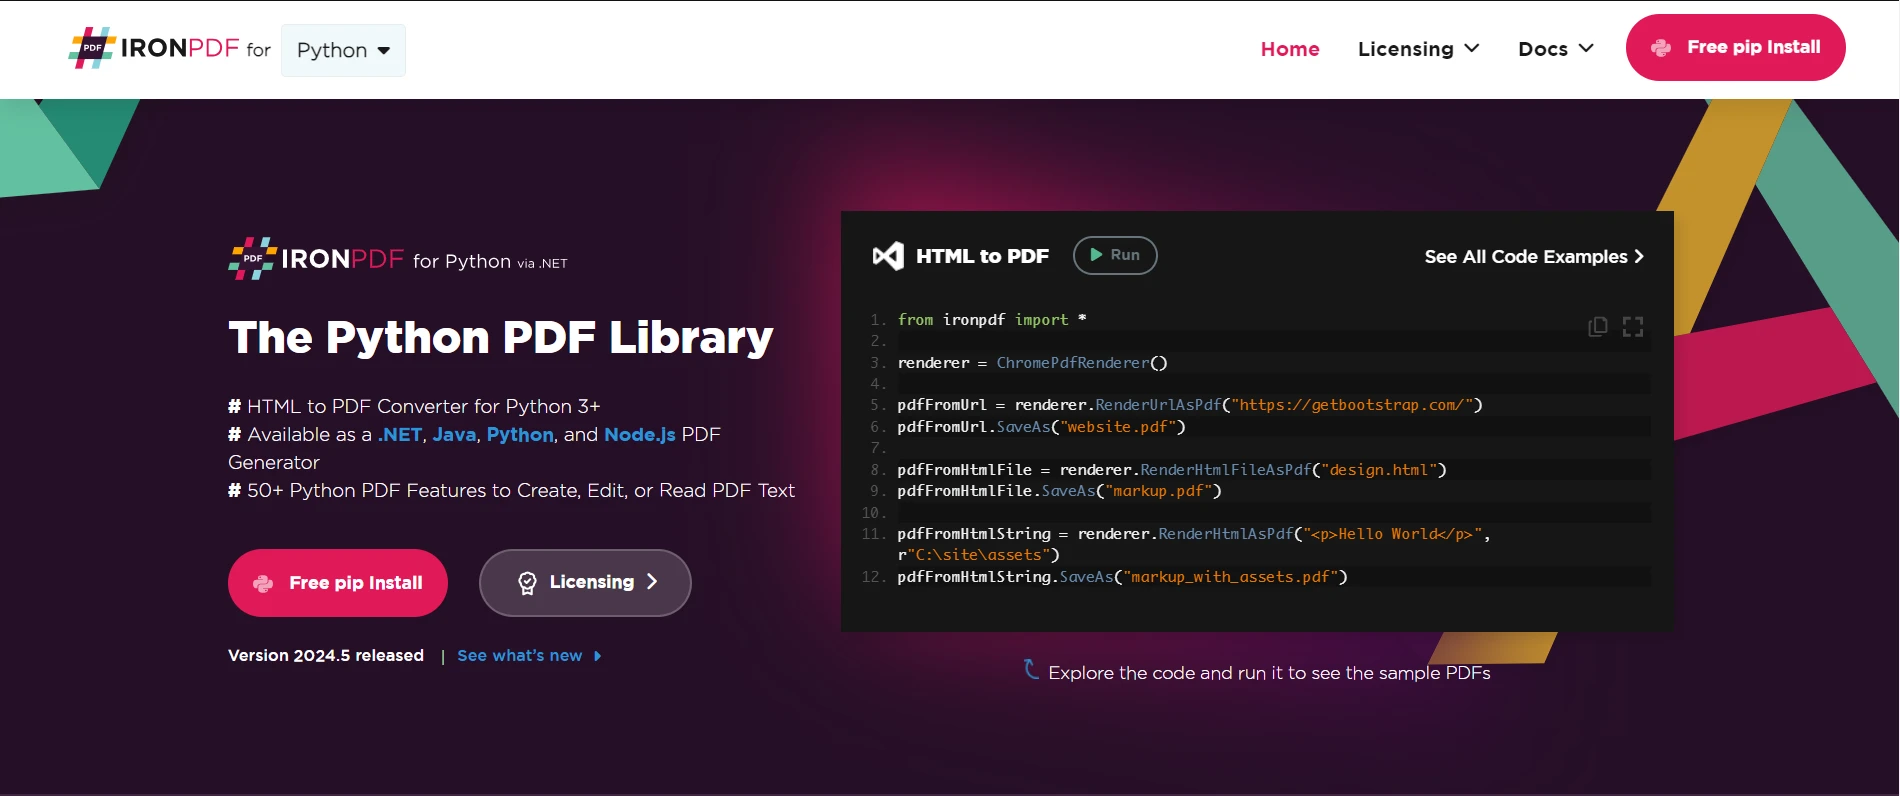
IronPDF - PythonのPDFライブラリ
IronPDF for Pythonは、PDFドキュメントの生成、読み取り、編集、操作に特化した人気のあるPythonライブラリです。 プログラム可能に専門的なPDFを作成するための豊富な機能を提供します。
Requestsを介して取得したコンテンツを使用してIronPDFでPDFを生成するには、次の手順に従います:
ステップ1: IronPDFのインストール
まず、Python環境にIronPDFがインストールされていることを確認してください。 pipを介してインストールできます:
pip install ironpdfpip install ironpdfステップ2: Requestsでコンテンツを取得
Requestsライブラリを使用して、PDFに含めたいコンテンツを取得します。 例えば:
import requests

# Make a GET request to fetch data
response = requests.get('https://api.example.com/data')
data = response.text
import requests
# Make a GET request to fetch data
response = requests.get('https://api.example.com/data')
data = response.textステップ3: IronPDFでPDFを生成
コンテンツを取得したら、IronPDFを使用してPDFを生成します。 ここに基本的な例があります:
from ironpdf import ChromePdfRenderer

# Instantiate Renderer
renderer = ChromePdfRenderer()

# Create a PDF from the data received from requests
pdf = renderer.RenderHtmlAsPdf(data)

# Export to a file
pdf.SaveAs("output.pdf")
from ironpdf import ChromePdfRenderer
# Instantiate Renderer
renderer = ChromePdfRenderer()
# Create a PDF from the data received from requests
pdf = renderer.RenderHtmlAsPdf(data)
# Export to a file
pdf.SaveAs("output.pdf")この例では、data には Requests を介して取得された HTML コンテンツが含まれています。 IronPDF の RenderHtmlAsPdf() メソッドは、この HTML コンテンツを PDF ドキュメントに変換します。 最後に、PDF は SaveAs() メソッドを使用してファイルに保存されます。
Requestsライブラリを使用すると、PythonはWebとのやり取りを容易にし、開発者はHTTP通信の複雑さに対処するのではなく、優れたアプリケーションの構築に集中できるようになります。
高度な使用法
IronPDFの拡張機能を使用して、PDF生成プロセスをさらに強化できます。PDFの設定、余白、向き、画像、CSS、JavaScriptなどをカスタマイズすることができます。 例えば:
# Set page margins
renderer.RenderingOptions.MarginTop = 40  # millimeters
renderer.RenderingOptions.MarginLeft = 20  # millimeters
renderer.RenderingOptions.MarginRight = 20  # millimeters
renderer.RenderingOptions.MarginBottom = 40  # millimeters

# Example with HTML Assets
# Load external HTML assets: Images, CSS, and JavaScript.
# An optional BasePath 'C:\\site\\assets\\' is set as the file location to load assets from
my_advanced_pdf = renderer.RenderHtmlAsPdf("<img src='icons/iron.png'>", "C:\\site\\assets")
my_advanced_pdf.SaveAs("html-with-assets.pdf")
# Set page margins
renderer.RenderingOptions.MarginTop = 40 # millimeters
renderer.RenderingOptions.MarginLeft = 20 # millimeters
renderer.RenderingOptions.MarginRight = 20 # millimeters
renderer.RenderingOptions.MarginBottom = 40 # millimeters
# Example with HTML Assets
# Load external HTML assets: Images, CSS, and JavaScript.
# An optional BasePath 'C:\\site\\assets\\' is set as the file location to load assets from
my_advanced_pdf = renderer.RenderHtmlAsPdf("<img src='icons/iron.png'>", "C:\\site\\assets")
my_advanced_pdf.SaveAs("html-with-assets.pdf")ここでは、ページ余白を設定し、ベースディレクトリから画像を追加してからファイルに保存しています。
IronPDFの機能と能力に関する詳細情報は、ドキュメントページを訪れ、Pythonと統合するためのすぐに使えるコード例をチェックしてください。
結論
Python の Requests ライブラリは、HTTP リクエストを行うための強力かつシンプルなインターフェースを提供します。 APIからデータを取得する場合でも、ウェブサービスと対話する場合でも、ウェブページをスクレイピングする場合でも、Requestsは直感的なAPIと堅牢な機能によってHTTPリクエストプロセスを簡素化します。
PythonのIronPDFとRequestsを組み合わせることで、取得したコンテンツから動的にPDFドキュメントを生成する可能性が広がります。 この記事で説明した手順を追い、IronPDFとRequestsの高度な機能を探索することにより、Python開発者はPDF生成ワークフローを効率化し、特定の要件に合わせて高品質のドキュメントを作成できます。
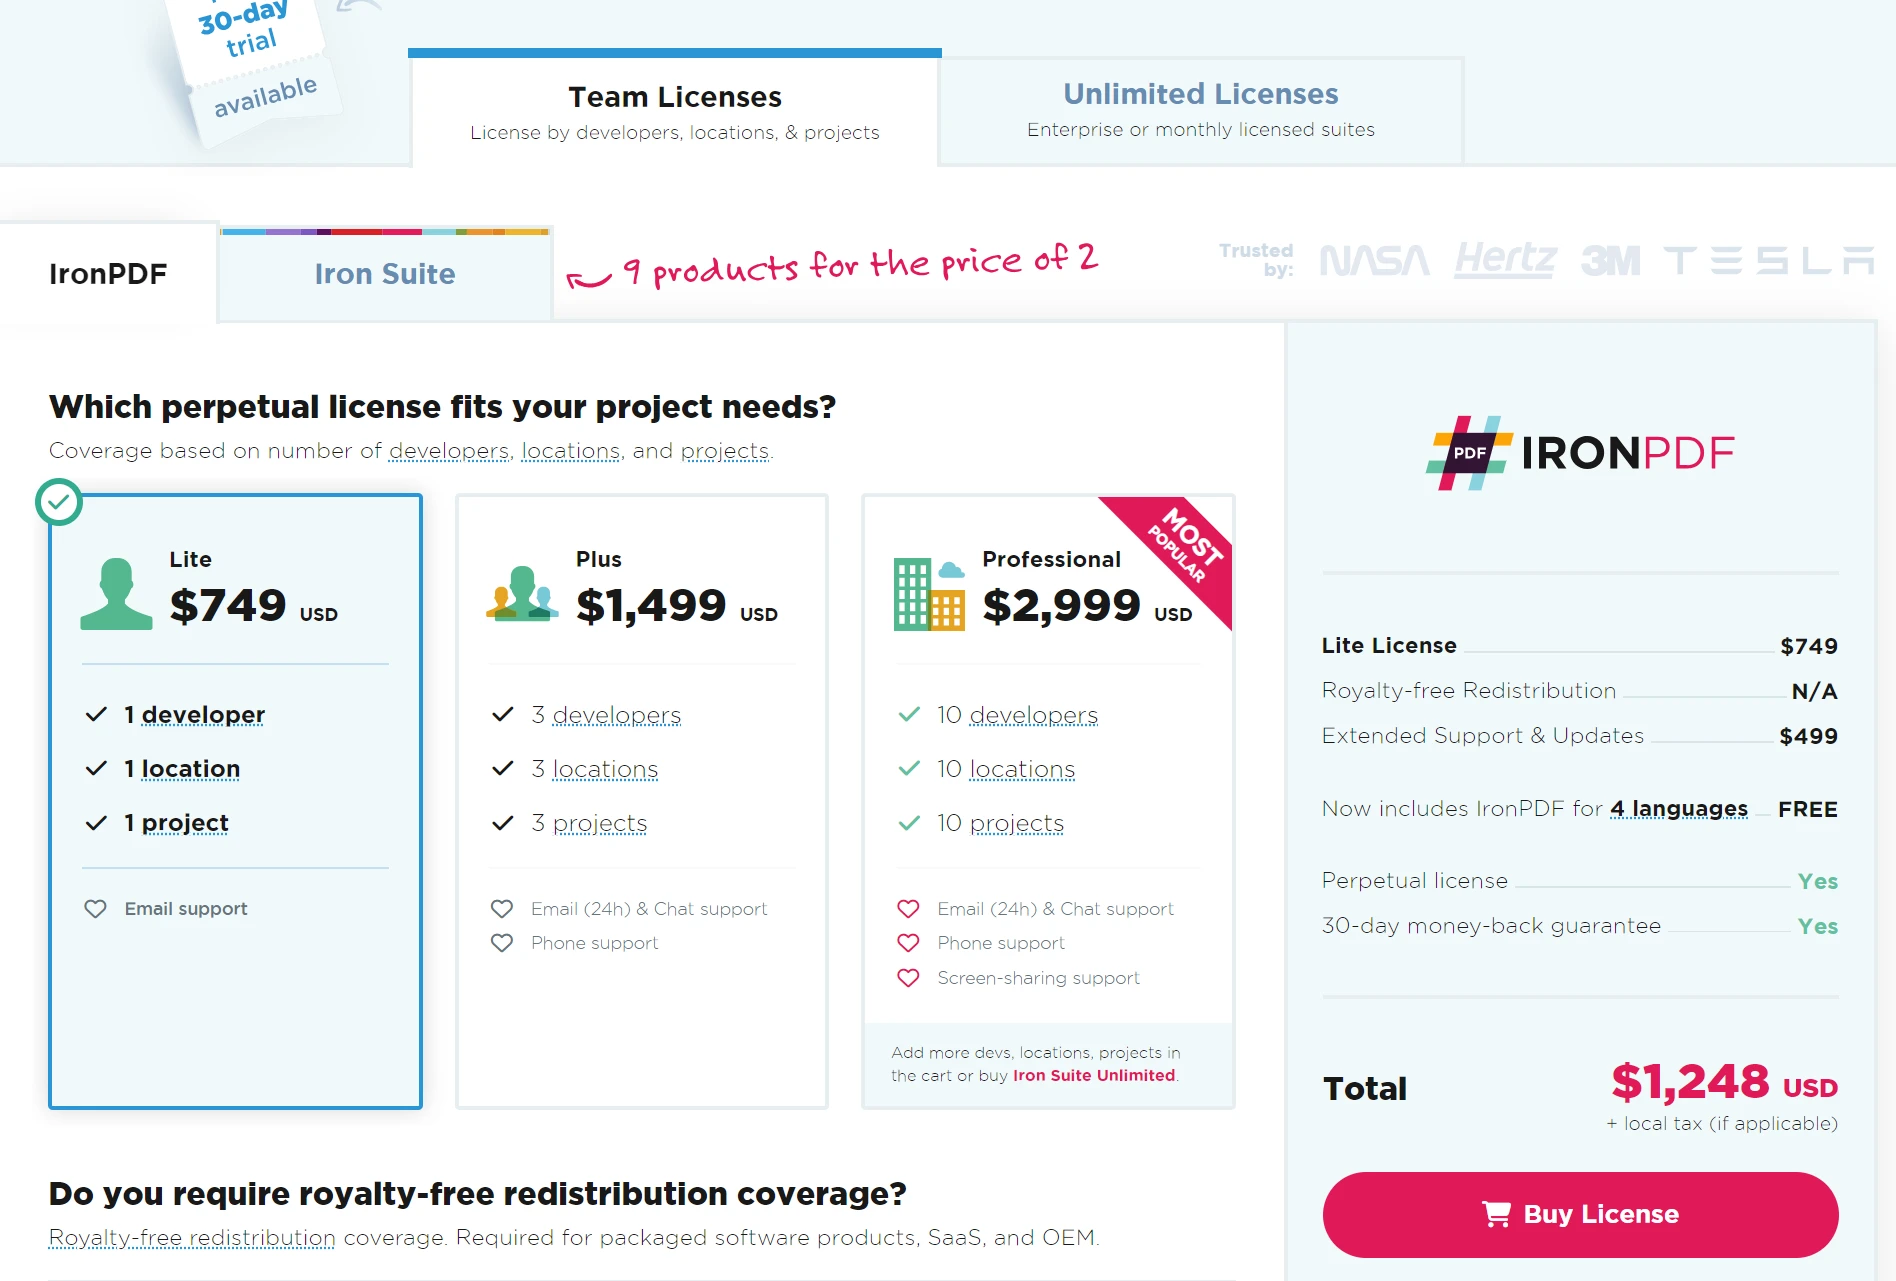
IronPDFはビジネスに最適です。 IronPDFの無料トライアル($999から開始)をぜひお試しください。返金保証付きなので、文書管理に安心してご利用いただけます。 今すぐIronPDFをダウンロードして、シームレスなPDF統合を体験してください!