


已更新 2026年4月23日
deepstream io(開發人員的工作原理)
在這篇文章中,我們將學習如何使用開放即時伺服器 deepstream 和 IronPDF 生成 PDF。
閱讀更多

在網頁開發和資料抓取的多元環境中,Python是一種優秀的語言。 其簡單性,加上強大的程式庫,使其成為處理HTTP請求的理想選擇。 在這些程式庫中,Python的Requests模組是一個多功能且使用者友好的工具,用來與網路服務互動。
在這篇文章中,我們將了解HTTP請求的基本知識,並探索Requests程式庫如何賦予Python開發人員有效處理這些請求的能力。 我們還將研究如何將HTTP請求與IronPDF for Python等程式庫一起使用,使生成和編輯PDF變得容易。
HTTP(超文字傳輸協定)是全球資訊網資料通信的基礎。 它是一個協定,管理超文件(如HTML)在客戶端(網頁瀏覽器)和伺服器之間的傳輸。 HTTP作為一種請求-響應協定運作,其中客戶端向伺服器發送請求,而伺服器則回應請求資源。
HTTP請求通常由幾個部分組成:
Python中的Requests程式庫簡化了進行HTTP請求的過程。 它提供了一個優雅且直觀的API,用來發送各種型別的請求並順利處理回應。
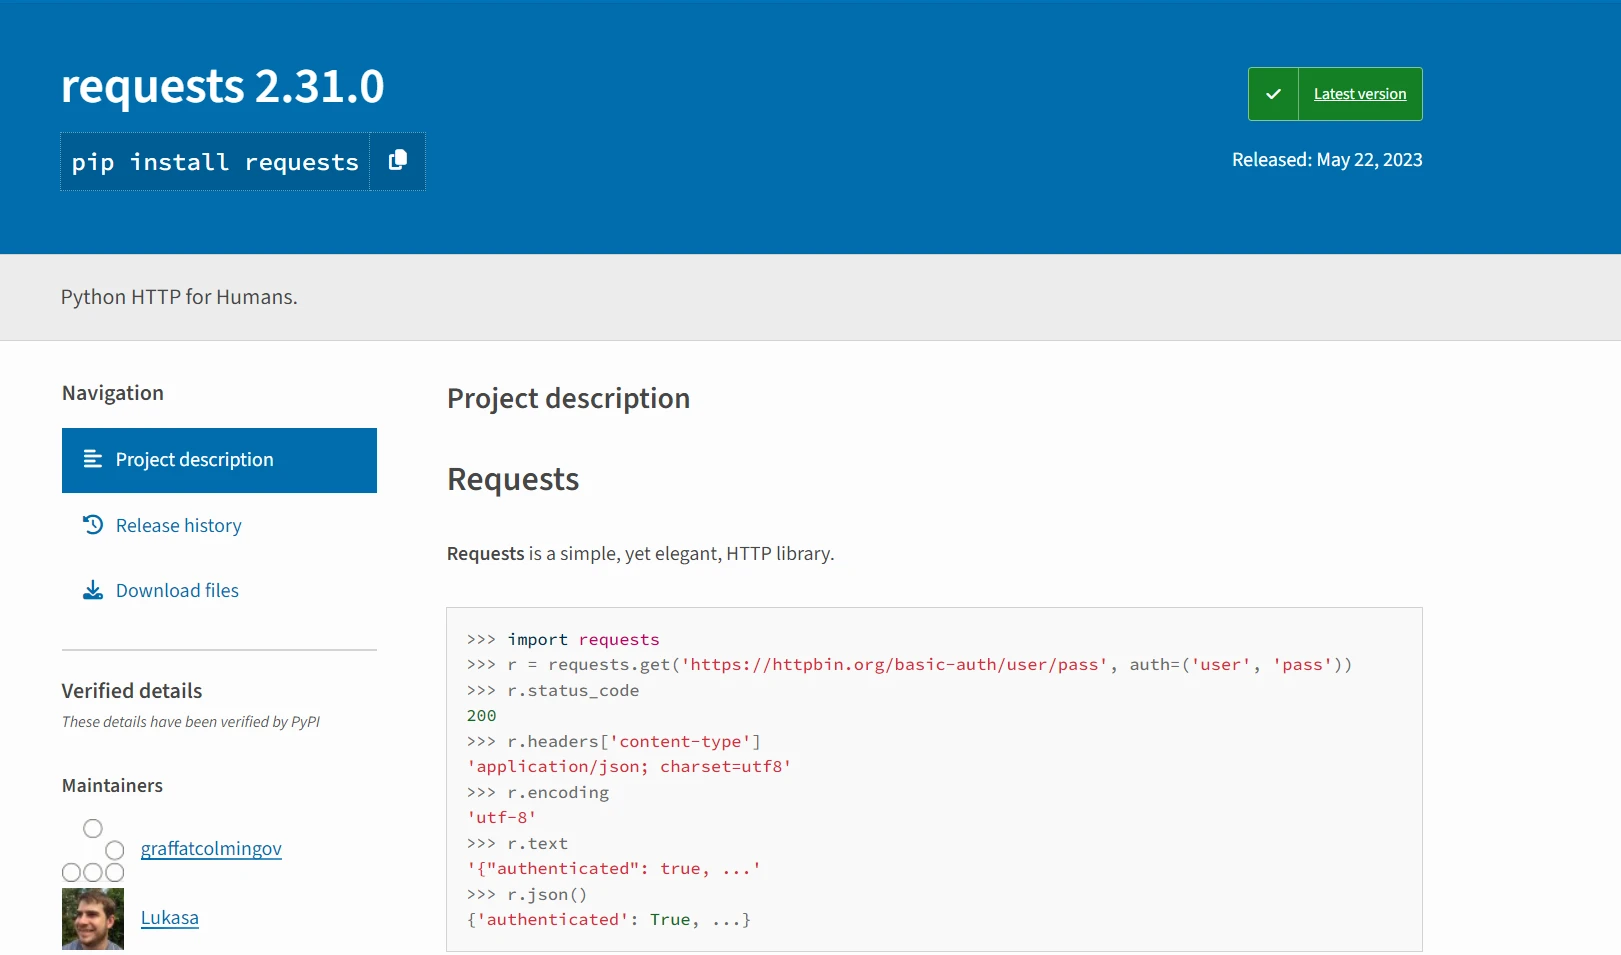
讓我們瀏覽一些基本使用範例,但首先讓我們看看安裝Requests模組的過程。
在使用Requests程式庫之前,確保它已被安裝。 您可以通過pip安裝它:
pip install requests使用requests.get()方法對這裡指定的URL進行GET請求:
import requests

# Make a GET request to the URL
response = requests.get('https://api.example.com/data')

# Print the response text (content of the response)
print(response.text)此程式碼向指定的URLhttps://api.example.com/data發送GET請求並輸出響應主體。
要進行POST請求並附加資料,請使用requests.post()方法:
import requests

# Data to send in the POST request
data = {'key': 'value'}

# Make a POST request with data
response = requests.post('https://api.example.com/post', data=data)

# Print the response in JSON format
print(response.json())在此,我們發送一個帶有JSON資料的POST請求至https://api.example.com/post並輸出JSON響應資料。
HTTP請求返回的響應物件提供了各種屬性和方法以存取響應的不同方面,如HTTP標頭、狀態碼、內容等。例如:
import requests

# Make a GET request
response = requests.get('https://api.example.com/data')

# Print the status code of the response
print(response.status_code)

# Print the response headers
print(response.headers)在進行HTTP請求時,妥善處理錯誤至關重要。 Requests程式庫通過為常見錯誤如連接錯誤和超時拋出異常來簡化錯誤處理。 例如:
import requests

try:
    # Make a GET request
    response = requests.get('https://api.example.com/data')

    # Raise an exception for HTTP errors
    response.raise_for_status()
except requests.exceptions.HTTPError as err:
    # Print the error message
print(err)在False來禁用SSL證書驗證:
import requests

# Make a GET request with SSL verification disabled
response = requests.get('https://api.example.com/data', verify=False)

# Process the response
print(response.text)您還可以在URL中附加查詢參數,方法是使用params參數:
import requests

# Define query parameters
params = {'key': 'value', 'param2': 'value2'}

# Make a GET request with query parameters
response = requests.get('https://api.example.com/data', params=params)

# Process the response
print(response.text)在此範例中,params字典包含查詢參數。 在進行GET請求時,這些參數將自動連接到URL,形成類似https://api.example.com/data?key=value¶m2=value2的請求URL。
在進行實施之前,讓我們簡要了解IronPDF。
IronPDF for Python是一個用來生成、讀取、編輯和操作PDF文件的流行Python程式庫。 它提供了一套豐富的功能,用來程式化地建立專業外觀的PDF。
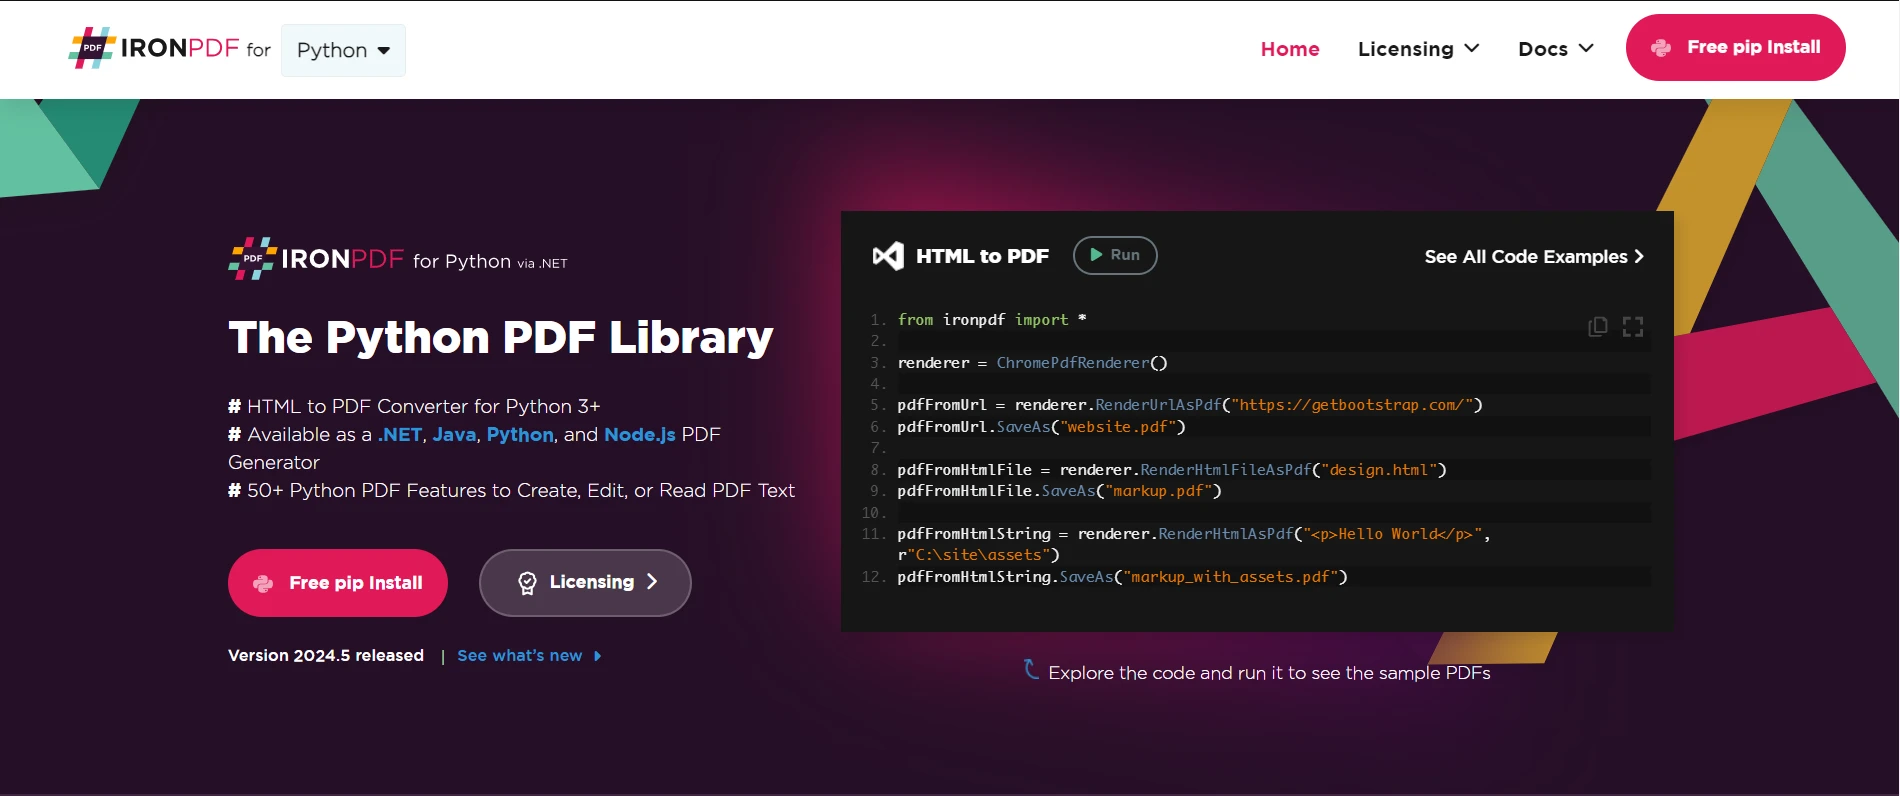
要使用IronPDF生成PDF以利用通過Requests獲得的內容,請遵循以下步驟:
首先,確保您已在Python環境中安裝了IronPDF。 您可以通過pip安裝它:
使用Requests程式庫來獲取您想要包含在PDF中的內容。 例如:
import requests

# Make a GET request to fetch data
response = requests.get('https://api.example.com/data')
data = response.text一旦您有了內容,使用IronPDF生成PDF。 這裡有一個基本範例:
from ironpdf import ChromePdfRenderer

# Instantiate Renderer
renderer = ChromePdfRenderer()

# Create a PDF from the data received from requests
pdf = renderer.RenderHtmlAsPdf(data)

# Export to a file
pdf.SaveAs("output.pdf")在此範例中,data包含了通過Requests獲取的HTML內容。 IronPDF的RenderHtmlAsPdf()方法將此HTML內容轉換為PDF文件。 最後,PDF被使用SaveAs()方法保存到文件中。
使用Requests程式庫,Python讓網路互動變得輕而易舉,使得開發者能夠更多地專注於構建偉大的應用程式,而不是處理HTTP通信的複雜性。
您還可以通過使用IronPDF的豐富功能來自訂PDF設置、邊距、方向、圖像、CSS、JavaScript等進一步增強PDF生成過程。 例如:
# Set page margins
renderer.RenderingOptions.MarginTop = 40  # millimeters
renderer.RenderingOptions.MarginLeft = 20  # millimeters
renderer.RenderingOptions.MarginRight = 20  # millimeters
renderer.RenderingOptions.MarginBottom = 40  # millimeters

# Example with HTML Assets
# Load external HTML assets: Images, CSS, and JavaScript.
# An optional BasePath 'C:\\site\\assets\\' is set as the file location to load assets from
my_advanced_pdf = renderer.RenderHtmlAsPdf("<img src='icons/iron.png'>", "C:\\site\\assets")
my_advanced_pdf.SaveAs("html-with-assets.pdf")在這裡,我們設定頁面邊距並從基礎目錄新增圖像,然後將其保存到文件。
欲獲取關於IronPDF功能和能力的更多資訊,請存取文件頁面並查看這些可供使用的程式碼範例以進行與Python的整合。
Python中的Requests程式庫提供了一個強大而簡單的介面,用於進行HTTP請求。 無論您是從API獲取資料、與Web服務互動還是抓取網頁內容,Requests都能通過其直觀的API和強大的功能簡化HTTP請求過程。
將IronPDF for Python與Requests結合使用可以開啟從獲取的內容動態生成PDF文件的可能性。 遵循本文中概述的步驟,並探索IronPDF和Requests的進階功能,Python開發者可以簡化其PDF生成工作流程,並生成高品質、符合其特定需求的文件。
IronPDF非常適合企業使用。 試用IronPDF的免費試用開始於$999,並且有退款保證,這是您管理文件的安全選擇。 立即下載IronPDF,體驗無縫PDF整合!

Curtis Chau擁有Carleton大學的電腦科學學士學位,專精於前端開發,擁有Node.js、TypeScript、JavaScript和React的專業知識。Curtis熱衷於建立直觀且美觀的使用者介面,喜愛使用現代框架並建立結構良好、視覺吸引力的手冊。


IronPDF 是 IRONSUITE 的一部分
10 款適用於辦公室文件的 .NET API 產品

當您需要您的PDF看起來像HTML一樣快速。