
Node.js Fetch 사용법 (개발자를 위한 작동 방식)
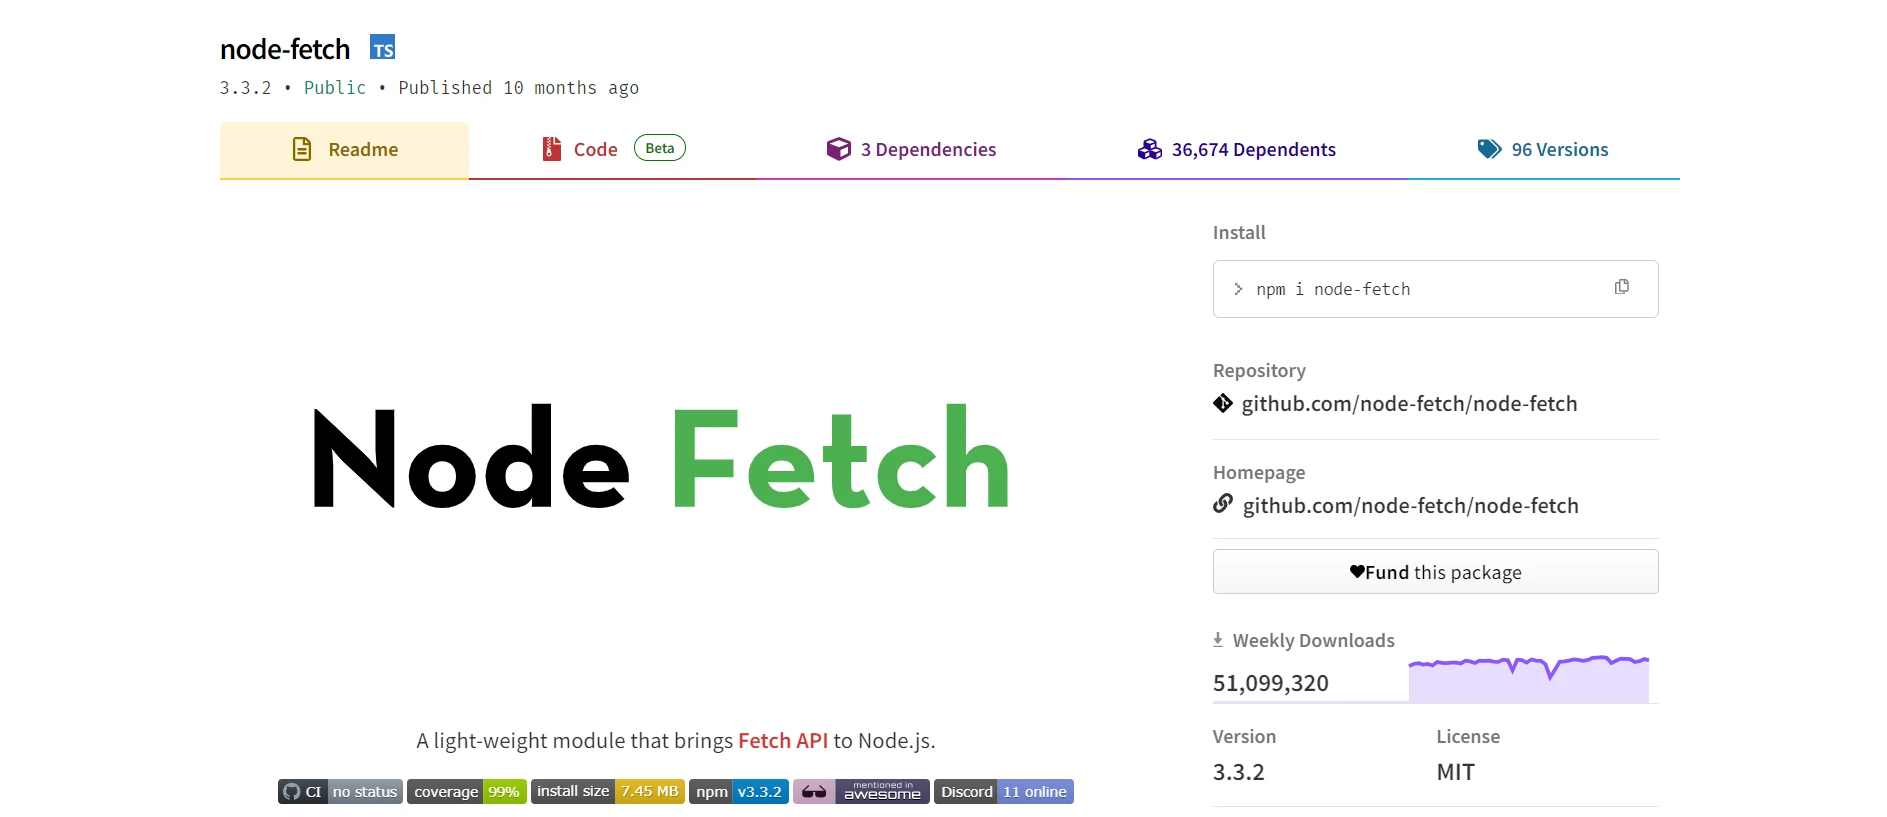
Node Fetch 는 Node.js 생태계에서 널리 사용되는 경량 모듈로, HTTP 요청을 간단하고 직관적으로 처리할 수 있도록 설계되었습니다. 브라우저 환경에서 사용할 수 있는 Fetch API에서 영감을 받아 웹 API와 상호 작용하는 쉽고 친숙한 방법을 제공합니다. Node-fetch는 Node.js 에서 Fetch API 지원을 제공하여 서비스 워커가 HTTP 헤더를 처리하고 HTTPS 요청을 효율적으로 수행할 수 있도록 합니다.
이 글에서는 Node-fetch 의 주요 기능과 사용법을 살펴보고, Node.js 에서 HTTP 요청 처리를 간소화하려는 개발자를 위한 종합적인 가이드를 제공합니다. 또한 프로그래머가 PDF를 생성 및 편집하고, HTML 콘텐츠를 PDF로 변환하는 등 다양한 작업을 수행할 수 있도록 해주는 Node.js 용 PDF 라이브러리인 IronPDF 활용할 것입니다.
Node.js fetch란 무엇인가요?
Node fetch는 Fetch API를 Node.js 에 제공하는 모듈입니다. Fetch API는 HTTP 요청을 수행하기 위한 최신 인터페이스로, 웹 브라우저에서 흔히 사용됩니다. Node.js fetch는 이러한 기능을 재현하여 Node.js 애플리케이션이 동일하게 쉽고 간편하게 HTTP 요청을 수행할 수 있도록 합니다. 이러한 특징 덕분에 Fetch API에 이미 익숙한 개발자나 Node.js 애플리케이션에서 HTTP 요청을 처리하는 간단한 방법을 찾는 개발자에게 탁월한 선택입니다.
Node.js Fetch의 주요 기능
1. 단순성과 친숙함
Node.js fetch는 브라우저에서 볼 수 있는 Fetch API를 모방하여 개발자에게 간단하고 친숙한 인터페이스를 제공합니다.
2. 약속 기반
Node.js fetch는 Fetch API와 마찬가지로 프로미스 기반이므로 개발자는 비동기 코드를 더 읽기 쉽고 관리하기 쉬운 방식으로 작성할 수 있습니다.
3. 경량
Node.js fetch는 최소한의 기능만 갖춘 라이브러리로, 빠르고 효율적입니다. 대규모 HTTP 라이브러리에서 발생하는 과도한 오버헤드가 없어 애플리케이션을 간결하게 유지할 수 있습니다.
4. 호환성
Node.js fetch는 다양한 HTTP 메서드, 헤더 및 응답 유형을 지원하므로 활용도가 매우 높습니다.
5. 스트리밍
이 시스템은 스트리밍 응답을 지원하므로 대용량 페이로드를 효율적으로 처리하는 데 유용합니다.
Node.js Fetch 설치 중
Node-fetch를 사용하려면 먼저 npm(Node Package Manager)을 통해 설치해야 합니다. 프로젝트 디렉토리에서 다음 명령어를 실행하세요.
npm install node-fetchnpm install node-fetch기본 사용법
다음은 Node.js fetch를 사용하여 GET 요청을 보내는 기본적인 예입니다.
import fetch from 'node-fetch';

const url = 'https://jsonplaceholder.typicode.com/posts';

// Make a GET request to fetch data
fetch(url)
    .then(response => {
        // Check if the response status is OK
        if (!response.ok) {
            throw new Error('Network response was not ok');
        }
        // Parse the response as JSON
        return response.json();
    })
    .then(data => {
        // Process the JSON data
        console.log(data);
    })
    .catch(error => {
        // Handle any errors that occur during the fetch
        console.error('There has been a problem with your fetch operation:', error);
    });
import fetch from 'node-fetch';
const url = 'https://jsonplaceholder.typicode.com/posts';
// Make a GET request to fetch data
fetch(url)
.then(response => {
// Check if the response status is OK
if (!response.ok) {
throw new Error('Network response was not ok');
}
// Parse the response as JSON
return response.json();
})
.then(data => {
// Process the JSON data
console.log(data);
})
.catch(error => {
// Handle any errors that occur during the fetch
console.error('There has been a problem with your fetch operation:', error);
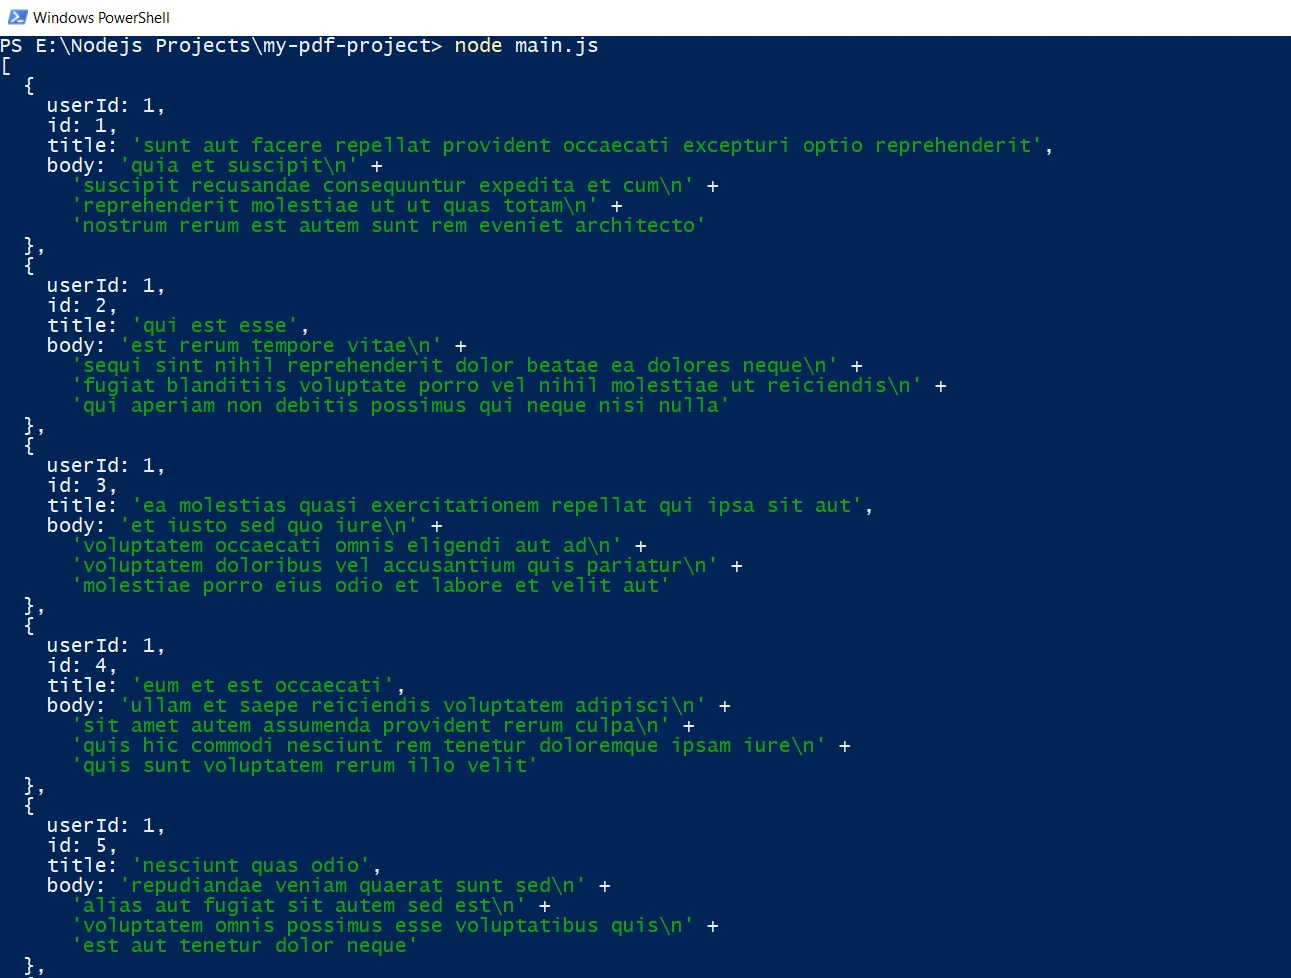
});이 코드 조각은 API에서 JSON 데이터를 가져오는 간단한 GET 요청을 보여줍니다. fetch 함수는 응답 객체로 확인되는 프로미스를 반환합니다. 그런 다음 json() 과 같이 응답 본문을 파싱하는 메서드를 호출할 수 있습니다.
콘솔 출력
고급 사용법
Node.js fetch는 POST 요청, 사용자 지정 요청 헤더 설정, 다양한 응답 유형 처리와 같은 고급 기능도 지원합니다.
POST 요청하기
import fetch from 'node-fetch';

const url = 'https://jsonplaceholder.typicode.com/posts';
const data = { key: 'value' };

// Make a POST request with JSON payload
fetch(url, {
    method: 'POST',
    headers: {
        // Specify content type as JSON
        'Content-Type': 'application/json'
    },
    body: JSON.stringify(data)
})
    .then(response => {
        // Check if the response status is OK
        if (!response.ok) {
            throw new Error('Network response was not ok');
        }
        // Parse the response as JSON
        return response.json();
    })
    .then(data => {
        // Process the JSON data
        console.log(data);
    })
    .catch(error => {
        // Handle any errors that occur during the fetch
        console.error('There has been a problem with your fetch operation:', error);
    });
import fetch from 'node-fetch';
const url = 'https://jsonplaceholder.typicode.com/posts';
const data = { key: 'value' };
// Make a POST request with JSON payload
fetch(url, {
method: 'POST',
headers: {
// Specify content type as JSON
'Content-Type': 'application/json'
},
body: JSON.stringify(data)
})
.then(response => {
// Check if the response status is OK
if (!response.ok) {
throw new Error('Network response was not ok');
}
// Parse the response as JSON
return response.json();
})
.then(data => {
// Process the JSON data
console.log(data);
})
.catch(error => {
// Handle any errors that occur during the fetch
console.error('There has been a problem with your fetch operation:', error);
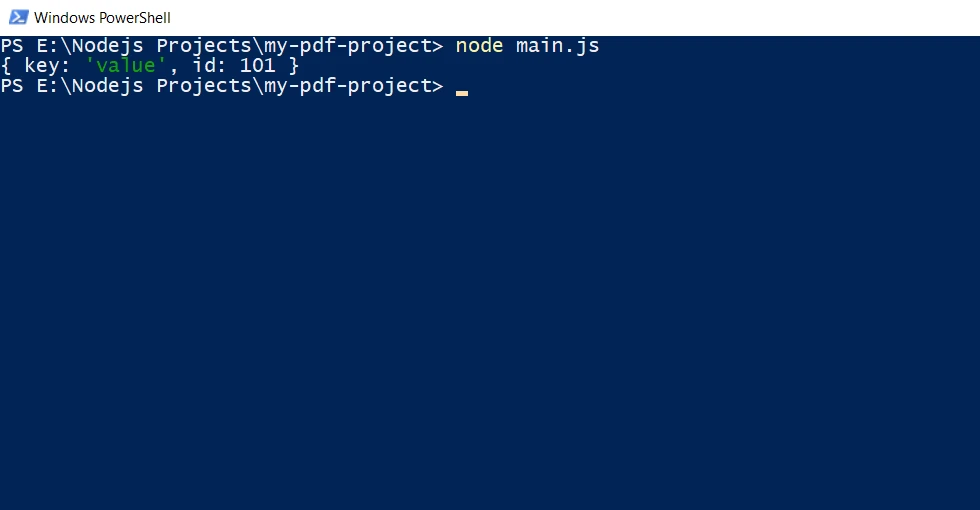
});이 예시는 JSON 페이로드를 포함하여 POST 요청을 보내는 방법을 보여줍니다. headers 옵션은 응답의 콘텐츠 유형을 지정하는 데 사용되며, **body** 옵션에는 직렬화된 JSON 데이터가 포함됩니다.
콘솔 출력
스트리밍 응답 처리
import fetch from 'node-fetch';
import fs from 'fs';

const url = 'https://jsonplaceholder.typicode.com/posts';

// Make a GET request to fetch data and stream it to a file
fetch(url)
    .then(response => {
        // Check if the response status is OK
        if (!response.ok) {
            throw new Error('Network response was not ok');
        }
        // Pipe the response body as a file stream to 'large-data.json'
        const dest = fs.createWriteStream('./large-data.json');
        response.body.pipe(dest);
    })
    .catch(error => {
        // Handle any errors that occur during the fetch
        console.error('There has been a problem with your fetch operation:', error);
    });
import fetch from 'node-fetch';
import fs from 'fs';
const url = 'https://jsonplaceholder.typicode.com/posts';
// Make a GET request to fetch data and stream it to a file
fetch(url)
.then(response => {
// Check if the response status is OK
if (!response.ok) {
throw new Error('Network response was not ok');
}
// Pipe the response body as a file stream to 'large-data.json'
const dest = fs.createWriteStream('./large-data.json');
response.body.pipe(dest);
})
.catch(error => {
// Handle any errors that occur during the fetch
console.error('There has been a problem with your fetch operation:', error);
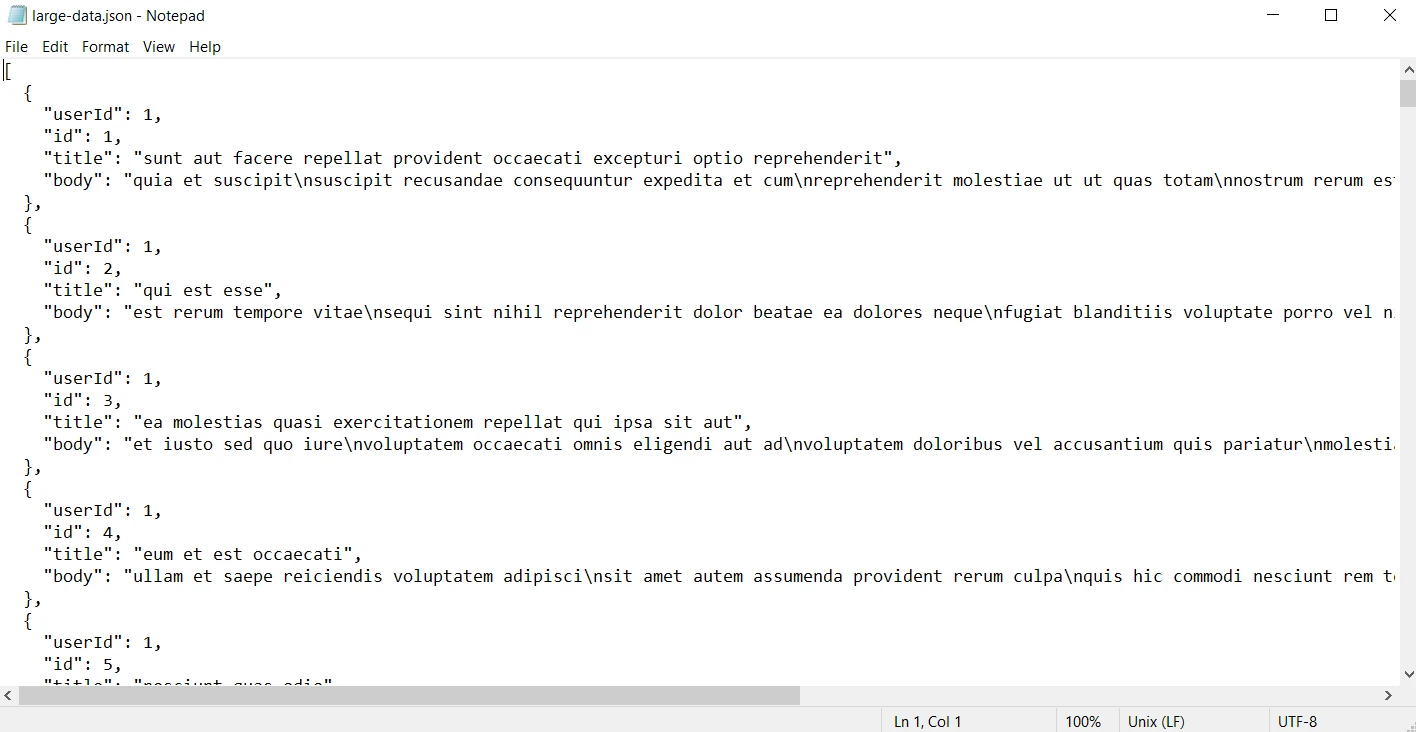
});이 예시에서는 응답 본문이 파일 스트림 형태로 서버로 전송되어 대용량 응답을 효율적으로 처리하는 방법을 보여줍니다.
산출
오류 처리
HTTP 요청을 처리할 때는 적절한 오류 처리가 매우 중요합니다. Node.js fetch는 프로미스를 사용하여 오류를 포착하고 처리하는 간단한 방법을 제공합니다.
fetch(url)
    .then(response => {
        // Check if the response status is OK
        if (!response.ok) {
            throw new Error(`HTTP error! status: ${response.status}`);
        }
        // Parse the response as JSON
        return response.json();
    })
    .then(data => {
        // Process the JSON data
        console.log(data);
    })
    .catch(error => {
        // Handle any errors that occur during the fetch
        console.error('Fetch error:', error);
    });
fetch(url)
.then(response => {
// Check if the response status is OK
if (!response.ok) {
throw new Error(`HTTP error! status: ${response.status}`);
}
// Parse the response as JSON
return response.json();
})
.then(data => {
// Process the JSON data
console.log(data);
})
.catch(error => {
// Handle any errors that occur during the fetch
console.error('Fetch error:', error);
});여기서 응답 상태 코드가 200~299 범위에 속하지 않으면 오류가 발생하고, catch 블록은 요청 중에 발생하는 모든 오류를 처리합니다. 그렇지 않으면 유효한 JSON 응답이 반환됩니다.
Node.js 에서 IronPDF 와 fetch를 사용하여 PDF를 생성하는 Node.js
Node fetch 는 Node.js 생태계에서 HTTP fetch 요청을 수행하는 데 널리 사용되는 라이브러리입니다. 강력한 PDF 생성 라이브러리인 IronPDF 와 함께 사용하면 다양한 웹 자료에서 PDF를 생성하는 다재다능한 도구가 됩니다.
IronPDF 란 무엇인가요?
IronPDF 는 개발자가 PDF에서 콘텐츠를 쉽고 효율적인 방식으로 생성, 편집 및 추출할 수 있도록 지원하는 강력한 라이브러리입니다. IronPDF C#, Python, Java 및 Node.js 에서 사용할 수 있으며 직관적인 API를 통해 PDF 조작을 간편하게 해줍니다.

IronPDF 라이브러리 설치 중
먼저 프로젝트에 IronPDF 설치해야 합니다. 다음 npm 명령어를 사용하여 라이브러리를 설치하세요.
npm과 @ironsoftware/ironpdf
Node.js fetch 함수와 IronPDF 를 사용하여 웹 콘텐츠 소스에서 PDF를 생성하는 방법을 살펴보겠습니다.
Node.js fetch와 IronPDF 결합하기
Node.js fetch와 IronPDF 의 기능을 모두 활용하면 웹 콘텐츠를 동적으로 가져와 PDF를 생성할 수 있습니다. 예를 들어, API 엔드포인트의 데이터를 가져와 동적 HTML을 생성한 다음 이를 PDF로 변환할 수 있습니다. 다음 예시는 이 작업을 수행하는 방법을 보여줍니다.
import fetch from 'node-fetch';
import { PdfDocument } from '@ironsoftware/ironpdf';

(async () => {
    // Replace the apiUrl with the actual URL
    const apiUrl = "https://jsonplaceholder.typicode.com/posts";

    // Fetch data from API
    const response = await fetch(apiUrl);
    const data = await response.json();

    // Create dynamic HTML content with a table
    const htmlContent = `
        <!DOCTYPE html>
        <html>
        <head>
            <title>Data Report</title>
            <style>
                body {
                    font-family: Arial, sans-serif;
                    margin: 40px;
                }
                table {
                    width: 100%;
                    border-collapse: collapse;
                }
                table, th, td {
                    border: 1px solid black;
                }
                th, td {
                    padding: 10px;
                    text-align: left;
                }
                th {
                    background-color: #f2f2f2;
                }
                h1 {
                    text-align: center;
                }
            </style>
        </head>
        <body>
            <h1>Data Report</h1>
            <table>
                <tr>
                    <th>User ID</th>
                    <th>ID</th>
                    <th>Title</th>
                    <th>Body</th>
                </tr>
                ${data.map(item => `
                    <tr>
                        <td>${item.userId}</td>
                        <td>${item.id}</td>
                        <td>${item.title}</td>
                        <td>${item.body}</td>
                    </tr>
                `).join('')}
            </table>
        </body>
        </html>
    `;

    // Generate PDF from the HTML string
    const pdfFromHtmlString = await PdfDocument.fromHtml(htmlContent);
    await pdfFromHtmlString.saveAs("dynamic_report.pdf");
    console.log("PDF generated from API data successfully!");
})();
import fetch from 'node-fetch';
import { PdfDocument } from '@ironsoftware/ironpdf';
(async () => {
// Replace the apiUrl with the actual URL
const apiUrl = "https://jsonplaceholder.typicode.com/posts";
// Fetch data from API
const response = await fetch(apiUrl);
const data = await response.json();
// Create dynamic HTML content with a table
const htmlContent = `
<!DOCTYPE html>
<html>
<head>
<title>Data Report</title>
<style>
body {
font-family: Arial, sans-serif;
margin: 40px;
}
table {
width: 100%;
border-collapse: collapse;
}
table, th, td {
border: 1px solid black;
}
th, td {
padding: 10px;
text-align: left;
}
th {
background-color: #f2f2f2;
}
h1 {
text-align: center;
}
</style>
</head>
<body>
<h1>Data Report</h1>
<table>
<tr>
<th>User ID</th>
<th>ID</th>
<th>Title</th>
<th>Body</th>
</tr>
${data.map(item => `
<tr>
<td>${item.userId}</td>
<td>${item.id}</td>
<td>${item.title}</td>
<td>${item.body}</td>
</tr>
`).join('')}
</table>
</body>
</html>
`;
// Generate PDF from the HTML string
const pdfFromHtmlString = await PdfDocument.fromHtml(htmlContent);
await pdfFromHtmlString.saveAs("dynamic_report.pdf");
console.log("PDF generated from API data successfully!");
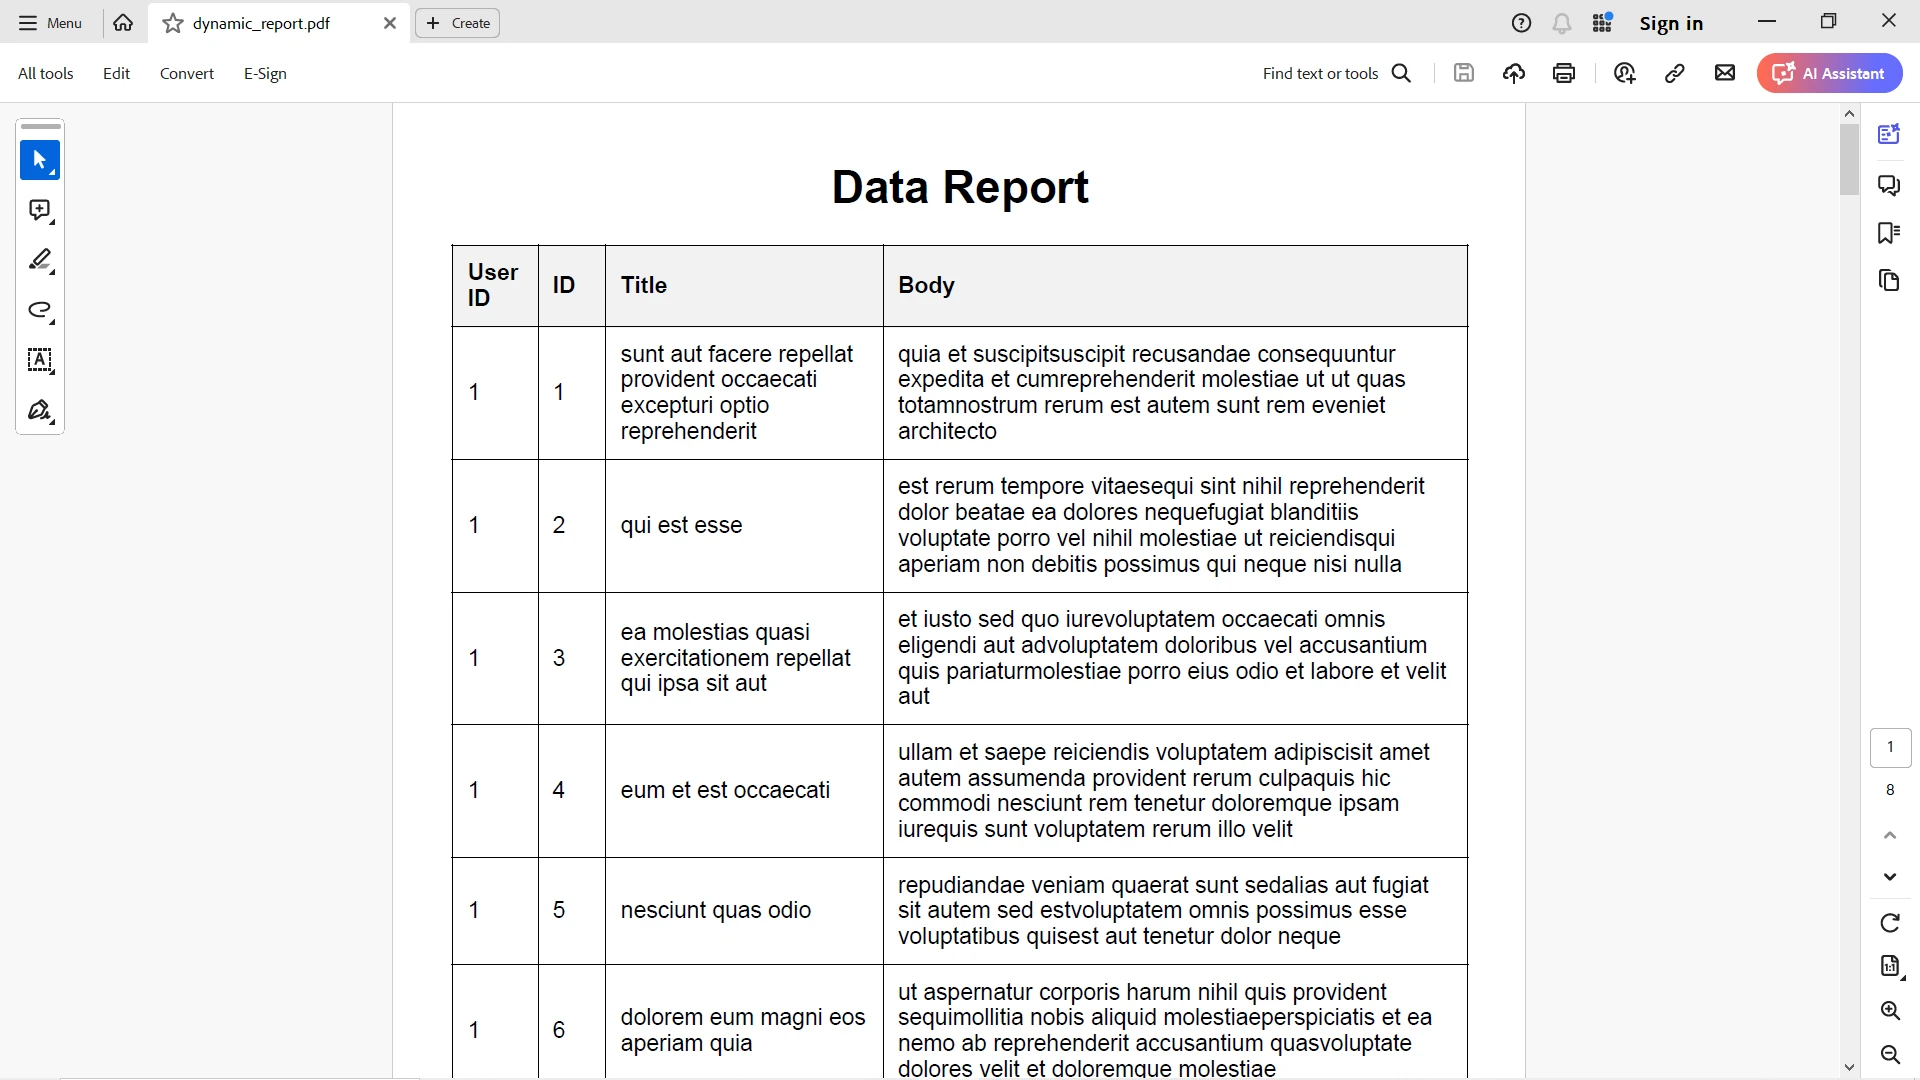
})();PDF 출력
JSON 응답 출력은 HTML 테이블로 깔끔하게 매핑되며, IronPDF 모든 스타일을 정확하게 유지하며 이를 변환합니다.
결론
Node.js 에서 HTTP 요청을 보내는 데 사용할 수 있는 강력하면서도 간단한 도구인 Node fetch를 소개합니다 . 친숙한 API, 프로미스 기반 접근 방식, 그리고 가벼운 무게 덕분에 초보 개발자와 숙련된 개발자 모두에게 훌륭한 선택입니다. 기본적인 GET 요청을 수행하든, 사용자 지정 헤더가 포함된 복잡한 POST 요청을 처리하든, Node fetch는 웹 API와 상호 작용하는 깔끔하고 효율적인 방법을 제공합니다.
Node.js의 fetch 와 `IronPDF 결합하면 Node.js 환경에서 다양한 웹 콘텐츠 소스로부터 PDF를 생성하는 강력하고 유연한 방법을 제공합니다. 이 두 라이브러리를 통합하면 웹 데이터를 활용하고 전문가 수준의 PDF를 손쉽게 생성하는 강력한 애플리케이션을 만들 수 있습니다.
IronPDF 시작 가격은 $999. 위험 부담 없이 강력한 PDF 생성 기능을 경험해 보세요. 오늘 바로 사용해 보시고 그 차이를 직접 확인해 보세요!


