How to Use PyCharm (Guide For Developers)
Looking for a tutorial on how to use PyCharm?
Look no more, as in this article we discuss how to use PyCharm. Before that let's look at what PyCharm is.
1. PyCharm Integrated Development Environment (IDE)
PyCharm is a powerful Python interpreter integrated development environment (IDE) specifically designed for Python programming. Created by JetBrains, PyCharm offers a comprehensive set of tools and features that enhance the efficiency and productivity of Python developers. Whether you are a beginner or an experienced programmer, PyCharm provides a user-friendly interface and a range of functionalities to support the entire development workflow.
PyCharm's main goal is to simplify the process of writing, debugging, and maintaining Python projects. It offers a plethora of intelligent code assistance features, making it easier to write clean and error-free code. With its advanced code completion, code inspection, and refactoring capabilities, PyCharm helps you write code faster and with fewer mistakes.
One of the standout features of PyCharm is its integrated debugger. The debugger allows you to step through your code, set breakpoints, and inspect variables, helping you identify and fix bugs more efficiently. PyCharm also integrates with popular testing frameworks, enabling you to write and run unit tests seamlessly within the IDE.
PyCharm provides excellent support for version control systems such as Git, allowing you to manage your source code easily. It offers a visual diff and merge tool, simplifying the process of resolving conflicts and keeping track of changes. Additionally, PyCharm supports various project management tools and build systems, making it easier to collaborate with team members and streamline your development process.
The IDE offers a wide range of plugins and extensions, allowing you to customize and extend its functionality to suit your specific needs. Whether you need support for web programming frameworks like Django and Flask, data science libraries like NumPy and pandas, or integration with cloud platforms such as AWS and Google Cloud, PyCharm has you covered with its extensive plugin ecosystem for Python Software Development.
PyCharm comes in two editions: PyCharm Community Edition, which is free and open-source, and PyCharm Professional Edition, which offers advanced features for professional Python development. The Professional Edition includes additional tools for web development languages, database integration, and scientific programming, making it a comprehensive solution for complex Python projects.
2. Installing PyCharm
To install PyCharm, you can follow these steps:
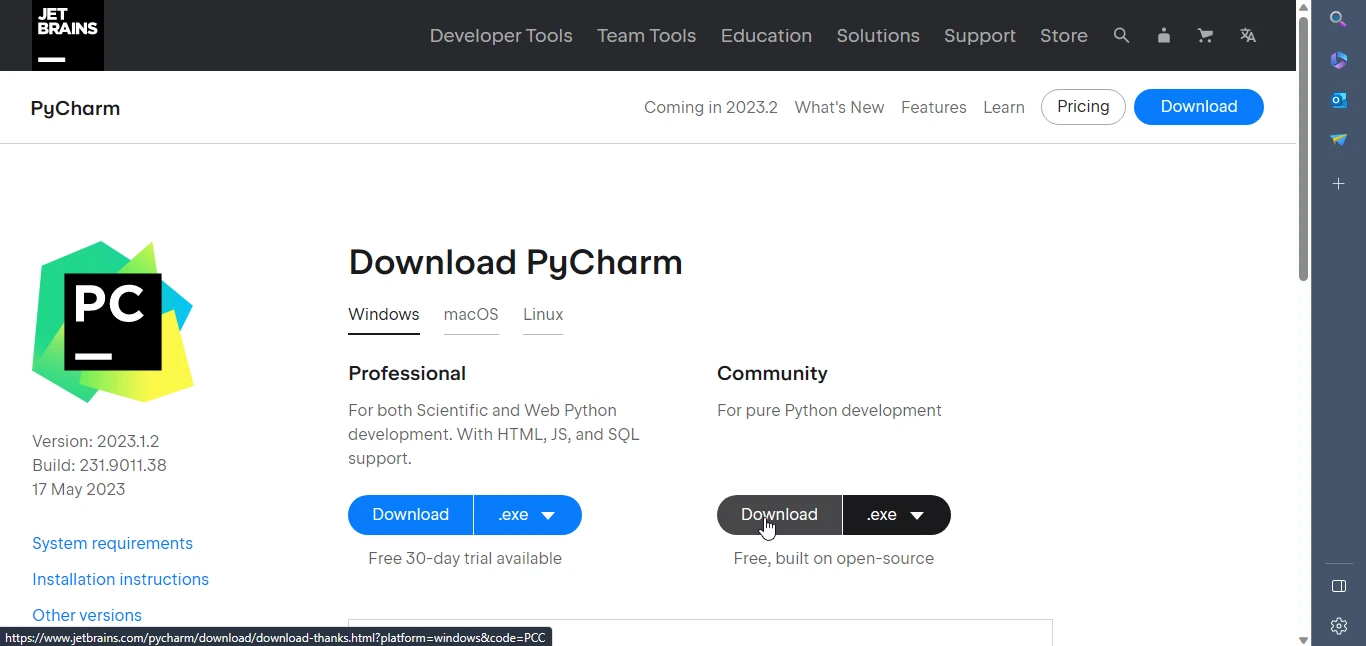
- Visit the official PyCharm website at https://www.jetbrains.com/pycharm/.
On the website, you will find two editions of PyCharm: PyCharm Community Edition (free) and PyCharm Professional Edition (paid). Choose the edition that suits your needs and click on the corresponding "Download" button.
- Once the download is complete, locate the installer file on your computer and run it.
The installation wizard will guide you through the installation process. You may be prompted to choose the installation location and select additional configuration options. Follow the instructions provided by the wizard.
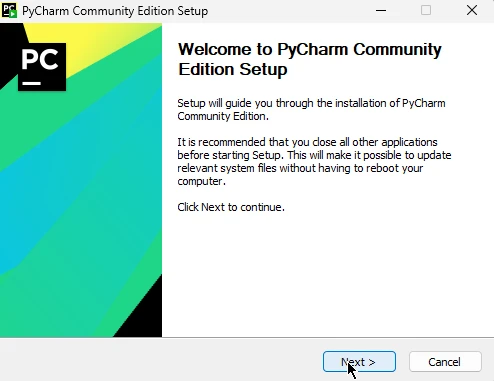
- After the installation is complete, launch PyCharm from the start menu or desktop shortcut.
- On the first launch, PyCharm will ask you to customize the settings and choose the
keymapscheme. You can either select the default settings or customize them according to your preferences. PyCharm will also ask you to configure the Python interpreter. If you already have Python installed on your system, you can select the existing interpreter. Otherwise, PyCharm provides an option to download and install Python for you.
- Once you have completed the initial setup, PyCharm will open, and you can start using the IDE for your Python development projects.
Note: PyCharm is available for different operating systems, including Windows, macOS, and Linux. Make sure to download the appropriate version for your operating system.
That's it! You have successfully installed PyCharm on your computer, and you can now begin writing and managing your Python code using the powerful features and tools provided by the IDE.
3. How to Use PyCharm
Once installation is complete, let's get started with the PyCharm tutorial. We'll discuss how to create a new project.
3.1. Creating a New Python Project
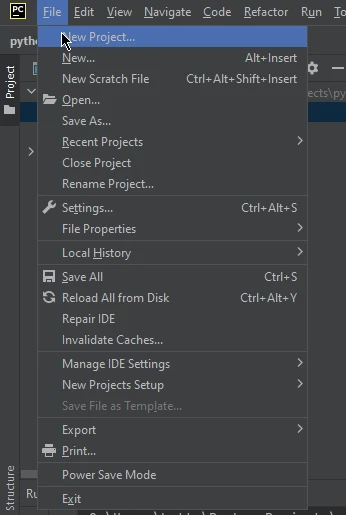
To create a new Python program, first open PyCharm. Go to the File menu and click on New Project from the drop-down list.
A new project window will appear. In this window, select the project location for your new Python project, choose the Python interpreter you want to use, and then click on the Create button.
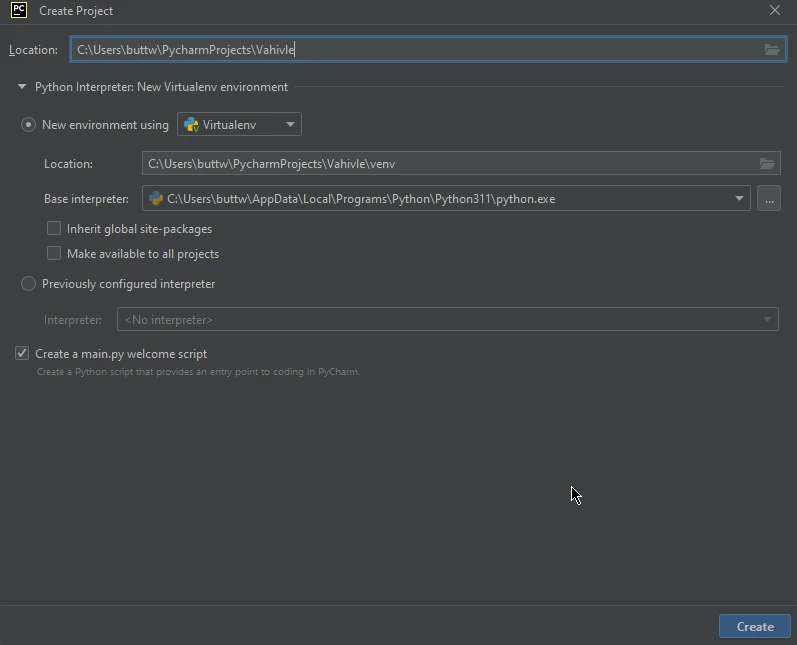
Just like that, a new Python project is created with a new Python file named main.py.
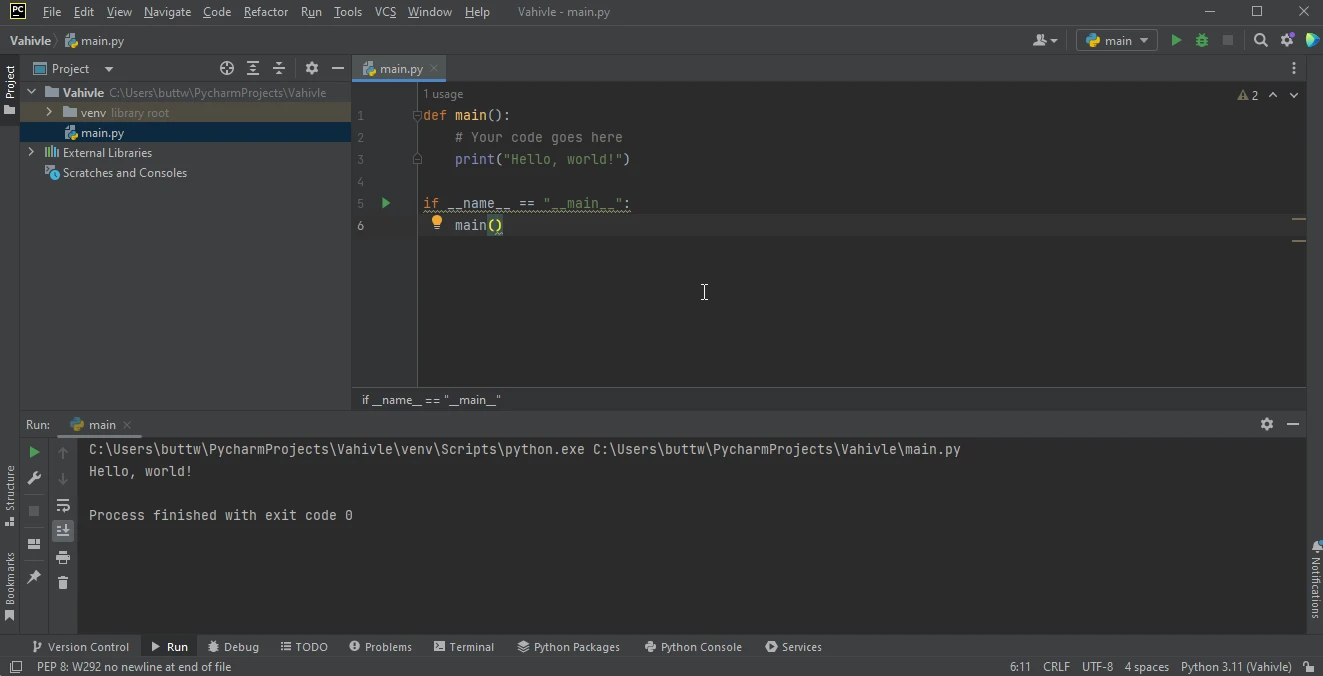
3.2. Running Your First Python Code
When a new project is created, you can write your first program in the main.py file and run it. Below is the first code you can write and run using PyCharm.
def main():
    # This function prints a greeting message to the console
    print("Hello, world!")

if __name__ == "__main__":
    # Calls the main function when the script is executed directly
    main()
def main():
# This function prints a greeting message to the console
print("Hello, world!")
if __name__ == "__main__":
# Calls the main function when the script is executed directly
main()This is a simple program that prints "Hello, world!" in the console.
3.3. Debugging in PyCharm
PyCharm IDE is developed for Python frameworks and other Python-related programming languages. As with all good code editors, PyCharm also has a built-in debugger. To use the debugger, you need to place markers or breakpoints on lines where you want to check the values of different variables at that point.
Below is the code we will debug.
def main(str, Int):
    Int += 1  # Increment Int by 1
    print(str, Int)  # Print the string and the incremented integer

if __name__ == "__main__":
    # Call main function with a test string and initial integer value
    main("This is a Debugger Example", 1)
def main(str, Int):
Int += 1 # Increment Int by 1
print(str, Int) # Print the string and the incremented integer
if __name__ == "__main__":
# Call main function with a test string and initial integer value
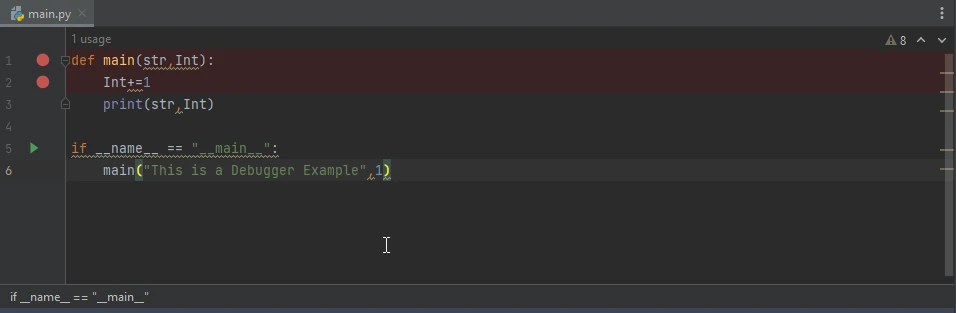
main("This is a Debugger Example", 1)We placed two breakpoints in this code. Let's see them.
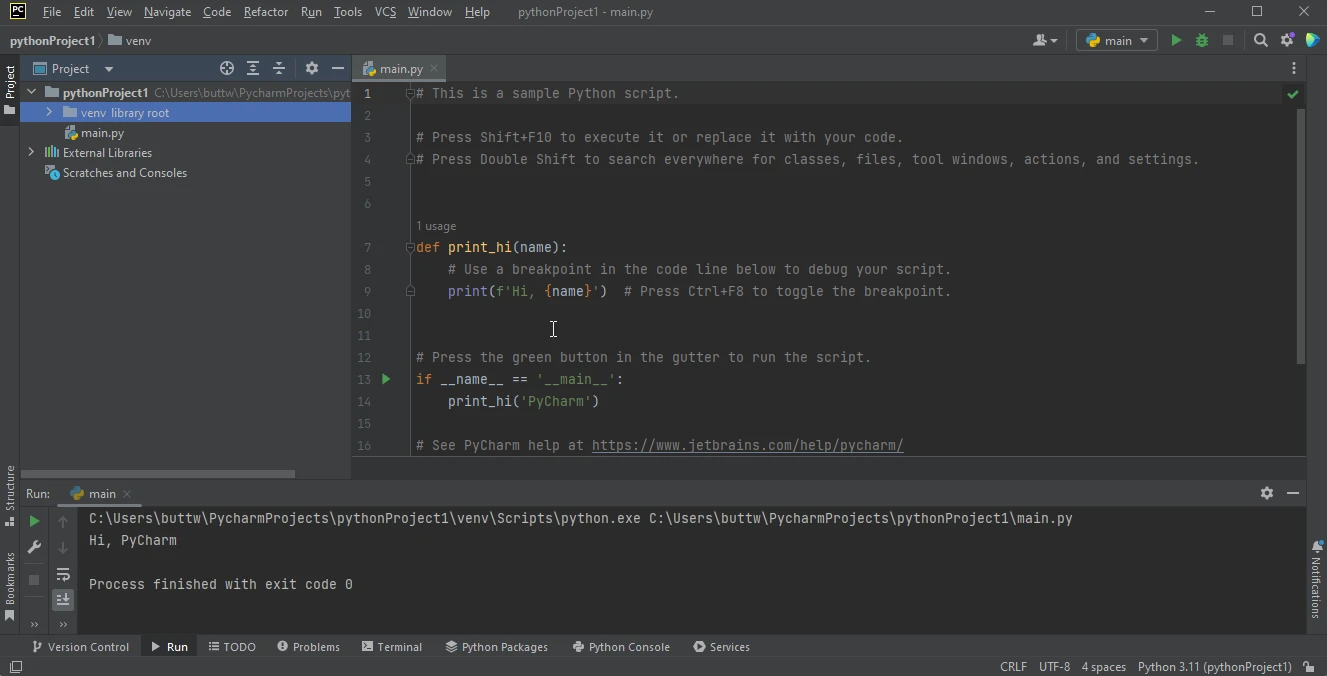
The red dots in this below image are breakpoints.
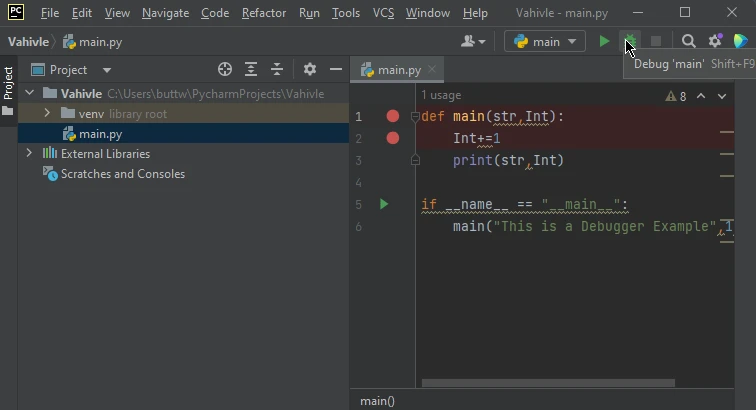
When we start to debug this code, it will stop at the first breakpoint. You can then click on "Next" to move to the next breakpoint.
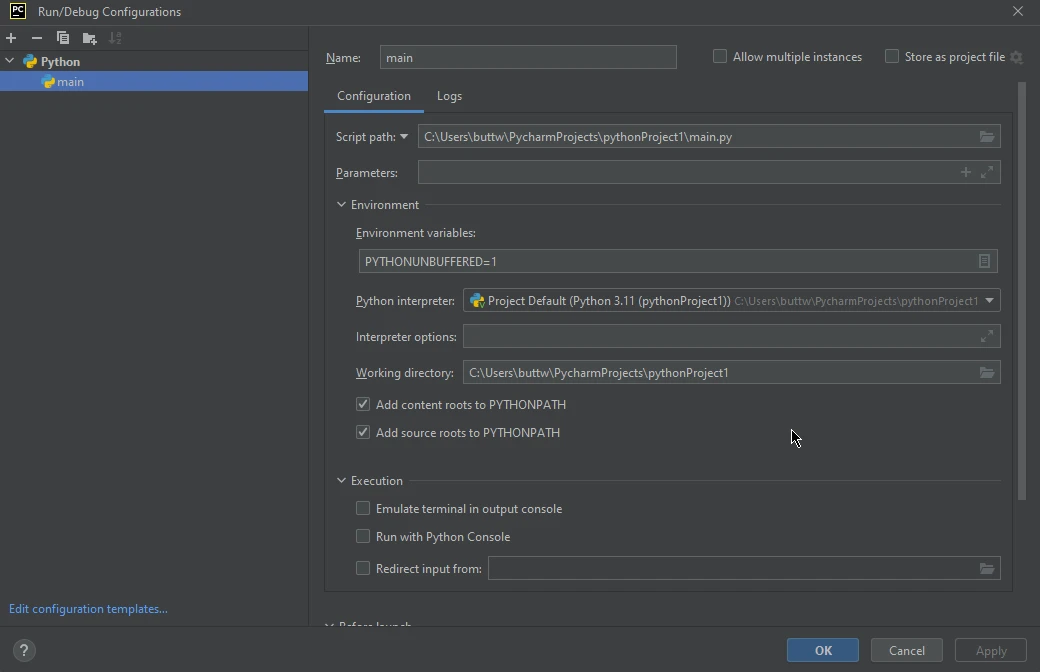
You can start debugging by clicking on the Debug button.
After running the debugger, you will see this at the bottom of the PyCharm.
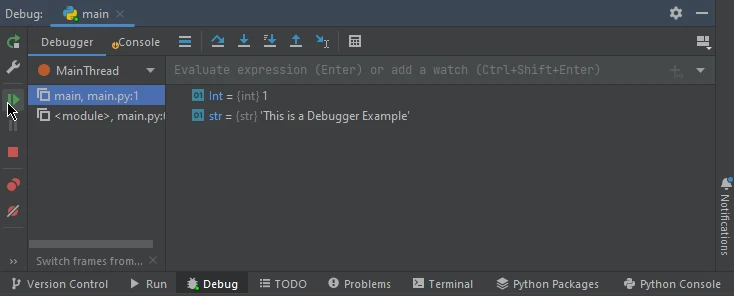
These are the values of parameters at the first breakpoint. After clicking the "Next" button, it will show the values present at the next breakpoint.
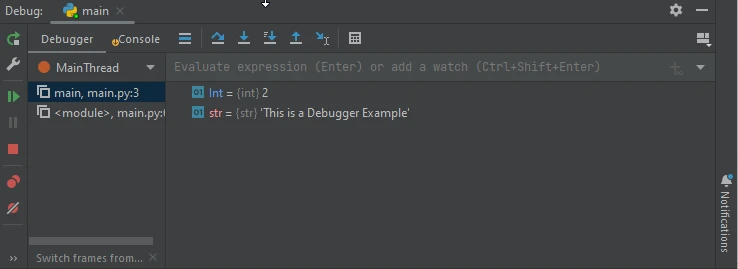
You can see how the value of Int has changed to 2 because we incremented it. This is how we use the debugger in PyCharm.
4. Conclusion
PyCharm is a powerful Python integrated development environment (IDE) that simplifies the process of writing, debugging, and maintaining Python projects. With its intelligent code assistance, integrated debugger, version control support, and extensive plugin ecosystem, PyCharm enhances the productivity and efficiency of Python developers. Whether you're working on web development, data science, or any other Python project, PyCharm provides the tools and functionality to support your development workflow and help you build robust applications. To download PyCharm, visit the following link.
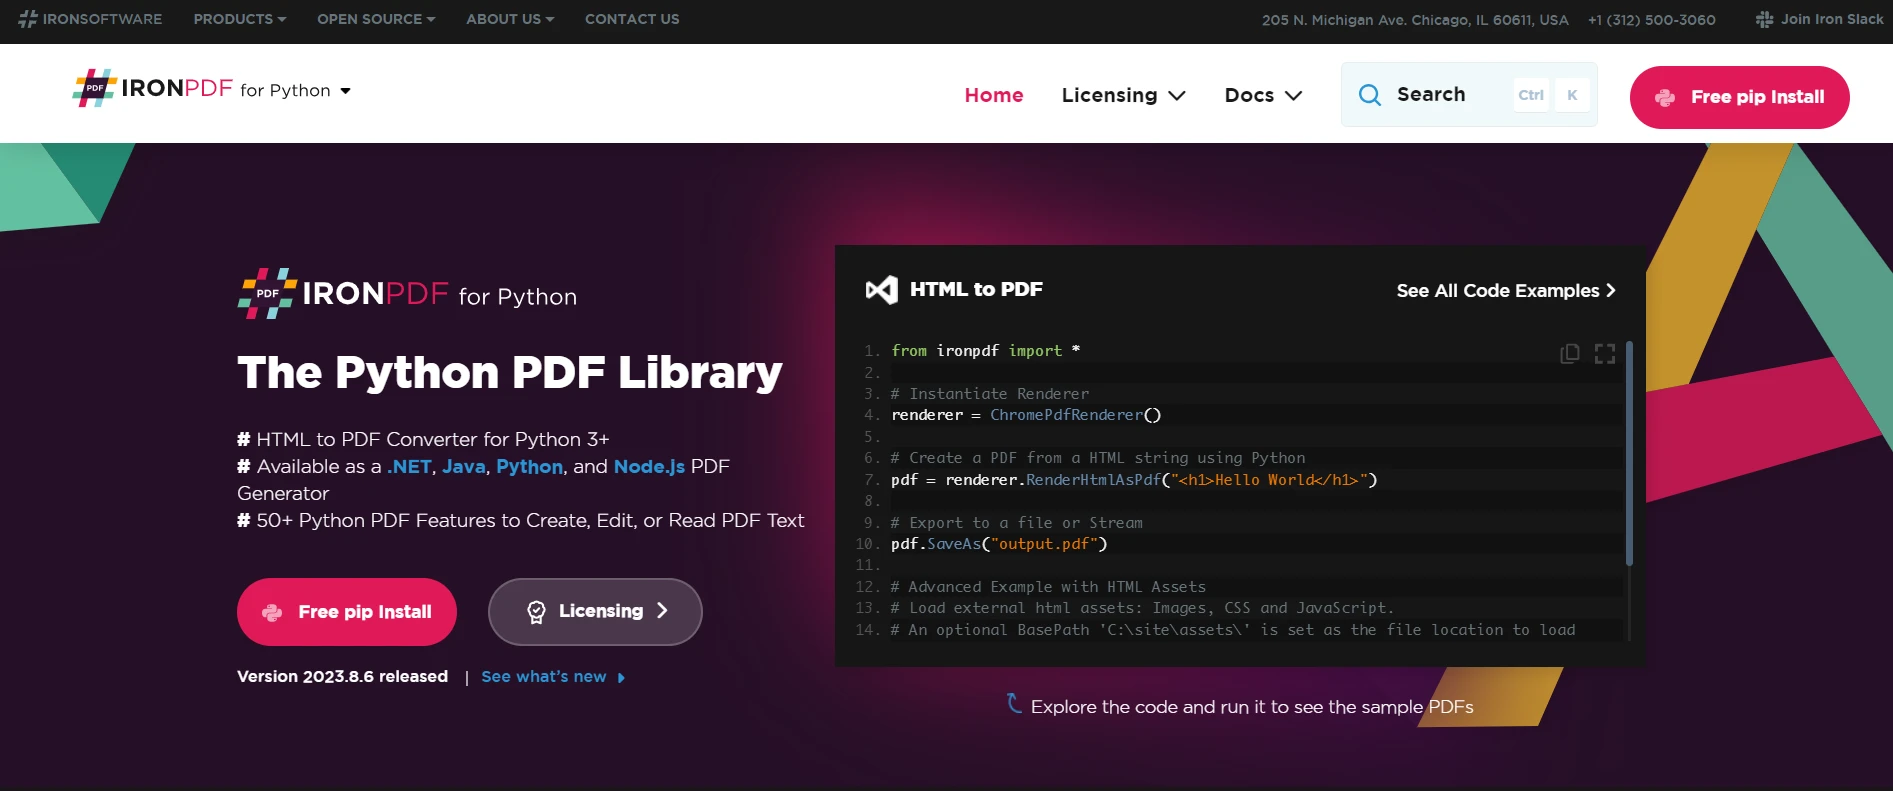
IronPDF offers a seamless solution for creating, reading, updating, and manipulating PDF files. As part of Iron Software's Iron Suite, it encompasses five valuable libraries that assist in developing PyCharm applications involving Excel, PDF, Barcodes, QR Codes, and images. For tutorials on this product, please visit here.
Iron Suite is freely available for personal use, allowing users to explore its capabilities. For detailed information on acquiring a commercial license, kindly refer to this link. To access the software product, please download it from this link here.