
snowpack NPM(開發者的使用方法)

現代應用程式因其在網頁應用程式開發週期中的簡易性和高速性能而喜愛Snowpack。 它會追蹤文件中的變更,並且只重新建構已變更的應用程式部分,從而消除長時間的重建並不需要重新打包整個區塊。 這使其對於具有變更程式碼庫的大型專案或應用程式特別有用。 此外,這種架構使Snowpack成為一個更加模組化和輕量級的工具鏈,能夠在需要時更容易地匯入程式庫的部分內容,從而減少整體大小並改善性能。 在這篇文章中,我們將了解更多關於Snowpack與IronPDF套件的內容。
Snowpack是網頁應用程式開發中的一個新工具,可能會將開發環境提升到另一個層次。 它擁有一個優化的開發伺服器,因此使得開發更具生產力而不影響開發速度。 使用Snowpack的性能建構系統,任何開發者都可以輕鬆快速地建立並迭代其Snowpack專案,並獲得改進的生產性能。 Snowpack以提高開發速度的方式令人感興趣,因為它在開發時間內限制了重度打包,提供更快且更具響應性的體驗,確保最終生產結果得以高度優化。
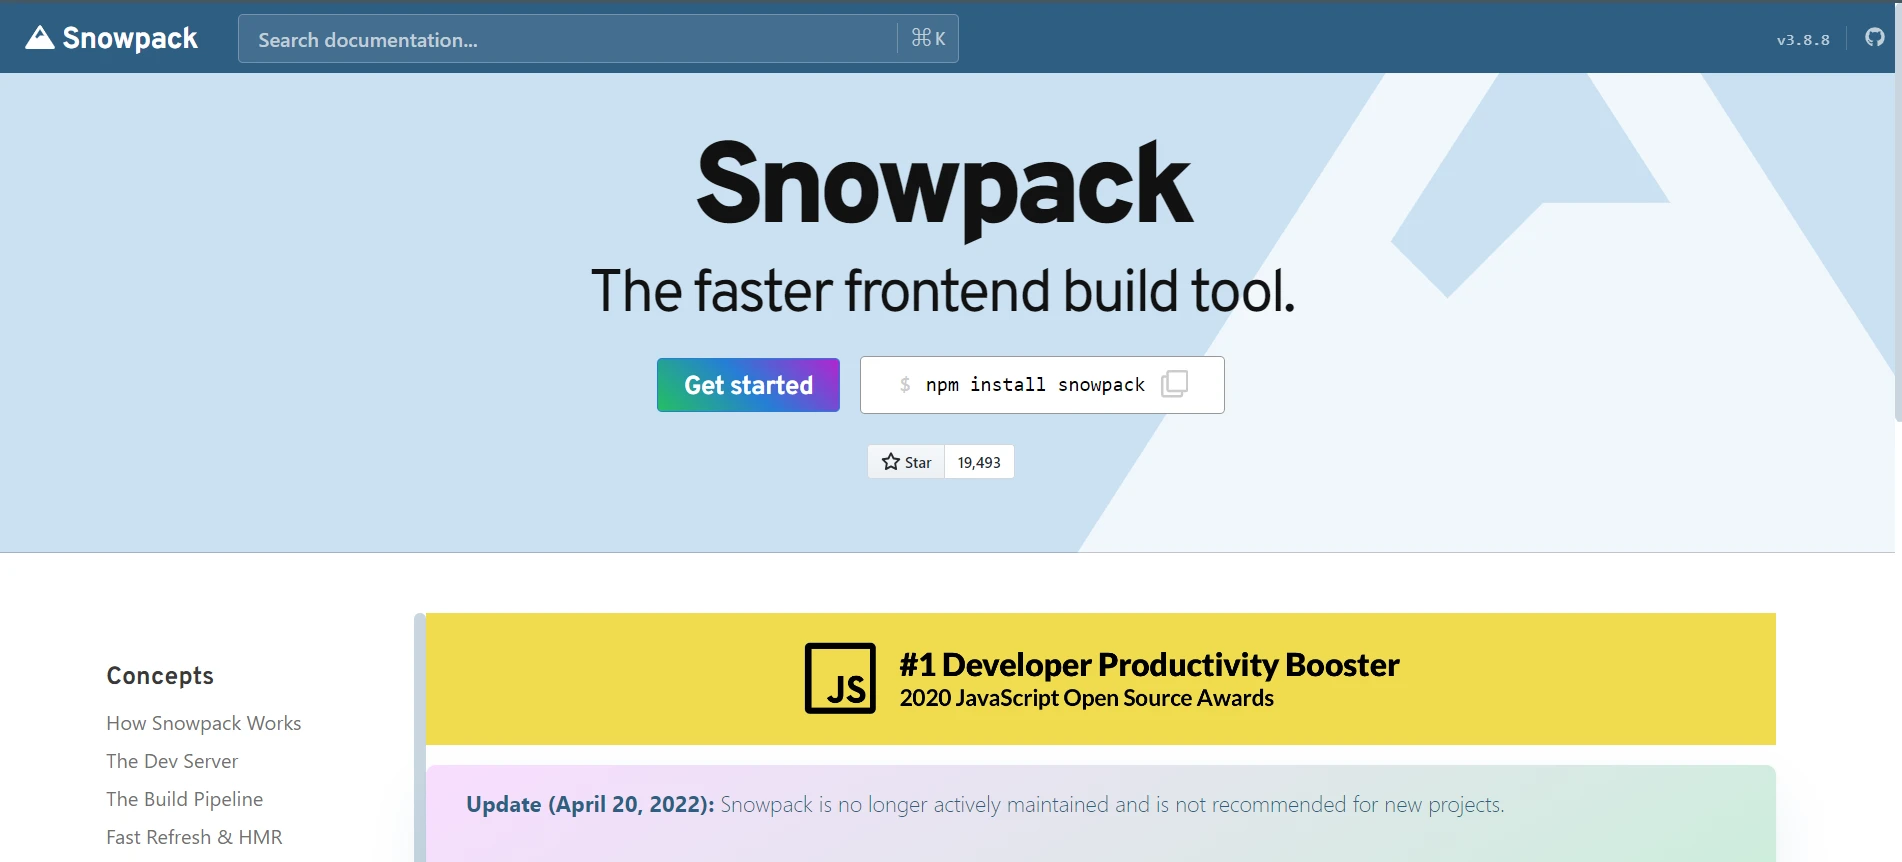
Snowpack這樣做是通過逐個建立文件,只有當它們發生變化時,而不是每次打包整個應用程式。這在時間節省方面產生了巨大的變化,當您在瀏覽器中看到變更時,使得開發更加具有響應性。除此之外,Snowpack支援龐大的插件和整合生態系統,這使得將其功能擴展以整合大量工具和框架到您的工作流程中變得輕鬆。
它簡單且快速,所以Snowpack是任何想要獲得最佳生產性能並創造現代且高性能網頁應用程式的開發者的最佳選擇。配置簡單,配置最少; 它專注於利用最新的標準關鍵功能和技術。
將Snowpack NPM整合至Node.js
將Snowpack整合到我們的Node.js應用程式中:通過Snowpack提供的現代建構系統和快速、高效的開發環境增強您的開發工作流程。 這裡是如何將Snowpack整合到Node.js專案中的指南。
安裝Node.js和Snowpack
首先,我們需要在您的機器上安裝Node.js和NPM。我們可以從Node.js的官方網站下載最新版本。
設置您的Node.js專案
如果您還沒有這麼做,請建立一個新的Node.js專案,或切換到您的現有專案:
mkdir my-node-app
cd my-node-app
npm init -y
mkdir my-node-app
cd my-node-app
npm init -y安裝Snowpack
將Snowpack安裝為您專案中的開發依賴項:
npm install --save-dev snowpacknpm install --save-dev snowpack配置Snowpack
在您專案的根目錄中建立Snowpack的配置文件:snowpack.config.js。 這個文件描述了Snowpack應如何構建和服務您的專案。
// snowpack.config.js
module.exports = {
  mount: {
    public: '/',       // Mount the 'public' directory to the root URL path
    src: '/dist',      // Mount the 'src' directory to the '/dist' URL path
  },
  buildOptions: {
    out: 'build',      // Output directory for the build
  },
  plugins: [
    // Add any necessary plugins here
  ],
  optimize: {
    bundle: true,      // Bundle final build files for optimized delivery
    minify: true,      // Minify the build files
    target: 'es2020',  // Set the target output for modern JavaScript syntax
  },
};
// snowpack.config.js
module.exports = {
mount: {
public: '/', // Mount the 'public' directory to the root URL path
src: '/dist', // Mount the 'src' directory to the '/dist' URL path
},
buildOptions: {
out: 'build', // Output directory for the build
},
plugins: [
// Add any necessary plugins here
],
optimize: {
bundle: true, // Bundle final build files for optimized delivery
minify: true, // Minify the build files
target: 'es2020', // Set the target output for modern JavaScript syntax
},
};新增啟動和建構腳本
更新您的package.json中的scripts部分以包含以下命令,用於在開發模式下運行Snowpack和建構您的專案以供生產使用:
"scripts": {
  "start": "snowpack dev",
  "build": "snowpack build"
}
與後端整合
如果您的Node.js應用程式有後端伺服器,例如Express,我們可以通過從Node.js伺服器提供構建的前端文件來輕鬆整合Snowpack。
使用Express的範例
const express = require('express');
const path = require('path');

const app = express();
const port = process.env.PORT || 3000;

// Serve static files from the 'build' directory
app.use(express.static(path.join(__dirname, 'build')));

// Serve index.html for all requests (SPA)
app.get('*', (req, res) => {
  res.sendFile(path.join(__dirname, 'build', 'index.html'));
});

// Start the server
app.listen(port, () => {
  console.log(`Server is running on http://localhost:${port}`);
});
const express = require('express');
const path = require('path');
const app = express();
const port = process.env.PORT || 3000;
// Serve static files from the 'build' directory
app.use(express.static(path.join(__dirname, 'build')));
// Serve index.html for all requests (SPA)
app.get('*', (req, res) => {
res.sendFile(path.join(__dirname, 'build', 'index.html'));
});
// Start the server
app.listen(port, () => {
console.log(`Server is running on http://localhost:${port}`);
});上面的程式碼配置了基本的Express.js伺服器來提供單頁應用程式。 一開始,模塊'express'和'path'被匯入。 'Express'是Node.js用於處理伺服器端邏輯的輕量級網頁框架,而'path'是Node.js用於處理文件路徑的模塊。 然後建立一個Express應用程式並保存到變數app中,同時伺服器端口設置為環境變數PORT或預設為3000。
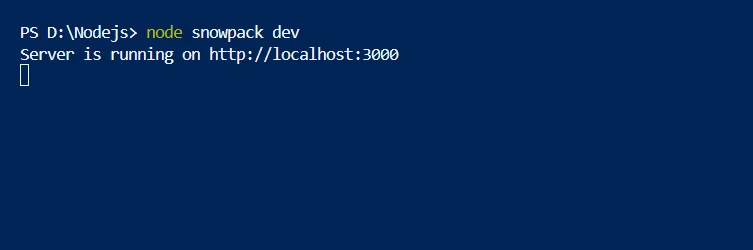
app.use中的中介軟體從構建目錄中提供靜態文件,這些通常包括應用程式的已編譯前端資產。 最後,app.get('*')萬能路由處理程式確保每個傳入請求都以構建目錄中的index.html回應,允許客戶端路由在SPA中正常工作。 最後,調用app.listen在指定端口上啟動伺服器,並記錄一條消息,指示伺服器正在運行且可存取。
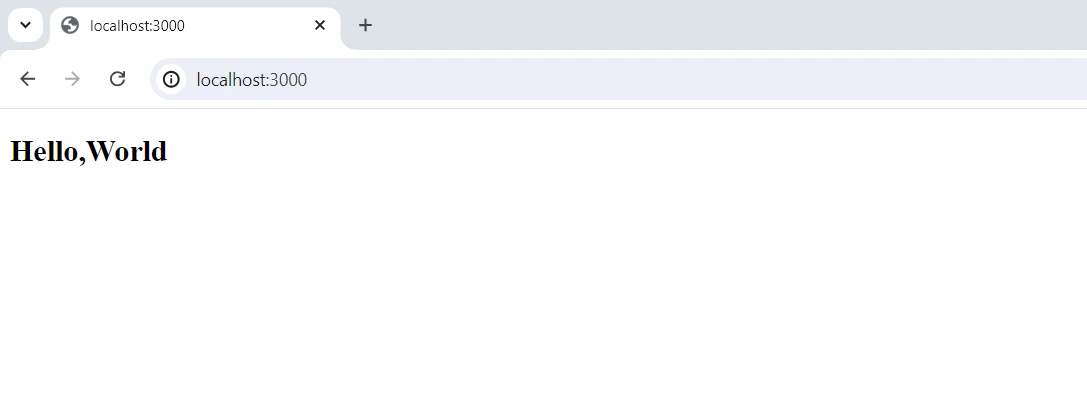
介紹IronPDF for Node.js:一個PDF生成器
使用強大的Node.js套件IronPDF for Node.js來建立、編輯、操作和轉換PDF文件。 它用於涉及PDF的各種編程任務,從HTML到PDF轉換到修改現有的PDF。 IronPDF在需要動態生成和處理PDF的應用程式中非常方便,提供了一種簡單而靈活的方法來生成高質量的PDF文件。
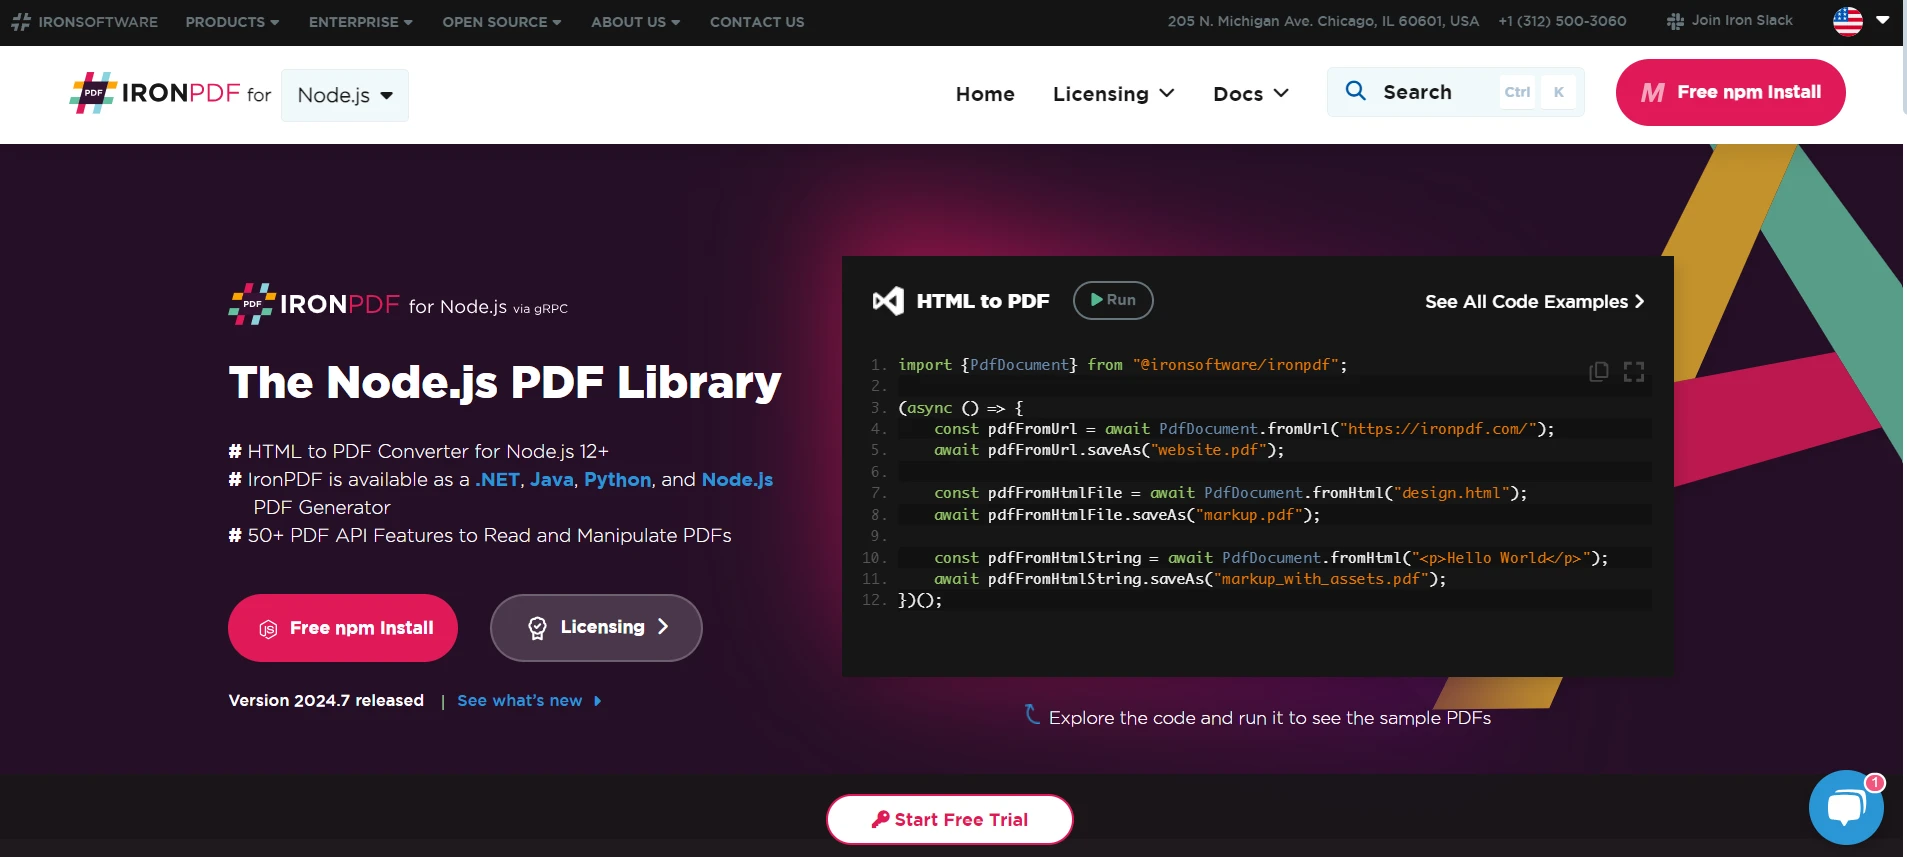
安裝 IronPDF 套件
安裝將使IronPDF功能在Node.js中可用的套件,通過Node.js套件管理器進行。
npm i @ironsoftware/ironpdf
使用Snowpack打包器生成PDF
我們可以輕鬆地將Snowpack打包器與IronPDF整合。 我們可以在短短幾毫秒內構建我們的應用程式。 以下是我們將用來與Snowpack打包的範例程式碼。
const express = require("express");
const path = require("path");
const IronPdf = require("@ironsoftware/ironpdf");

const document = IronPdf.PdfDocument;
var config = IronPdf.IronPdfGlobalConfig;

config.setConfig({
  licenseKey: "",  // Insert your IronPDF license key here
});

const htmlContent = `
<html>
<head>
    <style>
        body { font-family: Arial, sans-serif; }
        h1 { color: navy; }
        p { font-size: 14px; }
    </style>
</head>
<body>
    <h1>User Details</h1>
    <p><strong>ID:</strong> 1</p>
    <p><strong>Name:</strong> Hendry</p>
</body>
</html>
`;

// Example: Express
// On request, build each file on request and respond with its built contents
const app = express();
const port = process.env.PORT || 3000;

// Serve static files from the 'build' directory
app.use(express.static(path.join(__dirname, "build")));

// Endpoint to generate PDF
app.get("/generate-pdf", async (req, res) => {
  console.log("Requesting: generate-pdf");

  // Generate PDF document
  try {
    let result = await document.fromHtml(htmlContent);
    const pdfBuffer = await result.saveAsBuffer();

    res.setHeader("Content-Type", "application/pdf");
    res.send(pdfBuffer);
  } catch (error) {
    console.error("PDF generation error:", error);
    res.status(500).send("PDF generation error");
  }
});

// Serve index.html for all requests (SPA)
app.get("*", async (req, res) => {
  res.sendFile(path.join(__dirname, "build", "index.html"));
});

// Start the server
app.listen(port, () => {
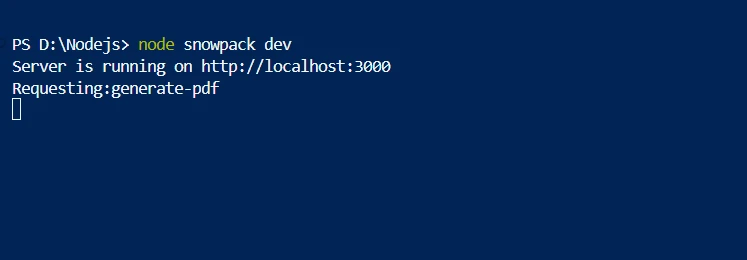
  console.log(`Server is running on http://localhost:${port}`);
});
const express = require("express");
const path = require("path");
const IronPdf = require("@ironsoftware/ironpdf");
const document = IronPdf.PdfDocument;
var config = IronPdf.IronPdfGlobalConfig;
config.setConfig({
licenseKey: "", // Insert your IronPDF license key here
});
const htmlContent = `
<html>
<head>
<style>
body { font-family: Arial, sans-serif; }
h1 { color: navy; }
p { font-size: 14px; }
</style>
</head>
<body>
<h1>User Details</h1>
<p><strong>ID:</strong> 1</p>
<p><strong>Name:</strong> Hendry</p>
</body>
</html>
`;
// Example: Express
// On request, build each file on request and respond with its built contents
const app = express();
const port = process.env.PORT || 3000;
// Serve static files from the 'build' directory
app.use(express.static(path.join(__dirname, "build")));
// Endpoint to generate PDF
app.get("/generate-pdf", async (req, res) => {
console.log("Requesting: generate-pdf");
// Generate PDF document
try {
let result = await document.fromHtml(htmlContent);
const pdfBuffer = await result.saveAsBuffer();
res.setHeader("Content-Type", "application/pdf");
res.send(pdfBuffer);
} catch (error) {
console.error("PDF generation error:", error);
res.status(500).send("PDF generation error");
}
});
// Serve index.html for all requests (SPA)
app.get("*", async (req, res) => {
res.sendFile(path.join(__dirname, "build", "index.html"));
});
// Start the server
app.listen(port, () => {
console.log(`Server is running on http://localhost:${port}`);
});此Express.js伺服器的配置將提供靜態文件並使用IronPDF程式庫生成PDF。 首先,它匯入必要的模塊:用於設置伺服器的'express'、用於管理文件路徑的'path'以及用於生成PDF的'IronPDF'。 然後它用一個授權金鑰初始化IronPDF,此範例中為空,但需要用有效的金鑰替換以避免在生成的PDF上出現浮水印。 定義了一個用於轉換為PDF的簡單HTML模板。
伺服器從構建目錄提供靜態文件,並定義了一個路由利用IronPDF生成PDF,它將HTML內容轉換為PDF文件並以響應的形式流回。 如果在PDF生成過程中出現任何錯誤,將其記錄並發送錯誤響應。 它還包括一個全面路由以通過提供index.html來支持單頁應用程式路由。 此外,伺服器在指定的端口上啟動,並記錄一條消息確認它正在運行。
IronPDF 的許可證
以上程式碼需要授權金鑰才能無浮水印地運行。 在這裡註冊的開發者可以獲得不需要信用卡的試用授權。 可以通過輸入他們的電子郵件地址註冊此免費試用。
結論
在Node.js環境中,Snowpack可以融入IronPDF以採用更強大、更現代化的網頁開發方式。 IronPDF在建立和操作PDF方面提供了巨大的功能,Snowpack作為超快速的前端資產管理工具。 IronPDF中進階的PDF操作功能,加上Snowpack提供的構建優化,將幫助您以更快的速度生成動態且高質量的PDF。 毫無疑問,這一整合將有助於前端和後端開發的順利執行。 除此之外,豐富的IronPDF PDF功能可以結合Snowpack在現代網頁開發中的優勢,從而啟用如此強大且完整的應用程式。 欲了解更多關於IronPDF文件的資訊,請參閱開始使用頁面。
我們也可以查看更多Iron Software技術,這些技術可以幫助您滿足當代應用程式的需求並提升您的編程能力。






 免費開始
免費開始 免費開始
免費開始 預訂免費直播演示