C# Wait For Seconds (How it Works for Developers)
In programming, sometimes you’ll want to pause or delay the execution of your code for a certain amount of time. This is so you can simulate different time conditions, prioritize certain tasks, execute other tasks without blocking the main thread, and more.
In this guide, we’ll explain how to wait in C#, including async methods, sleep commands, sleep functions, console apps, and how to include a wait function in our industry-leading PDF generation tool, IronPDF.
How to Await Task in C#
The Sleep Command
'Sleep' is a simple yet powerful command that allows you to pause the execution of your current task for a specific amount of time, essentially telling your program to wait before moving on to the next task. In C#, we do this by using the Thread.Sleep(int milliseconds) method, like in the following code example:
using System;
using System.Threading;
class Program
{
public static void Main()
{
Console.WriteLine("Starting the program...");
Thread.Sleep(3000); // Sleep for 3 seconds
Console.WriteLine("...Program continues after 3 seconds");
}
}using System;
using System.Threading;
class Program
{
public static void Main()
{
Console.WriteLine("Starting the program...");
Thread.Sleep(3000); // Sleep for 3 seconds
Console.WriteLine("...Program continues after 3 seconds");
}
}Imports System
Imports System.Threading
Class Program
Public Shared Sub Main()
Console.WriteLine("Starting the program...")
Thread.Sleep(3000) ' Sleep for 3 seconds
Console.WriteLine("...Program continues after 3 seconds")
End Sub
End ClassHere, the program starts by printing "Starting the program..." to the console before using the Thread.Sleep method to pause for 3,000 milliseconds (or three seconds). After the specified delay, the program resumes and prints the output "...Program continues after 3 seconds" to the console.
Async Method and Tasks
Async methods in C# enable you to execute multiple tasks concurrently without interfering with the main thread. This means that while one task is waiting, other tasks can continue running. To implement an async method, you'll need to use the async keyword and the Task class.
using System;
using System.Threading.Tasks;
class Program
{
public static async Task Main()
{
Console.WriteLine("Starting Task 1...");
var task1 = DoSomethingAsync(3000);
Console.WriteLine("Starting Task 2...");
var task2 = DoSomethingAsync(2000);
await Task.WhenAll(task1, task2);
Console.WriteLine("Both tasks completed.");
}
private static async Task DoSomethingAsync(int milliseconds)
{
await Task.Delay(milliseconds); // Asynchronously wait without blocking the main thread
Console.WriteLine($"Task completed after {milliseconds} milliseconds");
}
}using System;
using System.Threading.Tasks;
class Program
{
public static async Task Main()
{
Console.WriteLine("Starting Task 1...");
var task1 = DoSomethingAsync(3000);
Console.WriteLine("Starting Task 2...");
var task2 = DoSomethingAsync(2000);
await Task.WhenAll(task1, task2);
Console.WriteLine("Both tasks completed.");
}
private static async Task DoSomethingAsync(int milliseconds)
{
await Task.Delay(milliseconds); // Asynchronously wait without blocking the main thread
Console.WriteLine($"Task completed after {milliseconds} milliseconds");
}
}Imports System
Imports System.Threading.Tasks
Friend Class Program
Public Shared Async Function Main() As Task
Console.WriteLine("Starting Task 1...")
Dim task1 = DoSomethingAsync(3000)
Console.WriteLine("Starting Task 2...")
Dim task2 = DoSomethingAsync(2000)
Await Task.WhenAll(task1, task2)
Console.WriteLine("Both tasks completed.")
End Function
Private Shared Async Function DoSomethingAsync(ByVal milliseconds As Integer) As Task
Await Task.Delay(milliseconds) ' Asynchronously wait without blocking the main thread
Console.WriteLine($"Task completed after {milliseconds} milliseconds")
End Function
End ClassIn this code example, we have two tasks running at the same time. The DoSomethingAsync method takes an int parameter that represents the time in milliseconds that the task should be delayed (as you can see in the 3000 and 2000 in the code, both a timeout value). The Task.Delay method is similar to the Thread.Sleep() method, but it works with async tasks and doesn't block the main thread.
Using Timers to Schedule Your Tasks
Timers in C# allow you to execute a specific task after a specified interval. You can create a timer using the System.Timers.Timer class. Here's an example of how to use a timer in a console app:
using System;
using System.Timers;
class Program
{
public static void Main()
{
var timer = new Timer(1000); // Create a timer with a 1-second interval
timer.Elapsed += OnTimerElapsed;
timer.AutoReset = true;
timer.Enabled = true;
Console.WriteLine("Press any key to exit...");
Console.ReadKey();
}
private static void OnTimerElapsed(object sender, ElapsedEventArgs e)
{
Console.WriteLine("Timer ticked at " + e.SignalTime);
}
}using System;
using System.Timers;
class Program
{
public static void Main()
{
var timer = new Timer(1000); // Create a timer with a 1-second interval
timer.Elapsed += OnTimerElapsed;
timer.AutoReset = true;
timer.Enabled = true;
Console.WriteLine("Press any key to exit...");
Console.ReadKey();
}
private static void OnTimerElapsed(object sender, ElapsedEventArgs e)
{
Console.WriteLine("Timer ticked at " + e.SignalTime);
}
}Imports System
Imports System.Timers
Class Program
Public Shared Sub Main()
Dim timer As New Timer(1000) ' Create a timer with a 1-second interval
AddHandler timer.Elapsed, AddressOf OnTimerElapsed
timer.AutoReset = True
timer.Enabled = True
Console.WriteLine("Press any key to exit...")
Console.ReadKey()
End Sub
Private Shared Sub OnTimerElapsed(sender As Object, e As ElapsedEventArgs)
Console.WriteLine("Timer ticked at " & e.SignalTime)
End Sub
End ClassIn the above example, we create a timer with a 1-second interval. The OnTimerElapsed method is executed every time the timer ticks. We set the AutoReset property to true so that the timer restarts automatically after each tick. The Enabled property is set to true to start the timer.
When you run this console application, you'll see the timer ticking every second, printing the tick time to the console. The program will continue running until you press any key to exit.
Creating Custom Wait Functions
Sometimes, you might need a custom wait function to meet specific requirements in your code. For example, you might want to create a wait function that only blocks the current task, rather than the entire thread. You can achieve this using async delegates.
Here's an example of a custom wait function:
using System;
using System.Threading;
using System.Threading.Tasks;
class Program
{
public static async Task Main()
{
Console.WriteLine("Starting Task 1...");
await CustomWaitAsync(3000);
Console.WriteLine("Task 1 completed.");
Console.WriteLine("Starting Task 2...");
await CustomWaitAsync(2000);
Console.WriteLine("Task 2 completed.");
}
private static async Task CustomWaitAsync(int milliseconds)
{
await Task.Run(() => Thread.Sleep(milliseconds)); // Run in a separate task to avoid blocking the main thread
}
}using System;
using System.Threading;
using System.Threading.Tasks;
class Program
{
public static async Task Main()
{
Console.WriteLine("Starting Task 1...");
await CustomWaitAsync(3000);
Console.WriteLine("Task 1 completed.");
Console.WriteLine("Starting Task 2...");
await CustomWaitAsync(2000);
Console.WriteLine("Task 2 completed.");
}
private static async Task CustomWaitAsync(int milliseconds)
{
await Task.Run(() => Thread.Sleep(milliseconds)); // Run in a separate task to avoid blocking the main thread
}
}Imports System
Imports System.Threading
Imports System.Threading.Tasks
Friend Class Program
Public Shared Async Function Main() As Task
Console.WriteLine("Starting Task 1...")
Await CustomWaitAsync(3000)
Console.WriteLine("Task 1 completed.")
Console.WriteLine("Starting Task 2...")
Await CustomWaitAsync(2000)
Console.WriteLine("Task 2 completed.")
End Function
Private Shared Async Function CustomWaitAsync(ByVal milliseconds As Integer) As Task
Await Task.Run(Sub() Thread.Sleep(milliseconds)) ' Run in a separate task to avoid blocking the main thread
End Function
End ClassHere, the CustomWaitAsync method accepts an int parameter representing the delay time in milliseconds. The method uses an async delegate to run the Thread.Sleep function within a new task, ensuring that the current task status is blocked while waiting, but not the main thread.
Choosing the Right Wait Strategy
Now that we've covered the C# wait statement, sleep command, async methods, timers, and custom wait functions, it's essential to know when to use each technique. Here's a quick summary:
- Use the
Thread.Sleepfunction when you need a simple way to pause the execution of your code for a specified amount of time. - Use async methods and tasks when you need to execute multiple tasks concurrently without blocking the main thread.
- Use timers when you need to execute a specific task at a specified interval.
- Create custom wait functions when you have specific requirements that aren't met by the built-in methods.
Generating PDFs with IronPDF using Wait Function
IronPDF is a lightweight .NET PDF library designed specifically with web developers in mind. It makes reading, writing, and manipulating PDF files a breeze, able to convert all kinds of file types into PDF content, and you can use it in your .NET projects for both desktop and web. The best part - it’s free to try out in a development environment. Let’s dive in.
IronPDF works with HTML files, URLs, raw strings, and ZIP files. Here’s a quick overview of the code:
using IronPdf;
class Program
{
static void Main(string[] args)
{
var renderer = new ChromePdfRenderer();
// 1. Convert HTML String to PDF
var htmlContent = "<h1>Hello, IronPDF!</h1><p>This is a PDF from an HTML string.</p>";
var pdfFromHtmlString = renderer.RenderHtmlAsPdf(htmlContent);
pdfFromHtmlString.SaveAs("HTMLStringToPDF.pdf");
// 2. Convert HTML File to PDF
var htmlFilePath = "path_to_your_html_file.html"; // Specify the path to your HTML file
var pdfFromHtmlFile = renderer.RenderHtmlFileAsPdf(htmlFilePath);
pdfFromHtmlFile.SaveAs("HTMLFileToPDF.pdf");
// 3. Convert URL to PDF
var url = "http://ironpdf.com"; // Specify the URL
var pdfFromUrl = renderer.RenderUrlAsPdf(url);
pdfFromUrl.SaveAs("URLToPDF.pdf");
}
}using IronPdf;
class Program
{
static void Main(string[] args)
{
var renderer = new ChromePdfRenderer();
// 1. Convert HTML String to PDF
var htmlContent = "<h1>Hello, IronPDF!</h1><p>This is a PDF from an HTML string.</p>";
var pdfFromHtmlString = renderer.RenderHtmlAsPdf(htmlContent);
pdfFromHtmlString.SaveAs("HTMLStringToPDF.pdf");
// 2. Convert HTML File to PDF
var htmlFilePath = "path_to_your_html_file.html"; // Specify the path to your HTML file
var pdfFromHtmlFile = renderer.RenderHtmlFileAsPdf(htmlFilePath);
pdfFromHtmlFile.SaveAs("HTMLFileToPDF.pdf");
// 3. Convert URL to PDF
var url = "http://ironpdf.com"; // Specify the URL
var pdfFromUrl = renderer.RenderUrlAsPdf(url);
pdfFromUrl.SaveAs("URLToPDF.pdf");
}
}Imports IronPdf
Friend Class Program
Shared Sub Main(ByVal args() As String)
Dim renderer = New ChromePdfRenderer()
' 1. Convert HTML String to PDF
Dim htmlContent = "<h1>Hello, IronPDF!</h1><p>This is a PDF from an HTML string.</p>"
Dim pdfFromHtmlString = renderer.RenderHtmlAsPdf(htmlContent)
pdfFromHtmlString.SaveAs("HTMLStringToPDF.pdf")
' 2. Convert HTML File to PDF
Dim htmlFilePath = "path_to_your_html_file.html" ' Specify the path to your HTML file
Dim pdfFromHtmlFile = renderer.RenderHtmlFileAsPdf(htmlFilePath)
pdfFromHtmlFile.SaveAs("HTMLFileToPDF.pdf")
' 3. Convert URL to PDF
Dim url = "http://ironpdf.com" ' Specify the URL
Dim pdfFromUrl = renderer.RenderUrlAsPdf(url)
pdfFromUrl.SaveAs("URLToPDF.pdf")
End Sub
End ClassIronPDF can seamlessly integrate with your wait strategies to generate PDF documents after executing tasks, during scheduled intervals, or when the current thread resumes execution.
For instance, you can use IronPDF in combination with an async method to generate a PDF report after fetching data from a database without blocking the main thread. Similarly, you can use a timer class to create a PDF snapshot of your application's data at regular intervals.
Install the IronPDF Library
IronPDF is easy to use but it’s even easier to install. There are a couple of ways you can do it:
Method 1: NuGet Package Manager Console
In Visual Studio, in Solution Explorer, right-click References, and then click Manage NuGet Packages. Hit browse and search 'IronPDF', and install the latest version. If you see this, it’s working:
You can also go to Tools -> NuGet Package Manager -> Package Manager Console, and enter the following line in the Package Manager Tab:
Install-Package IronPdf
Finally, you can get IronPDF directly from NuGet’s official website. Select the Download Package option from the menu on the right of the page, double-click your download to install it automatically, and reload the Solution to start using it in your project.
Didn’t work? You can find platform-specific help on our advanced NuGet installation page.
Method 2: Using a DLL file
You can also get the IronPDF DLL file straight from us and add it to Visual Studio manually. For full instructions and links to the Windows, MacOS, and Linux DLL packages, check out our dedicated installation page.
How to use C# Wait in IronPDF
You can see how to include a wait function in IronPDF in the following example:
using System;
using System.Threading.Tasks;
using System.Diagnostics;
using IronPdf;
class Program
{
    public static async Task Main()
    {
        Console.WriteLine("Starting the PDF generation task...");
        Stopwatch stopwatch = Stopwatch.StartNew();
        await Task.Delay(3000); // Wait for 3 seconds
        GeneratePdf();
        Console.WriteLine("PDF generated successfully.");
    }
    private static void GeneratePdf()
    {
        var htmlToPdf = new ChromePdfRenderer();
        var pdf = htmlToPdf.RenderHtmlAsPdf("<h1>Hello, World!</h1>");
        pdf.SaveAs("HelloWorld.pdf");
    }
}using System;
using System.Threading.Tasks;
using System.Diagnostics;
using IronPdf;
class Program
{
public static async Task Main()
{
Console.WriteLine("Starting the PDF generation task...");
Stopwatch stopwatch = Stopwatch.StartNew();
await Task.Delay(3000); // Wait for 3 seconds
GeneratePdf();
Console.WriteLine("PDF generated successfully.");
}
private static void GeneratePdf()
{
var htmlToPdf = new ChromePdfRenderer();
var pdf = htmlToPdf.RenderHtmlAsPdf("<h1>Hello, World!</h1>");
pdf.SaveAs("HelloWorld.pdf");
}
}Imports System
Imports System.Threading.Tasks
Imports System.Diagnostics
Imports IronPdf
Friend Class Program
Public Shared Async Function Main() As Task
Console.WriteLine("Starting the PDF generation task...")
Dim stopwatch As Stopwatch = System.Diagnostics.Stopwatch.StartNew()
Await Task.Delay(3000) ' Wait for 3 seconds
GeneratePdf()
Console.WriteLine("PDF generated successfully.")
End Function
Private Shared Sub GeneratePdf()
Dim htmlToPdf = New ChromePdfRenderer()
Dim pdf = htmlToPdf.RenderHtmlAsPdf("<h1>Hello, World!</h1>")
pdf.SaveAs("HelloWorld.pdf")
End Sub
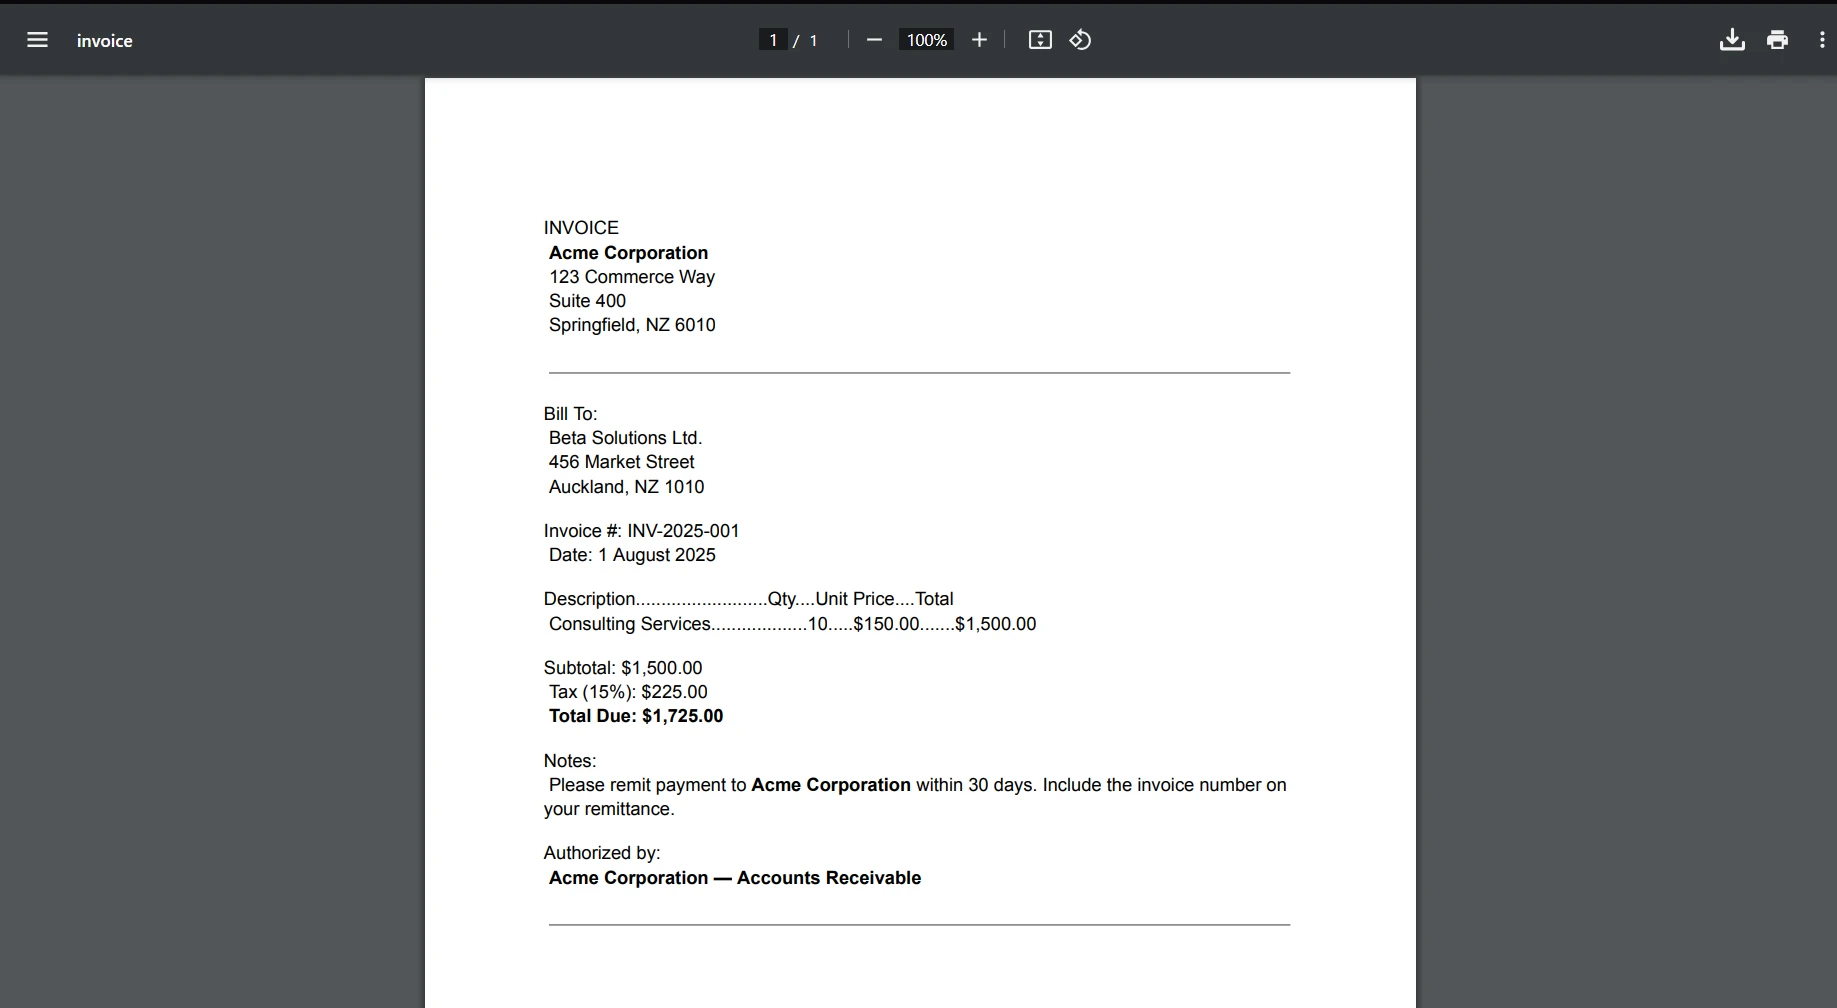
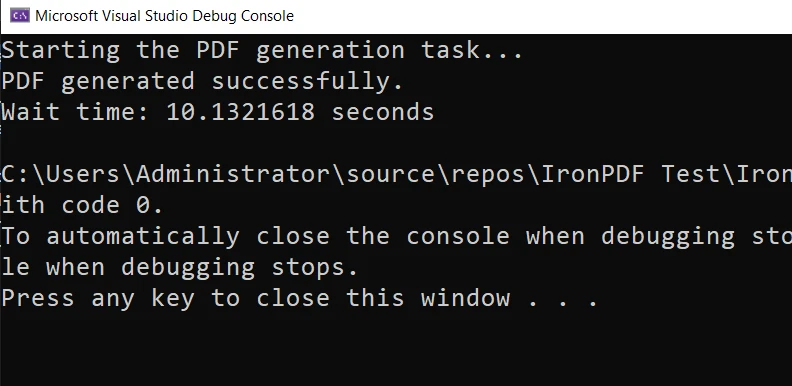
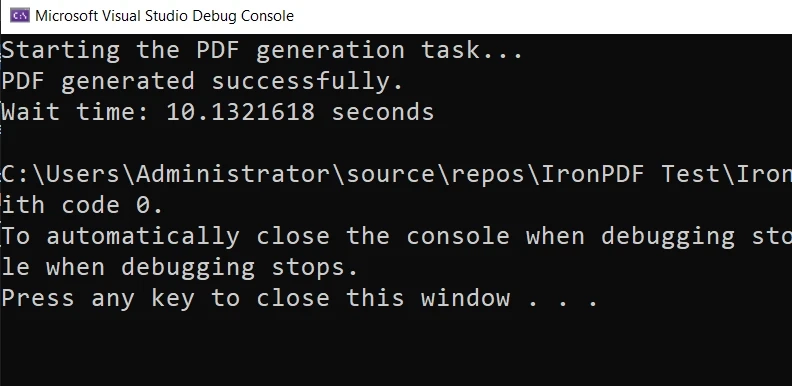
End ClassHere, we use the Task.Delay method to wait for 3 seconds before generating a PDF. The PDF is then saved as "HelloWorld.pdf" in the application's working directory upon wait completion.
And here’s the final product:
Using the Wait Method with IronPDF
In C# applications, you can efficiently use the sleep function to manage the current thread and CPU time while performing operations such as loading data into a DataTable or generating PDF reports using IronPDF.
Conclusion
It might seem counterintuitive at first, but implementing wait statements into your code is a must-have skill when building efficient applications. And by incorporating IronPDF, you can take your applications to the next level by creating PDF documents on-the-fly, without blocking the main thread.
Ready to get your hands on IronPDF? You can start with our 30-day free trial. It’s also completely free to use for development purposes so you can really get to see what it’s made of. And if you like what you see, IronPDF starts as low as $999. For even bigger savings, check out the Iron Suite where you can get all nine Iron Software tools for the price of two. Happy coding!

Frequently Asked Questions
How can you delay PDF rendering in C#?
You can delay PDF rendering in C# by using the `Thread.Sleep` method for synchronous waiting or `Task.Delay` for asynchronous waiting. These methods allow you to pause the execution of code for a specified duration, ensuring tasks are performed at the right time.
What is the WaitFor class in C#?
The WaitFor class in C# is used to implement various waiting strategies in your code. It provides methods like `Thread.Sleep` and `Task.Delay` to help manage task execution timing, allowing developers to pause code execution as needed.
How can you implement async waiting in C# for PDF tasks?
Async waiting in C# can be implemented using the `Task.Delay` method, which allows you to wait asynchronously without blocking the main thread. This is particularly useful in PDF tasks to ensure smooth execution and proper task scheduling.
What role do timers play in managing task execution in C#?
Timers, such as those provided by the `System.Timers.Timer` class, allow you to schedule tasks at specific intervals. They are useful for executing tasks like PDF generation at regular intervals, ensuring efficient task management without blocking the main thread.
Can you create custom wait functions in C#?
Yes, you can create custom wait functions in C# using async delegates. This allows for tailored code execution pauses to meet specific requirements, especially when default waiting methods do not suffice.
How can you integrate PDF generation with wait strategies in C#?
You can integrate PDF generation with wait strategies in C# by using async methods and timers. This ensures that PDF creation tasks are managed efficiently, allowing for scheduled execution without blocking other processes.
How do you convert HTML to PDF in C#?
To convert HTML to PDF in C#, you can use libraries like IronPDF. This library provides methods to convert HTML strings, URLs, and files into PDF documents efficiently.
What are the benefits of using async methods in C#?
Async methods in C# offer the benefit of concurrent task execution, which improves application efficiency by allowing multiple tasks to run in parallel without blocking the main thread.
How to install a PDF library in a .NET project?
To install a PDF library in a .NET project, you can use the NuGet Package Manager in Visual Studio to search and install the library. Alternatively, you can download the library's DLL file and add it to your project manually.
Is it possible to pause PDF rendering for a specific time in C#?
Yes, you can pause PDF rendering for a specific time in C# using methods like `Thread.Sleep` for synchronous pauses or `Task.Delay` for asynchronous pauses, allowing you to control the timing of PDF generation tasks.