Sendgrid .NET (How It Works For Developers)
SendGrid, part of Twilio SendGrid, offers a cloud-based service to help customers send emails simply, streamlining communication processes. When you create a SendGrid account, you gain access to features like SMTP relay and API keys, making sending email messages efficient. The SMTP relay is the core of this process as it allows your emails to be sent from your server through SendGrid's system. The authenticated domain feature verifies your domain. As SendGrid is open source, you can access its GitHub repo and help to modify it.
In this guide, we aim to unpack the features and functionalities of SendGrid .NET, guiding you through the initial setup, basic operations, and more advanced features. Whether you’re looking to send your first email through code or optimize your email campaigns, this article is your starting point to mastering SendGrid .NET and its integration with IronPDF for PDF manipulation.
Getting Started with SendGrid .NET
First, you need to set up SendGrid .NET in your project. Start by installing the SendGrid .NET package. Use NuGet Package Manager for this. Open Visual Studio, then open the Package Manager Console. Type the following command:
Install-Package SendGrid

This command adds SendGrid to your project. After installation, set up your SendGrid account. You need an API key. Go to the SendGrid website. Create an account if you don't have one. Once logged in, navigate to Settings. Find API Keys. Click Create API Key. Give it a name and select the access level. Copy the API key. You will use this in your application.
Basic Code Example
Now, let's send an email. Create a new instance of the SendGridClient. Pass your API key to the constructor. Then, create a SendGridMessage. Set the sender and recipient email addresses. Add a subject and the email content. Finally, use SendGridClient to send the message. Here is a basic example:
using SendGrid;
using SendGrid.Helpers.Mail;
using System.Threading.Tasks;

// Asynchronous method to send an email using SendGrid
static async Task SendEmailAsync()
{
    // Initialize a SendGrid client with your API key
    var client = new SendGridClient("your_api_key");

    // Create a new email message
    var message = new SendGridMessage()
    {
        From = new EmailAddress("your_email@example.com", "Your Name"),
        Subject = "Hello World from SendGrid",
        PlainTextContent = "This is a test email.",
        HtmlContent = "<strong>This is a test email.</strong>"
    };

    // Add a recipient to your email message
    message.AddTo(new EmailAddress("recipient_email@example.com", "Recipient Name"));

    // Send the email and retrieve the response
    var response = await client.SendEmailAsync(message);
}
using SendGrid;
using SendGrid.Helpers.Mail;
using System.Threading.Tasks;
// Asynchronous method to send an email using SendGrid
static async Task SendEmailAsync()
{
// Initialize a SendGrid client with your API key
var client = new SendGridClient("your_api_key");
// Create a new email message
var message = new SendGridMessage()
{
From = new EmailAddress("your_email@example.com", "Your Name"),
Subject = "Hello World from SendGrid",
PlainTextContent = "This is a test email.",
HtmlContent = "<strong>This is a test email.</strong>"
};
// Add a recipient to your email message
message.AddTo(new EmailAddress("recipient_email@example.com", "Recipient Name"));
// Send the email and retrieve the response
var response = await client.SendEmailAsync(message);
}This code sends a simple email. It shows the basics of using SendGrid .NET. You can expand from here to use more features.
Implement Features of SendGrid .NET
Sending Emails with Custom HTML Content
To send an email with HTML content, you first create your HTML. Then, use SendGridMessage to set HtmlContent. This lets you design rich emails. Here's how:
using SendGrid;
using SendGrid.Helpers.Mail;
using System.Threading.Tasks;

// Asynchronous method to send an email with custom HTML content
static async Task SendCustomHtmlEmailAsync()
{
    // Initialize a SendGrid client with your API key
    var client = new SendGridClient("your_api_key");

    // Create a new email message with rich HTML content
    var message = new SendGridMessage()
    {
        From = new EmailAddress("your_email@example.com", "Your Name"),
        Subject = "Custom HTML Content",
        HtmlContent = "<html><body><h1>This is a Heading</h1><p>This is a paragraph.</p></body></html>"
    };

    // Add a recipient to your email message
    message.AddTo(new EmailAddress("recipient_email@example.com", "Recipient Name"));

    // Send the email and retrieve the response
    var response = await client.SendEmailAsync(message);
}
using SendGrid;
using SendGrid.Helpers.Mail;
using System.Threading.Tasks;
// Asynchronous method to send an email with custom HTML content
static async Task SendCustomHtmlEmailAsync()
{
// Initialize a SendGrid client with your API key
var client = new SendGridClient("your_api_key");
// Create a new email message with rich HTML content
var message = new SendGridMessage()
{
From = new EmailAddress("your_email@example.com", "Your Name"),
Subject = "Custom HTML Content",
HtmlContent = "<html><body><h1>This is a Heading</h1><p>This is a paragraph.</p></body></html>"
};
// Add a recipient to your email message
message.AddTo(new EmailAddress("recipient_email@example.com", "Recipient Name"));
// Send the email and retrieve the response
var response = await client.SendEmailAsync(message);
}Using SendGrid SMTP Service
Sometimes, you might prefer SMTP to send emails. SendGrid supports this too. Configure your SMTP settings in SendGrid. Then, use these settings in your application. This method requires setting up an SMTP client with SendGrid's server details. Here's a basic setup:
using System.Net;
using System.Net.Mail;

// Method to send an email using SendGrid's SMTP service
void SendSmtpEmail()
{
    // Configure SMTP client with SendGrid's server details
    using (var client = new SmtpClient("smtp.sendgrid.net")
    {
        Port = 587,
        Credentials = new NetworkCredential("apikey", "your_sendgrid_apikey"),
        EnableSsl = true,
    })
    {
        // Create a new mail message
        var mailMessage = new MailMessage
        {
            From = new MailAddress("your_email@example.com"),
            Subject = "Test SMTP Email",
            Body = "This is a test email sent via SMTP.",
            IsBodyHtml = true,
        };

        // Add a recipient to the mail message
        mailMessage.To.Add("recipient_email@example.com");

        // Send the email
        client.Send(mailMessage);
    }
}
using System.Net;
using System.Net.Mail;
// Method to send an email using SendGrid's SMTP service
void SendSmtpEmail()
{
// Configure SMTP client with SendGrid's server details
using (var client = new SmtpClient("smtp.sendgrid.net")
{
Port = 587,
Credentials = new NetworkCredential("apikey", "your_sendgrid_apikey"),
EnableSsl = true,
})
{
// Create a new mail message
var mailMessage = new MailMessage
{
From = new MailAddress("your_email@example.com"),
Subject = "Test SMTP Email",
Body = "This is a test email sent via SMTP.",
IsBodyHtml = true,
};
// Add a recipient to the mail message
mailMessage.To.Add("recipient_email@example.com");
// Send the email
client.Send(mailMessage);
}
}Managing Email Campaigns
SendGrid .NET allows managing email campaigns. Create, send, and track campaigns through the API. For detailed campaign management, refer to SendGrid's API documentation. This feature is beyond basic email sending but is valuable for marketing efforts.
Handling Bounced Emails and Spam Reports
Handling bounces and spam reports is crucial. SendGrid .NET provides webhooks for these events. Set up webhooks in your SendGrid dashboard. Then, process these events in your application. This keeps your email list clean and improves deliverability.
Authenticating Domains
Domain authentication is important for email deliverability. It verifies your domain's ownership. In SendGrid, set up domain authentication via the dashboard. This involves adding DNS records. Once verified, emails appear more trustworthy to recipients and email providers.
Integrate IronPDF with SendGrid
Introduction of IronPDF
Explore IronPDF capabilities is a library that allows developers to create, edit, and extract PDF content within .NET applications. It provides a straightforward approach to dealing with PDF files programmatically. It makes it easier to work with PDF files without needing deep knowledge of PDF specifications. With IronPDF, developers can convert HTML to PDF using IronPDF anchors, edit existing PDFs, and extract content.
Use Case of Merging IronPDF with SendGrid C#
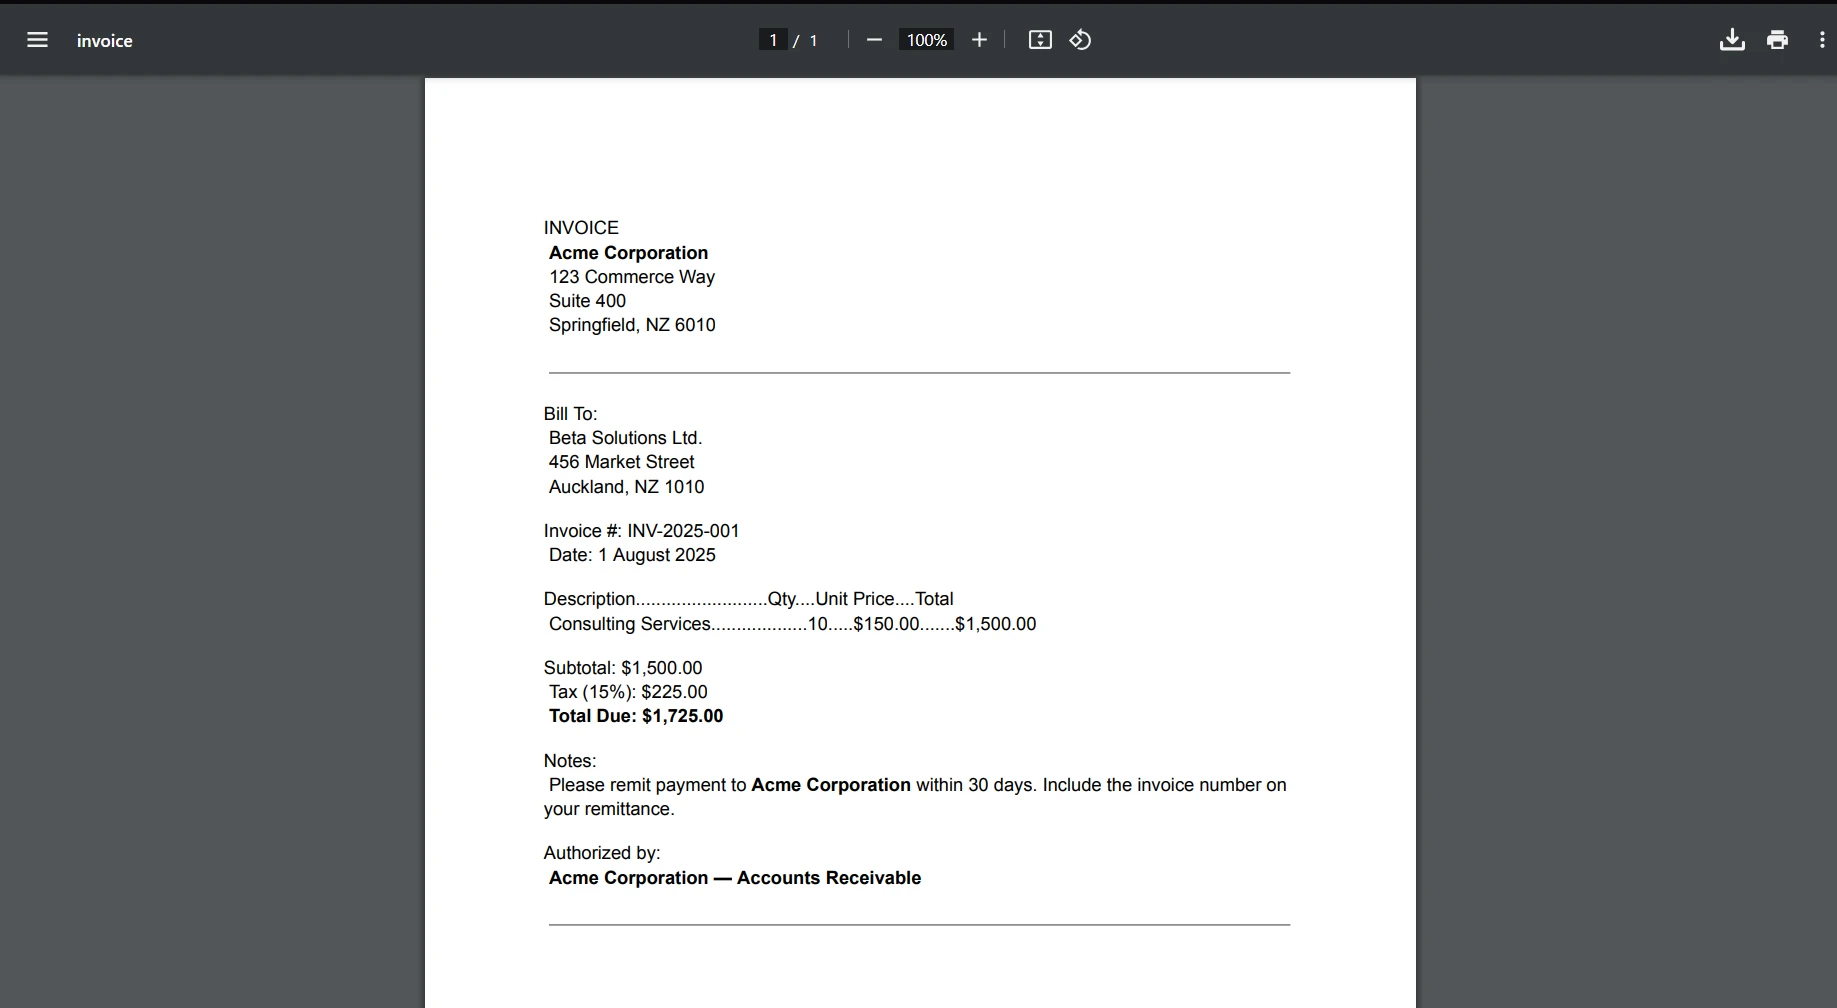
In a business application, financial reports, invoices, or personalized documents need to be generated dynamically and sent to clients or stakeholders via email. IronPDF can be used to create these documents from templates or data sources, converting them into PDF format. Subsequently, using SendGrid's C# client, these PDF documents can be attached to emails and dispatched automatically to the intended recipients.
IronPDF excels in HTML to PDF conversion, ensuring precise preservation of original layouts and styles. It's perfect for creating PDFs from web-based content such as reports, invoices, and documentation. With support for HTML files, URLs, and raw HTML strings, IronPDF easily produces high-quality PDF documents.
using IronPdf;

class Program
{
    static void Main(string[] args)
    {
        var renderer = new ChromePdfRenderer();

        // 1. Convert HTML String to PDF
        var htmlContent = "<h1>Hello, IronPDF!</h1><p>This is a PDF from an HTML string.</p>";
        var pdfFromHtmlString = renderer.RenderHtmlAsPdf(htmlContent);
        pdfFromHtmlString.SaveAs("HTMLStringToPDF.pdf");

        // 2. Convert HTML File to PDF
        var htmlFilePath = "path_to_your_html_file.html"; // Specify the path to your HTML file
        var pdfFromHtmlFile = renderer.RenderHtmlFileAsPdf(htmlFilePath);
        pdfFromHtmlFile.SaveAs("HTMLFileToPDF.pdf");

        // 3. Convert URL to PDF
        var url = "http://ironpdf.com"; // Specify the URL
        var pdfFromUrl = renderer.RenderUrlAsPdf(url);
        pdfFromUrl.SaveAs("URLToPDF.pdf");
    }
}
using IronPdf;
class Program
{
static void Main(string[] args)
{
var renderer = new ChromePdfRenderer();
// 1. Convert HTML String to PDF
var htmlContent = "<h1>Hello, IronPDF!</h1><p>This is a PDF from an HTML string.</p>";
var pdfFromHtmlString = renderer.RenderHtmlAsPdf(htmlContent);
pdfFromHtmlString.SaveAs("HTMLStringToPDF.pdf");
// 2. Convert HTML File to PDF
var htmlFilePath = "path_to_your_html_file.html"; // Specify the path to your HTML file
var pdfFromHtmlFile = renderer.RenderHtmlFileAsPdf(htmlFilePath);
pdfFromHtmlFile.SaveAs("HTMLFileToPDF.pdf");
// 3. Convert URL to PDF
var url = "http://ironpdf.com"; // Specify the URL
var pdfFromUrl = renderer.RenderUrlAsPdf(url);
pdfFromUrl.SaveAs("URLToPDF.pdf");
}
}Install IronPDF Library
To use IronPDF, you first need to install the NuGet package. First, open the NuGet Package Manager console, then run this command:
Install-Package IronPdf
Code Example of Use Case with Detail and Steps
Step 1: Generate PDF with IronPDF
First, we generate a PDF document. We'll create a simple PDF from an HTML string as an example.
using IronPdf;

// Instantiates a new HtmlToPdf object
var Renderer = new HtmlToPdf();

// Constructs a PDF from an HTML string
var PDF = Renderer.RenderHtmlAsPdf("<h1>Hello World</h1>");

// Define the output path for the PDF file
var outputPath = "example.pdf";

// Saves the generated PDF to the specified path
PDF.SaveAs(outputPath);
using IronPdf;
// Instantiates a new HtmlToPdf object
var Renderer = new HtmlToPdf();
// Constructs a PDF from an HTML string
var PDF = Renderer.RenderHtmlAsPdf("<h1>Hello World</h1>");
// Define the output path for the PDF file
var outputPath = "example.pdf";
// Saves the generated PDF to the specified path
PDF.SaveAs(outputPath);Step 2: Set Up SendGrid
Ensure you have the SendGrid NuGet package installed:
Install-Package SendGrid
Then, configure SendGrid in your application. You'll need an API key from your SendGrid account.
using SendGrid;
using SendGrid.Helpers.Mail;

// Initialize SendGrid client with your API key
var apiKey = "your_sendgrid_api_key";
var client = new SendGridClient(apiKey);
using SendGrid;
using SendGrid.Helpers.Mail;
// Initialize SendGrid client with your API key
var apiKey = "your_sendgrid_api_key";
var client = new SendGridClient(apiKey);Step 3: Create and Send Email with PDF Attachment
Now, create an email message and attach the previously generated PDF. Finally, send the email through SendGrid.
using System;
using System.IO;
using System.Threading.Tasks;
using SendGrid;
using SendGrid.Helpers.Mail;

// Asynchronous method to create and send an email with a PDF attachment
async Task SendEmailWithPdfAttachmentAsync()
{
    // Define sender and recipient email addresses
    var from = new EmailAddress("your_email@example.com", "Your Name");
    var subject = "Sending with SendGrid is Fun";
    var to = new EmailAddress("recipient_email@example.com", "Recipient Name");
    var plainTextContent = "Hello, Email!";
    var htmlContent = "<strong>Hello, Email!</strong>";

    // Create a new email message
    var msg = MailHelper.CreateSingleEmail(from, to, subject, plainTextContent, htmlContent);

    // Attach the PDF
    var bytes = File.ReadAllBytes("example.pdf");
    var file = Convert.ToBase64String(bytes);
    msg.AddAttachment("example.pdf", file);

    // Send the email and retrieve the response
    var response = await client.SendEmailAsync(msg);
}
using System;
using System.IO;
using System.Threading.Tasks;
using SendGrid;
using SendGrid.Helpers.Mail;
// Asynchronous method to create and send an email with a PDF attachment
async Task SendEmailWithPdfAttachmentAsync()
{
// Define sender and recipient email addresses
var from = new EmailAddress("your_email@example.com", "Your Name");
var subject = "Sending with SendGrid is Fun";
var to = new EmailAddress("recipient_email@example.com", "Recipient Name");
var plainTextContent = "Hello, Email!";
var htmlContent = "<strong>Hello, Email!</strong>";
// Create a new email message
var msg = MailHelper.CreateSingleEmail(from, to, subject, plainTextContent, htmlContent);
// Attach the PDF
var bytes = File.ReadAllBytes("example.pdf");
var file = Convert.ToBase64String(bytes);
msg.AddAttachment("example.pdf", file);
// Send the email and retrieve the response
var response = await client.SendEmailAsync(msg);
}This code example illustrates generating a simple PDF document, attaching it to an email, and sending it through SendGrid. It's a straightforward process that integrates the document generation and email capabilities of IronPDF and SendGrid, respectively, in a .NET application.
Conclusion
In conclusion, this guide provides a comprehensive overview of integrating SendGrid .NET for email services and IronPDF for PDF document management within .NET applications. By following the outlined steps, developers can efficiently implement email-sending functionalities with customizable HTML content and SMTP service options, and manage email campaigns.
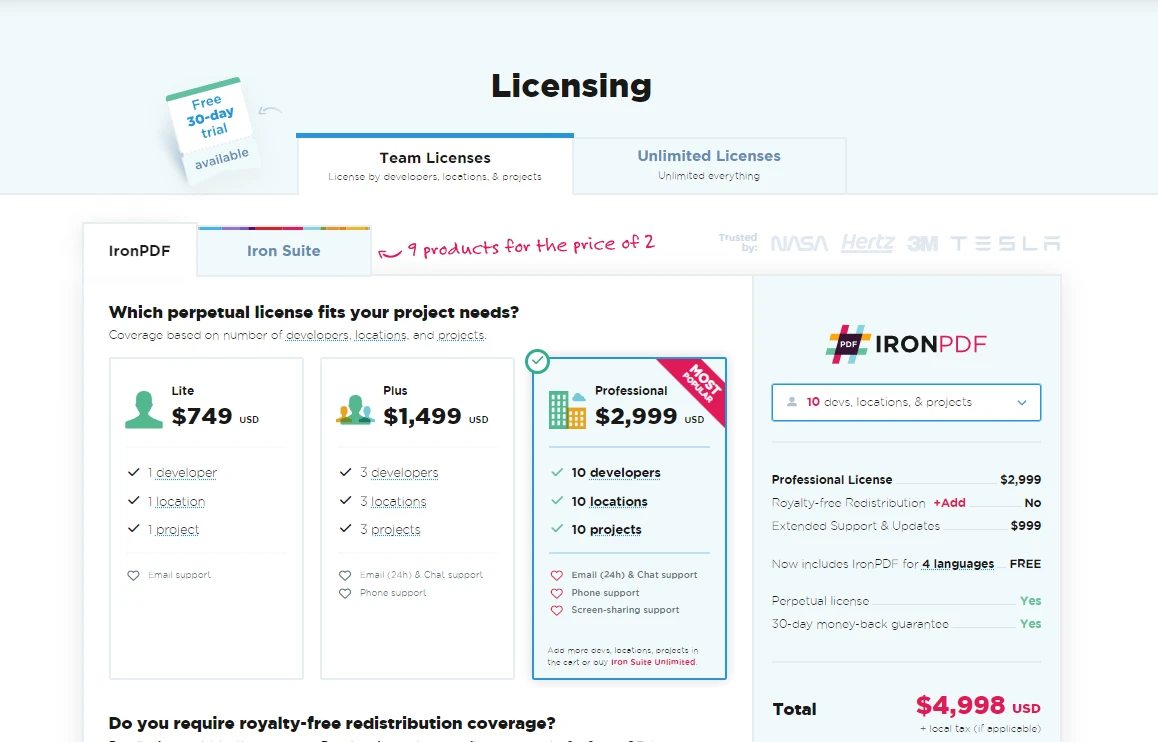
Additionally, the integration of IronPDF allows for the dynamic generation and emailing of PDF documents, such as financial reports or invoices, showcasing a practical use case of merging these powerful libraries. Developers interested in exploring these functionalities can leverage the IronPDF free trial before committing to a license. IronPDF license details and pricing options start from $799.
Frequently Asked Questions
How can I set up SendGrid .NET in my project?
Set up SendGrid .NET by installing the SendGrid package through the NuGet Package Manager in Visual Studio. After installation, create a SendGrid account and generate an API key to start sending emails.
What steps are involved in sending an email using SendGrid .NET?
Use the SendGridClient with your API key, construct a SendGridMessage with the necessary sender and recipient details, and send the message using the SendGridClient's SendEmailAsync method.
How do I send HTML-rich emails using SendGrid .NET?
To send HTML-rich emails, set the HtmlContent property of the SendGridMessage to your custom HTML content before sending the email.
Is it possible to use SMTP with SendGrid in .NET applications?
Yes, you can use SMTP with SendGrid by configuring your SMTP client with SendGrid's SMTP server details and using your API key as the credentials.
How can I generate a PDF document in .NET for email attachment?
You can generate a PDF document using IronPDF's ChromePdfRenderer to convert HTML content into a PDF file, which can then be saved using the SaveAs method.
What is the process for attaching a PDF to an email with SendGrid?
Convert the PDF into a byte array, encode it to a base64 string, and use the AddAttachment method of SendGridMessage to attach the PDF to your email.
Why is domain authentication important when using SendGrid?
Domain authentication is crucial as it verifies the ownership of your domain, improving email deliverability and ensuring your emails are seen as trustworthy by recipients.
How does IronPDF enhance the functionality of SendGrid in .NET applications?
IronPDF allows developers to create and manipulate PDF documents, which can be integrated with SendGrid to send generated PDFs as email attachments, enhancing document management capabilities.
What are the benefits of using SendGrid for managing email campaigns?
SendGrid provides robust features for creating, sending, and tracking email campaigns through its API, offering detailed management options as outlined in SendGrid's API documentation.
How can I handle bounces and spam reports in SendGrid?
Use SendGrid's webhooks to handle bounces and spam reports. These webhooks can notify your application about email delivery issues, allowing you to manage them effectively.


