Test in a live environment
Test in production without watermarks.
Works wherever you need it to.
The C# PDF Library

Creating a robust and efficient PDF editor is essential for .NET applications, allowing users to modify and manipulate PDF documents according to their needs. In this article, we will explore how to develop a .NET PDF editor application using IronPDF, a powerful library that provides comprehensive tools for working with PDF files.
IronPDF is a feature-rich .NET PDF library that enables developers to seamlessly integrate PDF editing capabilities into their applications. It supports various file formats and provides a wide range of functionalities to create, edit, and manipulate PDF documents programmatically. With its user-friendly API, IronPDF simplifies the process of working with PDFs, allowing developers to efficiently manage text, images, pages, annotations, and other elements within a PDF file.
Our Engineering department has created an all-encompassing tutorial that delves deeply into IronPDF's PDF editing capabilities and covers a lot of ground in the process. By reading this article, you will gain an understanding of how to make full use of IronPDF to modify PDF documents so that they better meet the requirements of your project.
For more information on IronPDF's PDF editing capabilities, please see the code example below.
PDF editing plays a crucial role in .NET applications as it empowers users to modify and customize PDF documents as per their requirements.
Whether it's updating content, adding annotations, filling out forms, or rearranging pages, a robust PDF editor is essential for businesses and individuals alike.
By integrating a reliable PDF editing solution like IronPDF into .NET applications, developers can enhance the user experience, streamline document workflows, and provide a seamless editing experience for PDF files.
This article will guide you through the process of creating a .NET PDF editor using IronPDF, enabling you to harness the power of PDF editing in your application development projects.
To create a .NET PDF editor application using IronPDF, you need to set up the development environment and configure your project in Visual Studio. Follow the steps below:
Start by installing the IronPDF library, which provides the necessary tools for working with PDF files in .NET applications. You can download and install the library by following the instructions provided in the IronPDF documentation.
Open Visual Studio and create a new project using the .NET Framework or .NET Core, depending on your requirements. Choose the appropriate project template based on the type of application you want to develop, such as a Windows Forms application or a .NET Web Application.
Once the project is created, add references to the IronPDF library in your project. You can do this by right-clicking on the "References" folder in your project within Visual Studio, selecting "Add Reference," and browsing for the IronPDF assembly.
In the code file where you want to use IronPDF, import the IronPDF namespace to access the library's classes and methods. Add the following line at the beginning of your file:
using IronPdf;using IronPdf;Imports IronPdfConfigure IronPDF to integrate seamlessly into your project. This step involves setting up the necessary configurations and initializing IronPDF in your application.
Refer to the IronPDF documentation or the articles mentioned above for detailed instructions on configuring IronPDF for your specific project type.
By following these steps, you will have successfully set up the development environment and configured your project in Visual Studio to work with IronPDF, enabling you to create a .NET PDF editor application that can modify PDF documents, edit PDF pages, add annotations, and more.
To create a basic PDF editor application in C#, start by creating a new project in Visual Studio. Choose the appropriate project template based on the type of application you want to develop, such as a Windows Forms application or a .NET Web Application. You can refer to the provided articles for detailed instructions and examples on creating a C# project for PDF editing.
After creating the project, add the necessary references to enable PDF editing functionality. In the case of IronPDF, you need to add references to the IronPDF library. This can be done by right-clicking on the References folder in your project within Visual Studio, selecting "Add Reference," and browsing for the IronPDF assembly. The specific steps may vary based on your project type and version of Visual Studio.
Once the references are added, you need to initialize IronPDF in your application to start working with PDF documents. This involves configuring IronPDF and setting up any required parameters. The IronPDF documentation and the provided articles offer guidance on how to initialize IronPDF in your application.
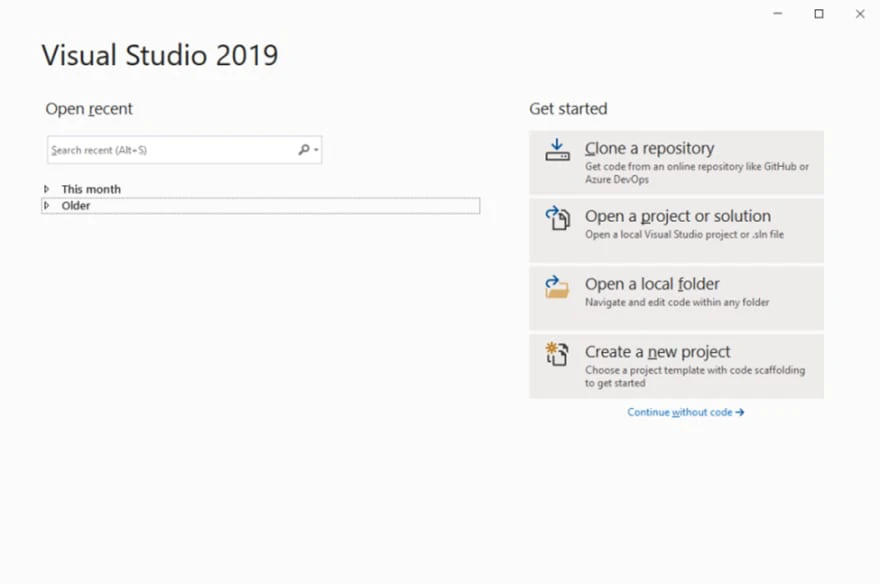
Open Visual Studio, preferably Visual Studio 2019, or any other version you prefer.
 Visual Studio
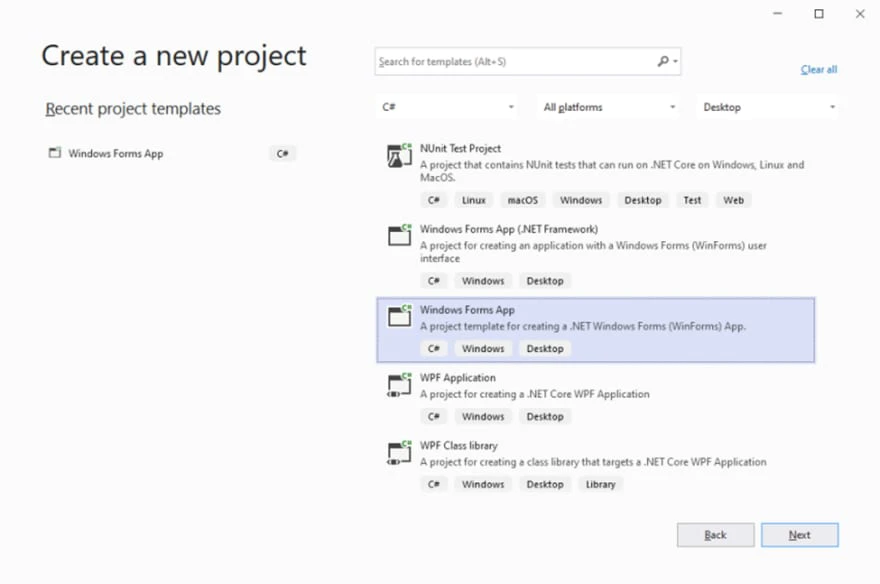
Click on "Create New Project" to start a new project.
 Create a new project
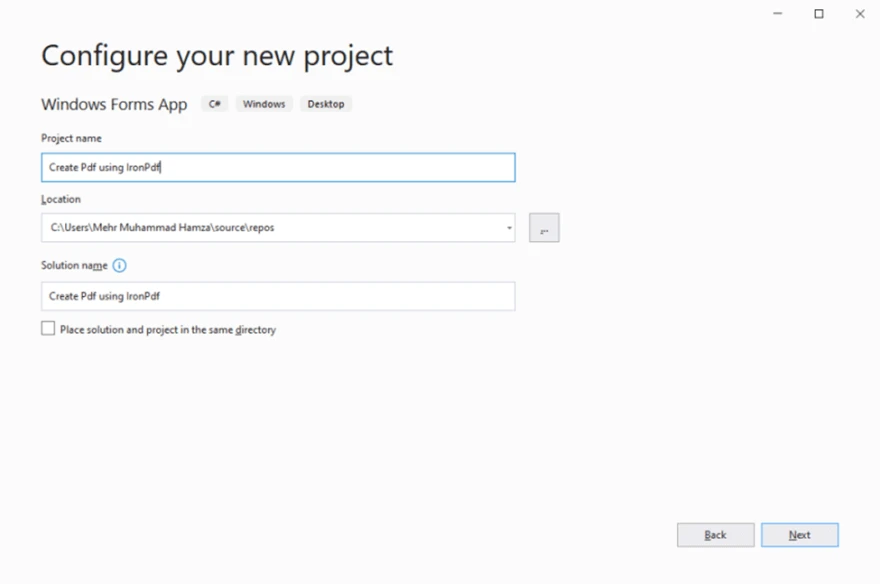
Select the "Windows Forms App" template and click "Next" to proceed. Give the project a suitable name, such as "Create PDF using IronPDF."
 Configure the new project
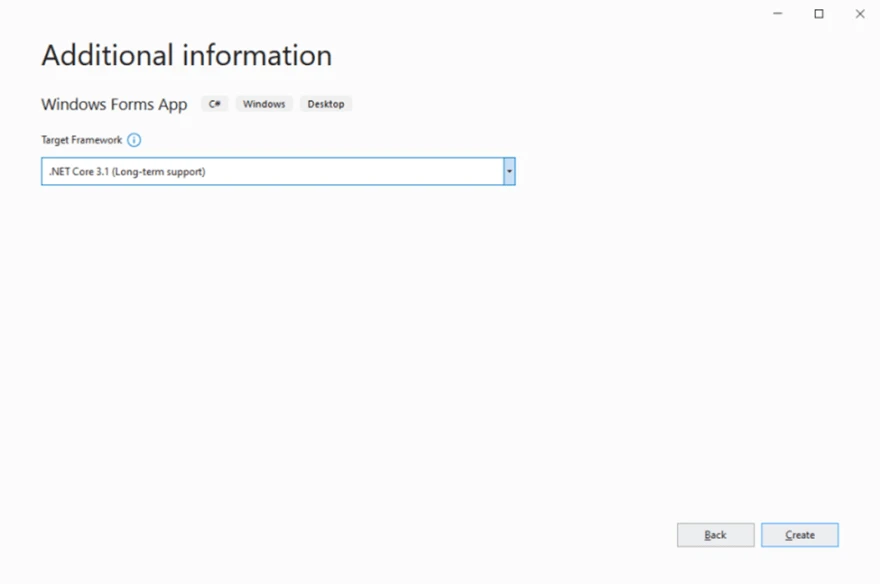
Configure the project by selecting ".NET Core 3.1" from the drop-down menu in the next window. Then click on "Create" to create the project.
 .NET Framework selection
 A newly created project
To work with IronPDF and generate PDF documents, you need to install the IronPDF NuGet package. Here's how:
Go to the "Project" menu in Visual Studio and select "Manage NuGet Packages".
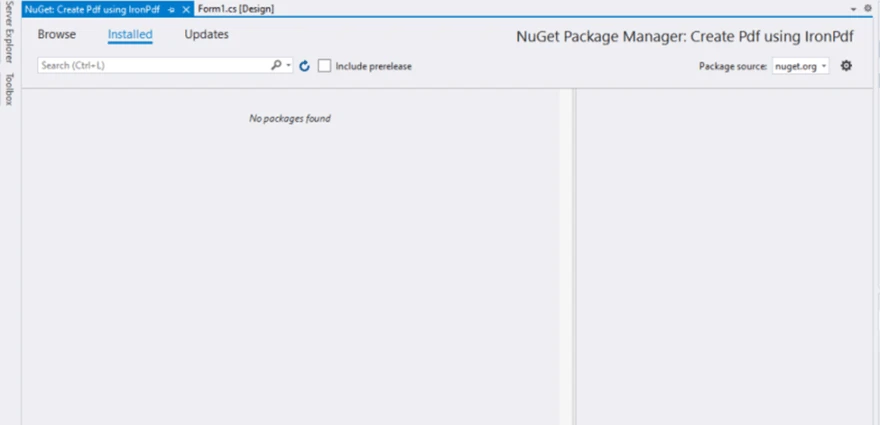 NuGet Package Manager
In the NuGet Package Manager, switch to the "Browse" tab and search for "IronPDF".
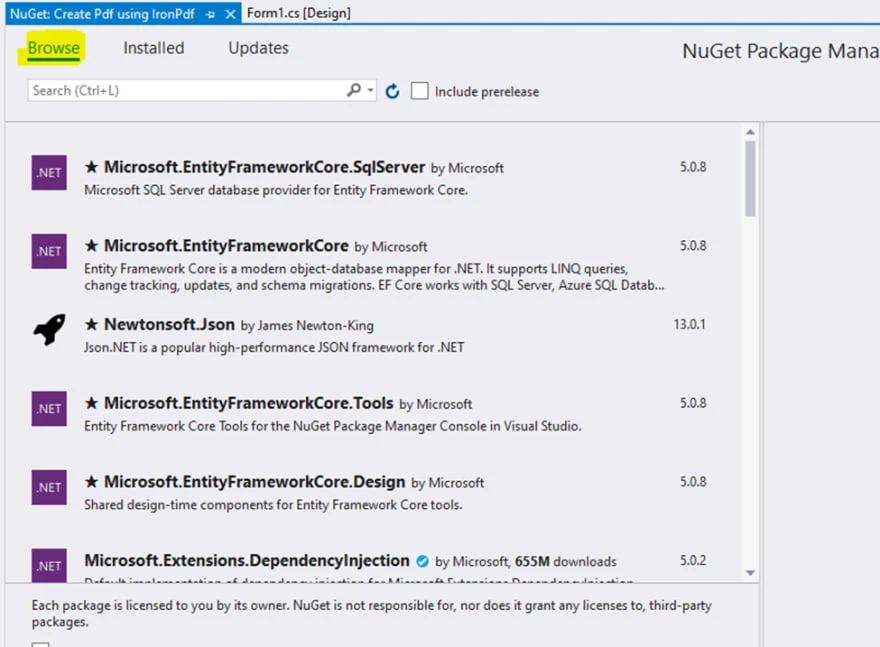 Browse for the IronPDF package in NuGet Package Manager UI
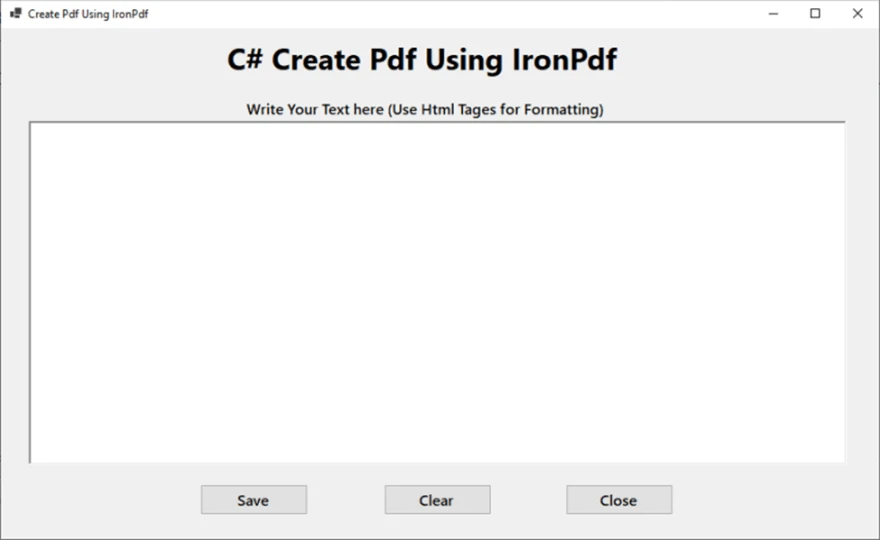
Now, let's design the Windows Forms where users can enter text and save it as a PDF document:
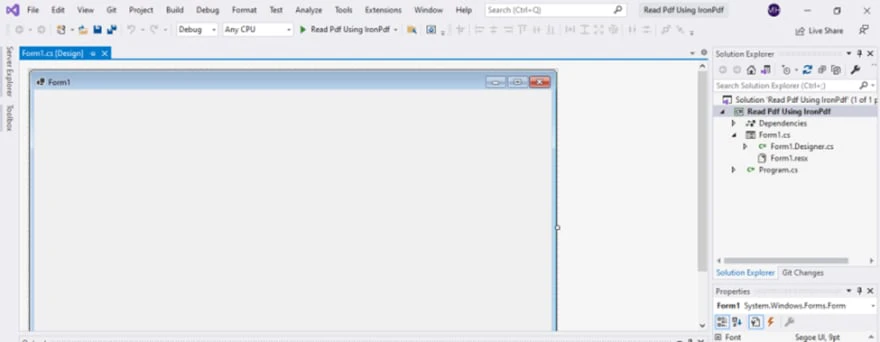
Open the Form1 design view in Visual Studio.
 Form Design View
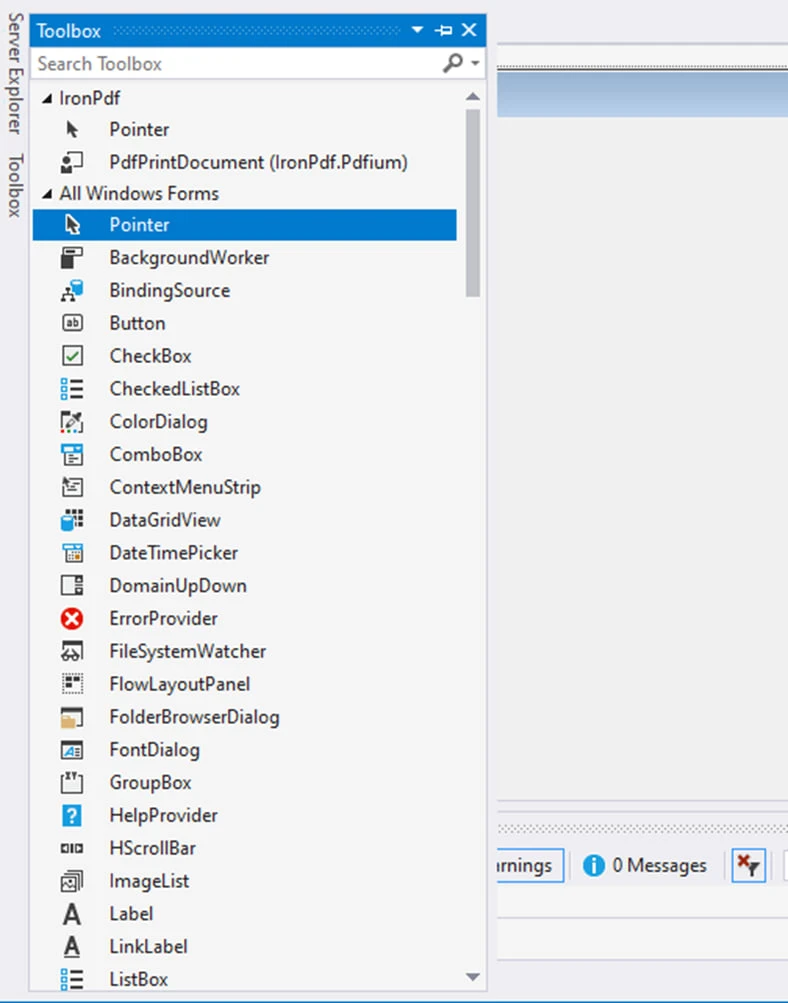
On the left side of the window, locate the toolbar and find the label control. Drag and drop it onto the form design area.
 Form Design
RichTextBox control and three buttons onto the form. The buttons will be used for saving the text as a PDF, clearing the text, and closing the window, respectively.Next, let's write the necessary code for creating PDF documents when the user clicks the "Save" button:
private void Save_Click(object sender, EventArgs e)
{
    // Code for Select the folder to save the file.
    SaveFileDialog saveFileDialog1 = new SaveFileDialog();
    saveFileDialog1.InitialDirectory = @"D:\";
    saveFileDialog1.Title = "Save Pdf File";
    saveFileDialog1.DefaultExt = "pdf";
    saveFileDialog1.Filter = "PDF files (*.pdf)|*.pdf|All files (*.*)|*.*";
    saveFileDialog1.FilterIndex = 2;
    saveFileDialog1.RestoreDirectory = true;
    if (saveFileDialog1.ShowDialog() == DialogResult.OK)
    {
        string filename = saveFileDialog1.FileName;
        // actual code that will create PDF files
        var renderer = new ChromePdfRenderer();
        renderer.RenderHtmlAsPdf(PdfText.Text).SaveAs(filename);
        // MessageBox to display that file save
        MessageBox.Show("File Saved Successfully!");
    }
}
private void Save_Click(object sender, EventArgs e)
{
// Code for Select the folder to save the file.
SaveFileDialog saveFileDialog1 = new SaveFileDialog();
saveFileDialog1.InitialDirectory = @"D:\";
saveFileDialog1.Title = "Save Pdf File";
saveFileDialog1.DefaultExt = "pdf";
saveFileDialog1.Filter = "PDF files (*.pdf)|*.pdf|All files (*.*)|*.*";
saveFileDialog1.FilterIndex = 2;
saveFileDialog1.RestoreDirectory = true;
if (saveFileDialog1.ShowDialog() == DialogResult.OK)
{
string filename = saveFileDialog1.FileName;
// actual code that will create PDF files
var renderer = new ChromePdfRenderer();
renderer.RenderHtmlAsPdf(PdfText.Text).SaveAs(filename);
// MessageBox to display that file save
MessageBox.Show("File Saved Successfully!");
}
}Private Sub Save_Click(ByVal sender As Object, ByVal e As EventArgs)
' Code for Select the folder to save the file.
Dim saveFileDialog1 As New SaveFileDialog()
saveFileDialog1.InitialDirectory = "D:\"
saveFileDialog1.Title = "Save Pdf File"
saveFileDialog1.DefaultExt = "pdf"
saveFileDialog1.Filter = "PDF files (*.pdf)|*.pdf|All files (*.*)|*.*"
saveFileDialog1.FilterIndex = 2
saveFileDialog1.RestoreDirectory = True
If saveFileDialog1.ShowDialog() = DialogResult.OK Then
Dim filename As String = saveFileDialog1.FileName
' actual code that will create PDF files
Dim renderer = New ChromePdfRenderer()
renderer.RenderHtmlAsPdf(PdfText.Text).SaveAs(filename)
' MessageBox to display that file save
MessageBox.Show("File Saved Successfully!")
End If
End SubTo handle the functionality of the "Clear" and "Close" buttons:
Inside the event handler function, add the following code to clear the text fields:
private void Clear_Click(object sender, EventArgs e)
{
    PdfText.Text = "";
}
private void Clear_Click(object sender, EventArgs e)
{
PdfText.Text = "";
}Private Sub Clear_Click(ByVal sender As Object, ByVal e As EventArgs)
PdfText.Text = ""
End SubInside the event handler function, add the following code to close the window:
private void Close_Click(object sender, EventArgs e)
{
    this.Dispose();
}
private void Close_Click(object sender, EventArgs e)
{
this.Dispose();
}Private Sub Close_Click(ByVal sender As Object, ByVal e As EventArgs)
Me.Dispose()
End SubFinally, run the project to test the PDF generation functionality:
By following these steps, you will have created a C# project using IronPDF to generate PDF files. The application allows users to enter text, save it as a PDF, clear the text, and close the window.
IronPDF proves to be a powerful tool for working with PDF documents in C# projects. By following the steps outlined in this article and utilizing the features provided by IronPDF, It is possible to create a C# project that generates PDF files with ease.
The integration of IronPDF into Visual Studio allowed for a seamless development experience. Installing the IronPDF NuGet package provided a comprehensive library for handling PDF operations, such as creating, modifying, and editing PDF documents.
IronPDF's ability to render HTML as PDF and save it with just a few lines of code simplifies the process of generating PDFs from textual content. The ChromePdfRenderer class helps to convert the text entered by the user into a PDF document effortlessly.
Furthermore, IronPDF's support for various file formats, annotations, form fields, and even digital signatures enhances the capabilities of this PDF editor application. The library's compatibility with both .NET Framework and .NET Core can target different platforms and maximize the reach of the application.
Throughout the development process, IronPDF demonstrated its reliability and versatility. It integrated seamlessly with Visual Studio, provided an extensive set of features, and delivered consistent results in generating high-quality PDF files. It's straightforward API and comprehensive documentation to quickly grasp its usage and make the most of its functionalities.
Overall, IronPDF proved to be a valuable asset in C#.
30-day Trial Key instantly.
15-day Trial Key instantly.
Your trial key should be in the email.
If it is not, please contact
support@ironsoftware.com
Install-Package IronPdf

Want to deploy IronPDF to a live project for FREE?
Your trial key should be in the email.![]()
The trial form was submitted
successfully.
If it is not, please contact
support@ironsoftware.com
Want to deploy IronPDF to a live project for FREE?
Your trial key should be in the email.![]()
The trial form was submitted
successfully.
If it is not, please contact
support@ironsoftware.com
Want to deploy IronPDF to a live project for FREE?
Your trial key should be in the email.![]()
The trial form was submitted
successfully.
If it is not, please contact
support@ironsoftware.com
Want to deploy IronPDF to a live project for FREE?
Your trial key should be in the email.![]()
The trial form was submitted
successfully.
If it is not, please contact
support@ironsoftware.com
Get started for FREE
No credit card required
Test in production without watermarks.
Works wherever you need it to.
Get 30 days of fully functional product.
Have it up and running in minutes.
Full access to our support engineering team during your product trial
![]() No credit card or account creation required
No credit card or account creation required
Your trial key should be in the email.
If it is not, please contact
support@ironsoftware.com
Get started for FREE
No credit card required
Test in production without watermarks.
Works wherever you need it to.
Get 30 days of fully functional product.
Have it up and running in minutes.
Full access to our support engineering team during your product trial
Licenses from $749. Have a question? Get in touch.
Get started for FREE
No credit card required
Test in production without watermarks.
Works wherever you need it to.
Get 30 days of fully functional product.
Have it up and running in minutes.
Full access to our support engineering team during your product trial
![]() No credit card or account creation required
No credit card or account creation required
Your trial key should be in the email.
If it is not, please contact
support@ironsoftware.com
Thank you!
Your license key has been delivered to the email provided. Contact us

24-Hour Upgrade Offer:
Save 50% on a
Professional Upgrade
Go Professional to cover 10 developers
and unlimited projects.
hours
:
minutes
:
seconds

Professional
$600 USD
$299 USD
5 .NET Products for the Price of 2
Total Suite Value:
$7,192 USD
9 .NET API products for your office documents


