Sendgrid .NET (개발자들에게 어떻게 작동하는가)
SendGrid, Twilio SendGrid의 일부로, 이메일을 간단히 보낼 수 있도록 클라우드 기반 서비스를 제공하여 의사소통 프로세스를 간소화합니다. SendGrid 계정을 만들면 SMTP 릴레이와 API 키와 같은 기능에 액세스하게 되어 이메일 메시지를 효율적으로 보낼 수 있습니다. SMTP 릴레이는 이 프로세스의 핵심으로, 이메일이 서버에서 SendGrid의 시스템을 통해 전송될 수 있게 해줍니다. 인증된 도메인 기능은 도메인을 확인합니다. SendGrid는 오픈 소스이므로 GitHub 저장소에 접근하여 수정하는 것을 도울 수 있습니다.
이 가이드는 SendGrid .NET의 기능과 기능을 분석하여 초기 설정, 기본 작업, 더 고급 기능을 안내하려고 합니다. 이 기사는 코드를 통해 첫 이메일을 보내거나 이메일 캠페인을 최적화하고자 하는 사람들에게 SendGrid .NET과 IronPDF와의 PDF 조작 통합에 대한 시작 포인트가 될 것입니다.
SendGrid .NET 시작하기
먼저 프로젝트에서 SendGrid .NET을 설정해야 합니다. SendGrid .NET 패키지를 설치하세요. 이를 위해 NuGet 패키지 관리자를 사용하세요. Visual Studio를 열고 패키지 관리자 콘솔을 엽니다. 다음 명령을 입력합니다:
Install-Package SendGrid

이 명령은 프로젝트에 SendGrid를 추가합니다. 설치 후 SendGrid 계정을 설정하세요. API 키가 필요합니다. https://sendgrid.com/en-us에서 SendGrid 웹사이트로 이동하세요. 계정이 없으면 계정을 생성하세요. 로그인 후 설정으로 이동하세요. API 키를 찾으세요. API 키 생성을 클릭하세요. 이름을 지정하고 액세스 수준을 선택하세요. API 키를 복사하세요. 이것을 애플리케이션에서 사용하게 됩니다.
기본 코드 예제
이제 이메일을 보내봅시다. SendGridClient의 새 인스턴스를 생성하세요. 작성자에게 API 키를 전달하세요. 그런 다음 SendGridMessage를 생성하세요. 발신자 및 수신자 이메일 주소를 설정하세요. 제목과 이메일 내용을 추가하세요. 마지막으로 SendGridClient를 사용하여 메시지를 전송하세요. 다음은 기본 예시입니다.
using SendGrid;
using SendGrid.Helpers.Mail;
using System.Threading.Tasks;

// Asynchronous method to send an email using SendGrid
static async Task SendEmailAsync()
{
    // Initialize a SendGrid client with your API key
    var client = new SendGridClient("your_api_key");

    // Create a new email message
    var message = new SendGridMessage()
    {
        From = new EmailAddress("your_email@example.com", "Your Name"),
        Subject = "Hello World from SendGrid",
        PlainTextContent = "This is a test email.",
        HtmlContent = "<strong>This is a test email.</strong>"
    };

    // Add a recipient to your email message
    message.AddTo(new EmailAddress("recipient_email@example.com", "Recipient Name"));

    // Send the email and retrieve the response
    var response = await client.SendEmailAsync(message);
}
using SendGrid;
using SendGrid.Helpers.Mail;
using System.Threading.Tasks;
// Asynchronous method to send an email using SendGrid
static async Task SendEmailAsync()
{
// Initialize a SendGrid client with your API key
var client = new SendGridClient("your_api_key");
// Create a new email message
var message = new SendGridMessage()
{
From = new EmailAddress("your_email@example.com", "Your Name"),
Subject = "Hello World from SendGrid",
PlainTextContent = "This is a test email.",
HtmlContent = "<strong>This is a test email.</strong>"
};
// Add a recipient to your email message
message.AddTo(new EmailAddress("recipient_email@example.com", "Recipient Name"));
// Send the email and retrieve the response
var response = await client.SendEmailAsync(message);
}Imports SendGrid
Imports SendGrid.Helpers.Mail
Imports System.Threading.Tasks
' Asynchronous method to send an email using SendGrid
Shared Async Function SendEmailAsync() As Task
' Initialize a SendGrid client with your API key
Dim client = New SendGridClient("your_api_key")
' Create a new email message
Dim message = New SendGridMessage() With {
.From = New EmailAddress("your_email@example.com", "Your Name"),
.Subject = "Hello World from SendGrid",
.PlainTextContent = "This is a test email.",
.HtmlContent = "<strong>This is a test email.</strong>"
}
' Add a recipient to your email message
message.AddTo(New EmailAddress("recipient_email@example.com", "Recipient Name"))
' Send the email and retrieve the response
Dim response = Await client.SendEmailAsync(message)
End Function이 코드는 간단한 이메일을 보냅니다. SendGrid .NET을 사용하는 기본 사항을 보여줍니다. 여기서 더 많은 기능을 확장할 수 있습니다.
SendGrid .NET의 기능 구현
사용자 정의 HTML 콘텐츠가 포함된 이메일 보내기
HTML 콘텐츠가 포함된 이메일을 보내려면 먼저 HTML을 생성합니다. 그런 다음 SendGridMessage를 사용하여 HtmlContent를 설정합니다. 이렇게 하면 풍부한 이메일을 설계할 수 있습니다. 방법은 다음과 같습니다.
using SendGrid;
using SendGrid.Helpers.Mail;
using System.Threading.Tasks;

// Asynchronous method to send an email with custom HTML content
static async Task SendCustomHtmlEmailAsync()
{
    // Initialize a SendGrid client with your API key
    var client = new SendGridClient("your_api_key");

    // Create a new email message with rich HTML content
    var message = new SendGridMessage()
    {
        From = new EmailAddress("your_email@example.com", "Your Name"),
        Subject = "Custom HTML Content",
        HtmlContent = "<html><body><h1>This is a Heading</h1><p>This is a paragraph.</p></body></html>"
    };

    // Add a recipient to your email message
    message.AddTo(new EmailAddress("recipient_email@example.com", "Recipient Name"));

    // Send the email and retrieve the response
    var response = await client.SendEmailAsync(message);
}
using SendGrid;
using SendGrid.Helpers.Mail;
using System.Threading.Tasks;
// Asynchronous method to send an email with custom HTML content
static async Task SendCustomHtmlEmailAsync()
{
// Initialize a SendGrid client with your API key
var client = new SendGridClient("your_api_key");
// Create a new email message with rich HTML content
var message = new SendGridMessage()
{
From = new EmailAddress("your_email@example.com", "Your Name"),
Subject = "Custom HTML Content",
HtmlContent = "<html><body><h1>This is a Heading</h1><p>This is a paragraph.</p></body></html>"
};
// Add a recipient to your email message
message.AddTo(new EmailAddress("recipient_email@example.com", "Recipient Name"));
// Send the email and retrieve the response
var response = await client.SendEmailAsync(message);
}Imports SendGrid
Imports SendGrid.Helpers.Mail
Imports System.Threading.Tasks
' Asynchronous method to send an email with custom HTML content
Shared Async Function SendCustomHtmlEmailAsync() As Task
' Initialize a SendGrid client with your API key
Dim client = New SendGridClient("your_api_key")
' Create a new email message with rich HTML content
Dim message = New SendGridMessage() With {
.From = New EmailAddress("your_email@example.com", "Your Name"),
.Subject = "Custom HTML Content",
.HtmlContent = "<html><body><h1>This is a Heading</h1><p>This is a paragraph.</p></body></html>"
}
' Add a recipient to your email message
message.AddTo(New EmailAddress("recipient_email@example.com", "Recipient Name"))
' Send the email and retrieve the response
Dim response = Await client.SendEmailAsync(message)
End FunctionSendGrid SMTP 서비스 사용
때로는 이메일을 보내기 위해 SMTP를 선호할 수도 있습니다. SendGrid도 이를 지원합니다. SendGrid에서 SMTP 설정을 구성하세요. 그런 다음 애플리케이션 내에서 이러한 설정을 사용하세요. 이 방법은 SendGrid의 서버 정보를 사용하여 SMTP 클라이언트를 설정해야 합니다. 다음은 기본 설정입니다:
using System.Net;
using System.Net.Mail;

// Method to send an email using SendGrid's SMTP service
void SendSmtpEmail()
{
    // Configure SMTP client with SendGrid's server details
    using (var client = new SmtpClient("smtp.sendgrid.net")
    {
        Port = 587,
        Credentials = new NetworkCredential("apikey", "your_sendgrid_apikey"),
        EnableSsl = true,
    })
    {
        // Create a new mail message
        var mailMessage = new MailMessage
        {
            From = new MailAddress("your_email@example.com"),
            Subject = "Test SMTP Email",
            Body = "This is a test email sent via SMTP.",
            IsBodyHtml = true,
        };

        // Add a recipient to the mail message
        mailMessage.To.Add("recipient_email@example.com");

        // Send the email
        client.Send(mailMessage);
    }
}
using System.Net;
using System.Net.Mail;
// Method to send an email using SendGrid's SMTP service
void SendSmtpEmail()
{
// Configure SMTP client with SendGrid's server details
using (var client = new SmtpClient("smtp.sendgrid.net")
{
Port = 587,
Credentials = new NetworkCredential("apikey", "your_sendgrid_apikey"),
EnableSsl = true,
})
{
// Create a new mail message
var mailMessage = new MailMessage
{
From = new MailAddress("your_email@example.com"),
Subject = "Test SMTP Email",
Body = "This is a test email sent via SMTP.",
IsBodyHtml = true,
};
// Add a recipient to the mail message
mailMessage.To.Add("recipient_email@example.com");
// Send the email
client.Send(mailMessage);
}
}Imports System.Net
Imports System.Net.Mail
' Method to send an email using SendGrid's SMTP service
Private Sub SendSmtpEmail()
' Configure SMTP client with SendGrid's server details
Using client = New SmtpClient("smtp.sendgrid.net") With {
.Port = 587,
.Credentials = New NetworkCredential("apikey", "your_sendgrid_apikey"),
.EnableSsl = True
}
' Create a new mail message
Dim mailMessage As New MailMessage With {
.From = New MailAddress("your_email@example.com"),
.Subject = "Test SMTP Email",
.Body = "This is a test email sent via SMTP.",
.IsBodyHtml = True
}
' Add a recipient to the mail message
mailMessage.To.Add("recipient_email@example.com")
' Send the email
client.Send(mailMessage)
End Using
End Sub이메일 캠페인 관리
SendGrid .NET은 이메일 캠페인 관리를 허용합니다. API를 통해 캠페인을 생성, 전송 및 추적합니다. 자세한 캠페인 관리를 위해 SendGrid의 API 문서를 참조하세요. 이 기능은 기본적인 이메일 전송 이상의 것이지만 마케팅 노력에 귀중합니다.
반송 이메일 및 스팸 보고서 처리
반송 및 스팸 보고서 처리는 중요합니다. SendGrid .NET은 이러한 이벤트를 위한 웹훅을 제공합니다. SendGrid 대시보드에서 웹훅을 설정하세요. 그런 다음 애플리케이션에서 이러한 이벤트를 처리하세요. 이렇게 하면 이메일 목록을 깨끗하게 유지하고 배달 가능성을 높입니다.
도메인 인증
도메인 인증은 이메일 배달 가능성에 중요합니다. 도메인의 소유권을 검증합니다. SendGrid에서 대시보드를 통해 도메인 인증을 설정하세요. 이는 DNS 기록을 추가하는 것을 포함합니다. 검증이 완료되면, 이메일이 수신자와 이메일 제공업체에게 더 신뢰할 수 있는 것으로 보입니다.
IronPDF와 SendGrid 통합
IronPDF 소개
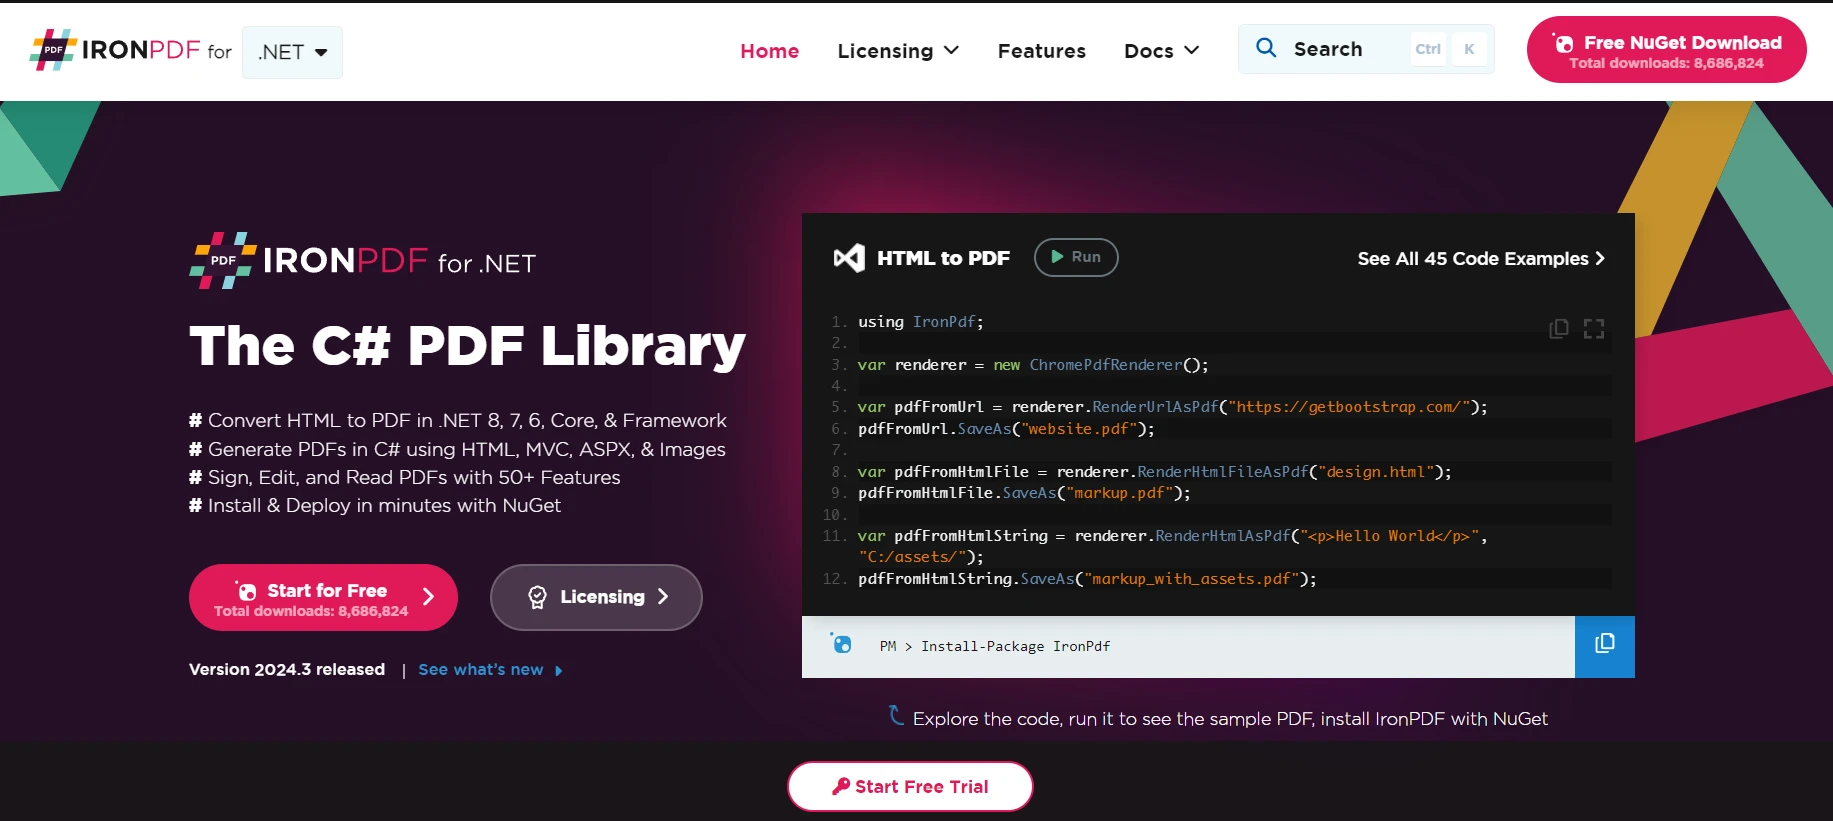
IronPDF의 기능 탐색은 개발자가 .NET 애플리케이션 내에서 PDF 콘텐츠를 생성, 편집 및 추출할 수 있게 하는 라이브러리입니다. PDF 파일을 프로그래밍 방식으로 다루는 간단한 방법을 제공합니다. PDF 사양에 대한 깊은 지식 없이 PDF 파일을 쉽게 작업할 수 있습니다. IronPDF를 사용하면 개발자들이 HTML을 IronPDF 앵커를 사용하여 PDF로 변환하고, 기존 PDF를 편집하고, 내용을 추출할 수 있습니다.
Use Case of Merging IronPDF with SendGrid C
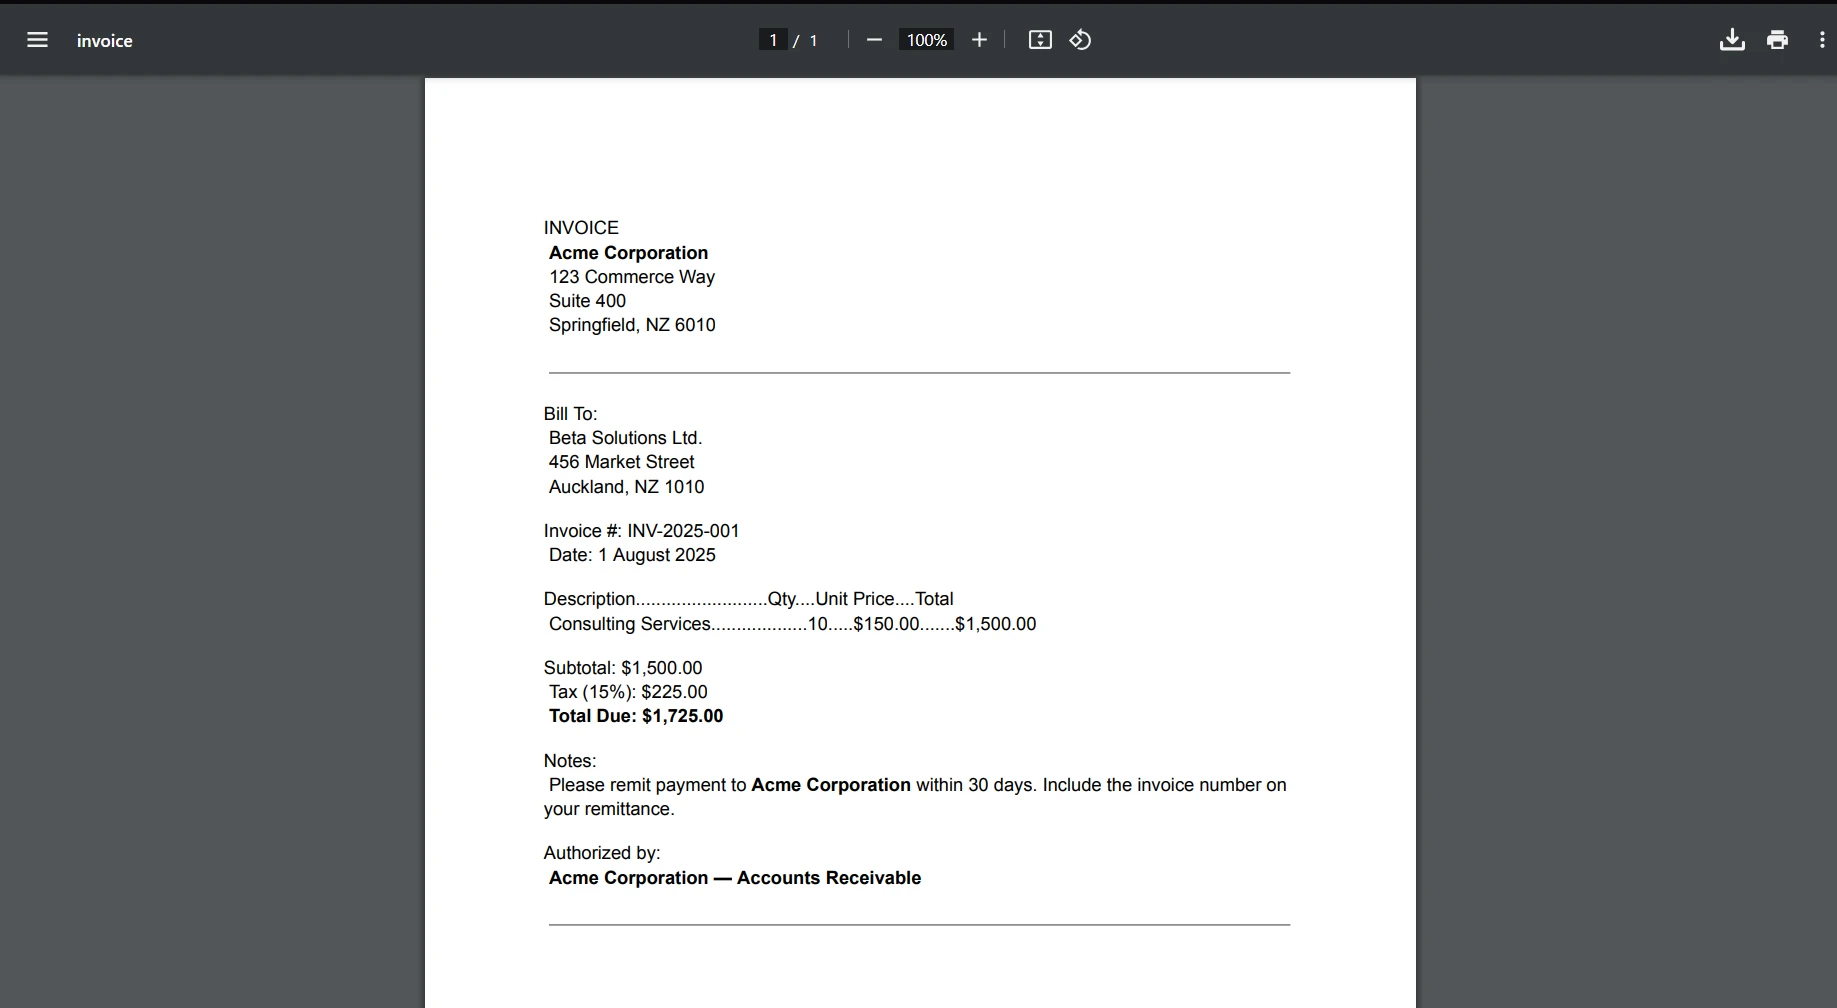
비즈니스 애플리케이션에서는 금융 보고서, 송장 또는 맞춤형 문서를 동적으로 생성하고 이메일을 통해 고객이나 이해관계자에게 보낼 필요가 있습니다. IronPDF를 사용하여 이러한 문서를 템플릿 또는 데이터 소스에서 생성하여 PDF 형식으로 변환할 수 있습니다. 이후, SendGrid의 C# 클라이언트를 사용하여 이러한 PDF 문서를 이메일에 첨부하고 의도된 수신자에게 자동으로 발송할 수 있습니다.
IronPDF는 원래 레이아웃과 스타일을 정확히 보존하여 HTML을 PDF로 변환하는 데 탁월합니다. 보고서, 송장 및 설명서와 같은 웹 기반 콘텐츠에서 PDF를 생성하는 데 완벽합니다. HTML 파일, URL 및 원시 HTML 문자열에 대한 지원으로 IronPDF는 고품질의 PDF 문서를 쉽게 생성합니다.
using IronPdf;

class Program
{
    static void Main(string[] args)
    {
        var renderer = new ChromePdfRenderer();

        // 1. Convert HTML String to PDF
        var htmlContent = "<h1>Hello, IronPDF!</h1><p>This is a PDF from an HTML string.</p>";
        var pdfFromHtmlString = renderer.RenderHtmlAsPdf(htmlContent);
        pdfFromHtmlString.SaveAs("HTMLStringToPDF.pdf");

        // 2. Convert HTML File to PDF
        var htmlFilePath = "path_to_your_html_file.html"; // Specify the path to your HTML file
        var pdfFromHtmlFile = renderer.RenderHtmlFileAsPdf(htmlFilePath);
        pdfFromHtmlFile.SaveAs("HTMLFileToPDF.pdf");

        // 3. Convert URL to PDF
        var url = "http://ironpdf.com"; // Specify the URL
        var pdfFromUrl = renderer.RenderUrlAsPdf(url);
        pdfFromUrl.SaveAs("URLToPDF.pdf");
    }
}
using IronPdf;
class Program
{
static void Main(string[] args)
{
var renderer = new ChromePdfRenderer();
// 1. Convert HTML String to PDF
var htmlContent = "<h1>Hello, IronPDF!</h1><p>This is a PDF from an HTML string.</p>";
var pdfFromHtmlString = renderer.RenderHtmlAsPdf(htmlContent);
pdfFromHtmlString.SaveAs("HTMLStringToPDF.pdf");
// 2. Convert HTML File to PDF
var htmlFilePath = "path_to_your_html_file.html"; // Specify the path to your HTML file
var pdfFromHtmlFile = renderer.RenderHtmlFileAsPdf(htmlFilePath);
pdfFromHtmlFile.SaveAs("HTMLFileToPDF.pdf");
// 3. Convert URL to PDF
var url = "http://ironpdf.com"; // Specify the URL
var pdfFromUrl = renderer.RenderUrlAsPdf(url);
pdfFromUrl.SaveAs("URLToPDF.pdf");
}
}Imports IronPdf
Friend Class Program
Shared Sub Main(ByVal args() As String)
Dim renderer = New ChromePdfRenderer()
' 1. Convert HTML String to PDF
Dim htmlContent = "<h1>Hello, IronPDF!</h1><p>This is a PDF from an HTML string.</p>"
Dim pdfFromHtmlString = renderer.RenderHtmlAsPdf(htmlContent)
pdfFromHtmlString.SaveAs("HTMLStringToPDF.pdf")
' 2. Convert HTML File to PDF
Dim htmlFilePath = "path_to_your_html_file.html" ' Specify the path to your HTML file
Dim pdfFromHtmlFile = renderer.RenderHtmlFileAsPdf(htmlFilePath)
pdfFromHtmlFile.SaveAs("HTMLFileToPDF.pdf")
' 3. Convert URL to PDF
Dim url = "http://ironpdf.com" ' Specify the URL
Dim pdfFromUrl = renderer.RenderUrlAsPdf(url)
pdfFromUrl.SaveAs("URLToPDF.pdf")
End Sub
End ClassIronPDF 라이브러리를 설치하세요
IronPDF를 사용하려면 먼저 NuGet 패키지를 설치해야 합니다. 먼저 NuGet 패키지 관리자 콘솔을 열고 다음 명령을 실행하세요:
Install-Package IronPdf
세부사항과 단계가 포함된 사용 사례 코드 예제
1단계: IronPDF로 PDF 생성
먼저, PDF 문서를 생성합니다. 예제로 HTML 문자열에서 간단한 PDF를 생성할 것입니다.
using IronPdf;

// Instantiates a new HtmlToPdf object
var Renderer = new HtmlToPdf();

// Constructs a PDF from an HTML string
var PDF = Renderer.RenderHtmlAsPdf("<h1>Hello World</h1>");

// Define the output path for the PDF file
var outputPath = "example.pdf";

// Saves the generated PDF to the specified path
PDF.SaveAs(outputPath);
using IronPdf;
// Instantiates a new HtmlToPdf object
var Renderer = new HtmlToPdf();
// Constructs a PDF from an HTML string
var PDF = Renderer.RenderHtmlAsPdf("<h1>Hello World</h1>");
// Define the output path for the PDF file
var outputPath = "example.pdf";
// Saves the generated PDF to the specified path
PDF.SaveAs(outputPath);Imports IronPdf
' Instantiates a new HtmlToPdf object
Private Renderer = New HtmlToPdf()
' Constructs a PDF from an HTML string
Private PDF = Renderer.RenderHtmlAsPdf("<h1>Hello World</h1>")
' Define the output path for the PDF file
Private outputPath = "example.pdf"
' Saves the generated PDF to the specified path
PDF.SaveAs(outputPath)2단계: SendGrid 설정
SendGrid NuGet 패키지가 설치되어 있는지 확인하십시오:
Install-Package SendGrid
그런 다음, 애플리케이션에서 SendGrid를 구성하세요. SendGrid 계정에서 API 키가 필요합니다.
using SendGrid;
using SendGrid.Helpers.Mail;

// Initialize SendGrid client with your API key
var apiKey = "your_sendgrid_api_key";
var client = new SendGridClient(apiKey);
using SendGrid;
using SendGrid.Helpers.Mail;
// Initialize SendGrid client with your API key
var apiKey = "your_sendgrid_api_key";
var client = new SendGridClient(apiKey);Imports SendGrid
Imports SendGrid.Helpers.Mail
' Initialize SendGrid client with your API key
Private apiKey = "your_sendgrid_api_key"
Private client = New SendGridClient(apiKey)3단계: PDF 첨부와 함께 이메일 생성 및 전송
이제 이메일 메시지를 생성하고 이전에 생성한 PDF를 첨부합니다. 마지막으로, SendGrid를 통해 이메일을 전송하세요.
using System;
using System.IO;
using System.Threading.Tasks;
using SendGrid;
using SendGrid.Helpers.Mail;

// Asynchronous method to create and send an email with a PDF attachment
async Task SendEmailWithPdfAttachmentAsync()
{
    // Define sender and recipient email addresses
    var from = new EmailAddress("your_email@example.com", "Your Name");
    var subject = "Sending with SendGrid is Fun";
    var to = new EmailAddress("recipient_email@example.com", "Recipient Name");
    var plainTextContent = "Hello, Email!";
    var htmlContent = "<strong>Hello, Email!</strong>";

    // Create a new email message
    var msg = MailHelper.CreateSingleEmail(from, to, subject, plainTextContent, htmlContent);

    // Attach the PDF
    var bytes = File.ReadAllBytes("example.pdf");
    var file = Convert.ToBase64String(bytes);
    msg.AddAttachment("example.pdf", file);

    // Send the email and retrieve the response
    var response = await client.SendEmailAsync(msg);
}
using System;
using System.IO;
using System.Threading.Tasks;
using SendGrid;
using SendGrid.Helpers.Mail;
// Asynchronous method to create and send an email with a PDF attachment
async Task SendEmailWithPdfAttachmentAsync()
{
// Define sender and recipient email addresses
var from = new EmailAddress("your_email@example.com", "Your Name");
var subject = "Sending with SendGrid is Fun";
var to = new EmailAddress("recipient_email@example.com", "Recipient Name");
var plainTextContent = "Hello, Email!";
var htmlContent = "<strong>Hello, Email!</strong>";
// Create a new email message
var msg = MailHelper.CreateSingleEmail(from, to, subject, plainTextContent, htmlContent);
// Attach the PDF
var bytes = File.ReadAllBytes("example.pdf");
var file = Convert.ToBase64String(bytes);
msg.AddAttachment("example.pdf", file);
// Send the email and retrieve the response
var response = await client.SendEmailAsync(msg);
}Imports System
Imports System.IO
Imports System.Threading.Tasks
Imports SendGrid
Imports SendGrid.Helpers.Mail
' Asynchronous method to create and send an email with a PDF attachment
Async Function SendEmailWithPdfAttachmentAsync() As Task
' Define sender and recipient email addresses
Dim from = New EmailAddress("your_email@example.com", "Your Name")
Dim subject = "Sending with SendGrid is Fun"
Dim [to] = New EmailAddress("recipient_email@example.com", "Recipient Name")
Dim plainTextContent = "Hello, Email!"
Dim htmlContent = "<strong>Hello, Email!</strong>"
' Create a new email message
Dim msg = MailHelper.CreateSingleEmail(from, [to], subject, plainTextContent, htmlContent)
' Attach the PDF
Dim bytes = File.ReadAllBytes("example.pdf")
Dim file = Convert.ToBase64String(bytes)
msg.AddAttachment("example.pdf", file)
' Send the email and retrieve the response
Dim response = Await client.SendEmailAsync(msg)
End Function이 코드 예제는 간단한 PDF 문서를 생성하고, 이를 이메일에 첨부하고, SendGrid를 통해 전송하는 과정을 보여줍니다. .NET 애플리케이션에서 문서 생성과 이메일 기능을 각각 IronPDF와 SendGrid의 기능을 통합하는 간단한 과정입니다.
결론
결론적으로, 이 가이드는 .NET 애플리케이션 내에서 이메일 서비스를 위한 SendGrid .NET과 PDF 문서 관리를 위한 IronPDF를 통합하는 방법에 대한 포괄적인 개요를 제공합니다. 설명된 단계를 따름으로써, 개발자는 맞춤 HTML 콘텐츠와 SMTP 서비스 옵션이 있는 이메일 전송 기능을 효율적으로 구현하고, 이메일 캠페인을 관리할 수 있습니다.
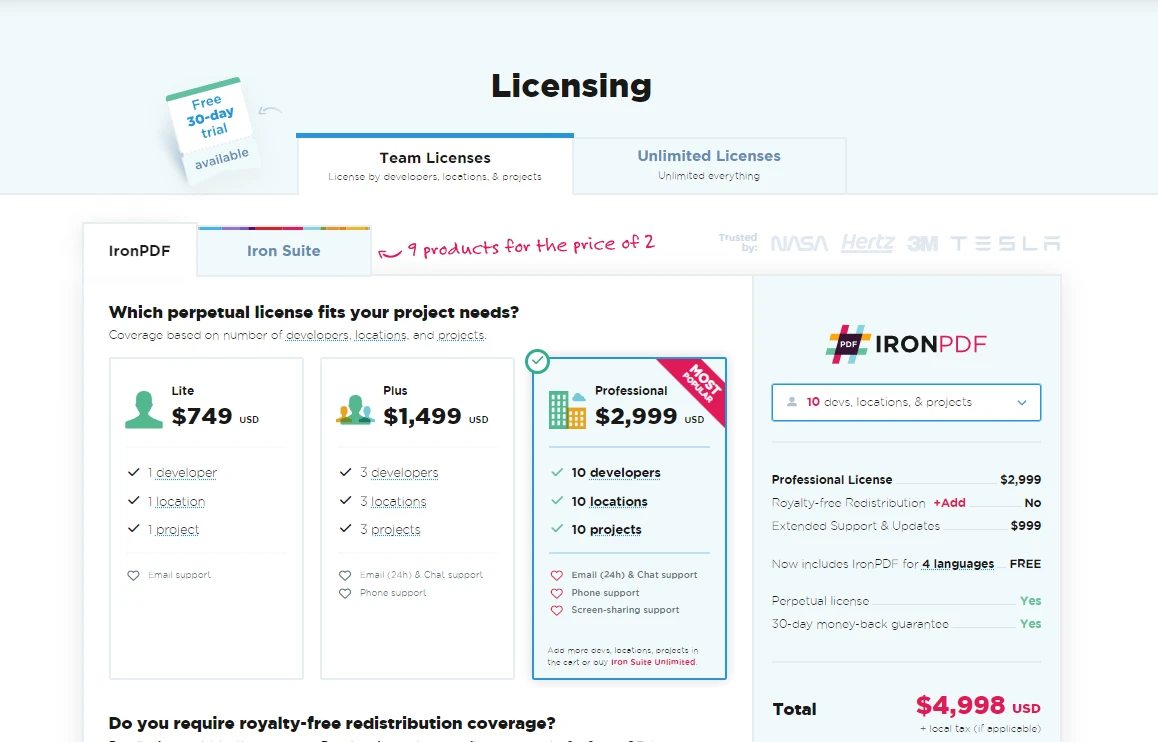
또한, IronPDF의 통합을 통해 금융 보고서나 송장과 같은 PDF 문서를 동적으로 생성하고 이메일로 발송할 수 있으며, 이러한 강력한 라이브러리의 통합된 실용적인 사용 사례를 보여줍니다. 이러한 기능을 탐색하고자 하는 개발자는 라이선스를 커밋하기 전에 IronPDF 무료 체험판을 활용할 수 있습니다. IronPDF 라이선스 세부 정보 및 가격 옵션는 $999에서 시작합니다.
자주 묻는 질문
내 프로젝트에 SendGrid .NET을 어떻게 설정할 수 있습니까?
Visual Studio의 NuGet 패키지 관리자에서 SendGrid 패키지를 설치하여 SendGrid .NET을 설정하십시오. 설치 후 SendGrid 계정을 만들고 API 키를 생성하여 이메일을 보내기 시작합니다.
SendGrid .NET을 사용하여 이메일을 보내는 과정은 무엇입니까?
API 키를 사용하여 SendGridClient를 사용하고 필요한 발신자 및 수신자 정보를 포함한 SendGridMessage를 구성하여 SendGridClient의 SendEmailAsync 메서드를 사용하여 메시지를 보냅니다.
SendGrid .NET을 사용하여 HTML이 풍부한 이메일을 어떻게 보낼 수 있습니까?
HTML이 풍부한 이메일을 보내려면 이메일을 보내기 전에 SendGridMessage의 HtmlContent 속성을 사용자 정의 HTML 콘텐츠로 설정합니다.
.NET 애플리케이션에서 SendGrid와 SMTP를 사용하는 것이 가능한가요?
예, SMTP 클라이언트를 SendGrid의 SMTP 서버 정보로 구성하고 API 키를 자격 증명으로 사용하여 SendGrid와 함께 SMTP를 사용할 수 있습니다.
.NET에서 이메일 첨부용 PDF 문서를 어떻게 생성할 수 있습니까?
IronPDF의 ChromePdfRenderer를 사용하여 HTML 콘텐츠를 PDF 파일로 변환하고 SaveAs 메서드를 사용하여 저장할 수 있습니다.
SendGrid에 PDF를 이메일에 첨부하는 과정은 무엇입니까?
PDF를 바이트 배열로 변환하고, base64 문자열로 인코딩한 다음 SendGridMessage의 AddAttachment 메서드를 사용하여 이메일에 PDF를 첨부합니다.
SendGrid를 사용할 때 도메인 인증이 중요한 이유는 무엇입니까?
도메인 인증은 귀하의 도메인 소유권을 확인하여 이메일 전송 가능성을 향상시키고 수신자가 이메일을 신뢰할 수 있다고 판단하도록 도와주기 때문에 중요합니다.
.NET 애플리케이션에서 SendGrid의 기능을 IronPDF가 어떻게 강화합니까?
IronPDF는 개발자가 PDF 문서를 생성하고 조작할 수 있도록 하며, 이러한 문서를 생성하여 SendGrid를 통해 이메일 첨부 파일로 보내기 위해 사용될 수 있어 문서 관리 기능을 향상시킵니다.
이메일 캠페인 관리를 위해 SendGrid를 사용하면 어떤 이점이 있습니까?
SendGrid는 API를 통해 이메일 캠페인을 생성, 전송 및 추적할 수 있는 강력한 기능을 제공하며, 이는 SendGrid의 API 문서에 설명된 대로 세부적인 관리 옵션을 제공합니다.
SendGrid에서 반송 및 스팸 보고를 어떻게 처리할 수 있습니까?
SendGrid의 웹훅을 사용하여 반송 및 스팸 보고를 처리하십시오. 이러한 웹훅은 이메일 배달 문제에 대해 애플리케이션에 알리며, 이를 효과적으로 관리할 수 있도록 도와줍니다.