Python 中的 Requests 库:教程
在多样化的网页开发和数据获取环境中,Python是一种出色的语言。 它的简洁性,加上强大的库,使其成为处理HTTP请求的理想选择。 在这些库中,Python的Requests模块作为与Web服务交互的多功能且用户友好的工具脱颖而出。
在本文中,我们将探讨HTTP请求的基础知识,并探讨Requests库如何使Python开发者能够有效处理这些请求。 我们还将研究如何将HTTP请求与像IronPDF for Python这样的库一起使用,轻松制作和编辑PDF文件。
了解HTTP请求
HTTP(超文本传输协议)是万维网数据通信的基础。 它是一种协议,用于管理客户端(网页浏览器)和服务器之间超文本(如HTML)的传输。 HTTP作为一种请求-响应协议运行,其中客户端向服务器发送请求,然后服务器以请求的资源作出响应。
通常,HTTP请求由几个组件组成:
- HTTP 方法:指定客户端要执行的 HTTP 请求操作。常见方法包括 GET、POST、PUT、DELETE 等。
- URL:统一资源定位符,用于标识所请求的资源。 3.请求标头:随请求发送的附加信息,例如身份验证凭据、内容类型等。 4.正文:通过 POST 或 PUT 请求发送的数据。
介绍Requests库
Python中的Requests库简化了发起HTTP请求的过程。 它提供了一个优雅且直观的API,用于无缝发送各种类型的请求并处理响应。

让我们通过一些基本用例,但首先,让我们来看一下Requests模块的安装过程。
安装
在使用Requests库之前,请确保已安装。 你可以通过pip安装它:
pip install requestspip install requests进行GET请求
使用requests.get()方法对指定的URL发起GET请求:
import requests

# Make a GET request to the URL
response = requests.get('https://api.example.com/data')

# Print the response text (content of the response)
print(response.text)
import requests
# Make a GET request to the URL
response = requests.get('https://api.example.com/data')
# Print the response text (content of the response)
print(response.text)此代码向指定的URL https://api.example.com/data 发送GET请求并打印响应正文。
进行POST请求
要通过数据进行POST请求,请使用requests.post()方法:
import requests

# Data to send in the POST request
data = {'key': 'value'}

# Make a POST request with data
response = requests.post('https://api.example.com/post', data=data)

# Print the response in JSON format
print(response.json())
import requests
# Data to send in the POST request
data = {'key': 'value'}
# Make a POST request with data
response = requests.post('https://api.example.com/post', data=data)
# Print the response in JSON format
print(response.json())在此,我们向https://api.example.com/post发送带有JSON数据的POST请求并打印JSON响应数据。
处理响应对象
通过HTTP请求返回的响应对象提供了各种属性和方法,以访问响应的不同方面,如HTTP头、状态码、内容等。例如:
import requests

# Make a GET request
response = requests.get('https://api.example.com/data')

# Print the status code of the response
print(response.status_code)

# Print the response headers
print(response.headers)
import requests
# Make a GET request
response = requests.get('https://api.example.com/data')
# Print the status code of the response
print(response.status_code)
# Print the response headers
print(response.headers)错误处理
进行HTTP请求时,优雅地处理错误至关重要。 Requests库通过为常见错误(比如连接错误和超时)引发异常来简化错误处理。 例如:
import requests

try:
    # Make a GET request
    response = requests.get('https://api.example.com/data')

    # Raise an exception for HTTP errors
    response.raise_for_status()
except requests.exceptions.HTTPError as err:
    # Print the error message
    print(err)
import requests
try:
# Make a GET request
response = requests.get('https://api.example.com/data')
# Raise an exception for HTTP errors
response.raise_for_status()
except requests.exceptions.HTTPError as err:
# Print the error message
print(err)禁用SSL证书验证
在False来禁用SSL证书验证:
import requests

# Make a GET request with SSL verification disabled
response = requests.get('https://api.example.com/data', verify=False)

# Process the response
print(response.text)
import requests
# Make a GET request with SSL verification disabled
response = requests.get('https://api.example.com/data', verify=False)
# Process the response
print(response.text)包含查询字符串
您还可以通过使用params参数将查询参数附加到URL中:
import requests

# Define query parameters
params = {'key': 'value', 'param2': 'value2'}

# Make a GET request with query parameters
response = requests.get('https://api.example.com/data', params=params)

# Process the response
print(response.text)
import requests
# Define query parameters
params = {'key': 'value', 'param2': 'value2'}
# Make a GET request with query parameters
response = requests.get('https://api.example.com/data', params=params)
# Process the response
print(response.text)在此示例中,params字典包含查询参数。 在发起GET请求时,这些参数会自动附加到URL,结果请求URL类似于https://api.example.com/data?key=value¶m2=value2。
将Requests与IronPDF集成以生成PDF
在深入实现之前,让我们简要了解IronPDF。
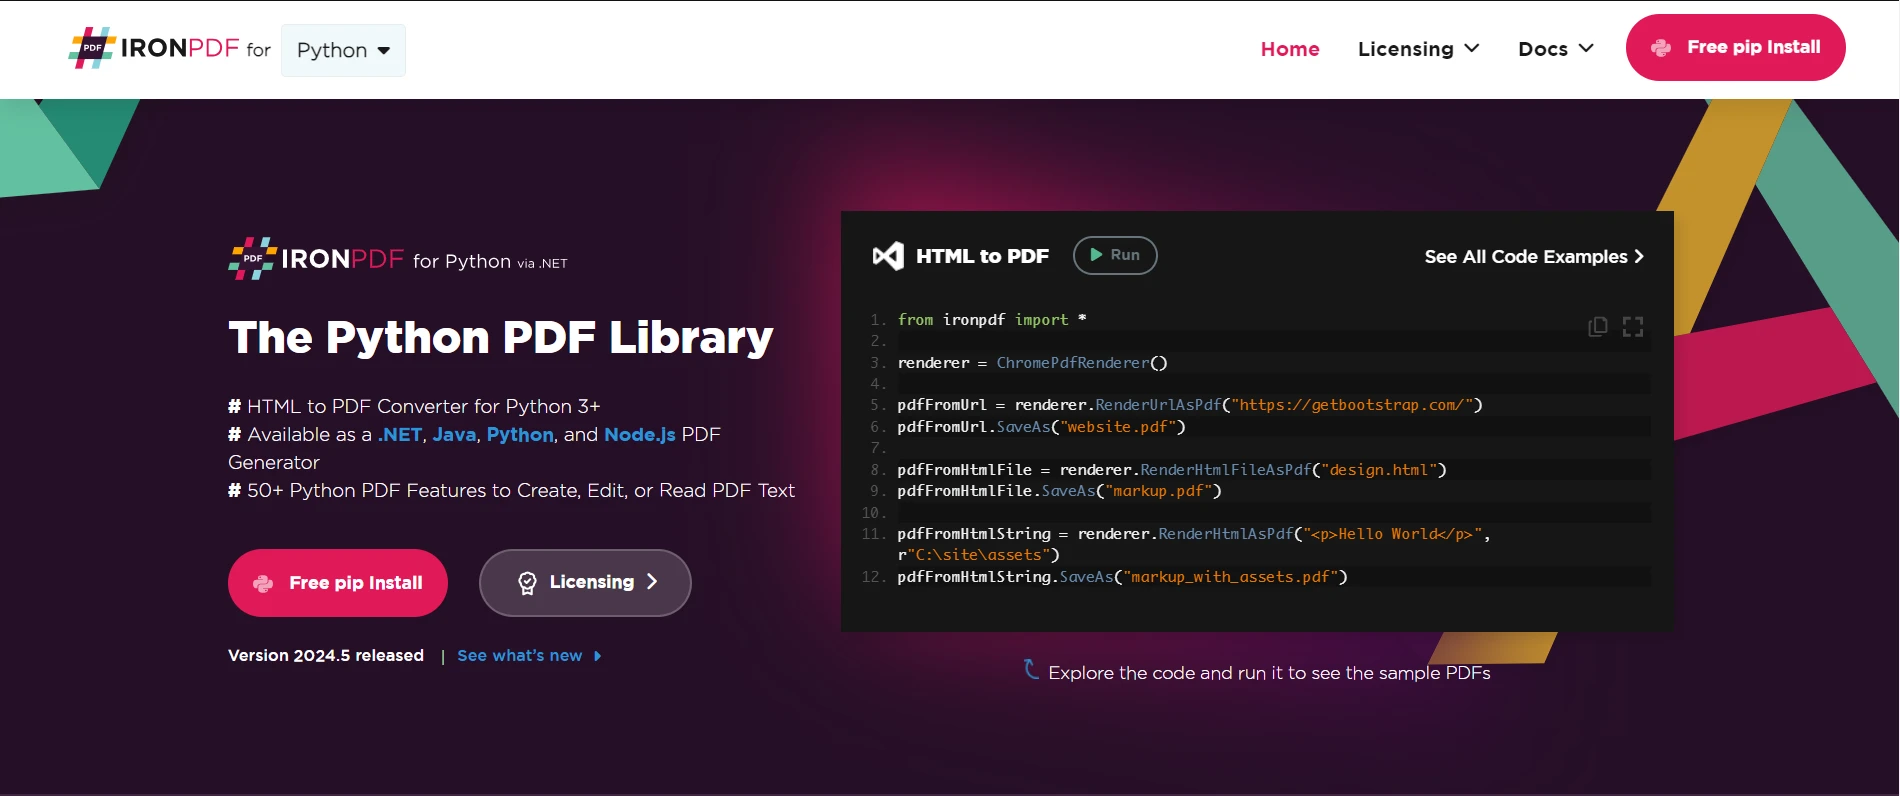
IronPDF - Python PDF库
IronPDF for Python是一种流行的Python库,用于生成、读取、编辑和操作PDF文档。 它提供了一套丰富的功能,以程序化地创建专业外观的PDF。
要使用IronPDF生成通过Requests获取的内容的PDF,请按以下步骤进行:
步骤1:安装IronPDF
首先,确保你在Python环境中已安装IronPDF。 你可以通过pip安装它:
pip install ironpdfpip install ironpdf步骤2:使用Requests获取内容
使用Requests库获取你希望包含在PDF中的内容。 例如:
import requests

# Make a GET request to fetch data
response = requests.get('https://api.example.com/data')
data = response.text
import requests
# Make a GET request to fetch data
response = requests.get('https://api.example.com/data')
data = response.text步骤 3:使用 IronPDF 生成 PDF
获得内容后,使用IronPDF生成PDF。 这是一个基本示例:
from ironpdf import ChromePdfRenderer

# Instantiate Renderer
renderer = ChromePdfRenderer()

# Create a PDF from the data received from requests
pdf = renderer.RenderHtmlAsPdf(data)

# Export to a file
pdf.SaveAs("output.pdf")
from ironpdf import ChromePdfRenderer
# Instantiate Renderer
renderer = ChromePdfRenderer()
# Create a PDF from the data received from requests
pdf = renderer.RenderHtmlAsPdf(data)
# Export to a file
pdf.SaveAs("output.pdf")在此示例中,data包含通过Requests获取的HTML内容。 IronPDF的RenderHtmlAsPdf()方法将此HTML内容转换为PDF文档。 最后,使用SaveAs()方法将PDF保存到文件中。
通过Requests库,Python使与Web的交互变得轻而易举,使开发人员能够更加专注于构建优秀的应用程序,而不是处理HTTP通信的复杂性。
高级用法
你可以通过使用IronPDF的广泛功能来自定义PDF设置、边距、方向、图像、CSS、JavaScript等,进一步增强PDF生成过程。 例如:
# Set page margins
renderer.RenderingOptions.MarginTop = 40  # millimeters
renderer.RenderingOptions.MarginLeft = 20  # millimeters
renderer.RenderingOptions.MarginRight = 20  # millimeters
renderer.RenderingOptions.MarginBottom = 40  # millimeters

# Example with HTML Assets
# Load external HTML assets: Images, CSS, and JavaScript.
# An optional BasePath 'C:\\site\\assets\\' is set as the file location to load assets from
my_advanced_pdf = renderer.RenderHtmlAsPdf("<img src='icons/iron.png'>", "C:\\site\\assets")
my_advanced_pdf.SaveAs("html-with-assets.pdf")
# Set page margins
renderer.RenderingOptions.MarginTop = 40 # millimeters
renderer.RenderingOptions.MarginLeft = 20 # millimeters
renderer.RenderingOptions.MarginRight = 20 # millimeters
renderer.RenderingOptions.MarginBottom = 40 # millimeters
# Example with HTML Assets
# Load external HTML assets: Images, CSS, and JavaScript.
# An optional BasePath 'C:\\site\\assets\\' is set as the file location to load assets from
my_advanced_pdf = renderer.RenderHtmlAsPdf("<img src='icons/iron.png'>", "C:\\site\\assets")
my_advanced_pdf.SaveAs("html-with-assets.pdf")在这里,我们设置了页面边距并从基本目录中添加图像,然后将其保存到文件中。
有关IronPDF功能和能力的更多信息,请访问文档页面,并查看这些即用型代码示例,以便与Python集成。
结论
Python中的Requests库提供了一个强大而简单的接口来发起HTTP请求。 无论是从API获取数据、与网络服务交互还是抓取网页,Requests都通过其直观的API和强大的功能简化了HTTP请求过程。
将IronPDF for Python与Python中的Requests结合使用,为动态从获取的内容生成PDF文档打开了无限可能。 通过遵循本文中的步骤和探索IronPDF和Requests的高级功能,Python开发人员可以简化其PDF生成工作流程,并生成高质量的、根据其具体要求量身定制的文档。
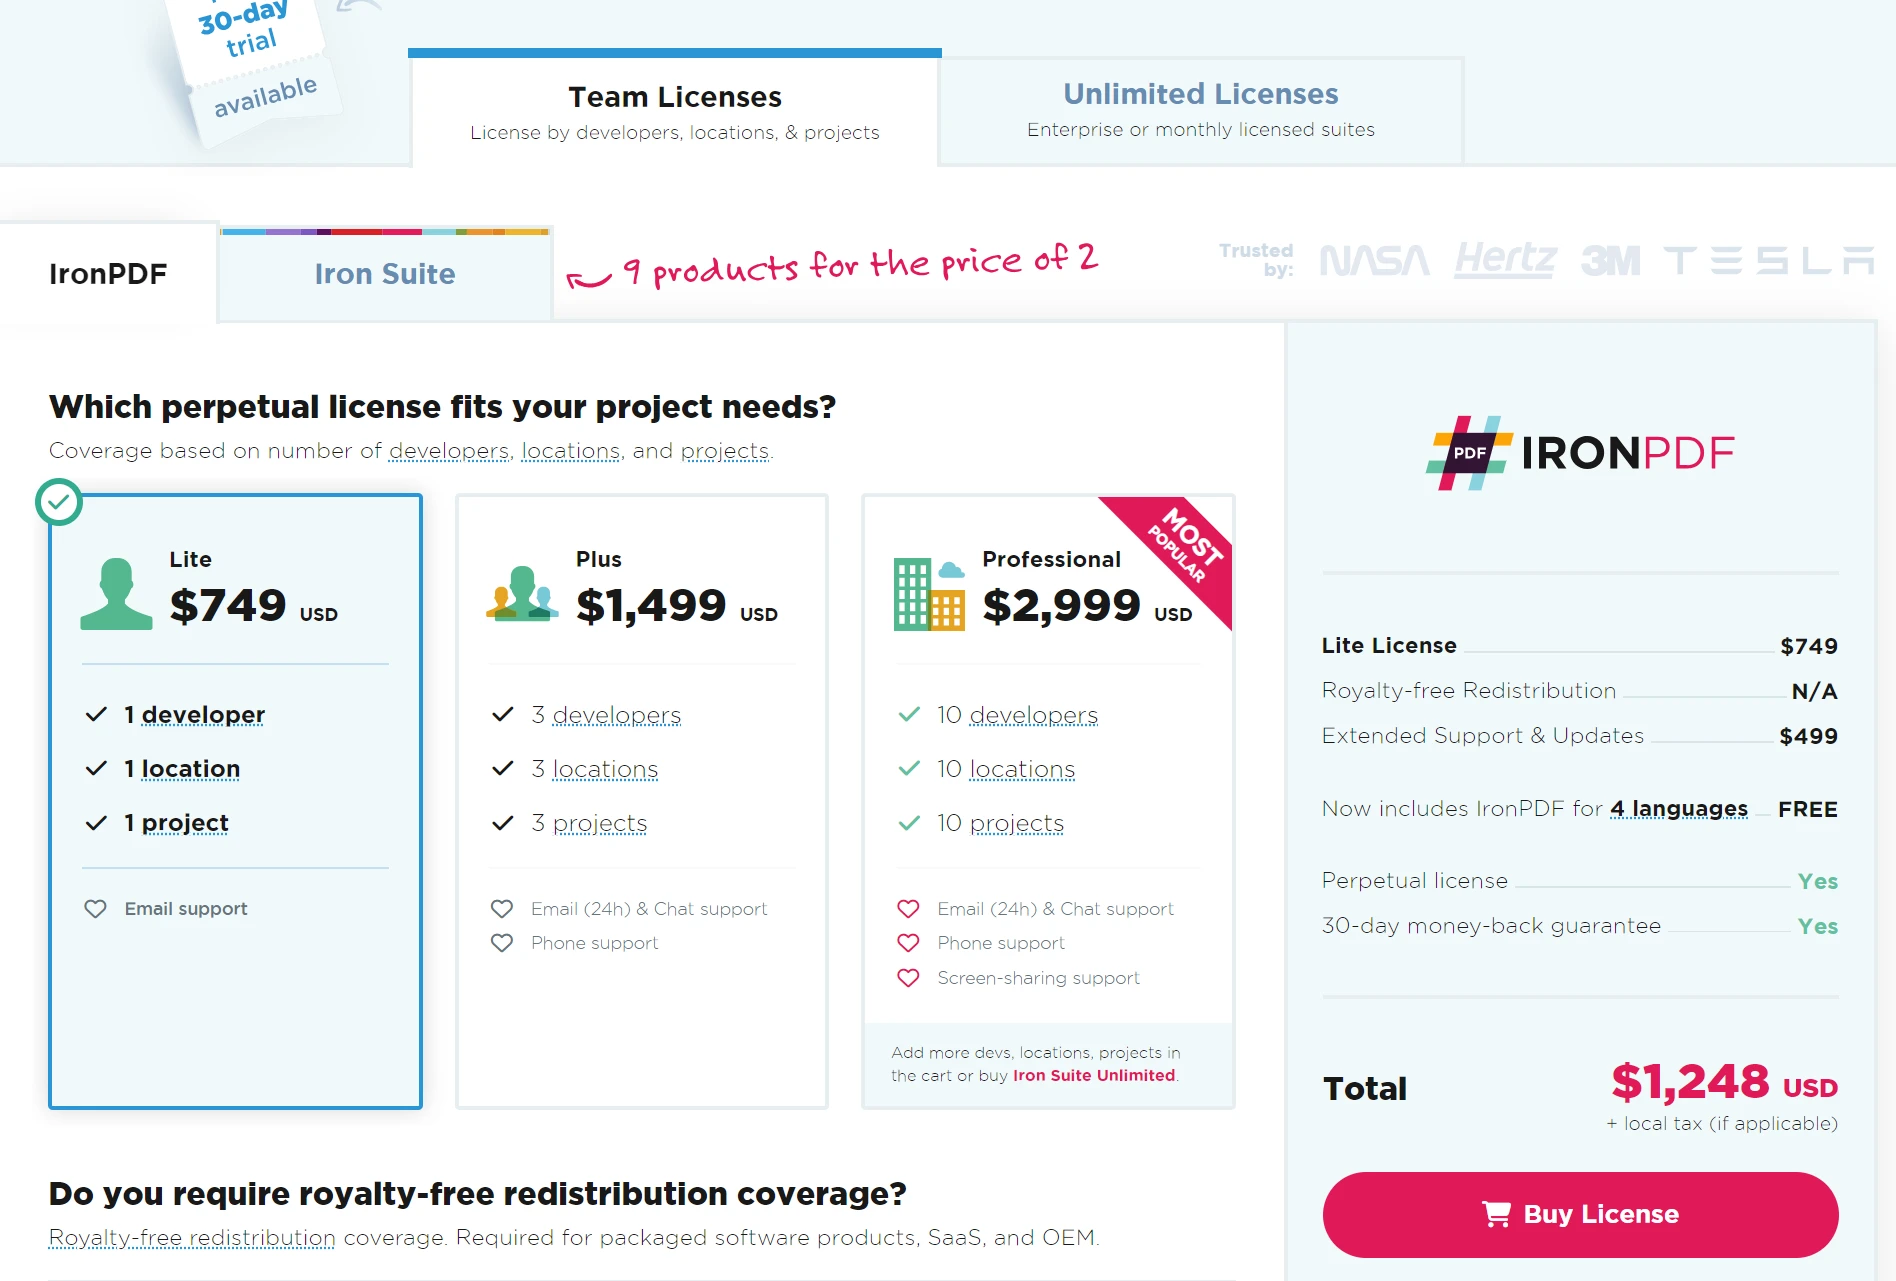
IronPDF非常适合企业。 从$799开始试用IronPDF的免费试用版,并且有退款保证,是管理您的文档的安全选择。 立即下载IronPDF体验无缝的PDF集成!