
snowpack NPM (How It Works For Developers)
Modern applications appreciate Snowpack due to its ease and high speed in the web application development cycle. It keeps track of changes in files and rebuilds only portions of the application that have changed, eliminating long rebuilds and the need to rebundle entire chunks. This makes it especially useful for large projects or applications with changing codebases. Moreover, such architecture makes Snowpack a more modular and lightweight toolchain enabling the easier importation of only parts of the libraries if needed, reducing the overall size and improving performance. In this article, we will learn more about Snowpack with IronPDF packages.
Snowpack is a new tool in web application development that might raise the dev environment to another level. It has an optimized development server, hence making development more productive without affecting the speed of development. Using Snowpack's performance build system, any developer can easily create and iterate on their Snowpack project in no time and get its improved production performance. The interesting part about the approach Snowpack is taking dev speed up is how it curtails heavy bundling at development time for a faster and more responsive experience, ensuring that the final result for production is highly optimized.
Snowpack does this by building files one by one, only when they change, rather than bundling the whole application every time. This makes huge differences in terms of time savings when you see changes in your browser, making development much more responsive. Besides, Snowpack supports a huge ecosystem of plugins and integrations that make extending its functionality to integrate a lot of tools and frameworks into your workflow easy.
It is simple and fast, so Snowpack is the best for any developer looking forward to optimized production performance and coming up with modern and performant web apps. Configuration is easy, and there's minimal configuration; it focuses only on leveraging the latest standards key features, and technologies in service.
Integrating Snowpack NPM with Node.js
Integrate Snowpack into our Node.js Application: Enhance your development workflow with the modern build system and fast, efficient dev environment provided by Snowpack. Here is a guide on how to integrate Snowpack into a Node.js project.
Install Node.js and Snowpack
First, we need to have Node.js and NPM installed on your machine. We can download the latest versions from the official Node.js website.
Set Up Your Node.js Project
Create a new Node.js project if you have not done so yet, or change to your existing project:
mkdir my-node-app
cd my-node-app
npm init -y
mkdir my-node-app
cd my-node-app
npm init -yInstall Snowpack
Install Snowpack as a dev dependency in your project:
npm install --save-dev snowpacknpm install --save-dev snowpackConfigure Snowpack
Create a configuration file for Snowpack in your project's root directory: snowpack.config.js. This file describes how Snowpack should build and serve your project.
// snowpack.config.js
module.exports = {
  mount: {
    public: '/',       // Mount the 'public' directory to the root URL path
    src: '/dist',      // Mount the 'src' directory to the '/dist' URL path
  },
  buildOptions: {
    out: 'build',      // Output directory for the build
  },
  plugins: [
    // Add any necessary plugins here
  ],
  optimize: {
    bundle: true,      // Bundle final build files for optimized delivery
    minify: true,      // Minify the build files
    target: 'es2020',  // Set the target output for modern JavaScript syntax
  },
};
// snowpack.config.js
module.exports = {
mount: {
public: '/', // Mount the 'public' directory to the root URL path
src: '/dist', // Mount the 'src' directory to the '/dist' URL path
},
buildOptions: {
out: 'build', // Output directory for the build
},
plugins: [
// Add any necessary plugins here
],
optimize: {
bundle: true, // Bundle final build files for optimized delivery
minify: true, // Minify the build files
target: 'es2020', // Set the target output for modern JavaScript syntax
},
};Add Start and Build Scripts
Update the scripts section in your package.json to include commands for running Snowpack in development mode and building your project for production:
"scripts": {
  "start": "snowpack dev",
  "build": "snowpack build"
}
Integrating with a Backend
If your Node.js application has a backend server, such as Express, we could easily integrate Snowpack by serving the built frontend files from our Node.js server.
Example using Express
const express = require('express');
const path = require('path');
const app = express();
const port = process.env.PORT || 3000;
// Serve static files from the 'build' directory
app.use(express.static(path.join(__dirname, 'build')));
// Serve index.html for all requests (SPA)
app.get('*', (req, res) => {
res.sendFile(path.join(__dirname, 'build', 'index.html'));
});
// Start the server
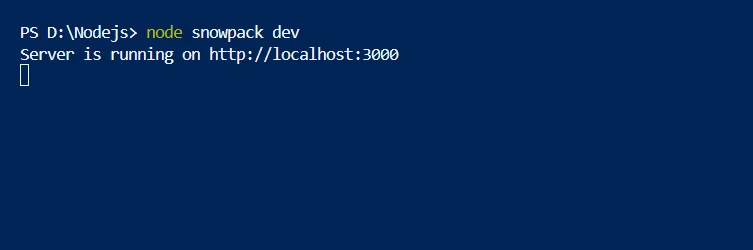
app.listen(port, () => {
console.log(`Server is running on http://localhost:${port}`);
});const express = require('express');
const path = require('path');
const app = express();
const port = process.env.PORT || 3000;
// Serve static files from the 'build' directory
app.use(express.static(path.join(__dirname, 'build')));
// Serve index.html for all requests (SPA)
app.get('*', (req, res) => {
res.sendFile(path.join(__dirname, 'build', 'index.html'));
});
// Start the server
app.listen(port, () => {
console.log(`Server is running on http://localhost:${port}`);
});The above code configures the basic Express.js server to serve a single-page application. At the beginning, the modules 'express' and 'path' are imported. 'Express' is a lightweight web framework of Node.js for handling server-side logic, while 'path' is the Node.js module to deal with file paths. An Express application is then created and saved into the variable app, while the server port is set to either the environment variable PORT or defaults to 3000.
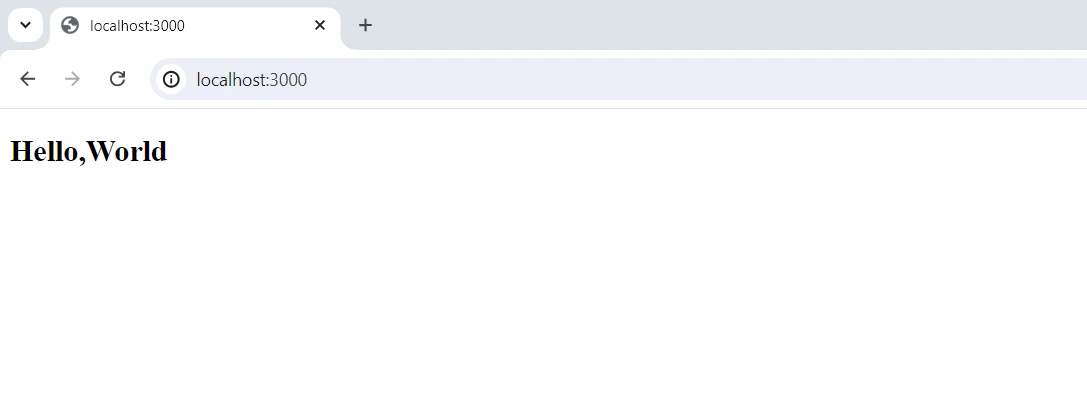
The middleware in app.use serves static files from the build directory that typically includes the compiled frontend assets of the application. Lastly, the app.get('*') wildcard route handler ensures that every incoming request is responded to with index.html from the build directory, allowing client-side routing to work within the SPA. Finally, the call to app.listen starts the server on the specified port and logs a message that indicates the server is running and accessible.
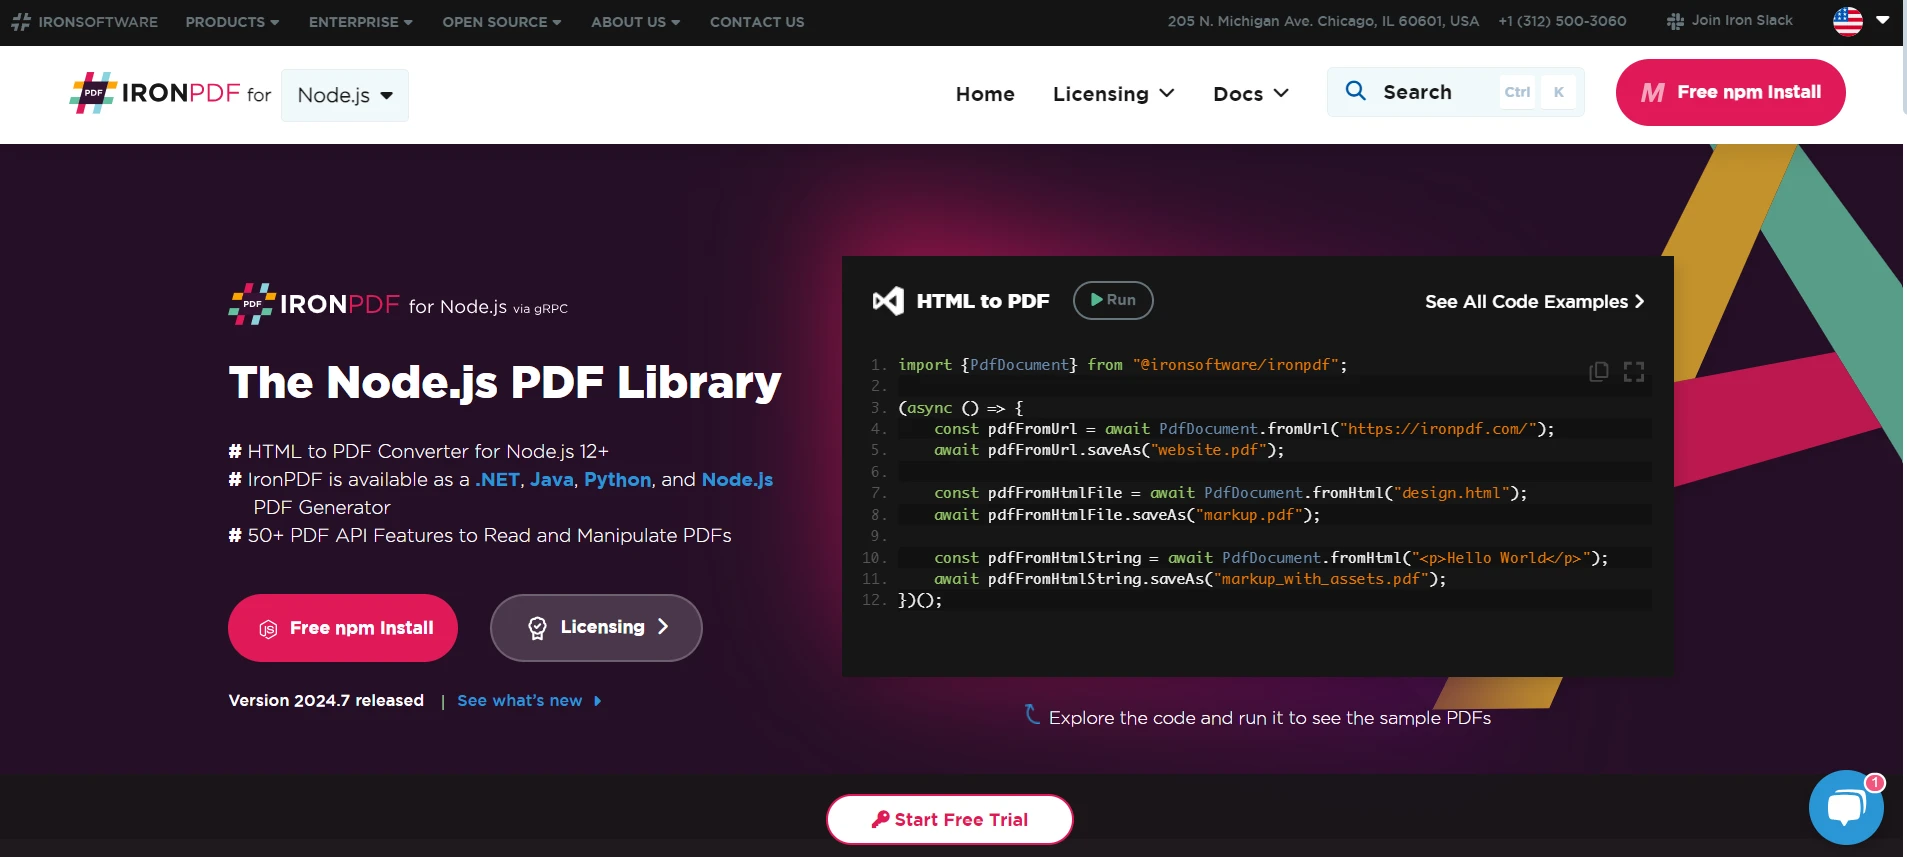
Introducing IronPDF for Node.js: A PDF Generator
Use the strong Node.js package IronPDF for Node.js for creating, editing, manipulating, and converting PDF documents. It is used in a variety of programming-based tasks regarding PDFs, from HTML-to-PDF conversion to modifying pre-existing PDFs. IronPDF comes in very handy in applications that require dynamic generation and processing of PDFs, providing an easy and flexible way to generate quality PDF documents.
Install IronPDF package
Install packages that will make IronPDF functionality in Node.js available through the Node.js Package Manager.
npm install @ironsoftware/ironpdfnpm install @ironsoftware/ironpdfGenerate PDF with Snowpack bundler
We can easily integrate the Snowpack bundler with IronPDF. We can build our application in just a few milliseconds. Below is a sample code that we are going to use to bundle with Snowpack.
const express = require("express");
const path = require("path");
const IronPdf = require("@ironsoftware/ironpdf");
const document = IronPdf.PdfDocument;
var config = IronPdf.IronPdfGlobalConfig;
config.setConfig({
licenseKey: "", // Insert your IronPDF license key here
});
const htmlContent = `
<html>
<head>
<style>
body { font-family: Arial, sans-serif; }
h1 { color: navy; }
p { font-size: 14px; }
</style>
</head>
<body>
<h1>User Details</h1>
<p><strong>ID:</strong> 1</p>
<p><strong>Name:</strong> Hendry</p>
</body>
</html>
`;
// Example: Express
// On request, build each file on request and respond with its built contents
const app = express();
const port = process.env.PORT || 3000;
// Serve static files from the 'build' directory
app.use(express.static(path.join(__dirname, "build")));
// Endpoint to generate PDF
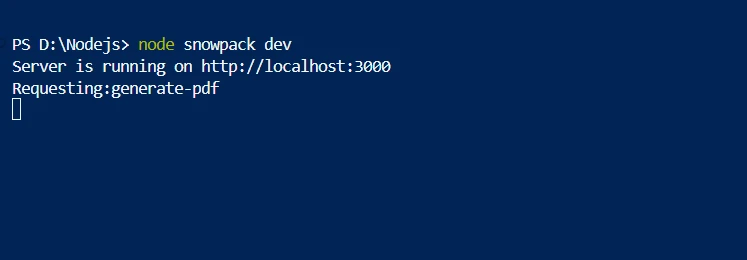
app.get("/generate-pdf", async (req, res) => {
console.log("Requesting: generate-pdf");
// Generate PDF document
try {
let result = await document.fromHtml(htmlContent);
const pdfBuffer = await result.saveAsBuffer();
res.setHeader("Content-Type", "application/pdf");
res.send(pdfBuffer);
} catch (error) {
console.error("PDF generation error:", error);
res.status(500).send("PDF generation error");
}
});
// Serve index.html for all requests (SPA)
app.get("*", async (req, res) => {
res.sendFile(path.join(__dirname, "build", "index.html"));
});
// Start the server
app.listen(port, () => {
console.log(`Server is running on http://localhost:${port}`);
});const express = require("express");
const path = require("path");
const IronPdf = require("@ironsoftware/ironpdf");
const document = IronPdf.PdfDocument;
var config = IronPdf.IronPdfGlobalConfig;
config.setConfig({
licenseKey: "", // Insert your IronPDF license key here
});
const htmlContent = `
<html>
<head>
<style>
body { font-family: Arial, sans-serif; }
h1 { color: navy; }
p { font-size: 14px; }
</style>
</head>
<body>
<h1>User Details</h1>
<p><strong>ID:</strong> 1</p>
<p><strong>Name:</strong> Hendry</p>
</body>
</html>
`;
// Example: Express
// On request, build each file on request and respond with its built contents
const app = express();
const port = process.env.PORT || 3000;
// Serve static files from the 'build' directory
app.use(express.static(path.join(__dirname, "build")));
// Endpoint to generate PDF
app.get("/generate-pdf", async (req, res) => {
console.log("Requesting: generate-pdf");
// Generate PDF document
try {
let result = await document.fromHtml(htmlContent);
const pdfBuffer = await result.saveAsBuffer();
res.setHeader("Content-Type", "application/pdf");
res.send(pdfBuffer);
} catch (error) {
console.error("PDF generation error:", error);
res.status(500).send("PDF generation error");
}
});
// Serve index.html for all requests (SPA)
app.get("*", async (req, res) => {
res.sendFile(path.join(__dirname, "build", "index.html"));
});
// Start the server
app.listen(port, () => {
console.log(`Server is running on http://localhost:${port}`);
});This configuration of the Express.js server will serve static files and generate PDFs using an IronPDF library. Initially, it imports necessary modules: 'express' for setting up the server, 'path' for managing file paths, and 'IronPdf' for generating PDFs. Then it initializes IronPDF with a license key, which is empty in this example but needs to be replaced with a valid key to avoid watermarks on generated PDFs. A simple HTML template is defined for conversion to PDF.
The server serves static files from the build directory and defines a route to generate PDFs utilizing IronPDF, which turns HTML content into a PDF document and streams it back as a response. In case of any errors during PDF generation, they are logged and an error response is sent. It also includes a catch-all route for supporting single-page application routing by serving index.html. Moreover, the server is started on the specified port, and a log message confirms it is running.
Licensing For IronPDF
The above code needs a license key to run without the watermark. Developers who sign up here get a trial license that doesn't require a credit card. One can register for this free trial by inputting their email address.
Conclusion
In a Node.js environment, Snowpack can be fitted into IronPDF for a far stronger, more modern approach to web development. IronPDF offers immense functionality in the creation and manipulation of PDFs, and Snowpack works as an ultra-fast front-end asset manager. The advanced features of IronPDF in manipulating PDFs, along with build optimization provided by Snowpack, will help you generate dynamic and high-quality PDFs at a much faster rate. No doubt, this integration will be a big help in the smooth execution of front-end and back-end development. On top of that, rich IronPDF's PDF functionality can be harnessed with the benefits of Snowpack in modern web development to enable such powerful and complete applications. To learn more about the IronPDF documentation refer to the Getting Started page.
We can also look at more Iron Software technologies that can assist you in meeting the needs of contemporary applications and honing your coding abilities.


