如何在 Python 中将 PDF 转换为图像
PDF(可移植文档格式) 是在互联网上传输数据时最受欢迎的文件格式,因为它能够保持内容格式,并通过安全许可帮助保护数据。 在某些情况下,我们需要将 PDF 文件转换为 JPG 图像或其他图像格式,如 PNG、BMP、TIFF 或 GIF。 在线有很多用于 JPG 转换的资源,但如果能用 Python 创建我们自己的 PDF 到图像转换工具,那将有多酷呢?
什么是 Python?
Python 是一种高级编程语言,用于构建软件应用、网站、自动化任务、进行数据分析,以及执行人工智能和机器学习任务。 因为 Python 是解释型语言,所以也可以称之为脚本语言,这使得它在快速开发和测试方面更为强大。
要创建一个 PDF 到图像的转换器,我们需要在计算机上安装 Python 3+。 从官网下载并安装最新版本。
在本文中,我们将使用 Python 的 PDF 到图像库创建我们自己的图像转换应用程序。 为此,我们将使用 Python 最受欢迎的两个库:PDF2Image 和 PyMuPDF。
如何在 Python 中将 PDF 文件转换为图像文件
- 安装将 PDF 转换为图像的 Python 库。
- 从任意位置加载一个现有的 PDF 文件。
- 利用转换方法。
- 迭代文件的页面。
- 使用保存方法将每一页保存为 JPG 或 PNG 图像。
创建一个新的 Python 文件
- 打开 Python IDLE 应用程序并按下 Ctrl + N 键。 文本编辑器将打开。 您可以使用您喜欢的文本编辑器。
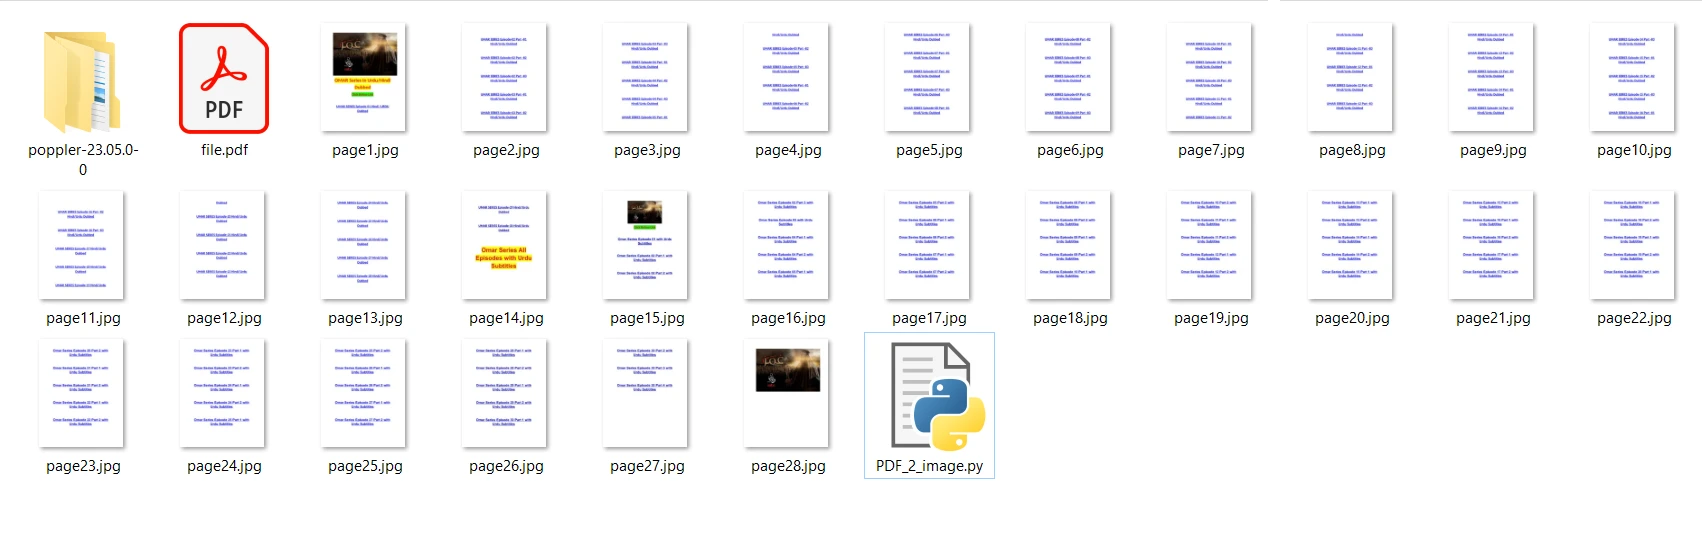
- 将文件保存为 pdf2image.py,和要转换为图像的 PDF 文件放在同一位置。
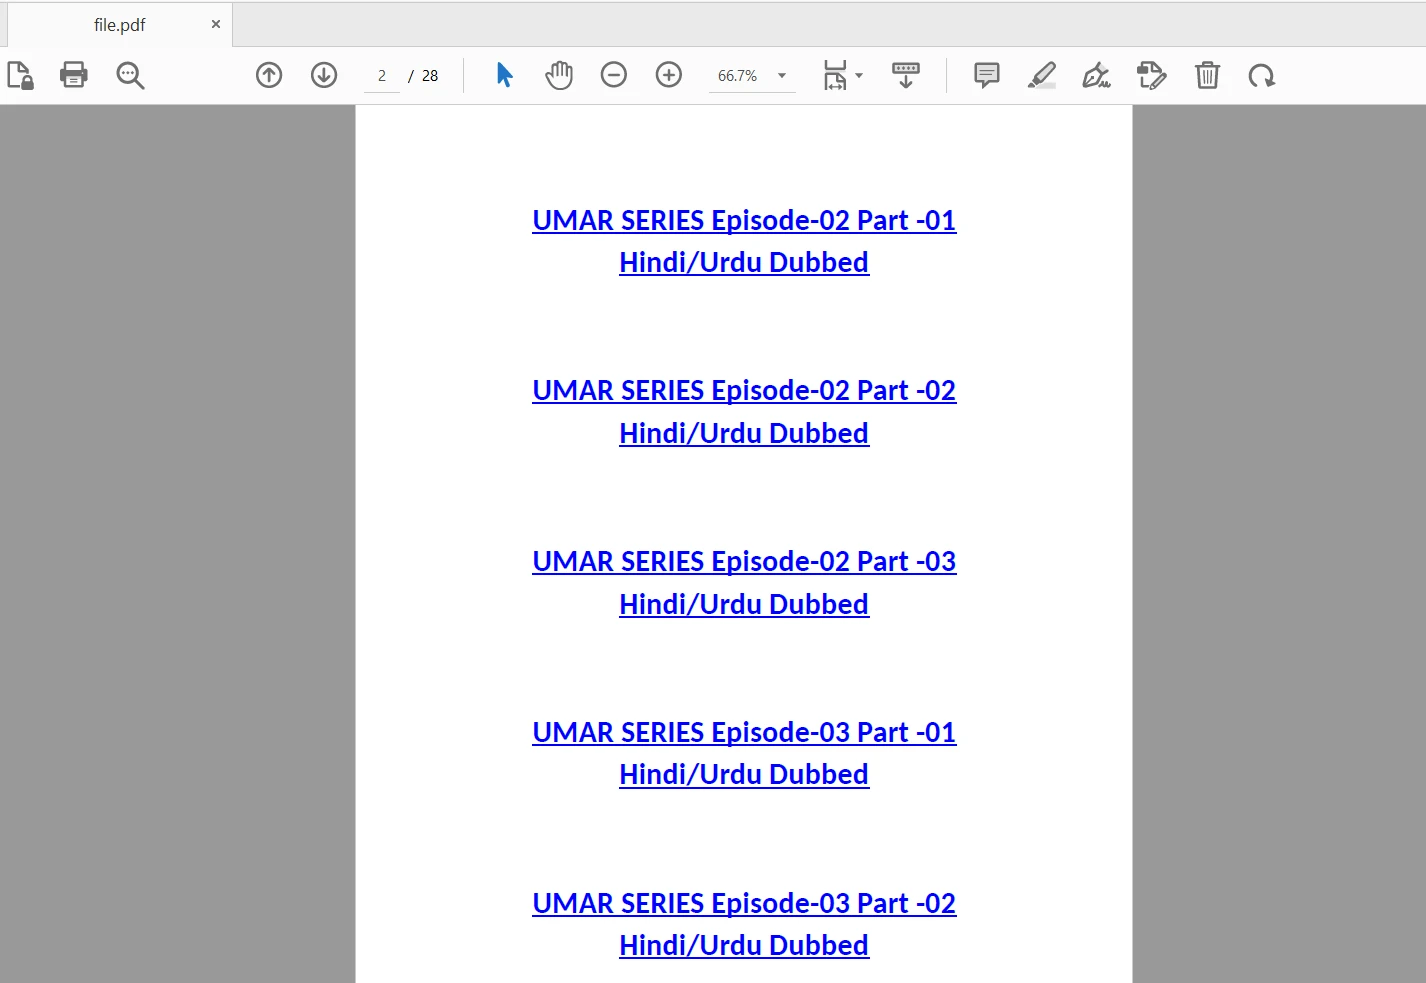
我们将要使用的输入 PDF 文件包含 28 页,具体如下:
使用 PDF2Image 库将 PDF 文件转换为图像文件
1. 安装 PDF2Image Python 库
PDF2Image 是一个封装了pdftoppm的模块。 它可在 Python 3.7+ 上运行以将 PDF 转换为 PIL 图像对象。 之前的发布历史显示,它仅封装pdftoppm以将PDF转换为图像,并且仅在Python 3+上运行。
要安装 pdf2image 包,打开您的 Windows 命令提示符或 Windows PowerShell 并使用以下 pip 命令:
pip install pdf2imagepip install pdf2imagePip(首选安装器程序)是 Python 的包管理器。 它可以下载和安装提供 Python 标准库中没有的功能和功能的第三方软件包。
注意: 要在命令行的任何地方执行此命令,必须将 Python 添加到 PATH 中。 对于 Python 3+,建议使用 pip3,因为它是 pip 的更新版本。
2. 安装 Poppler
Poppler 是一个用于处理 PDF 文件的免费开源库。 它用于渲染 PDF 文件,读取内容,并修改 PDF 文件中的内容。 它通常被 Linux 用户使用。 然而,对于 Windows,我们需要下载最新版本的 Poppler。
对于 Windows
Windows 用户可以在这里下载最新版本的 Poppler:@oschwartz10612 版本。 您需要将 bin/folder 添加到 PATH 环境变量中。
对于 Mac
Mac 用户也需要安装 Poppler。 可以使用 Brew 安装:
brew install popplerbrew install poppler对于 Linux
大多数Linux发行版都附带pdftocairo命令行工具。 如果这些工具未安装,您可以使用软件包管理器安装poppler-utils。
平台无关(使用conda)
安装
poppler:conda install -c conda-forge popplerconda install -c conda-forge popplerSHELL安装 pdf2image:
pip install pdf2imagepip install pdf2imageSHELL
现在一切准备就绪,让我们开始编写将 PDF 转换为图像的代码。
3. 转换 PDF 文件为图像文件的代码
以下代码将执行输入 PDF 文件的图像转换:
from pdf2image import convert_from_path
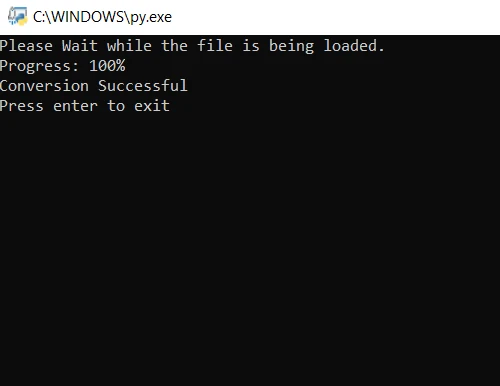
# Notify the user that the process is starting
print("Please wait while the file is being loaded.")
file = convert_from_path('file.pdf')
# Iterate over all pages in the PDF file
for i in range(len(file)):
# Update user on progress
print("Progress: " + str(round(i / len(file) * 100)) + "%")
# Save each page as a JPG image file
file[i].save('page' + str(i + 1) + '.jpg', 'JPEG')
# Notify the user that the conversion is successful
print("Conversion Successful")from pdf2image import convert_from_path
# Notify the user that the process is starting
print("Please wait while the file is being loaded.")
file = convert_from_path('file.pdf')
# Iterate over all pages in the PDF file
for i in range(len(file)):
# Update user on progress
print("Progress: " + str(round(i / len(file) * 100)) + "%")
# Save each page as a JPG image file
file[i].save('page' + str(i + 1) + '.jpg', 'JPEG')
# Notify the user that the conversion is successful
print("Conversion Successful")在上面的代码中,我们首先使用convert_from_path方法打开文件。 该方法打开位于指定路径的文件。 然后,我们循环遍历要转换为 JPG 图像的 PDF 文件的每一页。 最后,使用save方法将每个转换后的页面保存为JPG图像文件。现在,执行程序并等待转换完成。 输出图像文件保存在与程序相同的文件夹中。
使用 PyMuPDF 库将 PDF 文件转换为图像
1. 安装 PyMuPDF Python 库
PyMuPDF 是 MuPDF 的 Python 扩展绑定,MuPDF 是一种轻量级电子书、PDF 和 XPS 查看器、渲染器和工具包。 它可以用于将 PDF 转换为其他格式,如 JPG 或 PNG。 PyMuPDF 可在 Python 3.7+ 版本上运行。
要安装 PyMuPDF 包,打开您的 Windows 命令提示符或 Windows PowerShell 并使用以下 pip 命令:
pip install pymupdfpip install pymupdf请注意,PyMuPDF 不需要额外的库,而 PDF2Image 包需要。
2. 将 PDF 文件转换为图像的代码
以下代码将从PyMuPDF导入fitz模块,以便我们可以将PDF转换为图像:
import fitz # PyMuPDF
# Open the PDF file
doc = fitz.open("file.pdf")
# Iterate over each page in the document
for x in range(len(doc)):
page = doc.load_page(x) # Load a specific page
pix = page.get_pixmap() # Render page to image
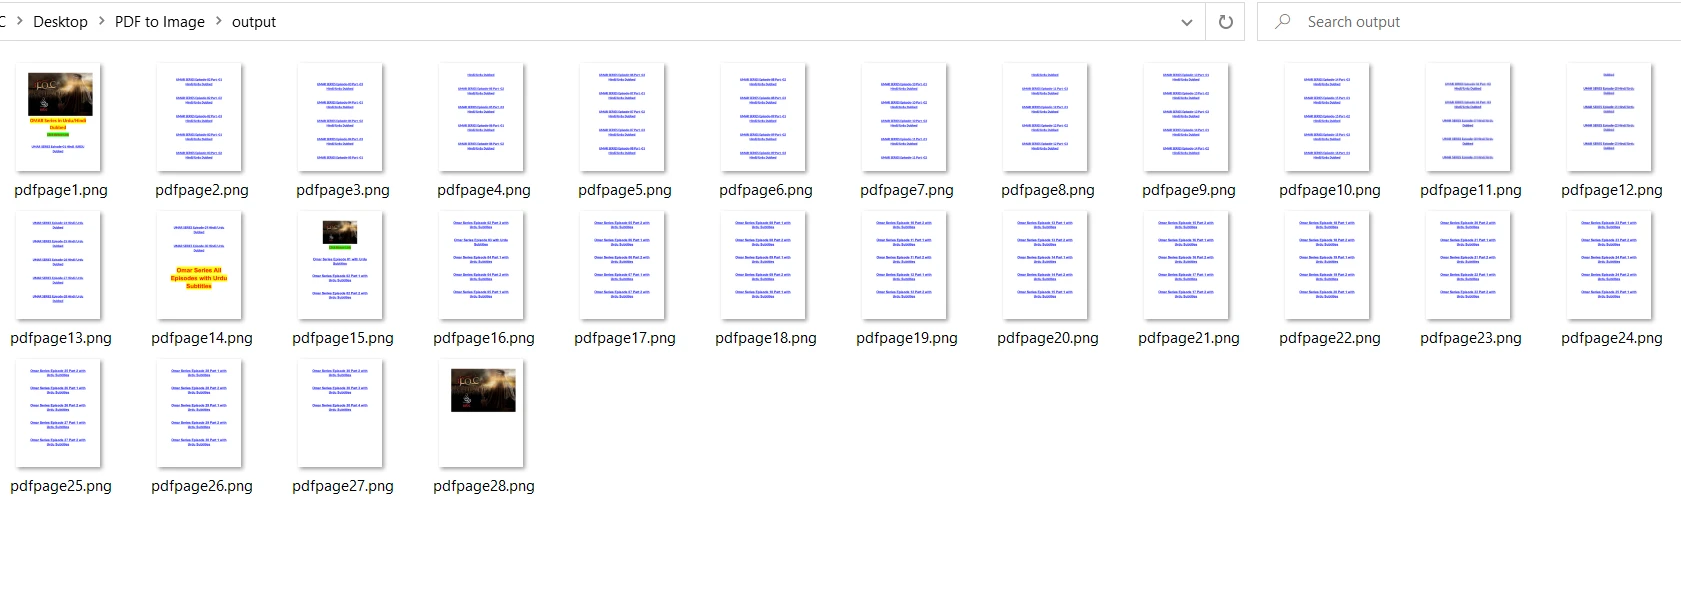
output = "output/pdfpage" + str(x + 1) + ".png" # Specify output path
pix.save(output) # Save the image to the output path
# Close the document
doc.close()import fitz # PyMuPDF
# Open the PDF file
doc = fitz.open("file.pdf")
# Iterate over each page in the document
for x in range(len(doc)):
page = doc.load_page(x) # Load a specific page
pix = page.get_pixmap() # Render page to image
output = "output/pdfpage" + str(x + 1) + ".png" # Specify output path
pix.save(output) # Save the image to the output path
# Close the document
doc.close()在上面的代码中,文件名作为参数传递给fitz.open方法以打开文件。接下来,我遍历整个文档并分别加载每一页。 使用save方法将生成的图像保存到输出文件夹中。 最后,关闭打开的文档以釋放内存。
与 PDF2Image 相比,PyMuPDF 在将 PDF 转换为 PNG 时更快。 由于压缩比的问题,PDF2Image 对于 PNG 格式可能较慢。 输出结果与 PDF2Image 的相同:
Rendering PDF to Image Conversions in C#
IronPDF 库
IronPDF 是一个用于生成、读取和操作 PDF 文件的库。 其专长在于使用 Chromium 引擎将 HTML 渲染为 PDF。这一特性使得需要将 HTML 文件或 URL 转换为 PDF 文档的开发人员中广受欢迎。 此外,它还提供了从各种格式转换为 PDF 文件的功能。
您还可以使用两行代码将 PDF 文件光栅化为图像。 以下代码演示了如何将 PDF 转换为不同的图像格式:
using IronPdf;

var Renderer = new IronPdf.ChromePdfRenderer();
var PDF = Renderer.RenderUrlAsPdf("https://example.com");
PDF.SaveAs("html.pdf");

// Rasterize the PDF
List<string> Images = PDF.RasterizeToImageFiles(ImageType.Png);
using IronPdf;
var Renderer = new IronPdf.ChromePdfRenderer();
var PDF = Renderer.RenderUrlAsPdf("https://example.com");
PDF.SaveAs("html.pdf");
// Rasterize the PDF
List<string> Images = PDF.RasterizeToImageFiles(ImageType.Png);下载 IronPDF 并< a href="trial-license">免费试用。