
已更新 2026年4月21日
在 Python 的列表中查找項目
本文探索各種方法,當使用Python查找列表中的任何元素時,將為您提供對可用選項和其應用的全面理解。
閱讀更多

PDF(可移植文件格式) 是最流行的互聯網資料傳輸文件格式,因為它保留內容格式並幫助以安全權限保護資料。 在某些情況下,我們需要將PDF文件轉換為JPG圖像或其他格式,如PNG、BMP、TIFF或GIF。 有很多線上資源可用於JPG轉換,但如果我們能用Python建立自己的PDF到圖像轉換工具,該會多酷!
Python是一種高級編程語言,用於構建軟體應用程式、網站、自動化任務、進行資料分析和執行人工智慧及機器學習任務。 由於Python是被解釋的,這使它成為腳本語言,從而在快速開發和測試方面變得更強大。
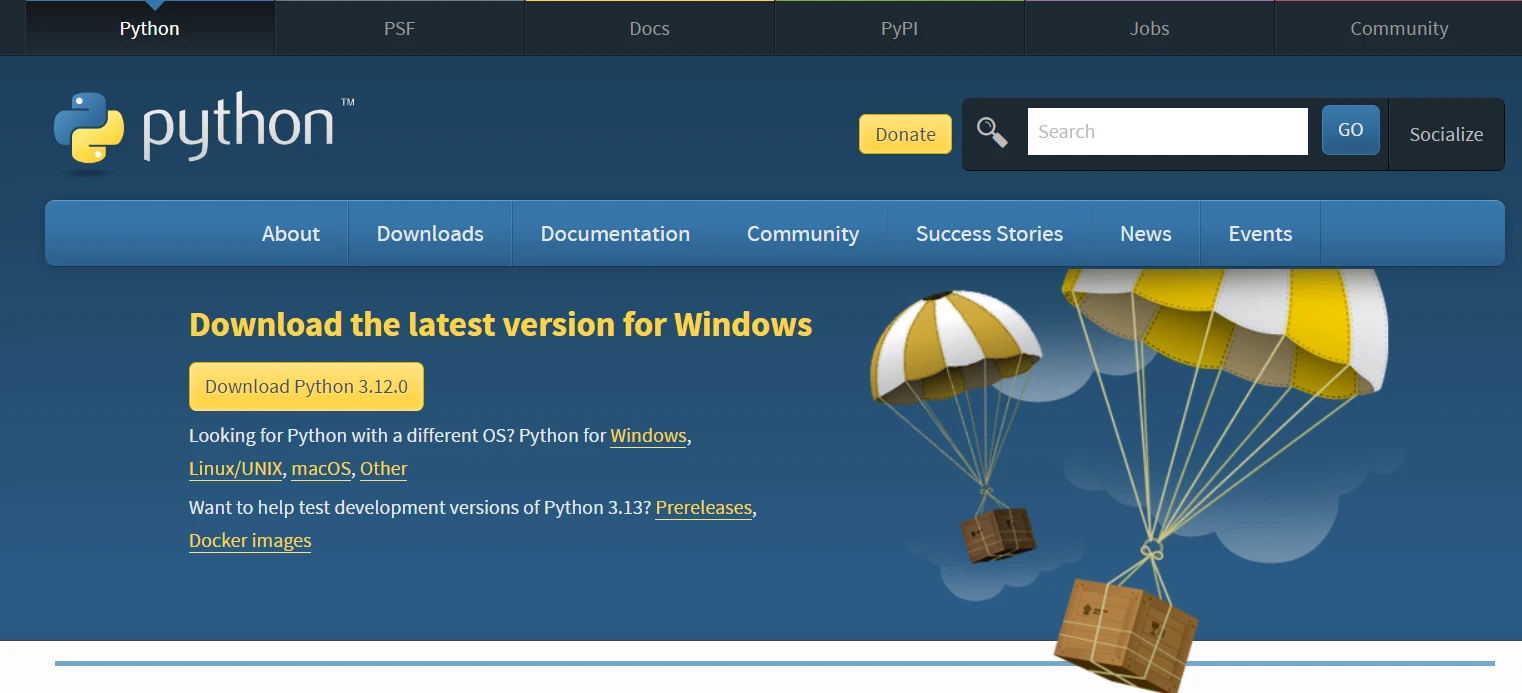
要建立PDF到圖片轉換器,我們需要在電腦上安裝Python 3或更高版本。 從官方網站下載並安裝最新版本。
在本文章中,我們將使用Python的PDF到圖片程式庫建立我們自己的圖片轉換應用。 為此,我們將使用Python中最受歡迎的兩個程式庫:PDF2Image和PyMuPDF。
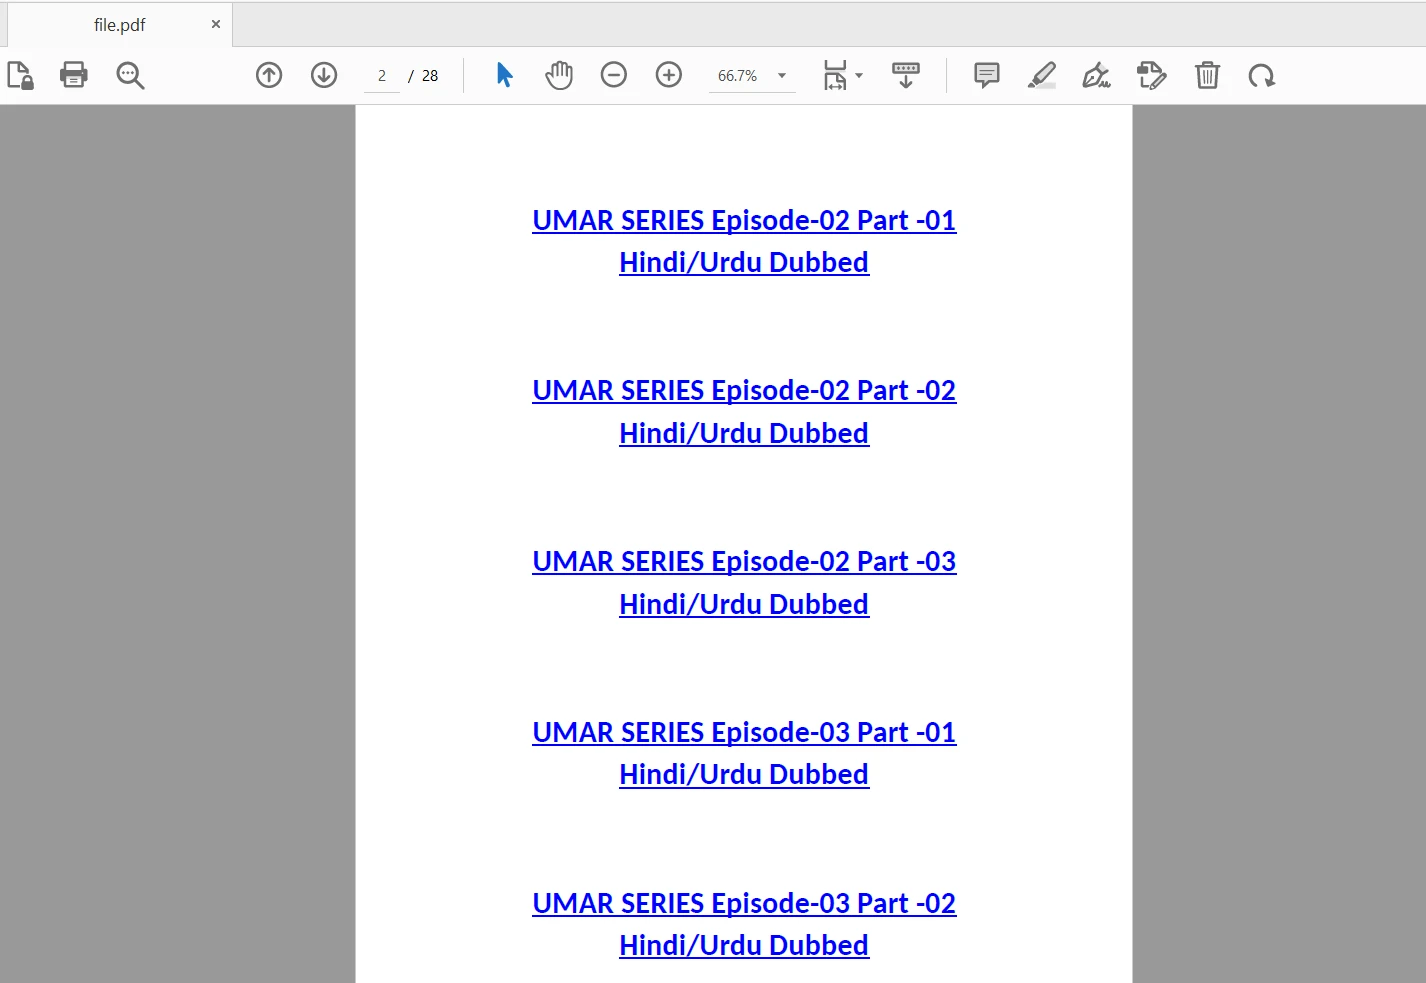
我們將使用的輸入PDF文件包含28頁,如下所示:
PDF2Image是一個包裝pdftoppm的模組。 它可以在Python 3.7+上運行,以將PDF轉換為PIL圖像物件。 它的先前版本歷史顯示,它僅包裝pdftoppm以將PDF轉換為圖像,且僅在Python 3+上可用。
要安裝pdf2image包,請打開您的Windows命令提示符或Windows PowerShell,使用以下pip命令:
pip install pdf2imagePip (首選安裝程式) 是Python的包管理器。 它下載並安裝第三方軟體包,這些軟體包提供Python標準程式庫中沒有的功能和特性。
注意: 要從命令行的任何位置執行此命令,必須將Python新增到PATH中。 對於Python 3+,建議使用pip3,因為它是pip的更新版本。
Poppler是一個免費且開源的程式庫,用於處理PDF文件。 它用於呈現PDF文件、讀取內容以及修改PDF文件內的內容。 它通常被Linux使用者使用。 但是,對於Windows,我們需要下載Poppler的最新版本。
Windows使用者可以從這裡下載最新版Poppler:@oschwartz10612版。 然後您需要將bin/文件夾新增到PATH環境變數中。
Mac使用者也需要安裝Poppler。 可以使用Brew安裝:
brew install poppler大多數Linux發行版自帶pdftocairo命令行工具。 如果未安裝這些工具,您可以使用包管理器安裝poppler-utils。
conda)安裝poppler:
conda install -c conda-forge poppler安裝pdf2image:
pip install pdf2image現在一切準備就緒,讓我們開始編寫程式碼將PDF轉換為圖片。
以下程式碼將執行輸入PDF文件的圖片轉換:
from pdf2image import convert_from_path

# Notify the user that the process is starting
print("Please wait while the file is being loaded.")
file = convert_from_path('file.pdf')

# Iterate over all pages in the PDF file
for i in range(len(file)):
    # Update user on progress
    print("Progress: " + str(round(i / len(file) * 100)) + "%")
    # Save each page as a JPG image file
    file[i].save('page' + str(i + 1) + '.jpg', 'JPEG')

# Notify the user that the conversion is successful
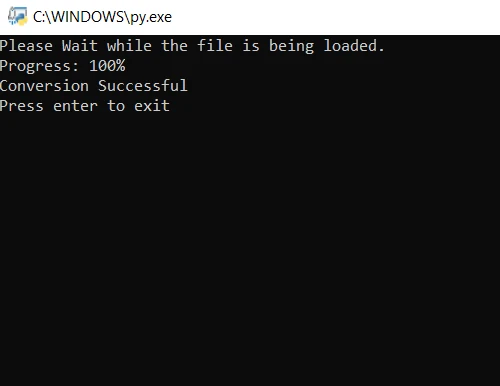
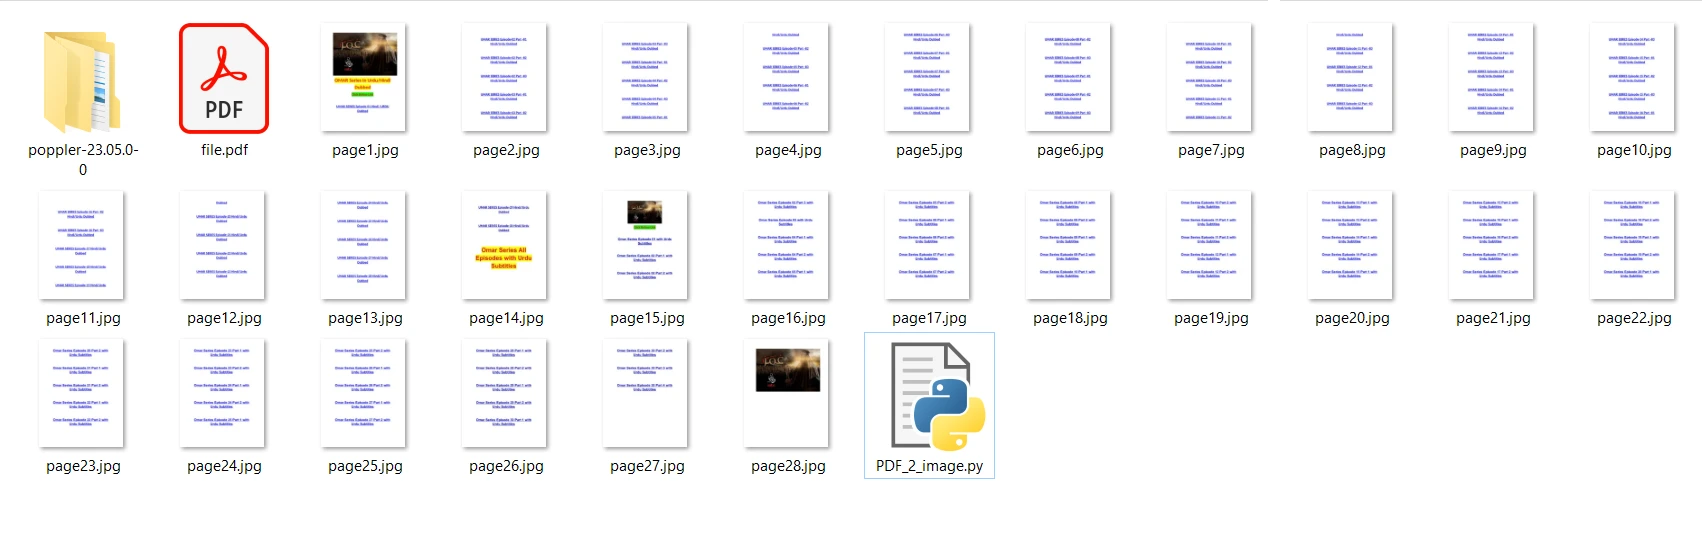
print("Conversion Successful")在上述程式碼中,我們首先使用convert_from_path方法打開文件。 此方法打開位於指定路徑的文件。 然後,我們遍歷要轉換為JPG圖像的PDF文件的每一頁。 最後,使用save方法將每個已轉換頁面保存為JPG圖片文件。現在,運行程式並等待轉換完成。 輸出圖片文件將保存在與程式相同的文件夾中。
PyMuPDF是對MuPDF的一種更高級的Python綁定,MuPDF是一個輕量級電子書、PDF和XPS查看器、渲染器和工具箱。 它可用於將PDF轉換為其他格式,如JPG或PNG。 PyMuPDF適用於Python 3.7+版本。
要安裝PyMuPDF包,請打開您的Windows命令提示符或Windows PowerShell,並使用以下pip命令:
pip install pymupdf注意,PyMuPDF不需要任何額外的程式庫,而PDF2Image包則需要。
以下程式碼將從PyMuPDF導入fitz模組,以方便我們將PDF轉換為圖片:
import fitz  # PyMuPDF

# Open the PDF file
doc = fitz.open("file.pdf")

# Iterate over each page in the document
for x in range(len(doc)):
    page = doc.load_page(x)  # Load a specific page
    pix = page.get_pixmap()  # Render page to image
    output = "output/pdfpage" + str(x + 1) + ".png"  # Specify output path
    pix.save(output)  # Save the image to the output path

# Close the document
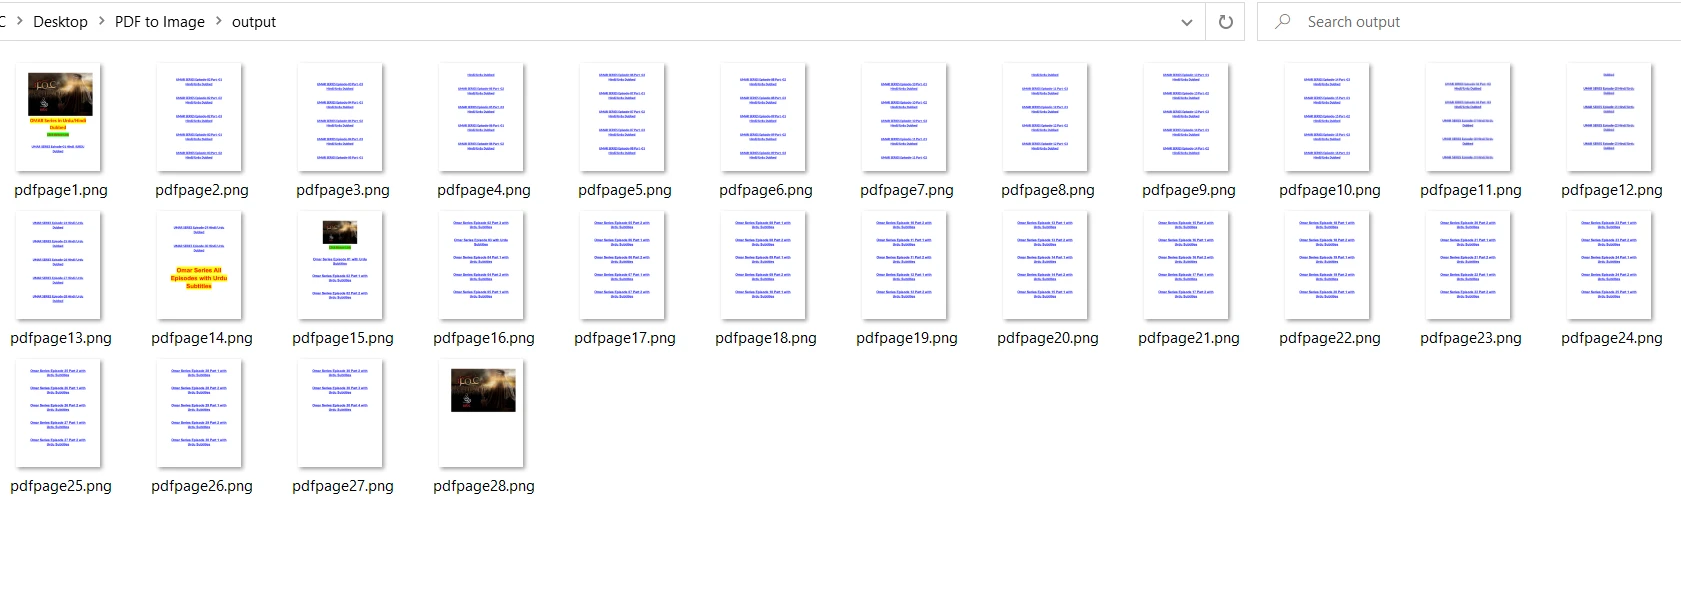
doc.close()在上述程式碼中,文件名作為參數傳遞給fitz.open方法以打開文件。接下來,我遍歷整個文件並分別載入每一頁。 save方法將生成的圖片保存在輸出文件夾中。 最後,為釋放記憶體而關閉打開的文件。
與PDF2Image相比,PyMuPDF在將PDF轉換為PNG時更快。 由於其壓縮率,PDF2Image在PNG格式上可能會較慢。 輸出和PDF2Image的相同:
IronPDF 是用於生成、閱讀和處理PDF文件的程式庫。 它的專長在於利用Chromium引擎將HTML呈現為PDF。此特性使其在需要將HTML文件或URL轉換為PDF文件的開發者中很受歡迎。 此外,它還提供從各種格式轉換到PDF文件的功能。
您還可以只使用兩行程式碼來光柵化PDF文件為圖片。 以下程式碼演示瞭如何將PDF轉換為不同的圖像格式:
using IronPdf;

var Renderer = new IronPdf.ChromePdfRenderer();
var PDF = Renderer.RenderUrlAsPdf("https://example.com");
PDF.SaveAs("html.pdf");

// Rasterize the PDF
List<string> Images = PDF.RasterizeToImageFiles(ImageType.Png);Imports IronPdf
Private Renderer = New IronPdf.ChromePdfRenderer()
Private PDF = Renderer.RenderUrlAsPdf("https://example.com")
PDF.SaveAs("html.pdf")
' Rasterize the PDF
Dim Images As List(Of String) = PDF.RasterizeToImageFiles(ImageType.Png)
Curtis Chau擁有Carleton大學的電腦科學學士學位,專精於前端開發,擁有Node.js、TypeScript、JavaScript和React的專業知識。Curtis熱衷於建立直觀且美觀的使用者介面,喜愛使用現代框架並建立結構良好、視覺吸引力的手冊。

IronPDF 是 IRONSUITE 的一部分
10 款適用於辦公室文件的 .NET API 產品
當您需要您的PDF看起來像HTML一樣快速。