

HTMLからPDFへ Node.js
HTML、CSS、JavaScriptから忠実度の高いPDFを作成する機能はIronPdfの最も強力で人気のある機能です。 このチュートリアルは、Node開発者がIronPDFを活用してHTMLからPDFへの生成をプロジェクトに取り入れるための包括的な入門書です。
IronPDFは高レベルのAPIライブラリで、開発者が強力で堅牢なPDF処理機能をソフトウェアアプリケーションに迅速かつ簡単に実装できるようにします。 IronPdfは複数のプログラミング言語で利用可能です。 .NET、Java、PythonでPDFを作成する方法の詳細なカバレッジについては、公式のdocページを参照してください。 このチュートリアルでは、Node.js プロジェクトに適用される使用法を説明します。
Node.jsでHTMLをPDFに変換する方法
- Install the HTML to PDF Node library via NPM: `npm install @ironsoftware/ironpdf`.
- `@ironsoftware/ironpdf`パッケージから**PdfDocument**クラスをインポートしてください。
- HTML文字列、ファイル、またはウェブURLから変換します。
- (オプション)ヘッダーとフッターを追加し、ページのサイズ、向き、色を変更します。
- 生成されたPDFを保存するには、`PdfDocument.saveAs`を呼び出します。
開始方法
今日あなたのプロジェクトでIronPDFを無料トライアルで使用開始。
Node.js用IronPDFライブラリをインストールする
IronPDF Node.jsパッケージをインストールするには、選択したNodeプロジェクトで下記のNPMコマンドを実行してください:
npm install @ironsoftware/ironpdfnpm install @ironsoftware/ironpdfIronPDF パッケージを手動でダウンロードしてインストールすることもできます。
手動でIronPDFエンジンをインストールする(オプション)
IronPDF for Node.jsは現在IronPDFエンジンのバイナリを必要とします。
IronPDF Engineのバイナリをインストールするには、お使いのオペレーティングシステムに適したパッケージをインストールしてください:
@ironpdf は最初の実行時に、ブラウザーとオペレーティング システムに適したバイナリを NPM から自動的にダウンロードしてインストールします。 ただし、インターネットへのアクセスが制限されている、減少している、または望ましくない状況では、このバイナリを明示的にインストールすることが重要になります。ライセンスキーの申請(オプション)
デフォルトでは、IronPDFは生成または変更されたすべてのドキュメントにタイトル入りの背景透かしを入れます。
 ironPdf.com/nodejs/licensing/でライセンスキーを取得し、透かしなしのPDFドキュメントを生成してください。
透かしブランドを追加せずにIronPDF を使用するには、有効なライセンス キーを使用して、グローバル IronPdfGlobalConfig オブジェクトの licenseKey プロパティを設定する必要があります。 これを実現するためのソースコードを以下に示します:
import { IronPdfGlobalConfig } from "@ironsoftware/ironpdf";

// Get the global config object
var config = IronPdfGlobalConfig.getConfig();

// Set the license key for IronPDF
config.licenseKey = "{YOUR-LICENSE-KEY-HERE}";
import { IronPdfGlobalConfig } from "@ironsoftware/ironpdf";
// Get the global config object
var config = IronPdfGlobalConfig.getConfig();
// Set the license key for IronPDF
config.licenseKey = "{YOUR-LICENSE-KEY-HERE}";ライセンスキーをライセンスページから購入するか、無料トライアルライセンスキーを取得するためにお問い合わせください。
このチュートリアルの次のセクションでは、ライセンス・キーがあり、_config.js_と呼ばれる別 for JavaScriptファイルに設定されていることを前提とします。 このスクリプトはIronPDFの機能を使用するすべての場所でインポートします:
import { PdfDocument } from "@ironsoftware/ironpdf";
import './config.js'; // Import the configuration script
// ...
import { PdfDocument } from "@ironsoftware/ironpdf";
import './config.js'; // Import the configuration script
// ...HTMLからPDFへの変換
IronPDFライブラリのNodeリリースは、HTMLコンテンツからPDFファイルを作成するための3つのアプローチを提供します:
1.HTMLコードの文字列から 2.ローカルのHTMLファイルから 3.オンラインウェブサイトより
このセクションでは、3つの方法について詳しく説明します。
HTML文字列からPDFファイルを作成する
PdfDocument.fromHtml は、生の Web ページ マークアップの文字列から PDF を生成できるメソッドです。
この方法は、3つのアプローチの中で最も柔軟性があります。 HTML文字列のデータは、テキストファイル、データストリーム、HTMLテンプレート、生成されたHTMLデータなど、事実上どこからでも取得できるためです。
以下のコード例は、PdfDocument.fromHtml メソッドを実際に使用する方法を示しています。
import { PdfDocument } from "@ironsoftware/ironpdf";
import './config.js'; // Import the configuration script

// Create a PDF from the HTML String "Hello world!"
const pdf = await PdfDocument.fromHtml("<h1>Hello from IronPDF!</h1>");

// Save the PDF document to the file system.
await pdf.saveAs("html-string-to-pdf.pdf");
import { PdfDocument } from "@ironsoftware/ironpdf";
import './config.js'; // Import the configuration script
// Create a PDF from the HTML String "Hello world!"
const pdf = await PdfDocument.fromHtml("<h1>Hello from IronPDF!</h1>");
// Save the PDF document to the file system.
await pdf.saveAs("html-string-to-pdf.pdf");上記のように、レベル 1 の見出し要素のマークアップ コードを含むテキスト文字列を使用して、PdfDocument.fromHtml メソッドを呼び出します。
PdfDocument.fromHtml は、 PdfDocumentクラスのインスタンスとして解決される Promise を返します。 PdfDocument は、ライブラリが何らかのソース コンテンツから生成した PDF ファイルを表します。 このクラスはIronPDFのほとんどのコア機能の基礎となり、PDFの作成と編集の重要なユースケースを推進します。
最後に、PdfDocument の saveAs メソッドを使用してファイルをディスクに保存します。 保存されたPDFファイルを以下に示します。
 The PDF generated from the HTML string "
<h1>Hello from IronPDF!</h1>". PdfDocument.fromHtml が生成する PDF ファイルは、Web ページのコンテンツと同じように表示されます。
HTMLファイルからPDFファイルを作成する
PdfDocument.fromHtml は HTML 文字列だけで機能するわけではありません。 このメソッドは、ローカルのHTMLドキュメントへのパスも受け付けます。
次の例では、サンプルウェブページを扱います。
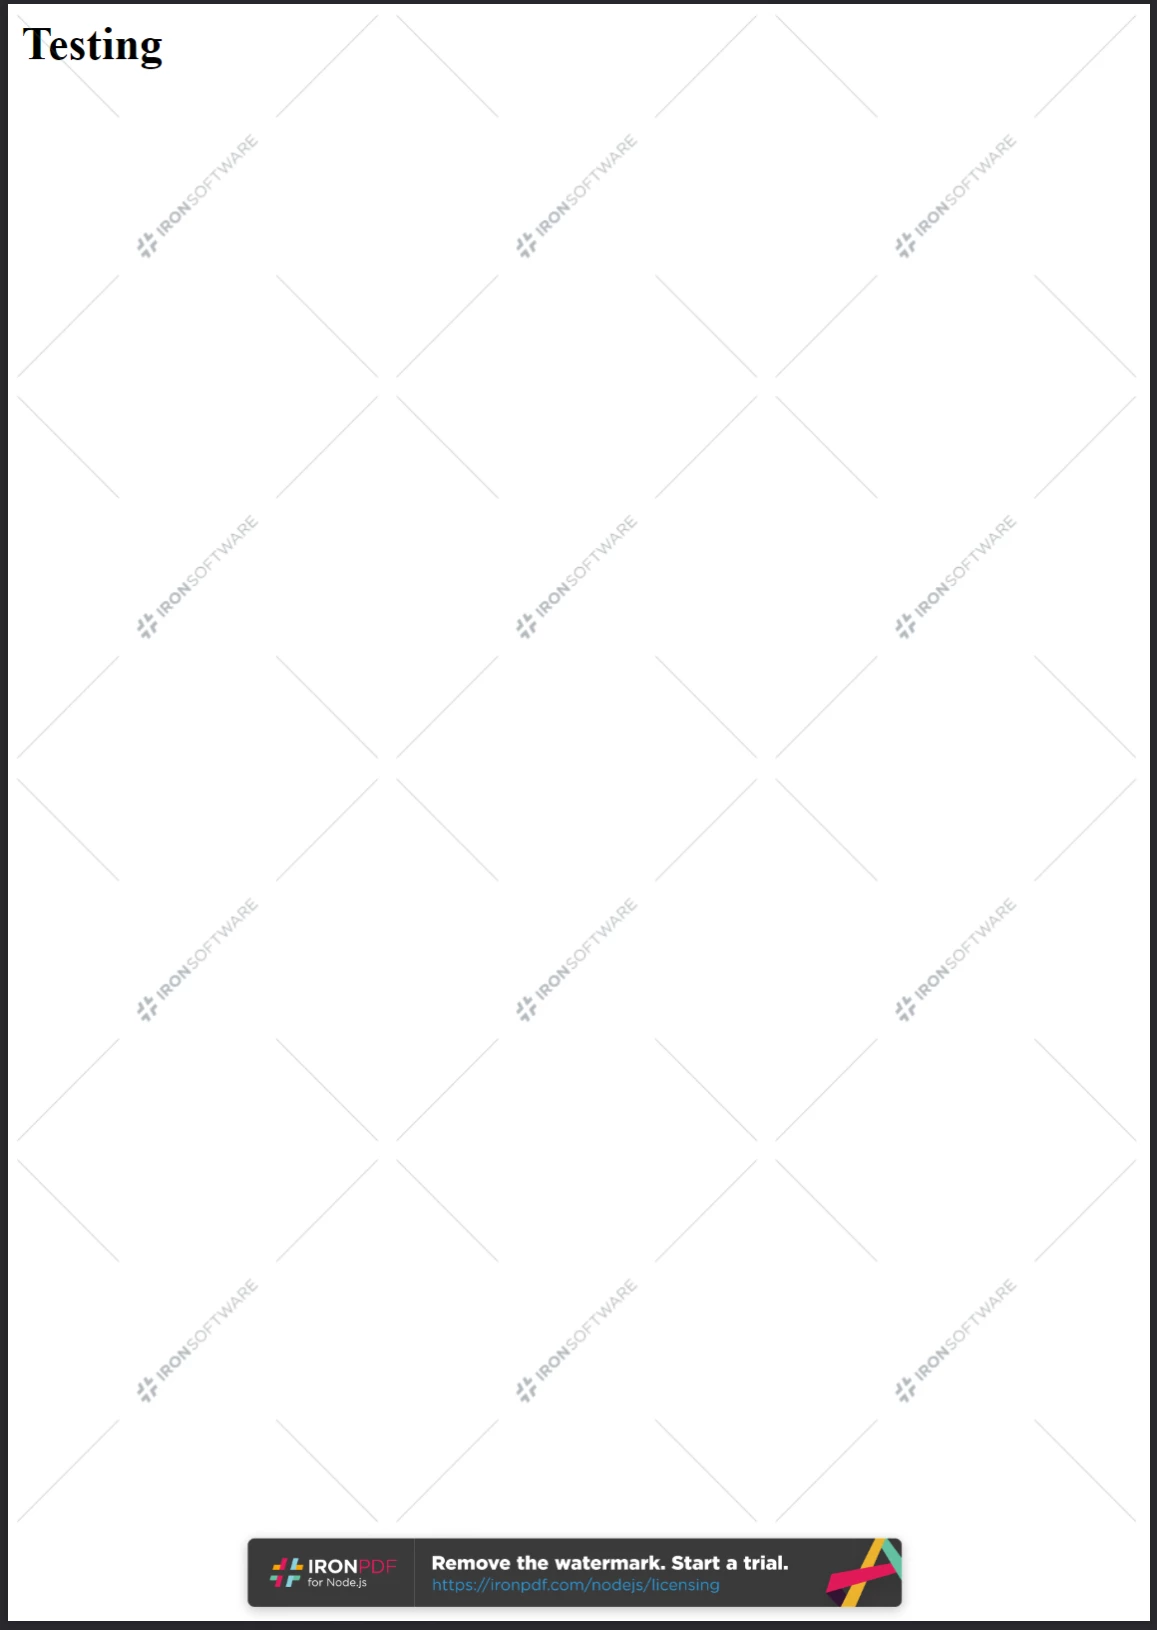
 Google Chromeで表示されるサンプルHTMLページ。 このページと同様のものを File Samples のウェブサイトからダウンロードしてください:https://filesamples.com/samples/code/html/sample2.html
以下のコード行は、サンプル文書全体をPDFに変換します。 HTML 文字列の代わりに、サンプル ファイルへの有効なファイル パスを使用して PdfDocument.fromHtml を呼び出します。
import { PdfDocument } from "@ironsoftware/ironpdf";
import './config.js'; // Import the configuration script

// Render a PDF from an HTML File
const pdf = await PdfDocument.fromHtml("./sample2.html");

// Save the PDF document to the same folder as our project.
await pdf.saveAs("html-file-to-pdf-1.pdf");
import { PdfDocument } from "@ironsoftware/ironpdf";
import './config.js'; // Import the configuration script
// Render a PDF from an HTML File
const pdf = await PdfDocument.fromHtml("./sample2.html");
// Save the PDF document to the same folder as our project.
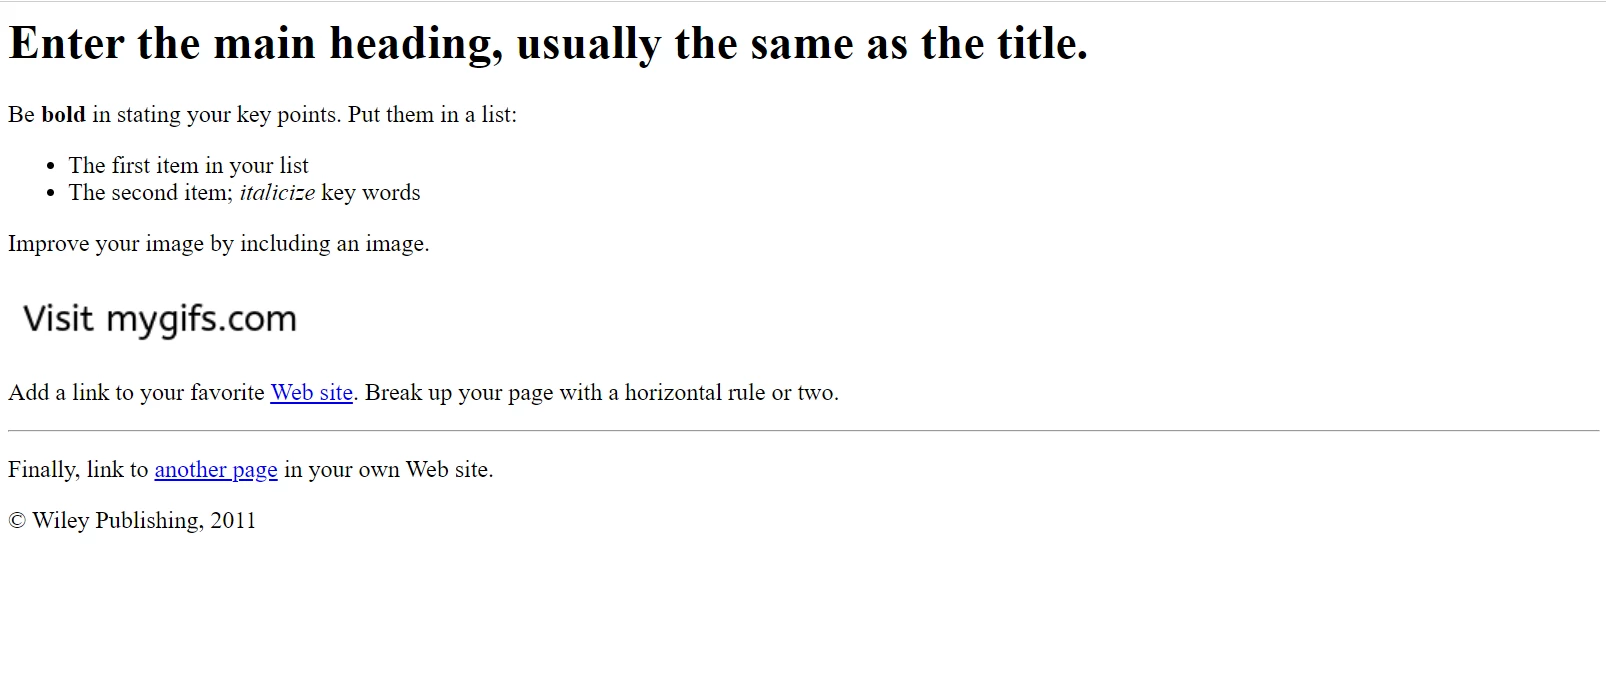
await pdf.saveAs("html-file-to-pdf-1.pdf");出来上がったPDFの内容は以下の通りです。 IronPDFは元のHTMLドキュメントの外観を保持するだけでなく、リンクやフォーム、その他の一般的なインタラクティブ要素の機能も保持していることに注目してください。
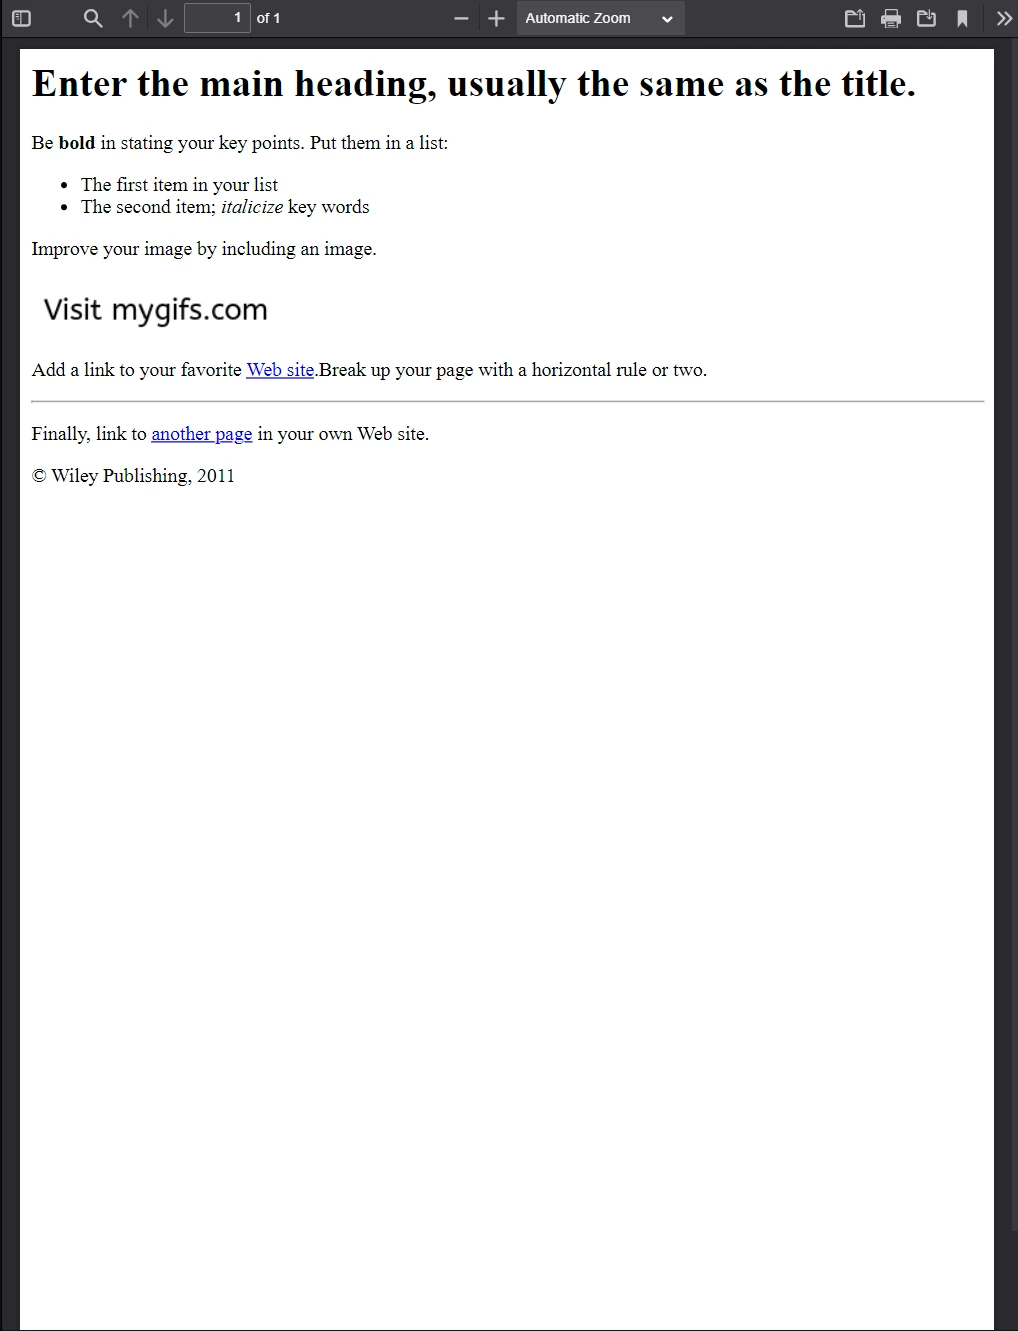 **このPDFは、前のコード例から生成されました。 前の画像と外観を比較して、驚くほど似ていることに注目してください。
サンプルページのソースコードをご覧になれば、より複雑であることにお気づきでしょう。 より多くの種類のHTML要素(段落、順序なしリスト、改行、水平罫線、ハイパーリンク、画像など)を使用し、ある程度のスクリプト(クッキーの設定に使用)も含みます。
IronPDFは私たちがこれまで使ってきたものよりもはるかに複雑なウェブコンテンツをレンダリングすることができます。 これを実証するために、次のページを考えてみましょう:
 ヘッドレスブラウザインスタンスを使ってChromeをプログラムで制御する能力で普及したNodeライブラリであるPuppeteerについて書かれた記事です。
上記のページは、Puppeteer Node Libraryについて書かれた記事です。 Puppeteerは、Node開発者がサーバー側またはクライアント側で多数のブラウザタスクを自動化するために使用するヘッドレスブラウザセッションを実行します(その1つにサーバー側のHTML PDF生成が含まれます)。
新しいページは、多数のアセット(CSSファイル、画像、スクリプトファイルなど)をソースとし、さらに複雑なレイアウトを使用しています。 次の例では、このページの保存されたコピー(ソースアセットとともに)をピクセルパーフェクトなPDFに変換します。
以下のコード・スニペットは、ページがプロジェクトと同じディレクトリに "sample4.html "として保存されていることを想定しています:
import { PdfDocument } from "@ironsoftware/ironpdf";
import './config.js'; // Import the configuration script

// Render a PDF from even more complex HTML code.
PdfDocument.fromHtml("./sample4.html").then(async (pdf) => {
    return await pdf.saveAs("html-file-to-pdf-2.pdf");
});
import { PdfDocument } from "@ironsoftware/ironpdf";
import './config.js'; // Import the configuration script
// Render a PDF from even more complex HTML code.
PdfDocument.fromHtml("./sample4.html").then(async (pdf) => {
return await pdf.saveAs("html-file-to-pdf-2.pdf");
});次の画像は、上記のコードスニペットの結果を示しています。
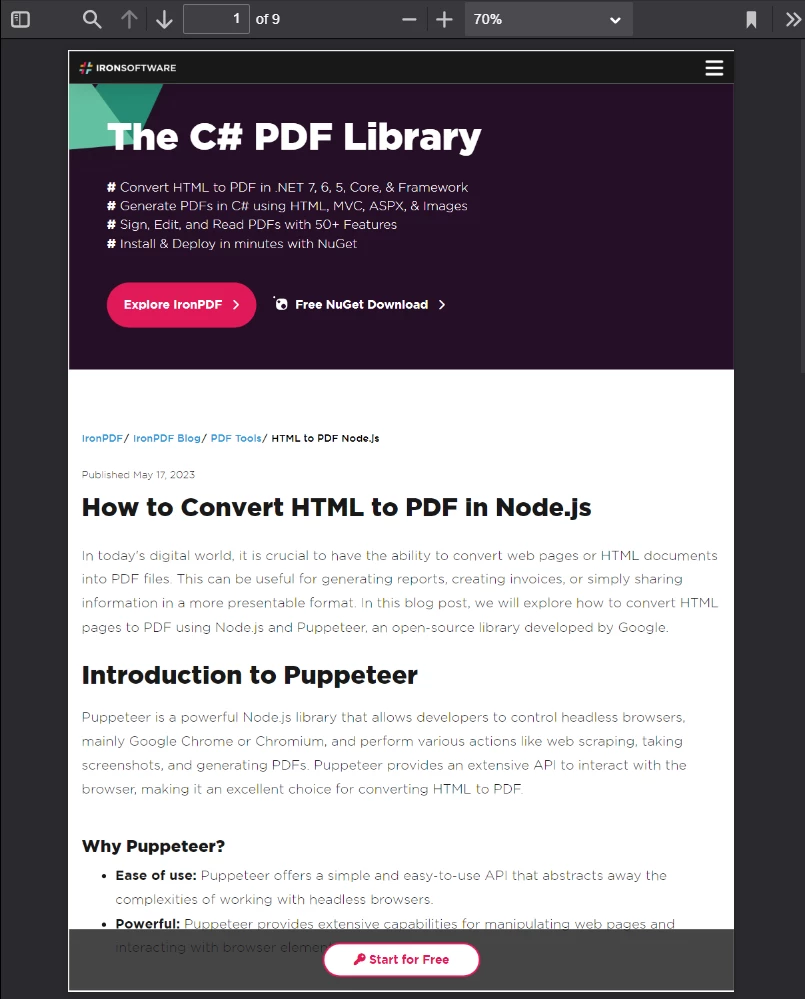 Google Chromeで見栄えがよければ、PDFに変換しても見栄えがよいでしょう。 これには、CSSやJavaScriptを多用したページデザインも含まれます。
URLからPDFファイルを作成する
IronPDFはHTML文字列やHTMLファイルをあらゆるサイズや複雑さに変換することができます。 ただし、文字列やファイルから生のマークアップを使用することだけに限定されません。 IronPdfはURLからHTMLをリクエストすることもできます。
https://en.wikipedia.org/wiki/PDF にあるウィキペディアの記事を考えてみましょう。
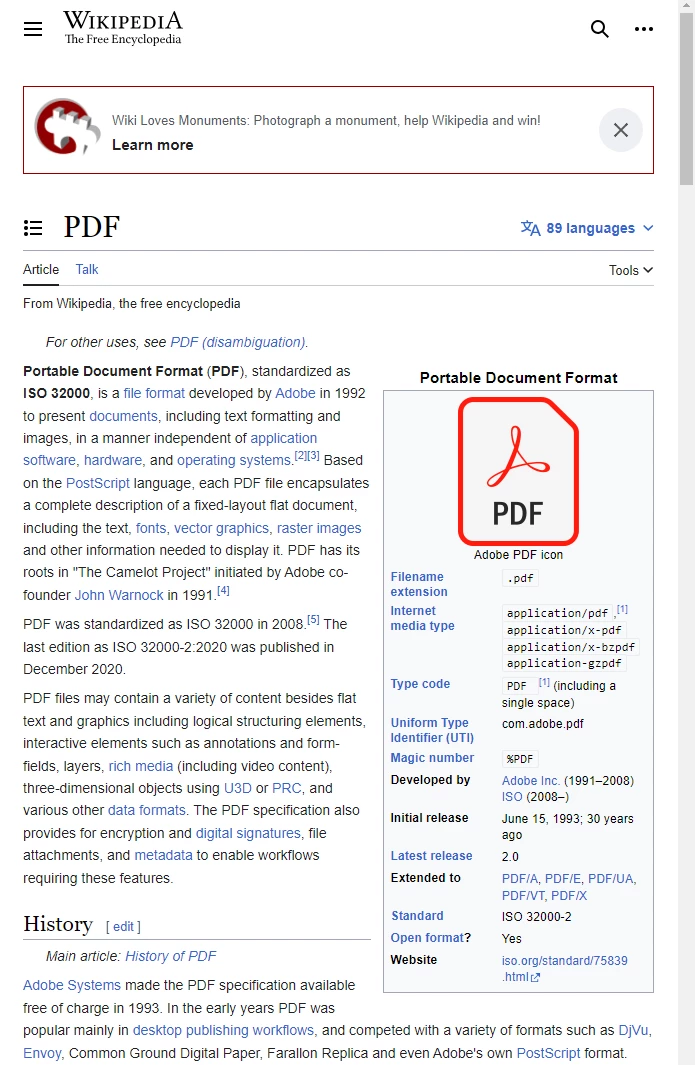 標準に準拠したウェブブラウザで表示されるPDFフォーマットに関するウィキペディアの記事。
このソースコードを使って、このWikipediaの記事をPDFに変換してください:
import { PdfDocument } from "@ironsoftware/ironpdf";
import './config.js'; // Import the configuration script

// Convert the Web Page to a pixel-perfect PDF file.
const pdf = await PdfDocument.fromUrl("https://en.wikipedia.org/wiki/PDF");

// Save the document.
await pdf.saveAs("url-to-pdf.pdf");
import { PdfDocument } from "@ironsoftware/ironpdf";
import './config.js'; // Import the configuration script
// Convert the Web Page to a pixel-perfect PDF file.
const pdf = await PdfDocument.fromUrl("https://en.wikipedia.org/wiki/PDF");
// Save the document.
await pdf.saveAs("url-to-pdf.pdf");上記では、PdfDocument.fromUrl を使用して、数行のコードで Web ページを PDF に変換しています。 IronPDFはウェブアドレスのHTMLコードを取得し、シームレスにレンダリングします。 HTMLファイルや文字列は必要ありません!
 **Wikipedia の記事で PdfDocument.fromUrl を呼び出して生成された PDF。 元のウェブページとの類似点に注意してください。
ZipアーカイブからPDFファイルを作成する
圧縮 (zip) ファイル内にある特定の HTML ファイルを PDF に変換するには、PdfDocument.fromZip を使用します。
例えば、プロジェクトディレクトリに次のような内部構造のZipファイルがあるとします:
html-zip.zip
├─ index.html
├─ style.css
├─ logo.png
index.htmlファイルにはコードが含まれています:
<!DOCTYPE html>
<html lang="en">
  <head>
    <meta charset="UTF-8">
    <meta name="viewport" content="width=device-width, initial-scale=1">
    <title>Hello world!</title>
    <link rel="stylesheet" href="style.css">
  </head>
  <body>
    <h1>Hello from IronPDF!</h1>
    <a href="https://ironpdf.com/nodejs/">
      <img src="logo.png" alt="IronPDF for Node.js">
    </a>
  </body>
</html>
<!DOCTYPE html>
<html lang="en">
<head>
<meta charset="UTF-8">
<meta name="viewport" content="width=device-width, initial-scale=1">
<title>Hello world!</title>
<link rel="stylesheet" href="style.css">
</head>
<body>
<h1>Hello from IronPDF!</h1>
<a href="https://ironpdf.com/nodejs/">
<img src="logo.png" alt="IronPDF for Node.js">
</a>
</body>
</html>style.cssは、5つのCSSルールを宣言しています:
@font-face {
  font-family: 'Gotham-Black';
  src: url('gotham-black-webfont.eot?') format('embedded-opentype'),
       url('gotham-black-webfont.woff2') format('woff2'),
       url('gotham-black-webfont.woff') format('woff'),
       url('gotham-black-webfont.ttf') format('truetype'),
       url('gotham-black-webfont.svg') format('svg');
  font-weight: normal;
  font-style: normal;
  font-display: swap;
}

body {
  display: flex;
  flex-direction: column;
  justify-content: center;
  margin-left: auto;
  margin-right: auto;
  margin-top: 200px;
  margin-bottom: auto;
  color: white;
  background-color: black;
  text-align: center;
  font-family: "Helvetica"
}

h1 {
  font-family: "Gotham-Black";
  margin-bottom: 70px;
  font-size: 32pt;
}

img {
  width: 400px;
  height: auto;
}

p {
  text-decoration: underline;
  font-size: smaller;
}
最後に、logo.pngは当社の製品ロゴです:
 仮想のHTML zipファイル内のサンプル画像。
fromZip メソッドを呼び出すときは、最初の引数に zip への有効なパスを指定し、変換する zip 内の HTML ファイルの名前を mainHtmlFile プロパティに設定する JSON オブジェクトも指定します。
zipフォルダ内のindex.htmlファイルも同様に変換します:
import { PdfDocument } from "@ironsoftware/ironpdf";
import './config.js'; // Import the configuration script

// Render the HTML from a zip archive
PdfDocument.fromZip("./html-zip.zip", {
  mainHtmlFile: "index.html"
}).then(async (pdf) => {
  return await pdf.saveAs("html-zip-to-pdf.pdf");
});
import { PdfDocument } from "@ironsoftware/ironpdf";
import './config.js'; // Import the configuration script
// Render the HTML from a zip archive
PdfDocument.fromZip("./html-zip.zip", {
mainHtmlFile: "index.html"
}).then(async (pdf) => {
return await pdf.saveAs("html-zip-to-pdf.pdf");
}); PdfDocument.fromZip 関数を使用した PDF 作成。 この関数は、ZIPファイルに含まれるHTMLコードを、含まれるアセットと一緒に正常にレンダリングします。
高度な HTML から PDF への生成オプション
ChromePdfRenderOptionsインターフェースを使用すると、Node 開発者はライブラリの HTML レンダリング動作を変更できます。 そこで公開されるプロパティは、PDFレンダリングの前に、PDFの外観のきめ細かいカスタマイズを可能にします。 さらに、これらのツールは、特定のHTML-PDF変換のエッジケースを処理することを可能にします。
IronPDF は、最初にいくつかのデフォルトの ChromePdfRenderOptions 値を使用して新しい PDF をレンダリングします。 defaultChromePdfRenderOptions 関数を呼び出すことによって、これらのプリセット値を自分でポーリングすることができます。
import { defaultChromePdfRenderOptions } from "@ironsoftware/ironpdf";

// Retrieve a ChromePdfRenderOptions object with default settings.
var options = defaultChromePdfRenderOptions();
import { defaultChromePdfRenderOptions } from "@ironsoftware/ironpdf";
// Retrieve a ChromePdfRenderOptions object with default settings.
var options = defaultChromePdfRenderOptions();このセクションでは、ChromePdfRenderOptions インターフェイスの使用を必要とする、最も一般的な HTML から PDF へのレンダリングの使用例を簡単に説明します。
各サブセクションは、プリセット値から開始し、目標結果を達成するために必要に応じて変更します。
PDF生成出力をカスタマイズする
カスタムヘッダーとフッターを追加する
textHeader および textFooter プロパティを使用すると、新しくレンダリングされた PDF にカスタム ヘッダーやフッター コンテンツを付加できます。
以下の例では、テキストコンテンツからカスタムヘッダーとカスタムフッターを作成し、Google検索ホームページのPDFバージョンを作成しています。 このコンテンツとページ本文を区切るために、仕切り線を使用しています。 また、ヘッダーとフッターに異なるフォントを使用し、区別を明確にしています。
import { PdfDocument, defaultChromePdfRenderOptions, AffixFonts } from "@ironsoftware/ironpdf";
import './config.js'; // Import the configuration script

// Initialize render options with default settings
var options = defaultChromePdfRenderOptions();

// Build a Custom Text-Based Header
options.textHeader = {
  centerText: "https://www.adobe.com",
  dividerLine: true,
  font: AffixFonts.CourierNew,
  fontSize: 12,
  leftText: "URL to PDF"
};

// Build a custom Text-Based Footer
options.textFooter = {
  centerText: "IronPDF for Node.js",
  dividerLine: true,
  fontSize: 14,
  font: AffixFonts.Helvetica,
  rightText: "HTML to PDF in Node.js"
};

// Render a PDF from a URL
PdfDocument.fromUrl("https://www.google.com/", { renderOptions: options }).then(async (pdf) => {
  return await pdf.saveAs("add-custom-headers-footers-1.pdf");
});
import { PdfDocument, defaultChromePdfRenderOptions, AffixFonts } from "@ironsoftware/ironpdf";
import './config.js'; // Import the configuration script
// Initialize render options with default settings
var options = defaultChromePdfRenderOptions();
// Build a Custom Text-Based Header
options.textHeader = {
centerText: "https://www.adobe.com",
dividerLine: true,
font: AffixFonts.CourierNew,
fontSize: 12,
leftText: "URL to PDF"
};
// Build a custom Text-Based Footer
options.textFooter = {
centerText: "IronPDF for Node.js",
dividerLine: true,
fontSize: 14,
font: AffixFonts.Helvetica,
rightText: "HTML to PDF in Node.js"
};
// Render a PDF from a URL
PdfDocument.fromUrl("https://www.google.com/", { renderOptions: options }).then(async (pdf) => {
return await pdf.saveAs("add-custom-headers-footers-1.pdf");
});ソースコードはこのPDFを生成します:
 新しいページがPDF形式で作成され、Googleのホームページから生成されました。 追加のヘッダーとフッターが含まれていることに注意してください。
ヘッダーとフッターに含まれるレイアウト、位置、コンテンツをさらにコントロールするには、テキストの代わりに生のHTMLを使用して定義することもできます。
続くコードブロックでは、HTMLを使用してヘッダーとフッターにリッチコンテンツを組み込んでいます。 ヘッダーでは、ページのURLを太字にして中央揃えにしています; フッターにはロゴを埋め込み、中央に配置します。
import { PdfDocument, defaultChromePdfRenderOptions } from "@ironsoftware/ironpdf";
import './config.js'; // Import the configuration script

// Initialize render options with default settings
var options = defaultChromePdfRenderOptions();

// Define a rich HTML header
options.htmlHeader = {
  htmlFragment: "<strong>https://www.google.com/</strong>",
  dividerLine: true,
  dividerLineColor: "blue",
  loadStylesAndCSSFromMainHtmlDocument: true,
};

// Define a rich HTML footer
options.htmlFooter = {
  htmlFragment: "<img src='logo.png' alt='IronPDF for Node.js' style='display: block; width: 150px; height: auto; margin-left: auto; margin-right: auto;'>",
  dividerLine: true,
  loadStylesAndCSSFromMainHtmlDocument: true
};

// Render a PDF from a URL
await PdfDocument.fromUrl("https://www.google.com/", { renderOptions: options }).then(async (pdf) => {
  return await pdf.saveAs("add-html-headers-footers.pdf");
});
import { PdfDocument, defaultChromePdfRenderOptions } from "@ironsoftware/ironpdf";
import './config.js'; // Import the configuration script
// Initialize render options with default settings
var options = defaultChromePdfRenderOptions();
// Define a rich HTML header
options.htmlHeader = {
htmlFragment: "<strong>https://www.google.com/</strong>",
dividerLine: true,
dividerLineColor: "blue",
loadStylesAndCSSFromMainHtmlDocument: true,
};
// Define a rich HTML footer
options.htmlFooter = {
htmlFragment: "<img src='logo.png' alt='IronPDF for Node.js' style='display: block; width: 150px; height: auto; margin-left: auto; margin-right: auto;'>",
dividerLine: true,
loadStylesAndCSSFromMainHtmlDocument: true
};
// Render a PDF from a URL
await PdfDocument.fromUrl("https://www.google.com/", { renderOptions: options }).then(async (pdf) => {
return await pdf.saveAs("add-html-headers-footers.pdf");
});下の画像は、これらの変更の結果です。
 IronPDF for Node.jsは、PDFに変換しながらHTMLページにカスタマイズを適用することができます。
余白、ページ サイズ、ページの向き、および色を設定する
IronPdfは変換されたばかりのPDFにカスタムページの余白、ページサイズ、ページの向きを定義するための追加設定をサポートします。
import { PdfDocument, defaultChromePdfRenderOptions, PaperSize, FitToPaperModes, PdfPaperOrientation } from "@ironsoftware/ironpdf";
import './config.js'; // Import the configuration script

// Initialize render options with default settings
var options = defaultChromePdfRenderOptions();

// Set top, left, right, and bottom page margins in millimeters.
options.margin = {
  top: 50,
  bottom: 50,
  left: 60,
  right: 60
};
options.paperSize = PaperSize.A5;
options.fitToPaperMode = FitToPaperModes.FitToPage;
options.paperOrientation = PdfPaperOrientation.Landscape;
options.grayScale = true;

// Create a PDF from the Google.com Home Page
PdfDocument.fromUrl("https://www.google.com/", { renderOptions: options }).then(async (pdf) => {
  return await pdf.saveAs("set-margins-and-page-size.pdf");
});
import { PdfDocument, defaultChromePdfRenderOptions, PaperSize, FitToPaperModes, PdfPaperOrientation } from "@ironsoftware/ironpdf";
import './config.js'; // Import the configuration script
// Initialize render options with default settings
var options = defaultChromePdfRenderOptions();
// Set top, left, right, and bottom page margins in millimeters.
options.margin = {
top: 50,
bottom: 50,
left: 60,
right: 60
};
options.paperSize = PaperSize.A5;
options.fitToPaperMode = FitToPaperModes.FitToPage;
options.paperOrientation = PdfPaperOrientation.Landscape;
options.grayScale = true;
// Create a PDF from the Google.com Home Page
PdfDocument.fromUrl("https://www.google.com/", { renderOptions: options }).then(async (pdf) => {
return await pdf.saveAs("set-margins-and-page-size.pdf");
});上記のコードブロックでは、GoogleホームページのPDFをグレースケールで横向きに、少なくとも50ミリの余白を空けて生成するようにIronPdfを設定しています。 また、A5用紙サイズに収まるように設定しました。
動的な Web ページから PDF を生成する
ページロード時に即座にレンダリングできないコンテンツを含むウェブページでは、特定の条件が満たされるまで、そのページのコンテンツのレンダリングを一時停止する必要がある場合があります。
例えば、開発者は、ページがロードされてから15秒後にのみ表示されるコンテンツを含むPDFを生成したい場合があります。 別のケースでは、この同じコンテンツは、いくつかの複雑なクライアント側のコードが実行された後にのみ表示されることがあります。
これら 2 つのエッジ ケース (およびその他多数) を処理するために、 IronPDFの Node リリースでは WaitFor メカニズムが定義されています。 開発者は、このプロパティを ChromePdfRenderOptions 設定に含めることで、特定のイベントが発生したときにページのコンテンツを変換するように IronPDF の Chrome レンダリング エンジンに指示することができます。
以下のコードブロックは、ホームページのコンテンツをPDFとして取り込む前にIronPDFが20秒経過するのを待つように設定しています:
import { PdfDocument, defaultChromePdfRenderOptions, WaitForType } from "@ironsoftware/ironpdf";
import './config.js'; // Import the configuration script

// Configure the Chrome Renderer to wait until 20 seconds has passed
// before rendering the web page as a PDF.
var options = defaultChromePdfRenderOptions();
options.waitFor = {
  type: WaitForType.RenderDelay,
  delay: 20000
}
PdfDocument.fromUrl("https://ironpdf.com/nodejs/", { renderOptions: options }).then(async (pdf) => {
  return await pdf.saveAs("waitfor-renderdelay.pdf");
});
import { PdfDocument, defaultChromePdfRenderOptions, WaitForType } from "@ironsoftware/ironpdf";
import './config.js'; // Import the configuration script
// Configure the Chrome Renderer to wait until 20 seconds has passed
// before rendering the web page as a PDF.
var options = defaultChromePdfRenderOptions();
options.waitFor = {
type: WaitForType.RenderDelay,
delay: 20000
}
PdfDocument.fromUrl("https://ironpdf.com/nodejs/", { renderOptions: options }).then(async (pdf) => {
return await pdf.saveAs("waitfor-renderdelay.pdf");
});次のコードブロックは、人気のあるSEOテキストエディターの要素がうまく選択されるまで待つようにIronPDFを設定します。
import { PdfDocument, defaultChromePdfRenderOptions, WaitForType } from "@ironsoftware/ironpdf";
import './config.js'; // Import the configuration script

// Configure the Chrome Renderer to wait up to 20 seconds for a specific element to appear
var options = defaultChromePdfRenderOptions();
options.waitFor = {
  type: WaitForType.HtmlElement,
  htmlQueryStr: "div.ProseMirror",
  maxWaitTime: 20000,
}
PdfDocument.fromUrl("https://app.surferseo.com/drafts/s/V7VkcdfgFz-dpkldsfHDGFFYf4jjSvvjsdf", { renderOptions: options }).then(async (pdf) => {
  return await pdf.saveAs("waitfor-htmlelement.pdf");
});
import { PdfDocument, defaultChromePdfRenderOptions, WaitForType } from "@ironsoftware/ironpdf";
import './config.js'; // Import the configuration script
// Configure the Chrome Renderer to wait up to 20 seconds for a specific element to appear
var options = defaultChromePdfRenderOptions();
options.waitFor = {
type: WaitForType.HtmlElement,
htmlQueryStr: "div.ProseMirror",
maxWaitTime: 20000,
}
PdfDocument.fromUrl("https://app.surferseo.com/drafts/s/V7VkcdfgFz-dpkldsfHDGFFYf4jjSvvjsdf", { renderOptions: options }).then(async (pdf) => {
return await pdf.saveAs("waitfor-htmlelement.pdf");
});HTMLテンプレートからPDFを生成する
このチュートリアルの最後のセクションでは、前のセクションで紹介したすべての知識を応用して、HTMLテンプレートを使って1つ以上のPDFを生成するという、非常に実用的な自動化を実現します。
このセクションで使用するテンプレートを以下に示します。 これは、この一般にアクセス可能な請求書テンプレートから転用したもので、置き換え可能なコンテンツのプレースホルダタグ({COMPANY-NAME}、{FULL-NAME}、{INVOICE-NUMBER}など)を含んでいます。
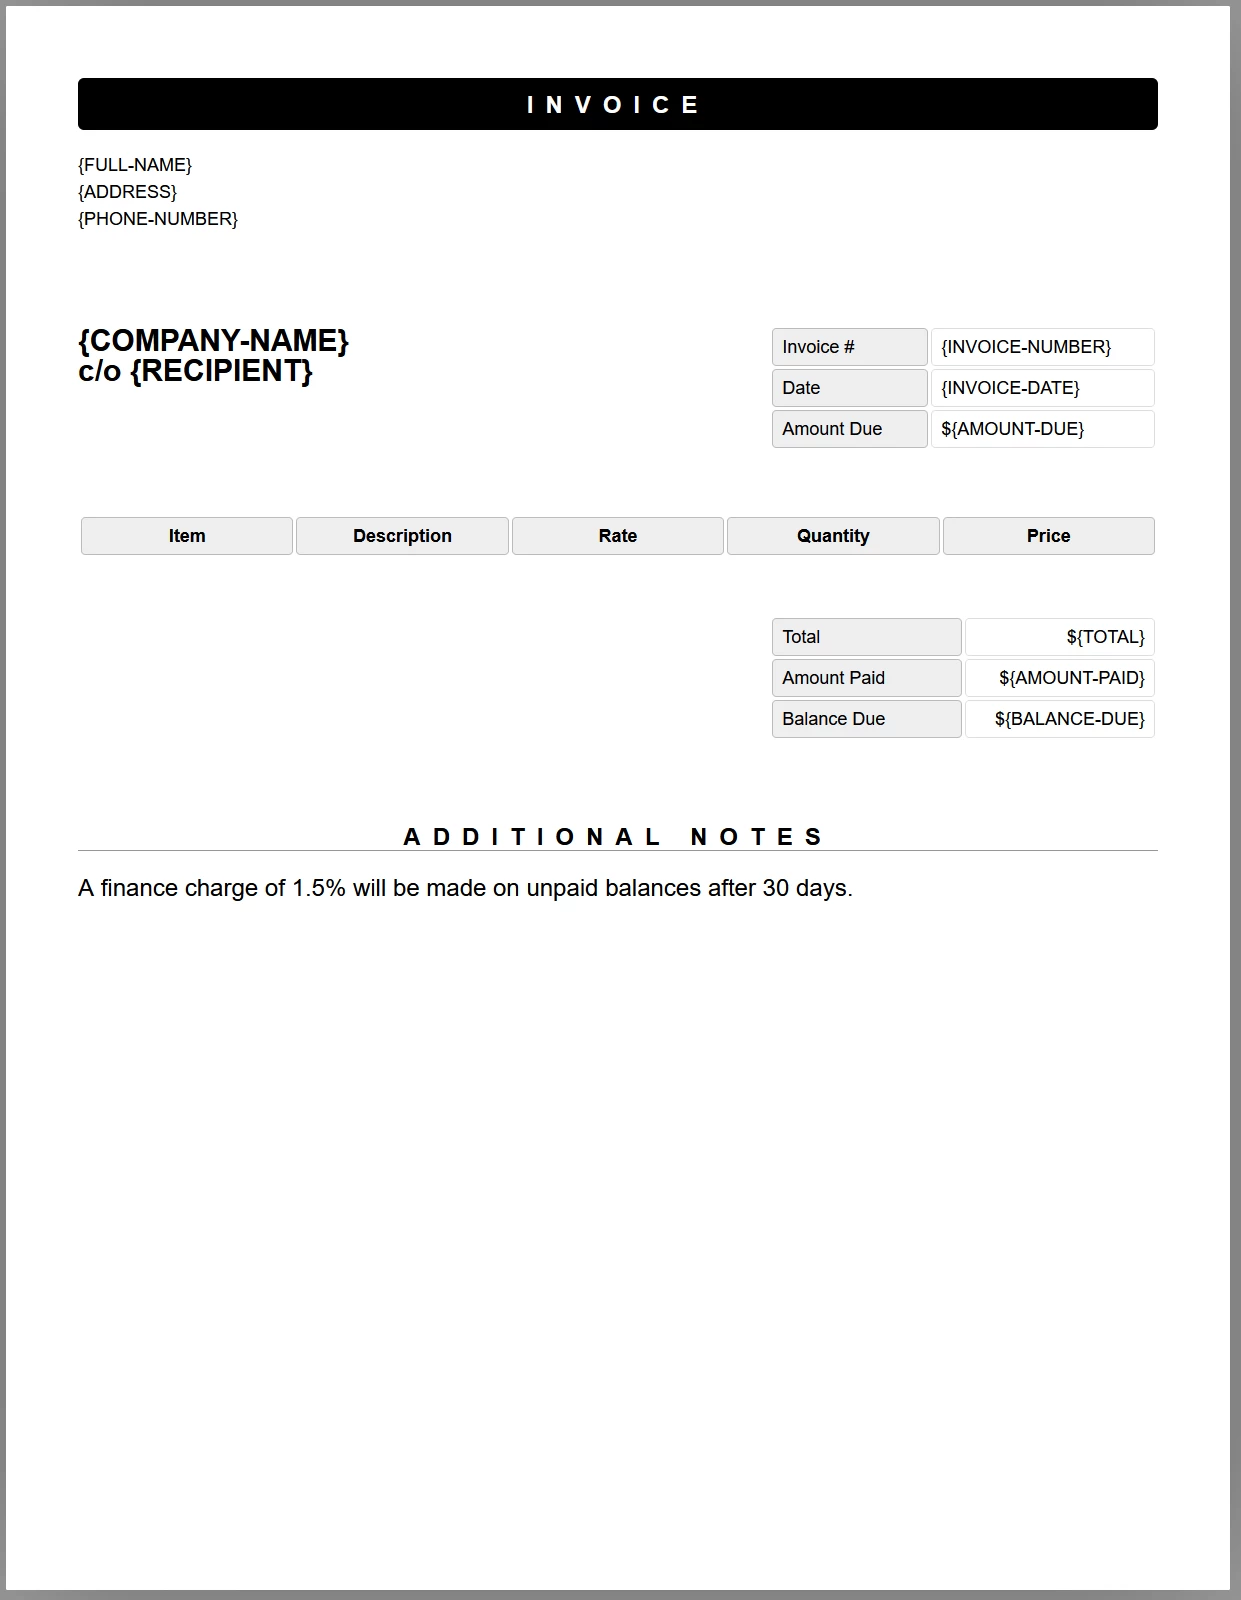 **請求書テンプレートのサンプルです。 PDFに生成する前に、このテンプレートに動的なデータを追加する追加 for JavaScriptコードを書きます。
次のソース コード ブロックでは、HTML テンプレートを新しい PdfDocument オブジェクトに読み込み、定義したプレースホルダーをダミー テスト データに置き換えて、PdfDocument オブジェクトをファイル システムに保存します。
import { PdfDocument } from "@ironsoftware/ironpdf";
import './config.js'; // Import the configuration script

/**
 * Loads an HTML template from the file system.
 */
async function getTemplateHtml(fileLocation) {
  // Return promise for loading template file
  return PdfDocument.fromFile(fileLocation);
}

/**
 * Save the PDF document at a given location.
 */
async function generatePdf(pdf, location) {
  return pdf.saveAs(location);
}

/**
 * Use the PdfDocument.replaceText method to replace
 * a specified placeholder with a provided value.
 */
async function addTemplateData(pdf, key, value) {
  return pdf.replaceText(key, value);
}

// Path to the template file
const template = "./sample-invoice.html";

// Load the template, replace placeholders, and save the PDF
getTemplateHtml(template).then(async (doc) => {
    // Replace placeholders with real data
    await addTemplateData(doc, "{FULL-NAME}", "Lizbeth Presland");
    await addTemplateData(doc, "{ADDRESS}", "678 Manitowish Alley, Portland, OG");
    await addTemplateData(doc, "{PHONE-NUMBER}", "(763) 894-4345");
    await addTemplateData(doc, "{INVOICE-NUMBER}", "787");
    await addTemplateData(doc, "{INVOICE-DATE}", "August 28, 2023");
    await addTemplateData(doc, "{AMOUNT-DUE}", "13,760.13");
    await addTemplateData(doc, "{RECIPIENT}", "Celestyna Farmar");
    await addTemplateData(doc, "{COMPANY-NAME}", "BrainBook");
    await addTemplateData(doc, "{TOTAL}", "13,760.13");
    await addTemplateData(doc, "{AMOUNT-PAID}", "0.00");
    await addTemplateData(doc, "{BALANCE-DUE}", "13,760.13");
    await addTemplateData(doc, "{ITEM}", "Training Sessions");
    await addTemplateData(doc, "{DESCRIPTION}", "60 Minute instruction");
    await addTemplateData(doc, "{RATE}", "3,440.03");
    await addTemplateData(doc, "{QUANTITY}", "4");
    await addTemplateData(doc, "{PRICE}", "13,760.13");
    return doc;
}).then(async (doc) => await generatePdf(doc, "html-template-to-pdf.pdf"));
import { PdfDocument } from "@ironsoftware/ironpdf";
import './config.js'; // Import the configuration script
/**
* Loads an HTML template from the file system.
*/
async function getTemplateHtml(fileLocation) {
// Return promise for loading template file
return PdfDocument.fromFile(fileLocation);
}
/**
* Save the PDF document at a given location.
*/
async function generatePdf(pdf, location) {
return pdf.saveAs(location);
}
/**
* Use the PdfDocument.replaceText method to replace
* a specified placeholder with a provided value.
*/
async function addTemplateData(pdf, key, value) {
return pdf.replaceText(key, value);
}
// Path to the template file
const template = "./sample-invoice.html";
// Load the template, replace placeholders, and save the PDF
getTemplateHtml(template).then(async (doc) => {
// Replace placeholders with real data
await addTemplateData(doc, "{FULL-NAME}", "Lizbeth Presland");
await addTemplateData(doc, "{ADDRESS}", "678 Manitowish Alley, Portland, OG");
await addTemplateData(doc, "{PHONE-NUMBER}", "(763) 894-4345");
await addTemplateData(doc, "{INVOICE-NUMBER}", "787");
await addTemplateData(doc, "{INVOICE-DATE}", "August 28, 2023");
await addTemplateData(doc, "{AMOUNT-DUE}", "13,760.13");
await addTemplateData(doc, "{RECIPIENT}", "Celestyna Farmar");
await addTemplateData(doc, "{COMPANY-NAME}", "BrainBook");
await addTemplateData(doc, "{TOTAL}", "13,760.13");
await addTemplateData(doc, "{AMOUNT-PAID}", "0.00");
await addTemplateData(doc, "{BALANCE-DUE}", "13,760.13");
await addTemplateData(doc, "{ITEM}", "Training Sessions");
await addTemplateData(doc, "{DESCRIPTION}", "60 Minute instruction");
await addTemplateData(doc, "{RATE}", "3,440.03");
await addTemplateData(doc, "{QUANTITY}", "4");
await addTemplateData(doc, "{PRICE}", "13,760.13");
return doc;
}).then(async (doc) => await generatePdf(doc, "html-template-to-pdf.pdf"));上記のソースは、3つの非同期ヘルパー関数を定義しています:
getTemplateHtml:PdfDocument.fromHtmlメソッドを使用して、HTML テンプレートを新しいPdfDocumentオブジェクトに読み込みます。addTemplateData:PdfDocument.replaceTextメソッドを使用して、指定されたプレースホルダー (キーと呼ばれる) を置換データ値に置き換えます。generatePdf: 指定されたファイルの場所にPdfDocumentを保存します。
さらに、HTMLテンプレートファイルの場所を保持する変数 const template を宣言します。上記のソースコードから生成されたPDFを以下に示します。
 **HTMLテンプレートで定義されたプレースホルダを実際のデータで置き換えて作成された新しいPDF文書。 このドキュメントでは、このような置き換えが行われなかった場合に期待される CSS スタイルとレイアウトを保持します。
さらなる読み物
このチュートリアルはIronPdfのハイレベルAPI機能で可能なことのほんの表面をなぞったにすぎません。 あなたの知識と理解を深めるために、これらの関連トピックを勉強することを検討してください。
PdfGeneratorクラス: これは、HTML、URL、Zip アーカイブ、およびその他のソース メディアからPdfDocumentオブジェクトを作成するための専用のユーティリティ クラスです。 このクラスは、PdfDocumentクラスで定義された PDF レンダリング関数を使用する代わりに使用できる代替手段を提供します。HttpLoginCredentials: 特定の Cookie を必要とする Web ページやパスワードで保護された Web ページから PDF を生成する必要がある場合は、このリファレンスが非常に役立ちます。
よくある質問
Node.jsでHTMLをフォーマットを失わずにPDFに変換するにはどうすればよいですか?
Node.jsでは、IronPDFを使用してPdfDocument.fromHtmlメソッドなどを利用することで、フォーマットを失わずにHTMLをPDFに変換できます。このメソッドはHTML文字列やファイルをPDF形式に非常に精確にレンダリングすることをサポートしています。
Node.js用のIronPDFをインストールするにはどのような手順が必要ですか?
Node.jsプロジェクトにIronPDFをインストールするには、コマンドnpm install @Iron Software/ironpdfを実行します。これにより、プロジェクトの依存関係にIronPDFパッケージが追加され、そのPDF処理機能を使用できるようになります。
Node.jsでWeb URLからPDFを生成するにはどうすればよいですか?
IronPDFでPdfDocument.fromUrlメソッドを使用して、ページのURLを指定することでウェブページを直接PDFに変換できます。このメソッドはコンテンツを取得し、PDF形式にレンダリングします。
IronPDFでPDF出力をカスタマイズするためのオプションは何ですか?
IronPDFはChromePdfRenderOptionsインターフェースを提供し、PDF出力のカスタマイズを可能にします。このインターフェースを使用して、ページサイズ、向き、余白などの設定を調整し、動的コンテンツの追加も可能です。
IronPDFを使用してPDFドキュメントにヘッダーとフッターを追加するにはどうすればよいですか?
IronPDFでPDFにヘッダーとフッターを追加するには、ChromePdfRenderOptions内で利用可能なtextHeaderとtextFooterプロパティを使用します。これは各ページの上部と下部にカスタムテキストを追加することを可能にします。
Node.jsを使用してzipアーカイブ内のHTMLファイルをPDFに変換することは可能ですか?
はい、IronPDFはPdfDocument.fromZipメソッドを使用してzipアーカイブ内のHTMLファイルをPDFに変換することをサポートしており、複数のHTMLファイルのバッチ処理が可能です。
IronPDFで生成されたPDFから透かしを削除するにはどうすればよいですか?
IronPDFで生成されたPDFから透かしを削除するには、アプリケーション内で有効なライセンスキーを適用する必要があります。これはIronPdf.License.LicenseKeyメソッドを使用して実行できます。
PDFへの変換時に非同期のWebコンテンツをどのように処理しますか?
IronPDFは、すべての動的要素がPDFレンダリングプロセスを開始する前に完全にロードされることを保証するWaitForメカニズムを提供します。
IronPDFはパスワードで保護されたWebページをPDFに変換できますか?
はい、ChromePdfRenderOptions内のHttpLoginCredentialsを使用して、必要な認証情報を入力し、パスワードで保護されたWebページにアクセスしてPDFに変換することができます。
HTMLからPDFへの変換が正しいレイアウトを維持しない場合はどうすればよいですか?
レイアウトの要件に一致するように適切なChromePdfRenderOptionsを使用していることを確認してください。ページサイズ、向き、余白などの設定を調整することで、変換されたPDFの希望のレイアウトを維持するのに役立ちます。
IronPDF は .NET 10 で HTML から PDF への変換を完全にサポートしていますか?
はい。IronPDFは、 ChromePdfRendererなどのクラスRenderHtmlAsPdf 、 RenderHtmlFileAsPdf 、 RenderUrlAsPdfメソッドを含む)を使用してHTMLからPDFへの変換を行う.NET 10をサポートしています。CSS3、JavaScript、画像、外部アセットもサポートしています。これは、IronPDF for .NET PDFライブラリ機能に関するドキュメントで明確に確認されています。


まだスクロールしていますか?
すぐに証拠が欲しいですか?
サンプルを実行するHTML が PDF に変換されるのを確認します。


