Python에서 디지털 서명을 추가하는 방법
Digital signatures are a crucial aspect of cybersecurity, ensuring the authenticity and integrity of digital messages and documents. Python, with its rich ecosystem of libraries, provides an accessible platform for implementing such signatures with or without a key using def sign and def verify. This guide will walk you through creating and confirming a digital signature with a private key or public key using IronPDF and cryptography libraries.
Introduction to Digital Signatures
Before diving into the code, let's understand what digital signatures are. Much like its physical counterpart, a digital signature is used to verify a digital document's authenticity. It provides a secure and tamper-evident seal, ensuring non-repudiation, meaning the signatory cannot deny the authenticity of their signature on a document.
How Digital Signatures Work
Digital signatures use a combination of private and public keys. The private key is used to create the signature and should be kept secure by the signer. The public key, shared with anyone, is used to verify that the corresponding private key made the signature. This is based on public key cryptography, often implemented using algorithms like RSA.
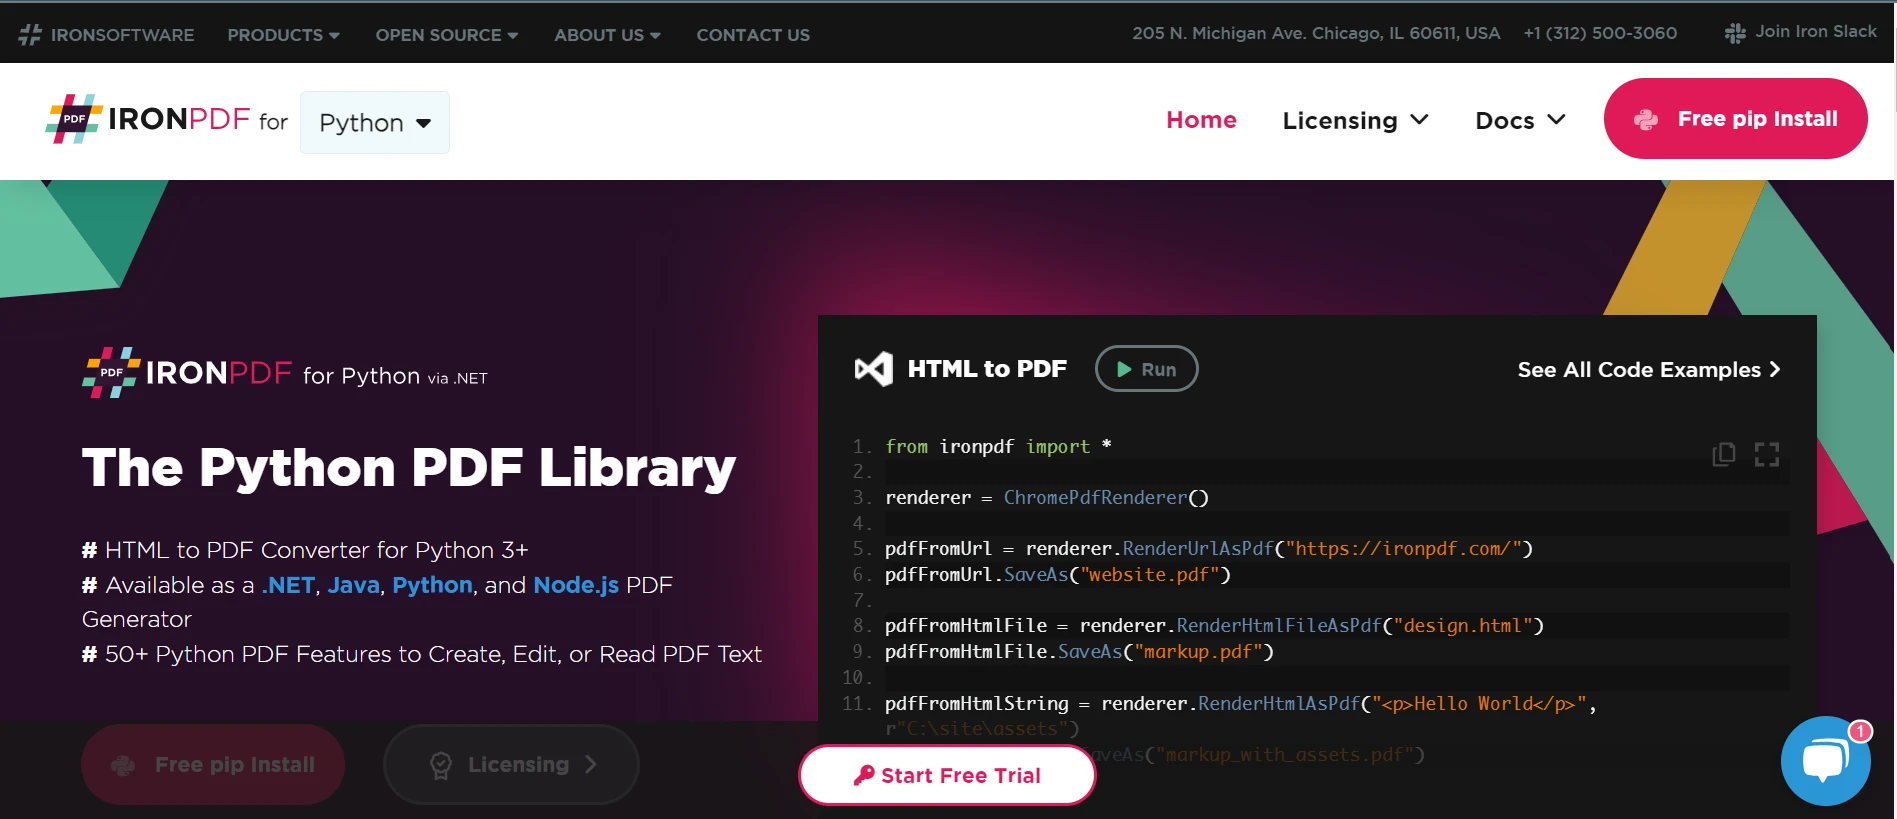
Introduction to IronPDF
 IronPDF
IronPDF is a versatile library used in Python for working with PDFs. It offers a wide range of functionalities, including the creation, editing, and rendering of PDFs, as well as the ability to embed digital signatures or messages into PDF files. This library stands out due to its ease of use and powerful features, making it an excellent choice for developers looking to integrate PDF functionality into their Python applications.
IronPDF's capabilities extend beyond basic PDF manipulation, providing advanced features such as HTML to PDF rendering, support for CSS and JavaScript, and, importantly, the ability to add cryptographically secure digital signatures to PDF documents using public key cryptography like RSA. This makes it particularly useful in scenarios where the authenticity of documents is paramount, such as in legal, financial, and official documentation processes.
Prerequisites
Before implementing digital signatures in Python, you must complete several prerequisites and setup steps. These steps ensure you have the necessary environment, tools, and understanding to work with digital signatures effectively. Here's a detailed walkthrough of what you need to get started:
1. Install Python
The first step is to have Python installed on your machine. Python is a versatile programming language that you'll use to write your digital signature scripts. You can download it from the official Python website if you haven't installed Python yet. Ensure you download a version compatible with your operating system (Windows, macOS, or Linux).
2. Code Editor
A good code editor will make writing and testing your Python scripts easier. Choose an editor that you are comfortable with and that supports Python syntax and preferably has integrated terminal support for easy testing and debugging functions.
3. Set Up a Python Development Environment
Having a good development environment can make coding in the Python world much more straightforward. You can use a text editor like Visual Studio Code or Sublime Text or an Integrated Development Environment (IDE) like PyCharm or Jupyter Notebook. These tools provide features like syntax highlighting, code completion, and debugging, which are invaluable when writing and testing code.
4. Install Necessary Libraries
You will need specific libraries for digital signatures in Python, mainly IronPDF. IronPDF is used for working with PDF documents. You can install this library using pip, Python's package installer. Open your command line or terminal and run the following commands:
pip install ironpdf
5. Generating Cryptographic Keys
You will need a pair of cryptographic keys (private and public keys) to create and verify digital signatures. These can be generated using tools like OpenSSL or Adobe Acrobat Reader to create .pfx or .p12 certificates. Ensure you store these keys securely, as they are crucial for the integrity and security of your digital signatures.
Generating Keys
Before signing a document, you need a pair of cryptographic keys. You can generate a .pfx or .p12 certificate using Adobe Acrobat Reader or other certificate management tools.
Signing Documents with IronPDF
Simple Digital Signature
With IronPDF, signing a PDF can be as straightforward as the following:
from ironpdf import PdfSignature

# Cryptographically sign an existing PDF in 1 line of code!
PdfSignature(r"./certificates/IronSoftware.p12", "123456").SignPdfFile("any.pdf")
from ironpdf import PdfSignature
# Cryptographically sign an existing PDF in 1 line of code!
PdfSignature(r"./certificates/IronSoftware.p12", "123456").SignPdfFile("any.pdf")In the above code, the PdfSignature function is used with a provided path to a .p12 certificate, and the corresponding password. This function is then called to sign a specified PDF document.
Advanced Digital Signature
For a more controlled approach, you can sign the document in stages:
Step 1: Create a PDF
First, you create a PDF document from HTML content using the ChromePdfRenderer class:
from ironpdf import ChromePdfRenderer

# Create a PDF document from HTML content
renderer = ChromePdfRenderer()
doc = renderer.RenderHtmlAsPdf("<h1>Testing 2048 bit digital security</h1>")
from ironpdf import ChromePdfRenderer
# Create a PDF document from HTML content
renderer = ChromePdfRenderer()
doc = renderer.RenderHtmlAsPdf("<h1>Testing 2048 bit digital security</h1>")Step 2: Create a Signature Object
Next, create a signature object with your certificate:
from ironpdf import PdfSignature

# Initialize the signature object with your .pfx certificate and password
signature = PdfSignature(r"./certificates/IronSoftware.pfx", "123456")
from ironpdf import PdfSignature
# Initialize the signature object with your .pfx certificate and password
signature = PdfSignature(r"./certificates/IronSoftware.pfx", "123456")Step 3: Optional Signing Options
You can set additional options such as contact, location, and reason for signing:
# Set additional signing options
signature.SigningContact = "support@ironsoftware.com"
signature.SigningLocation = "Chicago, USA"
signature.SigningReason = "To show how to sign a PDF"
# Set additional signing options
signature.SigningContact = "support@ironsoftware.com"
signature.SigningLocation = "Chicago, USA"
signature.SigningReason = "To show how to sign a PDF"Step 4: Sign the PDF
Now, sign the PDF using the signature object:
# Sign the PDF document with the signature
doc.Sign(signature)
# Sign the PDF document with the signature
doc.Sign(signature)Step 5: Save the Signed PDF
The document is not signed until it is saved:
# Save the signed PDF document
doc.SaveAs("signed.pdf")
# Save the signed PDF document
doc.SaveAs("signed.pdf")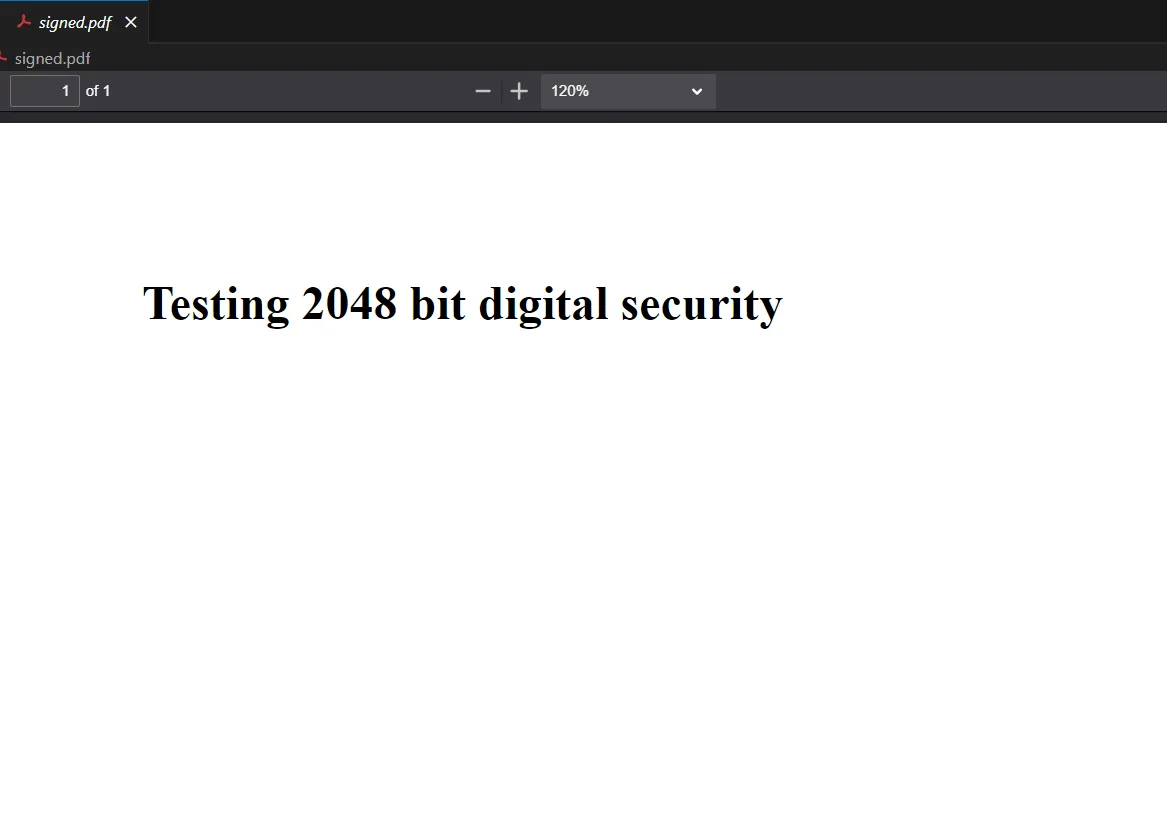 Signed PDF Output
Verification Process
Importance
Verification ensures that the document's integrity has not been compromised and the signature is valid. This involves decrypting the hash object of the document with the signer's public key to ensure it matches the expected hash.
Verifying Signatures
To verify a digital signature, you would use the public key associated with the private key used for signing. While the IronPDF library simplifies the signing process, verification typically involves using crypto libraries like pycryptodome to compare the document's hash with the decrypted signature hash. Run the following command to use pycryptodome:
pip install pycryptodomepip install pycryptodomeSecurity and Best Practices
While the IronPDF library handles the complexity of signing PDFs, understanding and implementing user authentication, managing keys securely, and using hash algorithms such as RSA for data integrity are essential in digital signature implementation.
Key Security
Always keep your private key secure. If someone else gains access, they could sign documents like you.
Hashing for Integrity
Always hash the data before signing. This ensures that the signature is unique to the document's content.
Verification for Trust
Always verify signatures before trusting a document. This ensures that the document has not been tampered with after signing.
Conclusion
Digital signatures in Python are made straightforward with a library like IronPDF. It enables developers to sign and verify documents with minimal hassle while ensuring secure and authentic digital transactions.
This guide provided a fundamental understanding and practical approach to applying digital signatures to PDF documents using Python. Following the examples and best practices outlined, you can implement a robust digital signature process in your applications.
IronPDF offers a free trial, allowing users to explore its full features before committing. For continued use beyond the trial, licenses start from $799, with free access provided for development purposes.
IronPDF also allows you to build interactive forms, split and combine PDF files, extract text and images from PDF files, search for certain words within a PDF file, rasterize PDF pages to images, convert PDF to HTML, and print PDF files.
자주 묻는 질문
PDF의 맥락에서 디지털 서명이란 무엇인가요?
PDF의 디지털 서명은 문서의 진위성과 무결성을 보장하고 문서가 변경되지 않았는지 확인하며 서명자의 신원을 확인하는 데 사용되는 암호화 기술입니다.
IronPDF를 사용하여 Python에서 디지털 서명을 구현하려면 어떻게 해야 하나요?
IronPDF를 사용하여 PDF에 서명을 적용하는 기능을 활용하여 Python에서 디지털 서명을 구현할 수 있습니다. 여기에는 암호화 키를 생성하고 문서 서명을 위해 .pfx 파일을 사용하는 것이 포함됩니다.
디지털 서명을 위한 암호화 키를 생성하는 단계는 무엇인가요?
디지털 서명을 위한 암호화 키를 생성하려면 OpenSSL과 같은 도구를 사용하여 Python에서 PDF 문서에 서명하고 확인하는 데 필수적인 .pfx 또는 .p12 인증서를 만들 수 있습니다.
IronPDF는 Python에서 PDF 작업을 어떻게 지원하나요?
IronPDF는 PDF 생성, 편집, 서명, HTML을 PDF로 렌더링, 디지털 서명 지원, 문서 보안 및 관리 강화와 같은 기능을 제공하여 Python에서 PDF 작업을 간소화합니다.
Python에서 디지털 서명을 위해 IronPDF를 사용하기 위한 전제 조건은 무엇인가요?
Python에서 디지털 서명에 IronPDF를 사용하려면 Python을 설치하고, 개발 환경을 설정하고, IronPDF 라이브러리를 설치해야 합니다. 또한 암호화 키가 필요하며, OpenSSL을 사용하여 생성할 수 있습니다.
Python을 사용하여 PDF에서 디지털 서명을 확인하려면 어떻게 해야 하나요?
Python을 사용하여 PDF의 디지털 서명을 확인하려면 공개 키와 함께 IronPDF의 확인 기능을 사용하여 문서의 진위 여부를 확인하고 문서가 변조되지 않았는지 확인할 수 있습니다.
디지털 서명을 사용할 때 어떤 보안 관행을 따라야 하나요?
디지털 서명을 사용할 때는 개인 키를 안전하게 보관하고, 서명하기 전에 데이터를 해시 처리하여 고유한 서명을 보장하며, 문서의 무결성을 유지하기 위해 항상 서명을 확인하는 것이 중요합니다.
Python에서 IronPDF는 어떤 추가 PDF 기능을 지원하나요?
Python의 IronPDF는 대화형 양식 작성, PDF 분할 및 결합, 텍스트 및 이미지 추출, PDF를 다양한 형식으로 변환하는 등의 추가 PDF 기능을 지원하여 개발자를 위한 다목적 툴입니다.
라이선스를 구매하기 전에 IronPDF를 무료로 사용해 볼 수 있나요?
예, IronPDF는 사용자가 계속 사용하기 위해 라이선스를 구매하기 전에 PDF 조작 및 디지털 서명 기능을 포함한 기능을 살펴볼 수 있는 무료 평가판을 제공합니다.
IronPDF는 어떻게 Python에서 HTML을 PDF로 변환하나요?
IronPDF는 HTML 문자열 또는 파일을 PDF로 렌더링하는 방법을 제공하여 Python에서 HTML을 PDF로 쉽게 변환하여 동적 문서 생성 및 관리가 가능합니다.