Dotnetopenauth .NET Core (How It Works For Developers)
DotNetOpenAuth .NET Core is a version of the original DotNetOpenAuth library adapted for .NET Core, providing a robust public API. This library helps you add authentication with OAuth2 and OpenID to your .NET applications. IronPDF is a library for creating, reading, and editing PDF files in .NET. It is useful for generating documents like reports and invoices directly from your .NET applications.
You can use DotNetOpenAuth .NET Core and IronPDF in various types of projects, such as web and desktop applications, to leverage shared code and implement new features. They are essential for developers looking to handle authentication and PDF document management in their software.
Getting Started with DotNetOpenAuth .NET Core
Setting Up DotNetOpenAuth .NET Core in .NET Projects
To start using DotNetOpenAuth .NET Core in your .NET projects, supported by Microsoft technologies, follow these steps:
- Open your project in Visual Studio.
- Go to the Solution Explorer.
- Right-click on your project name.
- Select
Manage NuGet Packages. - In the NuGet Package Manager, search for
DotNetOpenAuth.NetCoreand other NuGet packages. - Click
Installto add it to your project.
This will add the DotNetOpenAuth .NET Core library to your project, providing support for integrating authentication features.
A Basic Code Example Using DotNetOpenAuth .NET Core
Here is a simple example showing how to set up OAuth2 authentication in your application using DotNetOpenAuth .NET Core:
using DotNetOpenAuth.OAuth2;

// Initialize the OAuth2 client with the authorization server details
var client = new WebServerClient(new AuthorizationServerDescription
{
    TokenEndpoint = new Uri("https://your-auth-server.com/token"),
    AuthorizationEndpoint = new Uri("https://your-auth-server.com/authorize")
}, "your-client-id", "your-client-secret");

// Start the authentication process and get the authorization state
IAuthorizationState state = client.ProcessUserAuthorization();
if (state != null && state.IsAuthorized)
{
    // Authorized successfully, now you can access protected resources
}
using DotNetOpenAuth.OAuth2;
// Initialize the OAuth2 client with the authorization server details
var client = new WebServerClient(new AuthorizationServerDescription
{
TokenEndpoint = new Uri("https://your-auth-server.com/token"),
AuthorizationEndpoint = new Uri("https://your-auth-server.com/authorize")
}, "your-client-id", "your-client-secret");
// Start the authentication process and get the authorization state
IAuthorizationState state = client.ProcessUserAuthorization();
if (state != null && state.IsAuthorized)
{
// Authorized successfully, now you can access protected resources
}Imports DotNetOpenAuth.OAuth2
' Initialize the OAuth2 client with the authorization server details
Private client = New WebServerClient(New AuthorizationServerDescription With {
.TokenEndpoint = New Uri("https://your-auth-server.com/token"),
.AuthorizationEndpoint = New Uri("https://your-auth-server.com/authorize")
}, "your-client-id", "your-client-secret")
' Start the authentication process and get the authorization state
Private state As IAuthorizationState = client.ProcessUserAuthorization()
If state IsNot Nothing AndAlso state.IsAuthorized Then
' Authorized successfully, now you can access protected resources
End IfThis code snippet sets up an OAuth2 client using DotNetOpenAuth .NET Core, connects to an authorization server, and processes user authorization.
Implement Features of DotNetOpenAuth .NET Core
Integrating OpenID Connect
To integrate OpenID Connect using DotNetOpenAuth .NET Core, you can follow this basic approach:
using DotNetOpenAuth.OAuth2;

// Configure the OpenID Connect client with authority details
var openIdClient = new WebServerClient(new AuthorizationServerDescription
{
    TokenEndpoint = new Uri("https://your-openid-provider.com/token"),
    AuthorizationEndpoint = new Uri("https://your-openid-provider.com/authorize")
}, "your-client-id");

// Redirect user for authentication
Uri authUri = openIdClient.GetAuthorizationRequestUri("openid email profile");
Response.Redirect(authUri.AbsoluteUri);
using DotNetOpenAuth.OAuth2;
// Configure the OpenID Connect client with authority details
var openIdClient = new WebServerClient(new AuthorizationServerDescription
{
TokenEndpoint = new Uri("https://your-openid-provider.com/token"),
AuthorizationEndpoint = new Uri("https://your-openid-provider.com/authorize")
}, "your-client-id");
// Redirect user for authentication
Uri authUri = openIdClient.GetAuthorizationRequestUri("openid email profile");
Response.Redirect(authUri.AbsoluteUri);Imports DotNetOpenAuth.OAuth2
' Configure the OpenID Connect client with authority details
Private openIdClient = New WebServerClient(New AuthorizationServerDescription With {
.TokenEndpoint = New Uri("https://your-openid-provider.com/token"),
.AuthorizationEndpoint = New Uri("https://your-openid-provider.com/authorize")
}, "your-client-id")
' Redirect user for authentication
Private authUri As Uri = openIdClient.GetAuthorizationRequestUri("openid email profile")
Response.Redirect(authUri.AbsoluteUri)This code configures an OpenID Connect client and redirects the user to the authentication page of the OpenID provider.
Handling Access Tokens
Here’s how you can handle access tokens with DotNetOpenAuth .NET Core:
// After the user is authenticated, process the authorization response to retrieve the token
IAuthorizationState authState = openIdClient.ProcessUserAuthorization();
if (authState != null && authState.IsAuthorized)
{
    // Access token is available, and you can use it to make authenticated requests
    string accessToken = authState.AccessToken;
}
// After the user is authenticated, process the authorization response to retrieve the token
IAuthorizationState authState = openIdClient.ProcessUserAuthorization();
if (authState != null && authState.IsAuthorized)
{
// Access token is available, and you can use it to make authenticated requests
string accessToken = authState.AccessToken;
}' After the user is authenticated, process the authorization response to retrieve the token
Dim authState As IAuthorizationState = openIdClient.ProcessUserAuthorization()
If authState IsNot Nothing AndAlso authState.IsAuthorized Then
' Access token is available, and you can use it to make authenticated requests
Dim accessToken As String = authState.AccessToken
End IfThis snippet processes the user authorization response to retrieve and use the access token.
Refreshing Tokens
To refresh tokens when they expire, use the following code:
// Check if the access token is expired and refresh it
if (authState.AccessTokenExpirationUtc <= DateTime.UtcNow)
{
    if (openIdClient.RefreshAuthorization(authState))
    {
        // Token refreshed successfully
    }
}
// Check if the access token is expired and refresh it
if (authState.AccessTokenExpirationUtc <= DateTime.UtcNow)
{
if (openIdClient.RefreshAuthorization(authState))
{
// Token refreshed successfully
}
}' Check if the access token is expired and refresh it
If authState.AccessTokenExpirationUtc <= DateTime.UtcNow Then
If openIdClient.RefreshAuthorization(authState) Then
' Token refreshed successfully
End If
End IfThis code checks if the current token has expired and attempts to refresh it.
Revoking Tokens
If you need to revoke tokens, implement it as shown below:
// Revoke the access token
bool success = openIdClient.RevokeAuthorization(authState);
if (success)
{
    // Token revoked successfully
}
// Revoke the access token
bool success = openIdClient.RevokeAuthorization(authState);
if (success)
{
// Token revoked successfully
}' Revoke the access token
Dim success As Boolean = openIdClient.RevokeAuthorization(authState)
If success Then
' Token revoked successfully
End IfThis snippet revokes the authorization, effectively invalidating the access token.
Customizing Token Requests
To customize token requests for specific needs, such as adding extra parameters:
// Customize the token request with additional parameters
var additionalParams = new Dictionary<string, string>
{
    {"custom_parameter", "value"}
};
IAuthorizationState customizedState = openIdClient.ProcessUserAuthorization(additionalParams);
if (customizedState != null && customizedState.IsAuthorized)
{
    // Token request customized and processed successfully
}
// Customize the token request with additional parameters
var additionalParams = new Dictionary<string, string>
{
{"custom_parameter", "value"}
};
IAuthorizationState customizedState = openIdClient.ProcessUserAuthorization(additionalParams);
if (customizedState != null && customizedState.IsAuthorized)
{
// Token request customized and processed successfully
}' Customize the token request with additional parameters
Dim additionalParams = New Dictionary(Of String, String) From {
{"custom_parameter", "value"}
}
Dim customizedState As IAuthorizationState = openIdClient.ProcessUserAuthorization(additionalParams)
If customizedState IsNot Nothing AndAlso customizedState.IsAuthorized Then
' Token request customized and processed successfully
End IfThis code adds custom parameters to the token request, which can be useful for dealing with specific requirements of an authorization server.
DotNetOpenAuth .NET Core with IronPDF
IronPDF is a comprehensive library that allows developers to create, read, and manipulate PDF files in .NET environments. It's particularly useful for generating PDFs from HTML or directly from URLs, which can be great for reporting, generating invoices, or just storing web pages in a static format. When integrated with DotNetOpenAuth .NET Core, it ensures that these capabilities are secure and accessible only to authenticated users.
Use Case of Merging IronPDF with DotNetOpenAuth .NET Core
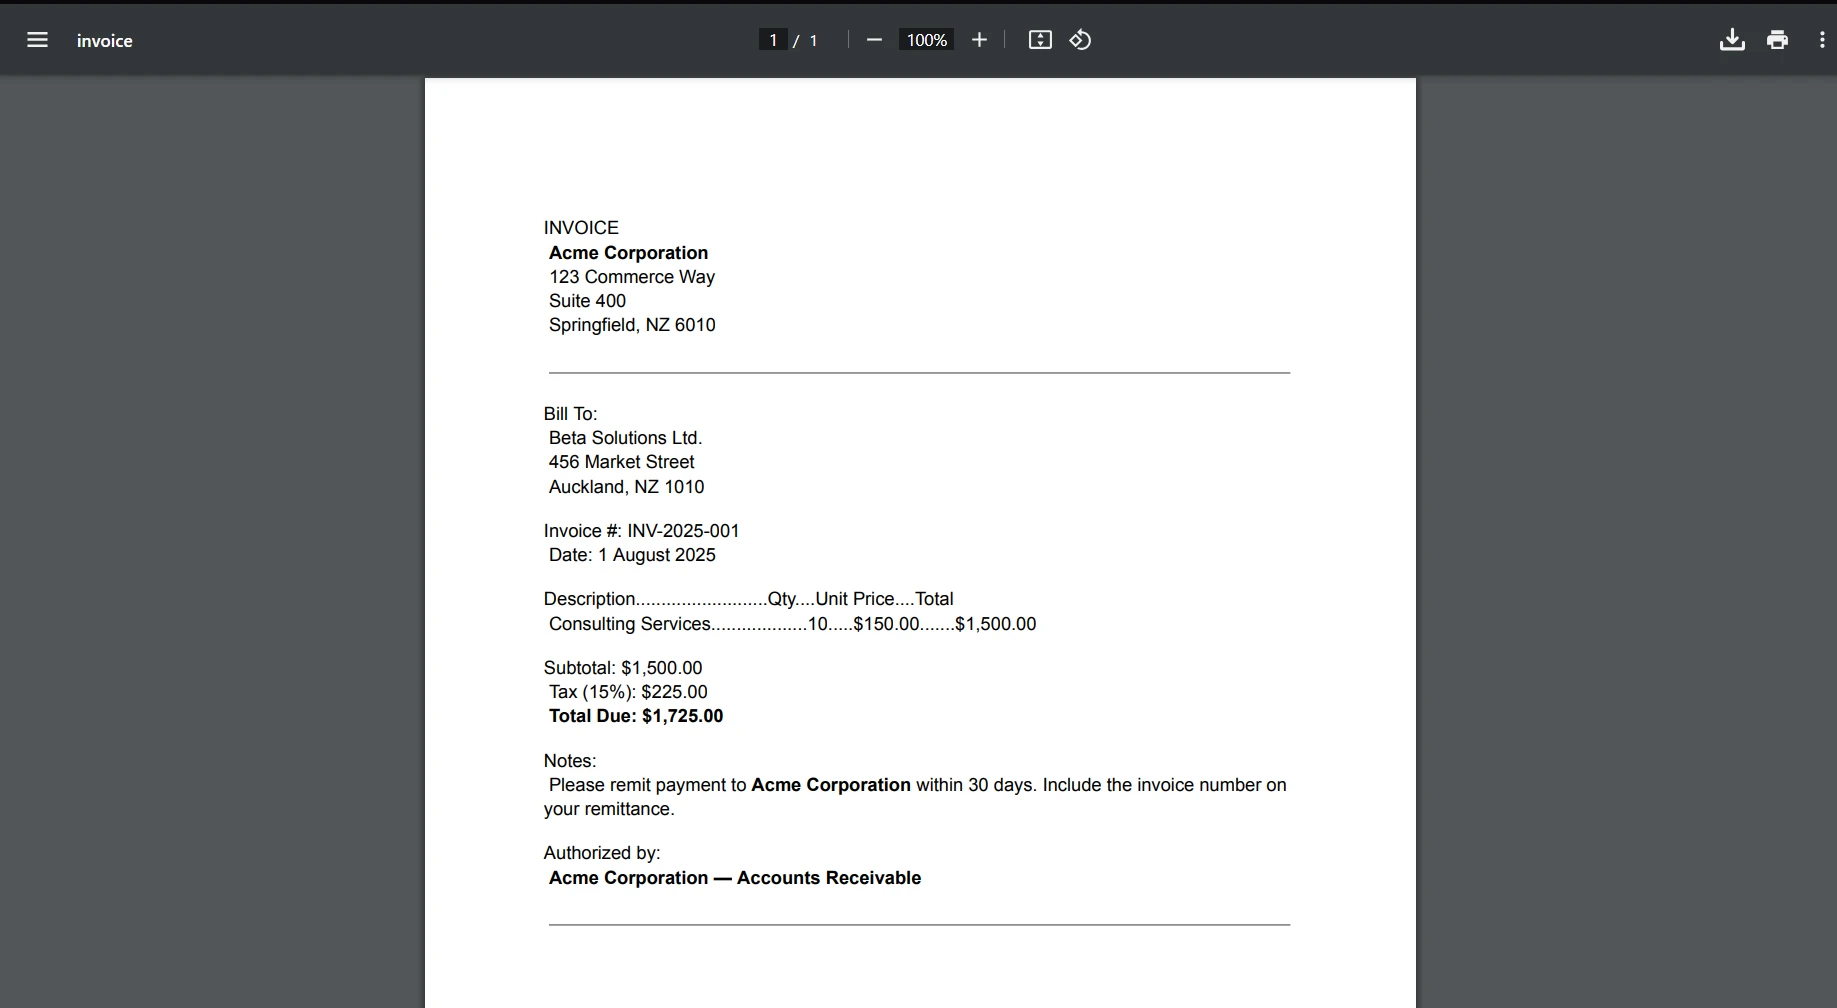
A practical use case for merging IronPDF with DotNetOpenAuth .NET Core is in a web application where authenticated users need to generate and download personalized reports. For instance, imagine a scenario where users log in to your application and access their financial reports as PDFs. DotNetOpenAuth ensures that users are properly authenticated and authorized to access their documents, while IronPDF handles the creation and delivery of these personalized PDFs.
Code Example of Use Case
Let's look at a complete code example that demonstrates how to implement this. We'll create a simple web API in .NET Core that authenticates a user and then generates a PDF report using IronPDF:
using IronPdf;
using Microsoft.AspNetCore.Mvc;
using Microsoft.AspNetCore.Authorization;

[Route("api/[controller]")]
[ApiController]
public class ReportController : ControllerBase
{
    [Authorize]
    [HttpGet("download-pdf")]
    public IActionResult DownloadPdfReport()
    {
        // Authentication is handled by DotNetOpenAuth .NET Core
        var currentUser = HttpContext.User.Identity.Name;

        // Generate PDF content using IronPDF
        var Renderer = new ChromePdfRenderer();
        var PDF = Renderer.RenderHtmlAsPdf($"<h1>Report for {currentUser}</h1><p>This is your personalized financial report.</p>");

        // Set file name and content type for the PDF
        var outputFileName = $"Report-{currentUser}.pdf";
        Response.Headers.Add("Content-Disposition", $"attachment; filename={outputFileName}");
        Response.ContentType = "application/pdf";

        // Return the generated PDF file
        return File(PDF.Stream.ToArray(), "application/pdf");
    }
}
using IronPdf;
using Microsoft.AspNetCore.Mvc;
using Microsoft.AspNetCore.Authorization;
[Route("api/[controller]")]
[ApiController]
public class ReportController : ControllerBase
{
[Authorize]
[HttpGet("download-pdf")]
public IActionResult DownloadPdfReport()
{
// Authentication is handled by DotNetOpenAuth .NET Core
var currentUser = HttpContext.User.Identity.Name;
// Generate PDF content using IronPDF
var Renderer = new ChromePdfRenderer();
var PDF = Renderer.RenderHtmlAsPdf($"<h1>Report for {currentUser}</h1><p>This is your personalized financial report.</p>");
// Set file name and content type for the PDF
var outputFileName = $"Report-{currentUser}.pdf";
Response.Headers.Add("Content-Disposition", $"attachment; filename={outputFileName}");
Response.ContentType = "application/pdf";
// Return the generated PDF file
return File(PDF.Stream.ToArray(), "application/pdf");
}
}Imports IronPdf
Imports Microsoft.AspNetCore.Mvc
Imports Microsoft.AspNetCore.Authorization
<Route("api/[controller]")>
<ApiController>
Public Class ReportController
Inherits ControllerBase
<Authorize>
<HttpGet("download-pdf")>
Public Function DownloadPdfReport() As IActionResult
' Authentication is handled by DotNetOpenAuth .NET Core
Dim currentUser = HttpContext.User.Identity.Name
' Generate PDF content using IronPDF
Dim Renderer = New ChromePdfRenderer()
Dim PDF = Renderer.RenderHtmlAsPdf($"<h1>Report for {currentUser}</h1><p>This is your personalized financial report.</p>")
' Set file name and content type for the PDF
Dim outputFileName = $"Report-{currentUser}.pdf"
Response.Headers.Add("Content-Disposition", $"attachment; filename={outputFileName}")
Response.ContentType = "application/pdf"
' Return the generated PDF file
Return File(PDF.Stream.ToArray(), "application/pdf")
End Function
End ClassIn this example, we're using the [Authorize] attribute to ensure that only authenticated users can access the PDF generation endpoint. The ChromePdfRenderer class from IronPDF is used to create a PDF from HTML content, which in this case, is dynamically personalized with the user's name.

Conclusion
Integrating DotNetOpenAuth .NET Core with IronPDF offers a powerful solution for enhancing the security and functionality of your .NET applications. By leveraging these technologies, you can effectively protect sensitive data and provide a personalized user experience through dynamic PDF generation.
IronPDF is not only versatile but also developer-friendly, offering a straightforward approach to creating and managing PDF files within .NET applications. If you're considering incorporating IronPDF into your project, it is recommended to explore IronPDF's Official Website for a free trial and licensing options.
Frequently Asked Questions
What is DotNetOpenAuth .NET Core used for?
DotNetOpenAuth .NET Core is used for integrating OAuth2 and OpenID authentication features into .NET applications, enabling secure authentication processes in web and desktop environments.
How can I add OAuth2 authentication to my .NET application?
To add OAuth2 authentication, use DotNetOpenAuth .NET Core to initialize a WebServerClient with your authorization server details, then guide users through the authentication process and handle their authorization response.
Can I create PDFs in a .NET application with authentication?
Yes, by integrating DotNetOpenAuth .NET Core for authentication and IronPDF for PDF generation, you can create secure, authenticated PDF documents such as personalized reports and invoices.
How do you manage access tokens in a .NET application?
DotNetOpenAuth .NET Core manages access tokens by processing authorization responses, allowing you to retrieve and utilize access tokens for secure, authenticated requests.
How can I refresh an access token in .NET Core?
To refresh an access token in .NET Core, check if the token is expired and use the `RefreshAuthorization` method to obtain a new token, ensuring continuous secure access.
What is the benefit of integrating DotNetOpenAuth with PDF generation?
Integrating DotNetOpenAuth with PDF generation allows for secure access to sensitive documents, enabling authenticated users to generate and download personalized PDFs, such as reports and invoices.
How do you revoke tokens in a .NET application?
Revoke tokens by implementing the `RevokeAuthorization` method in DotNetOpenAuth .NET Core, which invalidates the access token, preventing further unauthorized requests.
How can token requests be customized in .NET authentication?
You can customize token requests by adding additional parameters to the token processing code to fulfill specific requirements of your authorization server.
What steps are involved in setting up OpenID Connect in a .NET project?
To set up OpenID Connect, configure an OpenID Connect client with the required authority details and direct users to authenticate via the OpenID provider, integrating with DotNetOpenAuth .NET Core for seamless authentication.