Python Requests 라이브러리 (개발자를 위한 작동 방식)
Python은 그 단순성과 가독성으로 널리 칭송받고 있으며, 웹 스크래핑과 API와의 상호 작용에 있어 개발자들 사이에서 인기 있는 선택입니다. 이러한 상호 작용을 가능하게 하는 핵심 라이브러리 중 하나가 Python Requests 라이브러리입니다. Requests는 Python을 위한 HTTP 요청 라이브러리로, HTTP 요청을 간단하게 보낼 수 있도록 합니다. 이 기사에서는 Python Requests 라이브러리의 기능을 파헤치고, 실제 예제를 통해 그 사용법을 탐구하며, IronPDF를 도입하여 어떻게 Requests와 결합하여 웹 데이터로부터 PDF를 생성하고 조작할 수 있는지를 보여줍니다.
Requests 라이브러리 소개
Python Requests 라이브러리는 HTTP 요청을 더 간단하고 사람 친화적으로 만들기 위해 생성되었습니다. 이는 요청 처리의 복잡성을 간단한 API로 추상화하여 사용자가 웹상의 서비스 및 데이터와 상호 작용하는 데 집중할 수 있도록 합니다. 웹 페이지를 가져오거나, REST API와 상호작용하거나, SSL 인증서 검증을 비활성화하거나, 서버에 데이터를 전송해야 하는 경우, Requests 라이브러리가 여러분을 돕습니다.
주요 특징
- 간편성: 사용하기 쉽고 이해하기 쉬운 구문.
- HTTP 메서드: GET, POST, PUT, DELETE 등 모든 HTTP 메서드를 지원합니다.
- 세션 객체: 요청 간에 쿠키를 유지합니다.
- 인증: 인증 헤더 추가를 간소화합니다.
- 프록시: HTTP 프록시를 지원합니다.
- 타임아웃: 요청 타임아웃을 효과적으로 관리합니다.
- SSL 인증서 확인: 기본적으로 SSL 인증서를 확인합니다.
Requests 설치하기
사용을 시작하려면 Requests를 설치해야 합니다. 이는 pip를 사용하여 수행할 수 있습니다.
pip install requestspip install requests기본 사용법
웹 페이지를 가져오기 위해 Requests를 사용하는 간단한 예제입니다:
import requests

# Send a GET request to the specified URL
response = requests.get('https://www.example.com')

# Print the status code of the response (e.g., 200 for success)
print(response.status_code)

# Print the HTML content of the page
print(response.text)
import requests
# Send a GET request to the specified URL
response = requests.get('https://www.example.com')
# Print the status code of the response (e.g., 200 for success)
print(response.status_code)
# Print the HTML content of the page
print(response.text)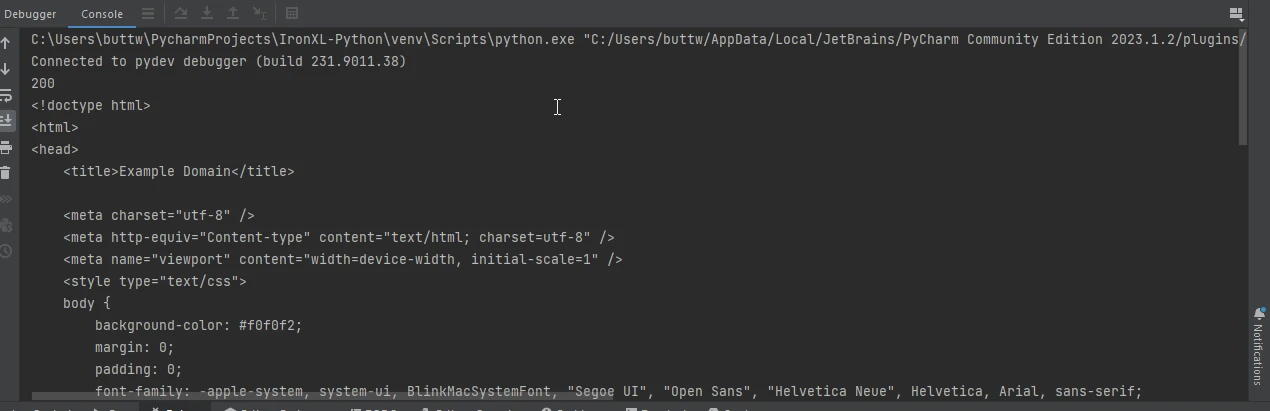
URL에 매개변수 전송
URL에 매개변수를 전달해야 하는 경우가 종종 있습니다. Python Requests 모듈은 params 키워드를 사용하여 이를 쉽게 만듭니다.
import requests

# Define the parameters to be sent in the URL
params = {'key1': 'value1', 'key2': 'value2'}

# Send a GET request with parameters
response = requests.get('https://www.example.com', params=params)

# Print the full URL including the parameters
print(response.url)
import requests
# Define the parameters to be sent in the URL
params = {'key1': 'value1', 'key2': 'value2'}
# Send a GET request with parameters
response = requests.get('https://www.example.com', params=params)
# Print the full URL including the parameters
print(response.url)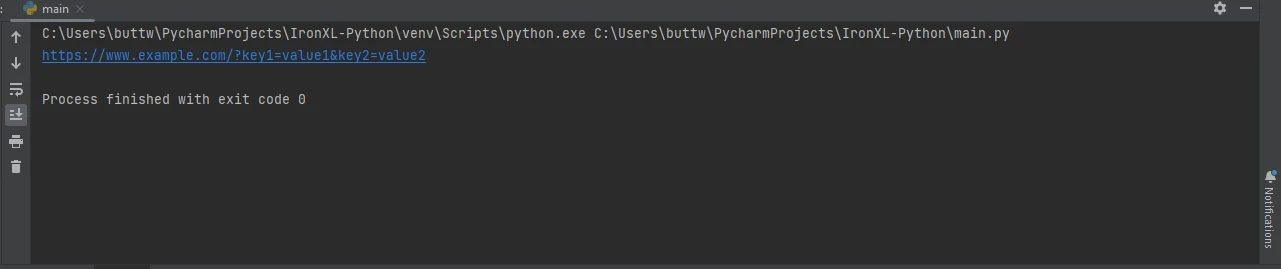
JSON 데이터 처리
API와의 상호작용은 일반적으로 JSON 데이터를 사용합니다. Requests는 내장된 JSON 지원으로 이를 간단하게 만듭니다:
import requests

# Send a GET request to retrieve JSON data
response = requests.get('https://jsonplaceholder.typicode.com/todos/1')

# Convert the JSON response to a Python dictionary
data = response.json()

# Print the JSON data
print(data)
import requests
# Send a GET request to retrieve JSON data
response = requests.get('https://jsonplaceholder.typicode.com/todos/1')
# Convert the JSON response to a Python dictionary
data = response.json()
# Print the JSON data
print(data)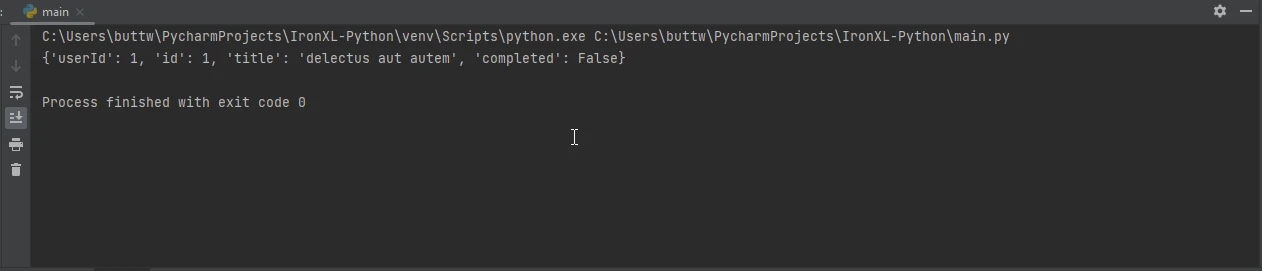
헤더 작업
HTTP 요청에 있어 헤더는 매우 중요합니다. 다음과 같이 요청에 사용자 지정 헤더를 추가할 수 있습니다.
import requests

# Define custom headers
headers = {'User-Agent': 'my-app/0.0.1'}

# Send a GET request with custom headers
response = requests.get('https://www.example.com', headers=headers)

# Print the response text
print(response.text)
import requests
# Define custom headers
headers = {'User-Agent': 'my-app/0.0.1'}
# Send a GET request with custom headers
response = requests.get('https://www.example.com', headers=headers)
# Print the response text
print(response.text)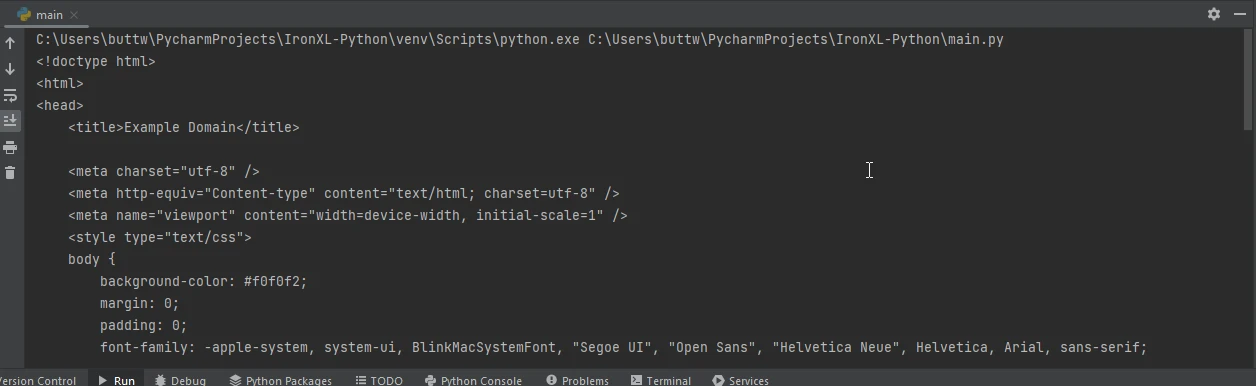
파일 업로드
Requests 또한 파일 업로드를 지원합니다. 파일을 업로드하는 방법은 다음과 같습니다.
import requests

# Define the files to be uploaded
files = {'file': open('report.txt', 'rb')}

# Send a POST request with the file
response = requests.post('https://www.example.com/upload', files=files)

# Print the status code of the response
print(response.status_code)
import requests
# Define the files to be uploaded
files = {'file': open('report.txt', 'rb')}
# Send a POST request with the file
response = requests.post('https://www.example.com/upload', files=files)
# Print the status code of the response
print(response.status_code)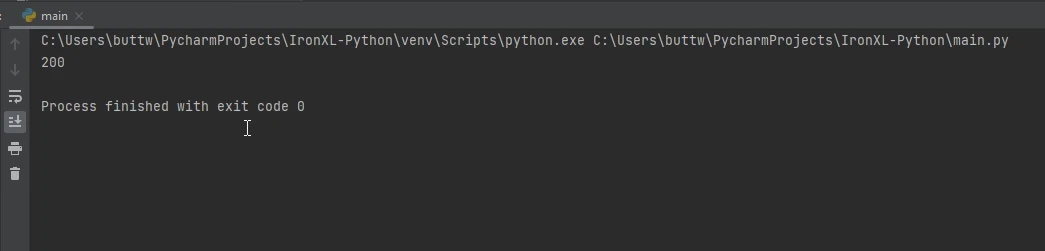
Python용 IronPDF 소개합니다
IronPDF 는 Python 애플리케이션 내에서 PDF를 생성, 편집 및 조작하는 데 사용할 수 있는 다목적 PDF 생성 라이브러리입니다. 이 기능은 특히 HTML 콘텐츠에서 PDF를 생성해야 할 때 유용하며, 보고서, 송장 또는 휴대 가능한 형식으로 배포해야 하는 기타 모든 유형의 문서를 만드는 데 매우 적합한 도구입니다.
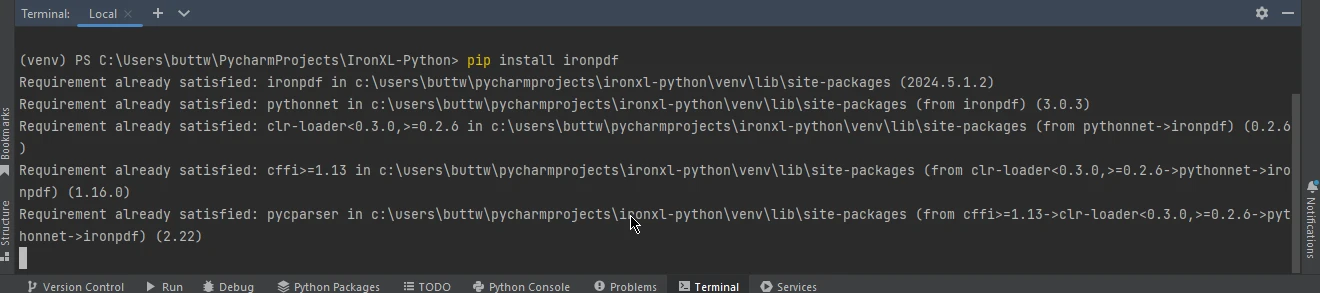
IronPDF 설치 중
IronPDF 설치하려면 pip를 사용하세요.
pip install ironpdf
IronPDF와 Requests 사용하기
Requests와 IronPDF를 결합하면 웹에서 데이터를 가져와 PDF 문서로 직접 변환할 수 있습니다. 이 기능은 웹 데이터를 기반으로 보고서를 작성하거나 웹 페이지를 PDF로 저장하는 데 특히 유용할 수 있습니다.
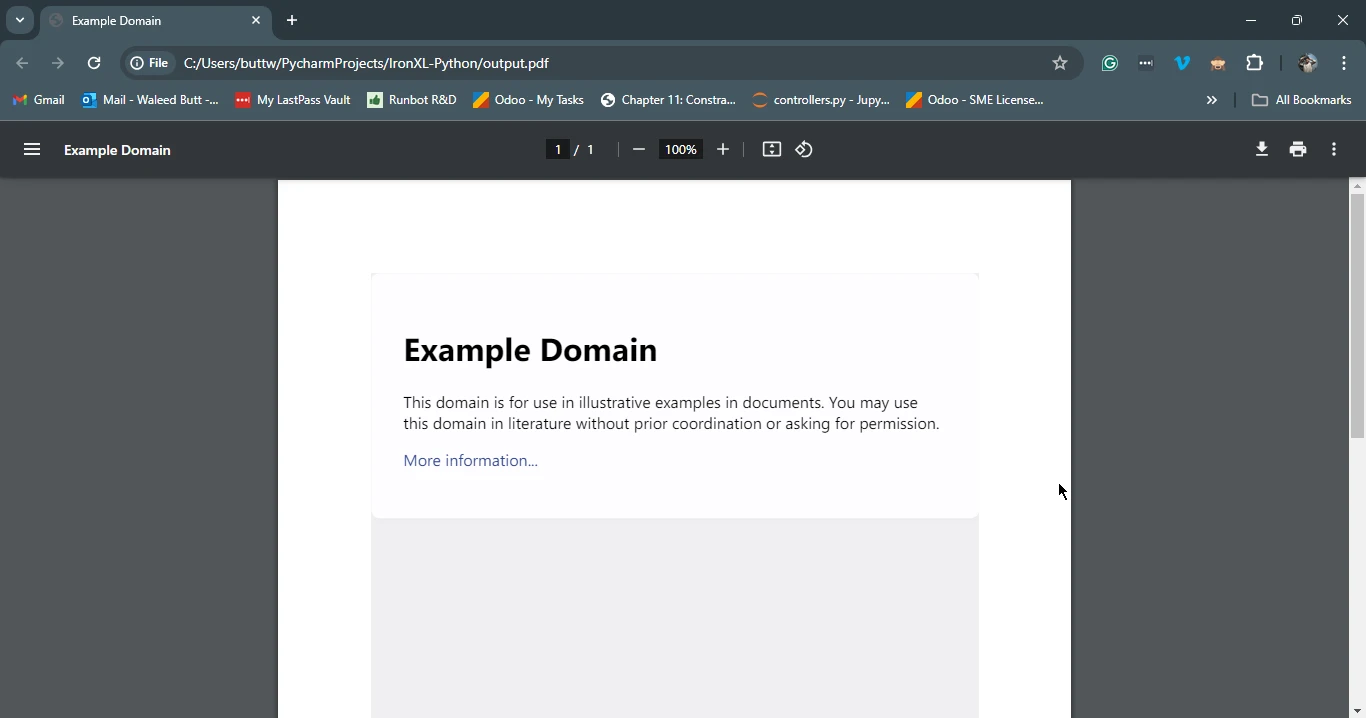
다음은 Requests를 사용해 웹 페이지를 가져온 다음 IronPDF를 사용하여 PDF로 저장하는 방법의 예입니다:
import requests
from ironpdf import ChromePdfRenderer

# Fetch a web page
url = 'https://www.example.com'
response = requests.get(url)

if response.status_code == 200:
    # Extract the HTML content from the response
    html_content = response.text

    # Initialize the PDF renderer
    renderer = ChromePdfRenderer()

    # Render the HTML content as a PDF
    pdf = renderer.RenderHtmlAsPdf(html_content)

    # Save the generated PDF to a file
    pdf.save('output.pdf')
    print('PDF created successfully')
else:
    # Print an error message if the request was not successful
    print(f'Failed to retrieve the webpage. Status code: {response.status_code}')
import requests
from ironpdf import ChromePdfRenderer
# Fetch a web page
url = 'https://www.example.com'
response = requests.get(url)
if response.status_code == 200:
# Extract the HTML content from the response
html_content = response.text
# Initialize the PDF renderer
renderer = ChromePdfRenderer()
# Render the HTML content as a PDF
pdf = renderer.RenderHtmlAsPdf(html_content)
# Save the generated PDF to a file
pdf.save('output.pdf')
print('PDF created successfully')
else:
# Print an error message if the request was not successful
print(f'Failed to retrieve the webpage. Status code: {response.status_code}')이 스크립트는 먼저 Requests를 사용하여 지정된 URL의 HTML 콘텐츠를 가져옵니다. 그런 다음 IronPDF 사용하여 이 응답 객체의 HTML 콘텐츠를 PDF로 변환하고 결과 PDF를 파일로 저장합니다.
결론
Requests 라이브러리는 웹 API와 상호 작용해야 하는 모든 Python 개발자에게 필수적인 도구입니다. 그 단순함과 사용 용이성 덕분에 HTTP 요청을 할 때의 기본 선택입니다. IronPDF 와 함께 사용하면 웹에서 데이터를 가져와 전문가 수준의 PDF 문서로 변환할 수 있는 등 더욱 다양한 가능성이 열립니다. 리포트, 송장, 또는 웹 콘텐츠를 아카이브하는 경우, Requests와 IronPDF의 조합은 PDF 생성 니즈를 위한 강력한 솔루션을 제공합니다.
IronPDF 라이선스에 대한 자세한 내용은 IronPDF 라이선스 페이지를 참조하십시오. HTML을 PDF로 변환하는 방법에 대한 자세한 튜토리얼을 참조하시면 더 많은 정보를 얻으실 수 있습니다.