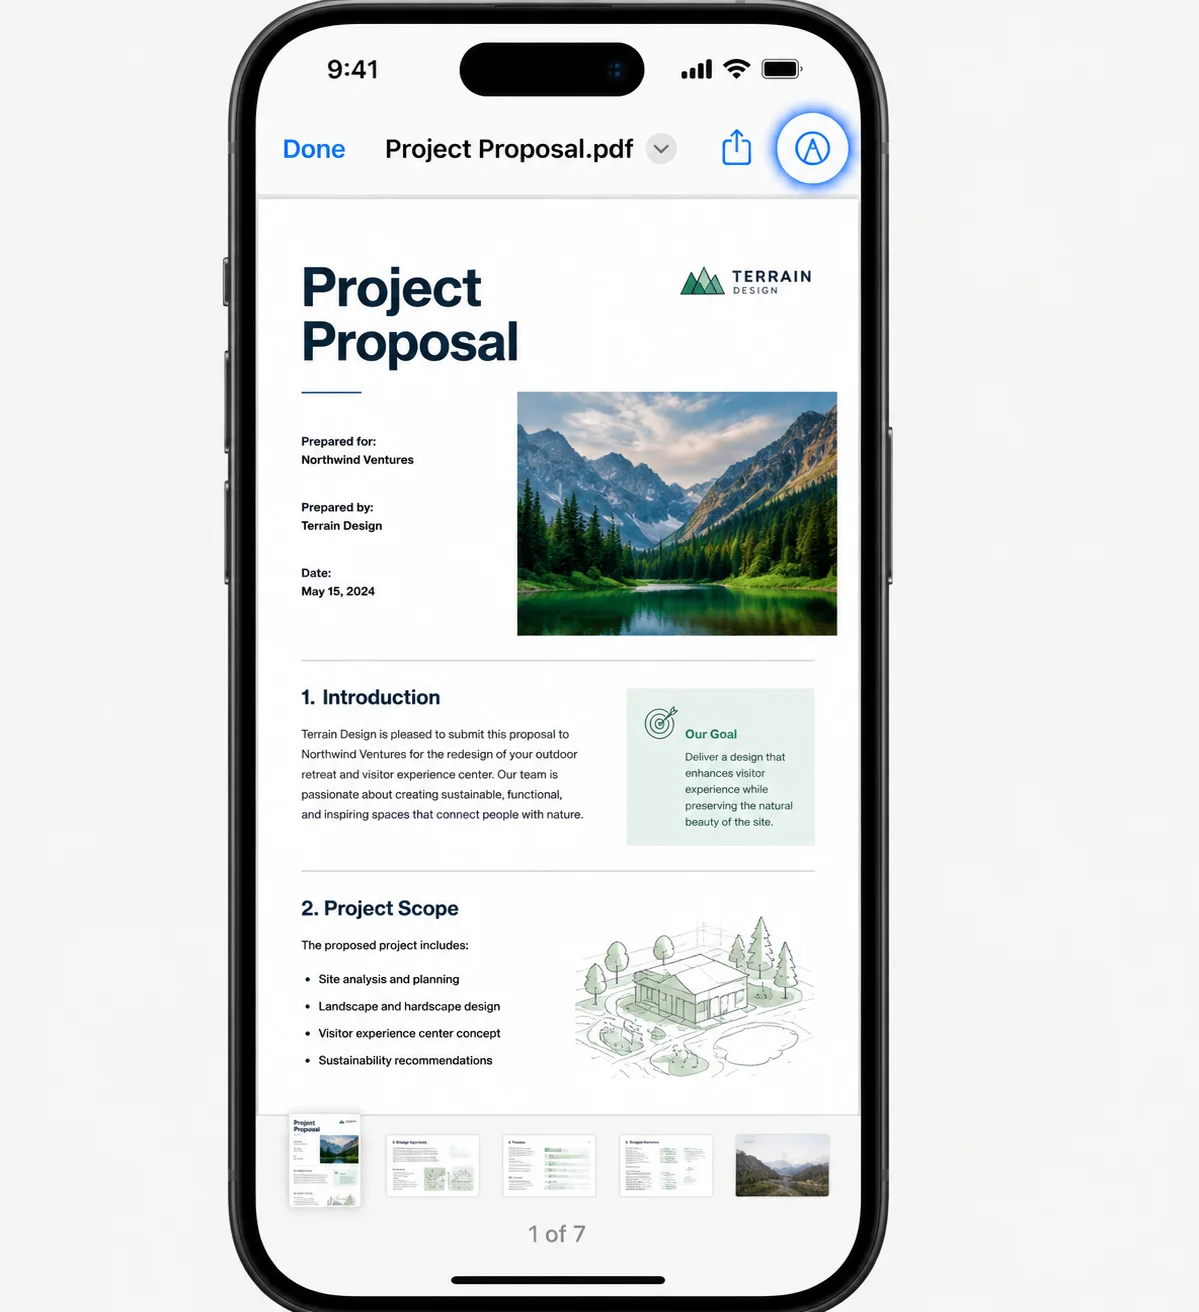
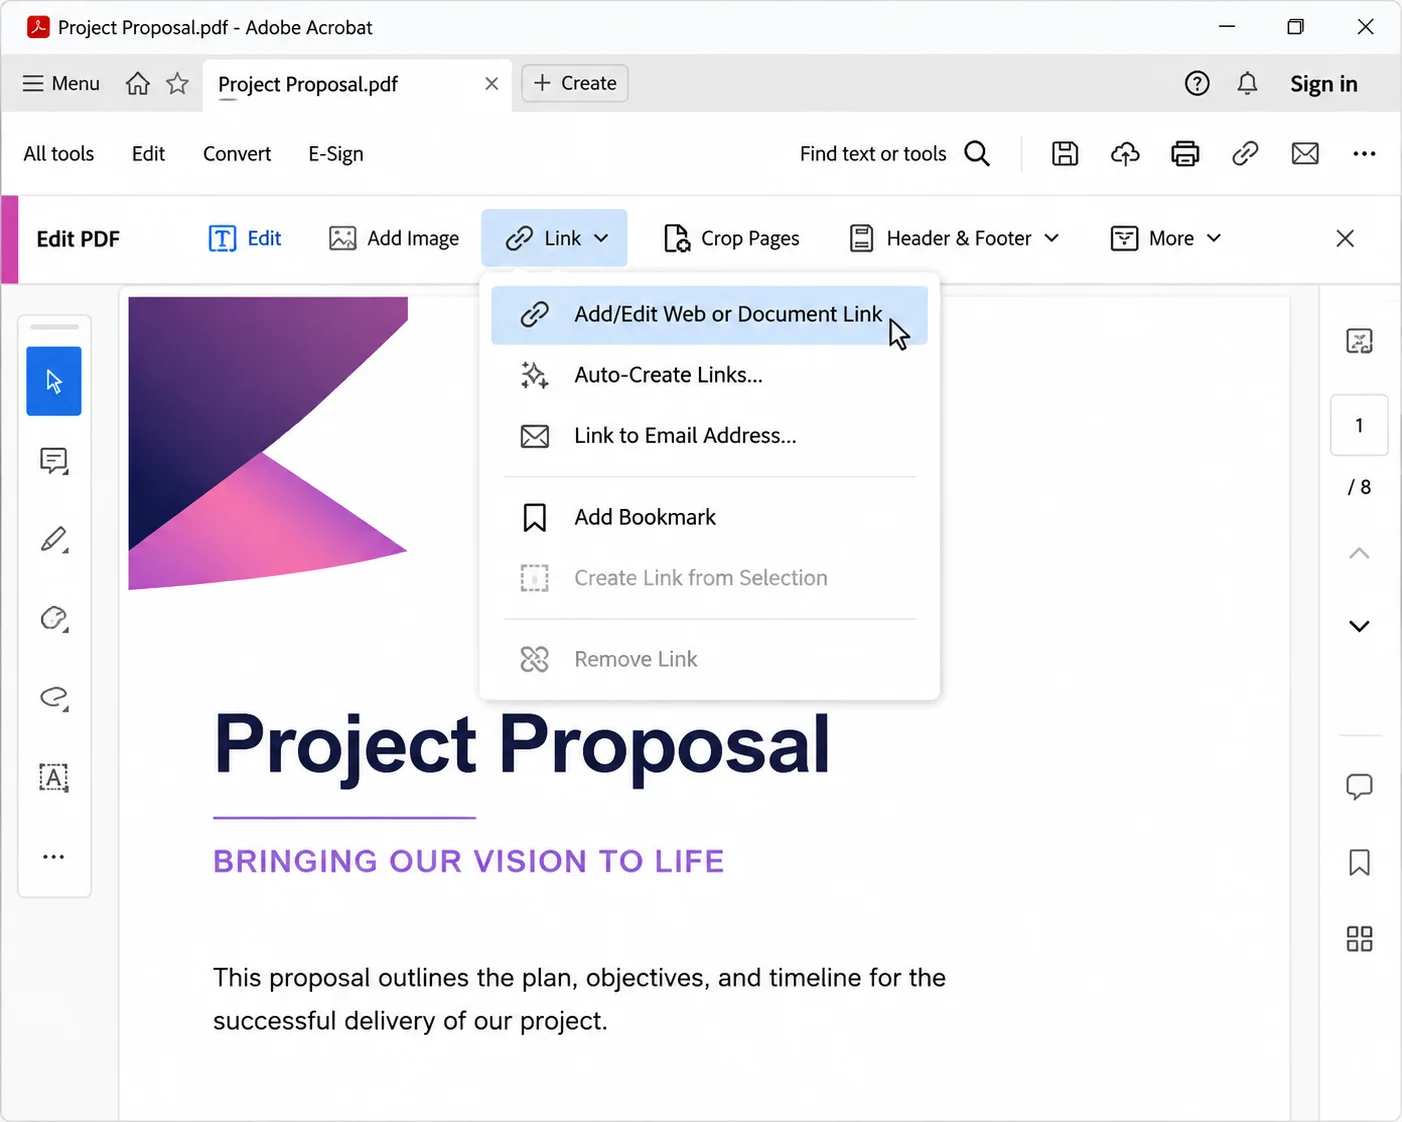
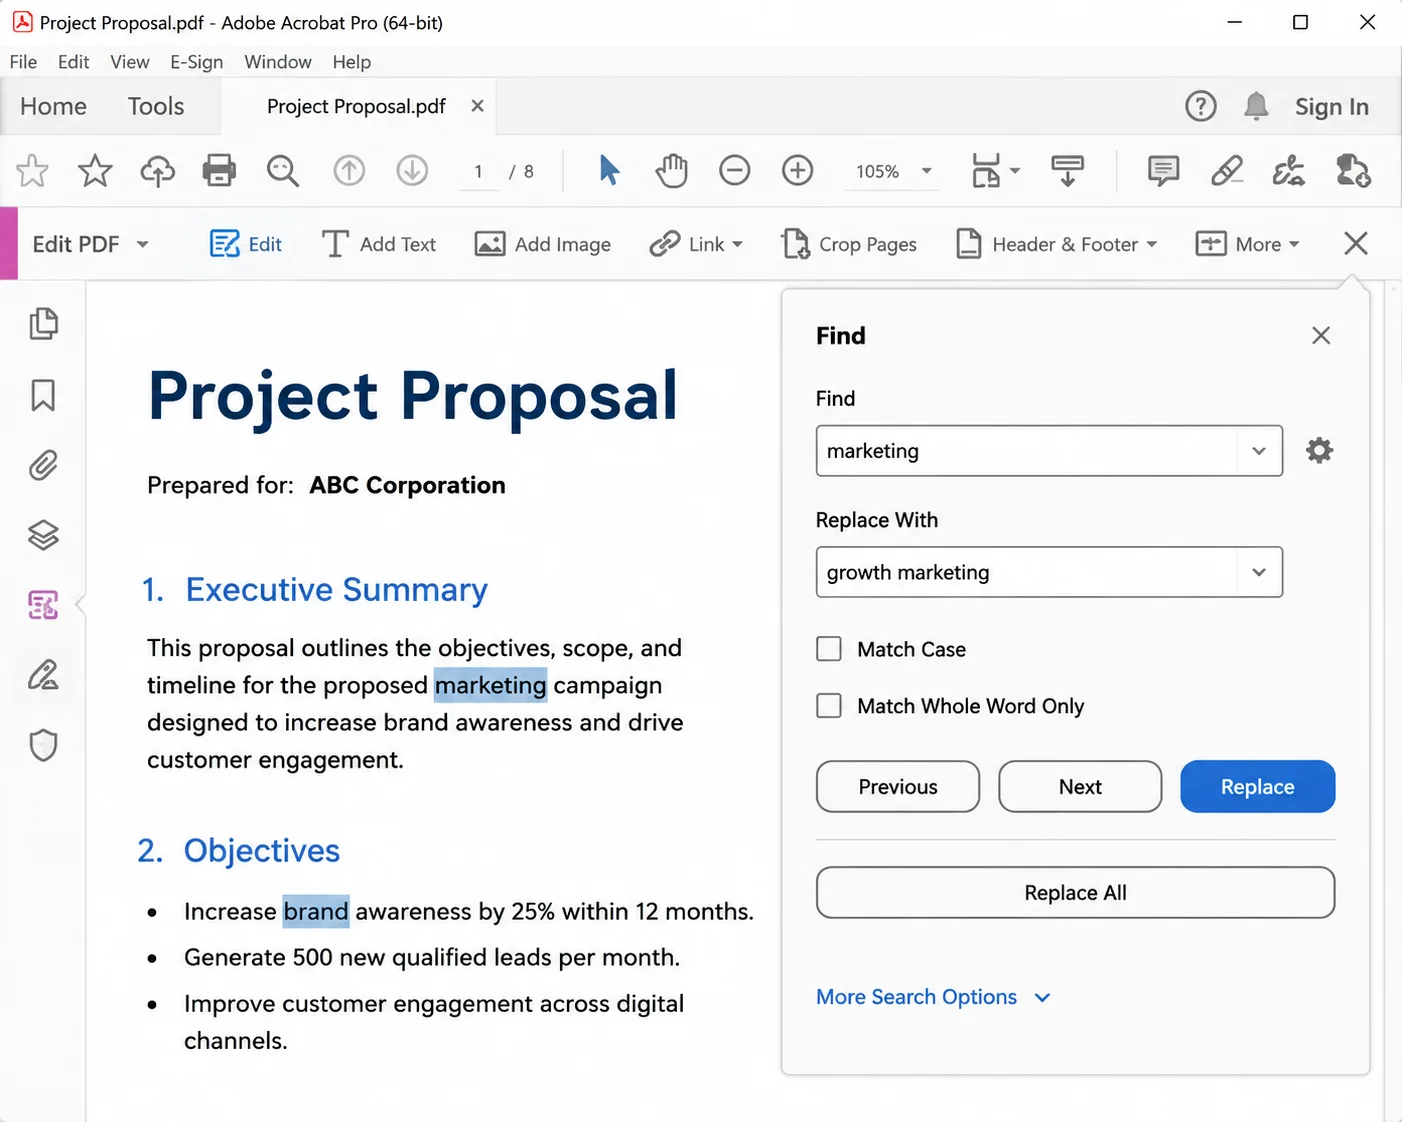
Screenshots are quick to capture and easy to share, but PDF is the format most workplaces actually want for records, approvals, and email attachments. A PDF keeps the image at a fixed size, stops it from being accidentally edited, and opens the same way across operating systems and devices. The good news is that there are multiple ways to turn a screenshot into a PDF, and the tools you need are already installed on your computer. This guide covers how to turn a screenshot into a PDF on Windows, Mac, and any mobile device.
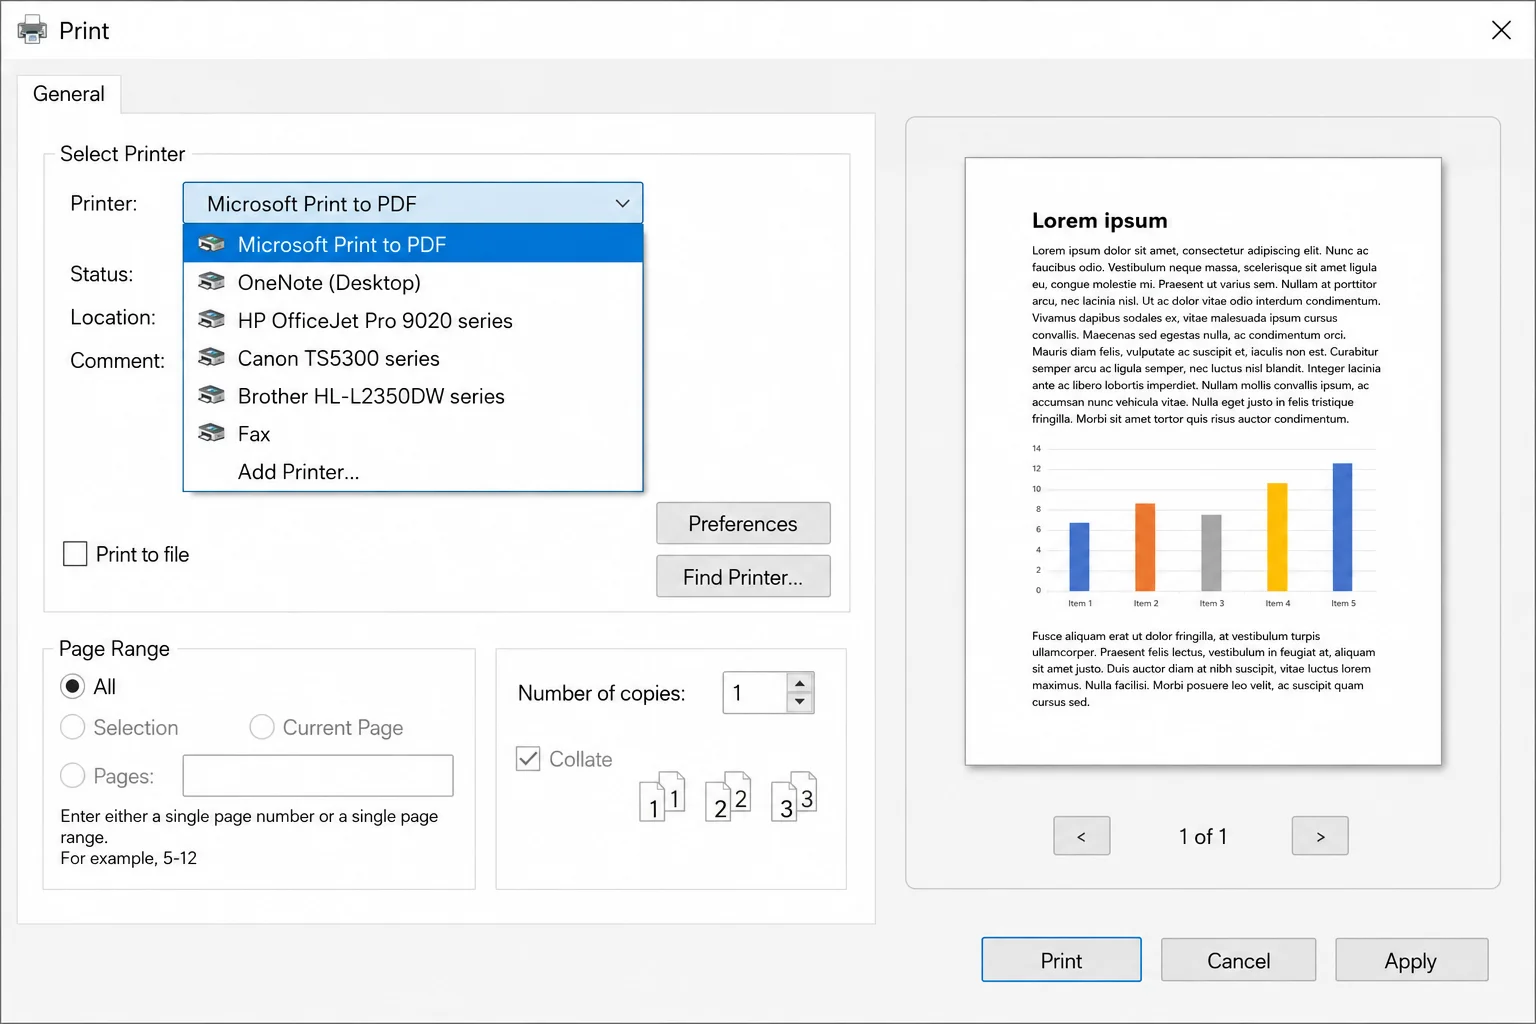
The fastest route on Windows is the built-in Microsoft Print to PDF feature. Simply open your screenshot in the Photos app (double-click the image file), press Ctrl + P to open the print dialog, select Print to Microsoft Print to PDF from the printer dropdown, then choose where to save your new PDF file. On a Mac, open the screenshot in Preview, click File → Export as PDF, and save. Either way, this screenshot to PDF conversion produces a finished PDF document in under a minute without extra software.
If you regularly work between image and document formats, it is worth knowing that the same "print to PDF" trick works for other files you can open and view, including web pages, emails, and photos. Many people who want to convert a screenshot also want to combine multiple screenshots into one PDF or convert JPG and PNG image files into PDF format in bulk, and the manual steps below scale to those tasks too.
One more thing worth deciding early: if your screenshots contain text you might need to copy later (an invoice, an error message, a page of notes), a plain image-to-PDF conversion locks that text into a picture, the same way scanned documents do. To keep the text selectable and searchable, you would run the image through optical character recognition during conversion. That is covered near the end, but it helps to know up front whether you need a searchable PDF or a simple flat one.
 Below is every reliable method to convert screenshots to PDF, grouped by device, followed by a troubleshooting section for the issues that trip people up.
| --- |
This is the cleanest workflow on Windows 10 and 11.
- Press Windows + Shift + S to open the Snipping Tool overlay.
- Drag to select the area you want, or choose full-screen from the toolbar at the top of the screen.
- The capture copies to your clipboard and shows a preview notification. Click it to open the image in the Snipping Tool window, where you can annotate screenshots with the pen and highlighter tools before saving.
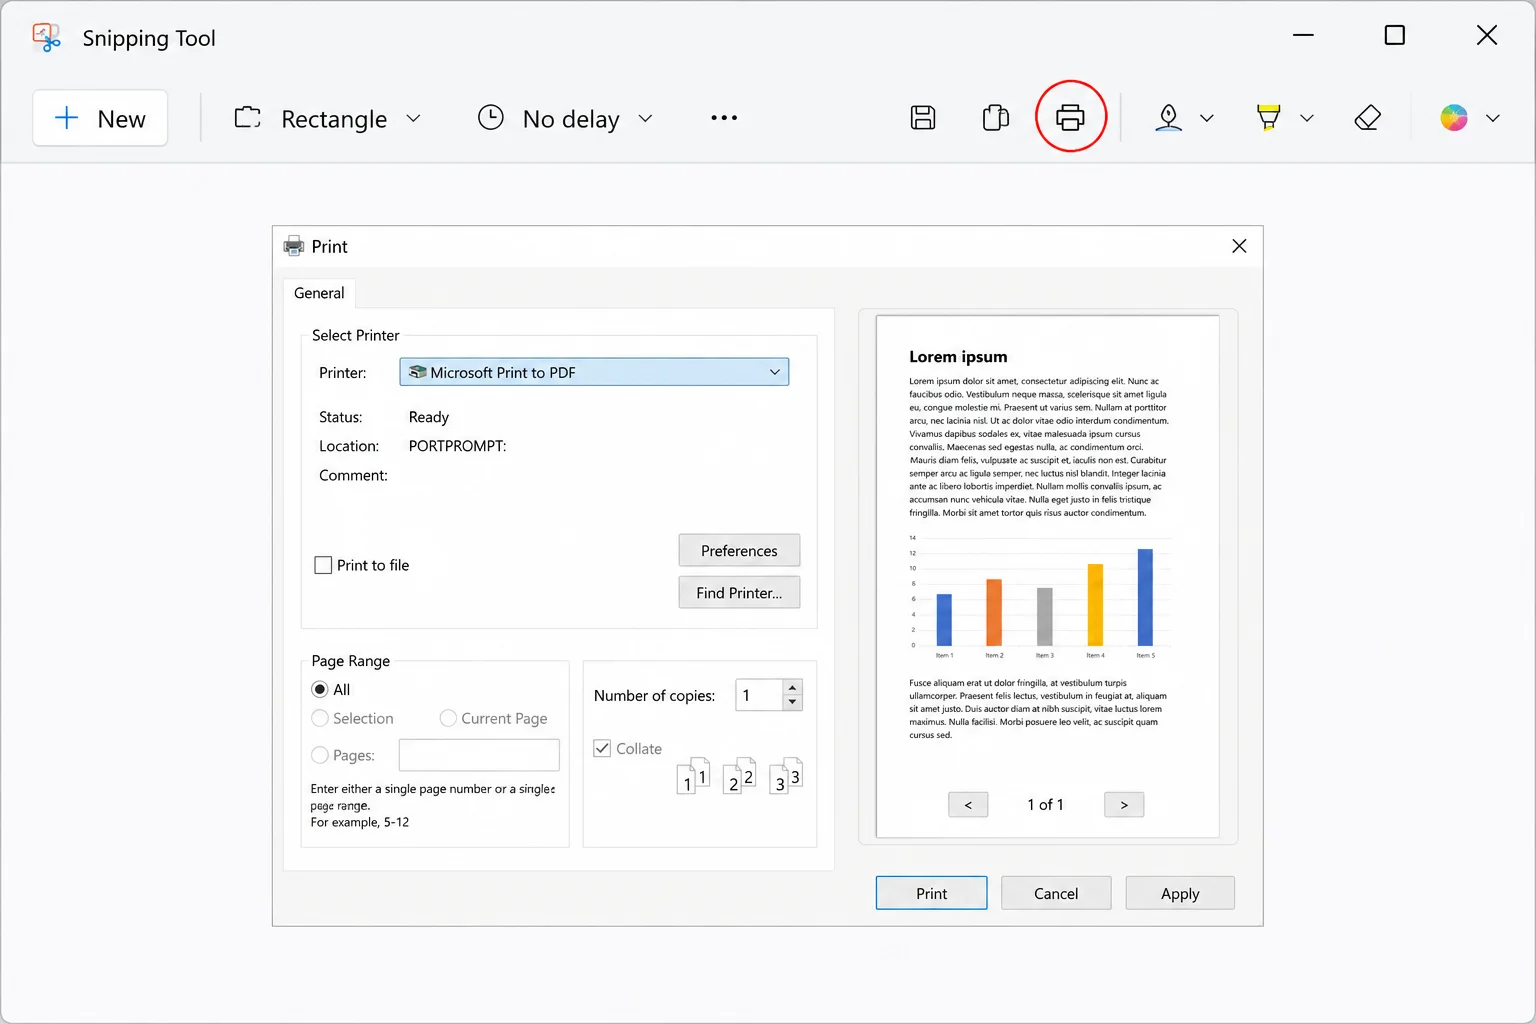
- Click the printer icon (or press Ctrl + P).
- In the printer dropdown, select Microsoft Print to PDF.
- Choose Print, name the file, pick a folder, and save.
That produces a single PDF sized to your screenshot. It is the method most office workers will use day to day.
Method 2: Windows Photos App (Right-click print)
If your screenshot is already saved as an image file, you can skip the Snipping Tool entirely.
- Find the image file in File Explorer.
- Right-click the file and choose Print.
- In the print window, select Microsoft Print to PDF as the printer.
- Adjust the paper size and fit option if the image looks cropped (see troubleshooting below).
- Choose Print and save your new PDF file.
The right-click menu is handy when you need to convert images one after another.
Method 3: Mac Screenshot + Preview
macOS handles PDF format natively, so no converter is required.
- Press Command + Shift + 4 to capture a selected area, or Command + Shift + 3 for the full screen. The screenshot saves to your desktop by default.
- Simply open the file to launch it in Preview, where the markup toolbar lets you annotate screenshots or apply filters before exporting.
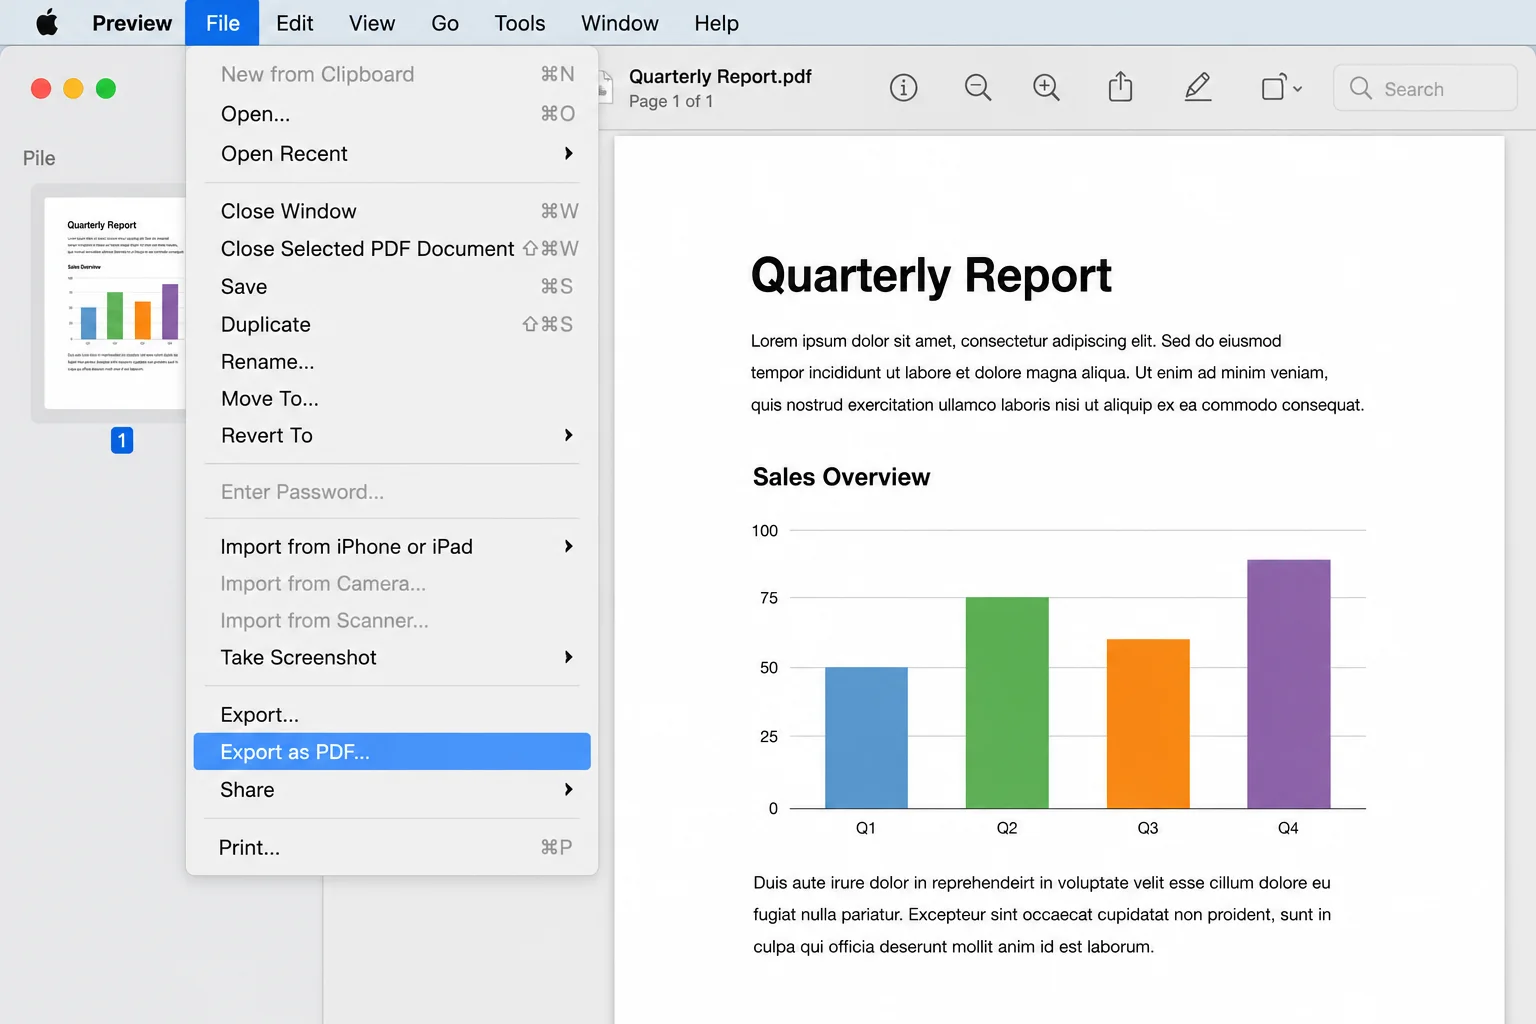
- Click File → Export as PDF (there is no need to select Print on a Mac).
- Set the filename and location, then click Export to save.
To combine multiple screenshots into one PDF on a Mac, open all of them in Preview, show the sidebar thumbnails, drag the images into the order you want, then click Export to save the whole set as a single PDF.
Method 4: Paste into Word or Google Docs, Then Save as PDF
This method gives you the most control over layout, captions, and multiple images on one page.
Microsoft Word:
- Take your screenshot with Windows + Shift + S (or Command + Shift + 4 on Mac).
- Open a blank Word document and press Ctrl + V (or Command + V) to paste.
- Resize, edit, or add a caption if needed.
- Click File → Save As, and choose PDF as the file type.
Google Docs:
- Paste your screenshot into a new document.
- Click File → Download → PDF Document (.PDF).
Use this approach when you need a header, a date, or explanatory text alongside the image, such as a support ticket or an expense claim. Adobe Acrobat works the same way if you have it: create a PDF from the image file, then save.
Method 5: Convert on a Mobile Device (iPhone and Android)
iPhone:
- Take a screenshot with the side button + volume up.
- Open Photos, select the screenshot, and tap the share icon.
- Choose Print.
- On the print preview, pinch outward with two fingers on the thumbnail to open it as a PDF.
- Tap the share icon again and choose Save to Files to download the PDF.
Android:
- Open the screenshot in Google Photos or your gallery.
- Tap the menu, then Print.
- In the printer dropdown, choose Save as PDF.
- Tap the download button and save. This is the simplest way to save screenshots as PDFs straight from a phone.
If you are on a shared or locked-down computer where you cannot access the print to PDF option, a browser-based online free tool lets you convert an image to PDF online as a fallback. A typical free JPG to PDF converter works like this: open the site in your browser, upload or drop your image, choose PDF as the output, click Convert to start the conversion, and download the finished file. Most also let you convert multiple screenshots at once, combine multiple JPG images into a single PDF, or produce separate PDFs from each upload. PDFgear also allows bulk conversion of screenshots to PDF and supports Windows, Mac, iOS, and Android. Some tools let you convert up to 150 images to PDF at once.
An online JPG to PDF converter is the quickest option when nothing is installed, but two things are worth watching with any free online converter:
- Maximum file size. Free tools often cap the file size you can upload, so a folder of large screenshots may not fit in one go.
- Privacy. An online PDF converter sends your file to a third-party server. Some services say all files are deleted after conversion for security, but you should still avoid uploading anything containing personal data, financial figures, passwords, or confidential work.
For sensitive material, stick with the built-in local methods above.
| --- |
Every method here accepts the common image file formats, so you are not limited to one type. PNG (the default for most screenshots), JPG and JPEG, BMP, GIF, and TIFF all convert to PDF the same way. If a tool rejects a file, check that the image formats it lists as supported include yours, then re-save the screenshot as PNG or JPG, which are accepted almost everywhere.
| --- |
Common Issues, Image Quality, and Troubleshooting
The image is cropped or has huge margins in the PDF. This happens when the print dialog forces a standard paper size around a small image. In the print settings, look for a "Fit" option or set the paper size to match the image orientation (landscape for wide screenshots). On Mac, use File → Export as PDF rather than Print, which avoids paper sizing altogether.
"Microsoft Print to PDF" is missing from the printer list. It can be turned off in Windows features. Go to Control Panel → Programs → Turn Windows features on or off, tick Microsoft Print to PDF, and click OK. Restart the print dialog, and it should appear.
The PDF text or image quality is poor: Screenshots are pixel images, so zooming in will always soften the text. To protect image quality, capture at your screen's full resolution rather than a zoomed-out browser view, and avoid resizing the image smaller before you convert.
The PDF takes up too much space: A high-resolution screenshot can produce a large file. If the file size matters for email, reduce the image dimensions slightly before converting, or use a PDF tool that compresses on export so the document does not use much space.
I need to copy text out of the PDF later - A standard screenshot to PDF conversion produces a flat image, so the text is a picture and cannot be selected, just like scanned documents. To make the words searchable and copyable, the file needs OCR applied during conversion, which recognizes the characters and adds a hidden text layer.
I have dozens of screenshots to convert - Doing this by hand becomes tedious fast. Batch conversion, described next, handles all your screenshots in one pass and keeps consistent page sizing throughout.
| --- |
Convert Multiple Screenshots to PDF Automatically (for High Volume)
The manual methods above are perfect for a handful of files. When the job grows, say a folder of 500 screenshots that each need to become one PDF, or one combined PDF document, an automated approach saves hours and keeps every page formatted the same way.
IronPDF is a .NET library that handles this conversion programmatically. With a few lines of code, you can turn screenshots into PDF files, combine multiple images into a single PDF, produce separate PDFs from a batch, and set consistent page dimensions throughout. Here is the core of an image-to-PDF conversion:
using IronPdf;

// Convert a single screenshot into a new PDF file
ImageToPdfConverter.ImageToPdf("screenshot.png")
    .SaveAs("screenshot.pdf");

// Or combine multiple screenshots into one PDF
var images = System.IO.Directory.GetFiles(@"C:\screenshots", "*.png");
ImageToPdfConverter.ImageToPdf(images)
    .SaveAs("all-screenshots.pdf");
using IronPdf;

// Convert a single screenshot into a new PDF file
ImageToPdfConverter.ImageToPdf("screenshot.png")
    .SaveAs("screenshot.pdf");

// Or combine multiple screenshots into one PDF
var images = System.IO.Directory.GetFiles(@"C:\screenshots", "*.png");
ImageToPdfConverter.ImageToPdf(images)
    .SaveAs("all-screenshots.pdf");
C#
That same workflow can add OCR so the resulting PDF documents are fully searchable, apply headers or watermarks, and run on a schedule for recurring reports. It accepts the usual image file formats (PNG, JPG, BMP, GIF, TIFF), so mixed batches convert without extra steps. If your team handles screenshots at scale, or you are building software that generates PDFs on the fly, it is worth exploring how IronPDF converts image files and web content into PDFs.
For everyone else, the built-in Print to PDF and Export as PDF options covered at the top of this guide will get the job done in seconds.
You can try IronPDF for free to see how automated conversion fits into your workflow.