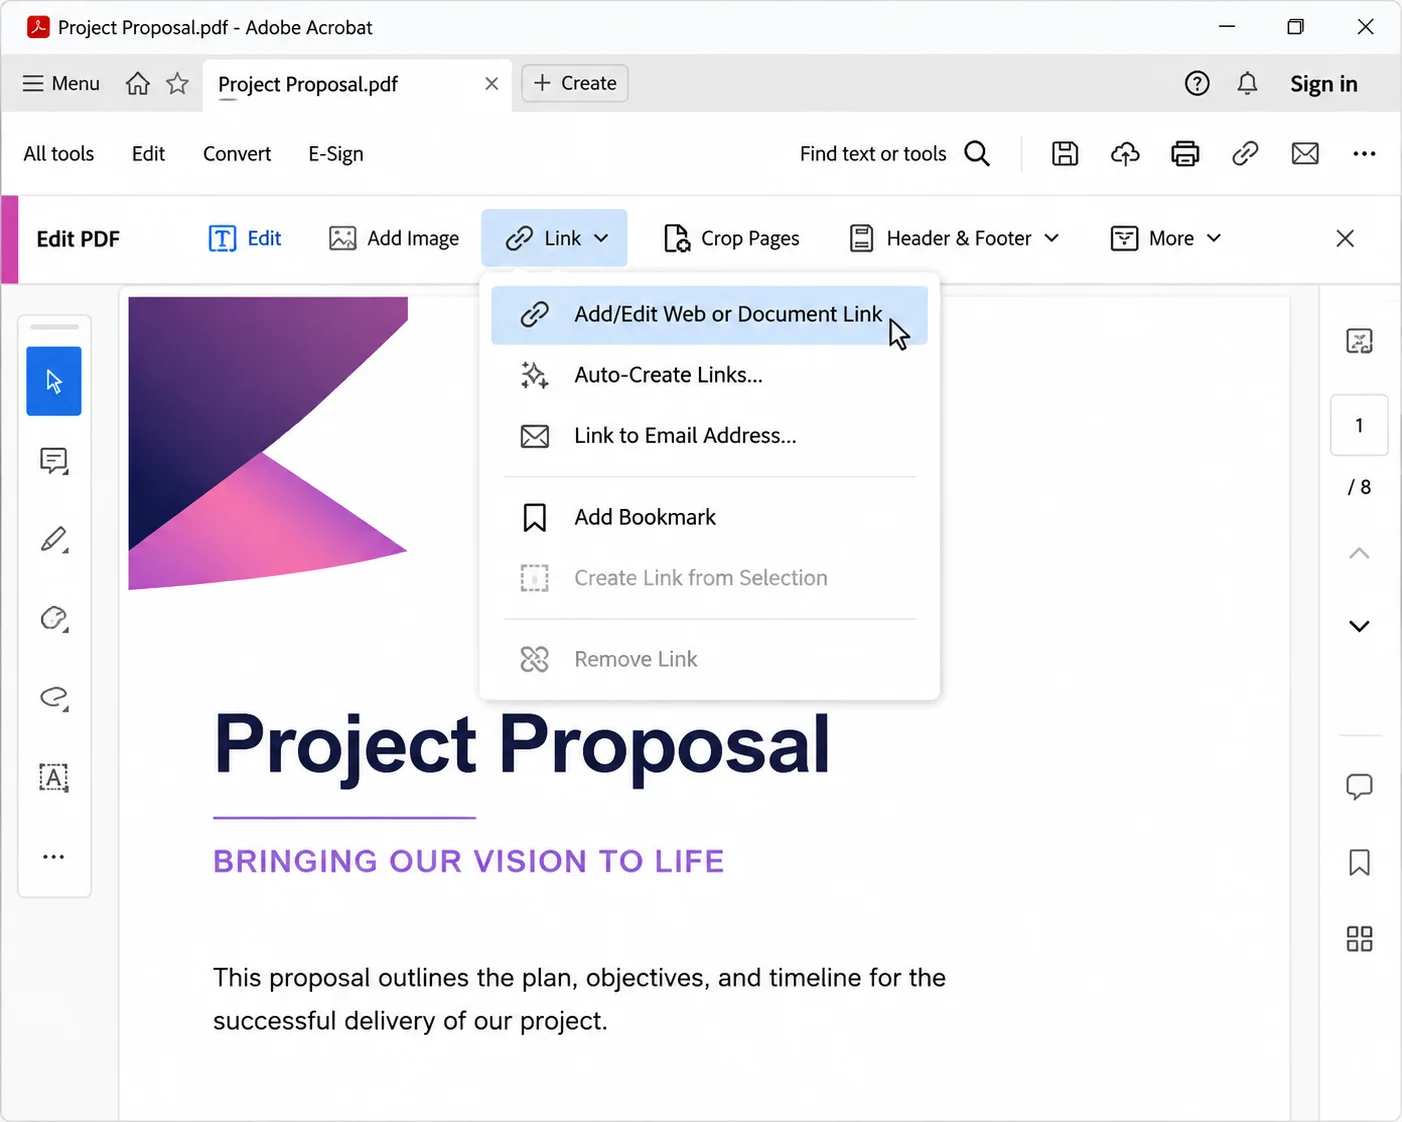
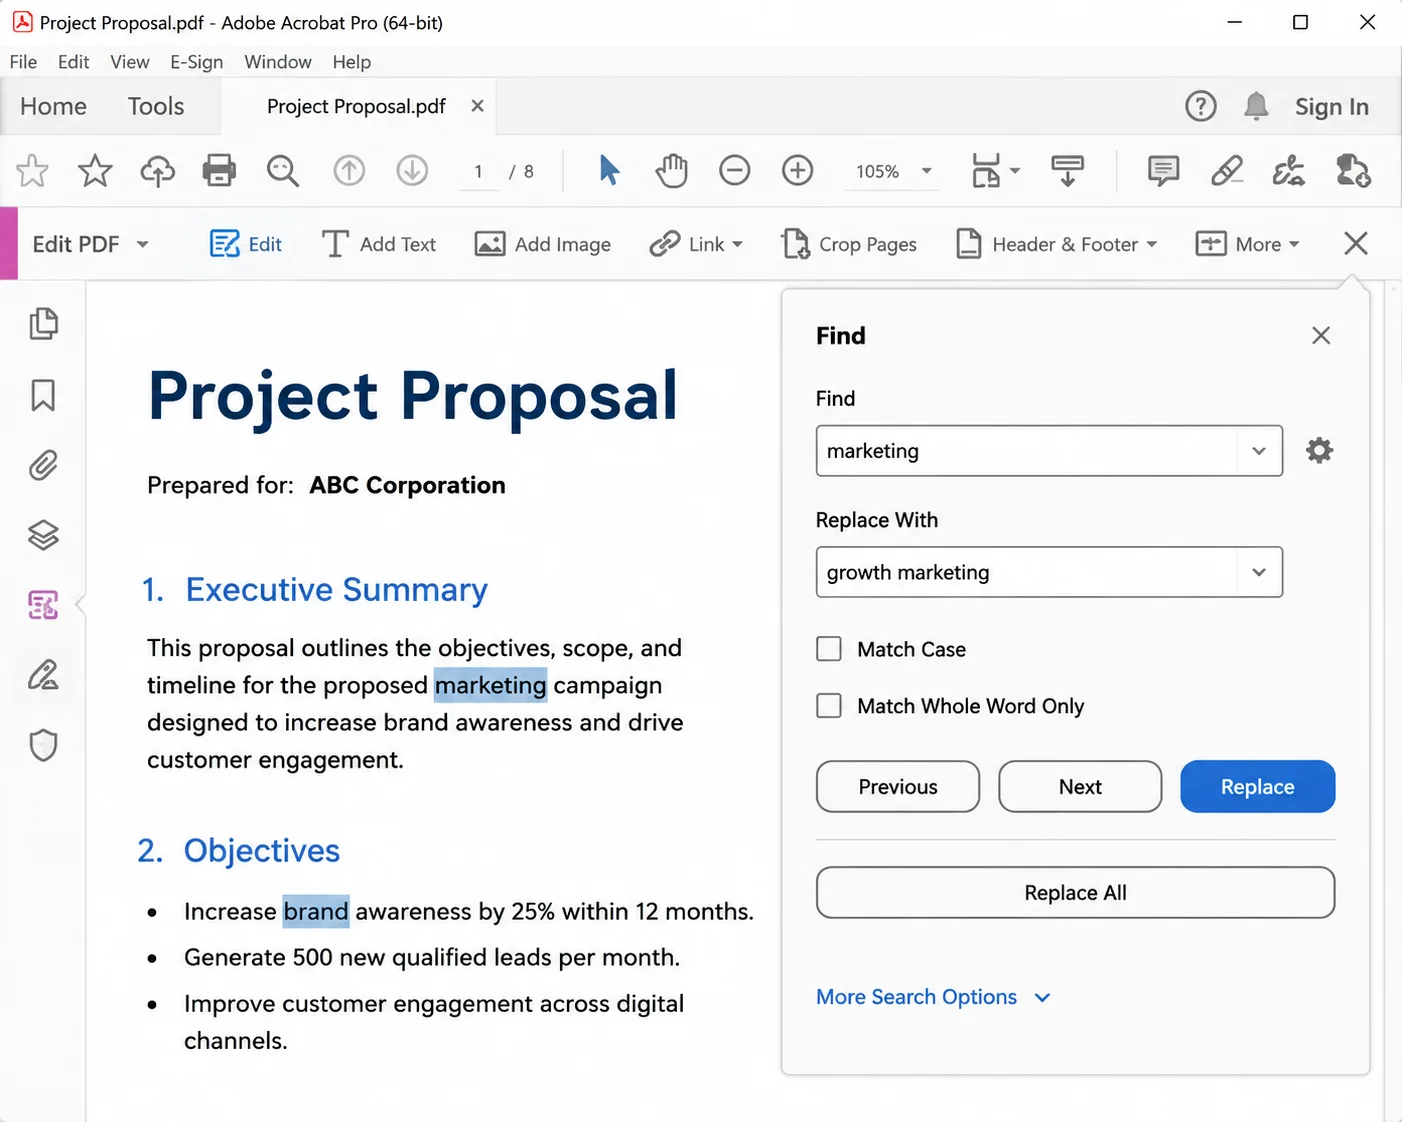
Signing a PDF on an iPhone takes about thirty seconds, and it works without downloading a single app or paying for extra apps. The fastest way to sign a PDF is the built-in Markup tool inside the Files app. Open the PDF file, tap the Markup icon (the pen tip inside a circle), tap the plus icon (+) in the lower right corner, choose Signature, and drop your signature onto the page. These simple steps cover the vast majority of everyday tasks for signing PDF documents, from approving important documents to initialing a form before emailing it back.
Most people reach for a laptop for this, but the iPhone already has everything needed to place a handwritten signature on a document. The steps below walk through the quickest method in full, then cover every alternative so you can sign documents wherever your PDF currently lives, whether that is an email attachment, a scanned page in Photos, or a file you access in cloud storage such as iCloud Drive or Google Drive. Handling documents on your iPhone this way lets you stay productive without needing to upload anything to a computer first.
If you later find yourself doing this dozens of times a week, or you need signatures applied to PDF documents automatically as they are generated, there are document management tools that handle PDF signing in bulk. IronPDF, for example, can apply digital signatures to PDFs with a certificate straight from code, and it can also fill and flatten PDF form fields so the signed result stays locked. Full details, with a link to the IronPDF website, are covered at the end. For now, the focus is the phone in your hand.
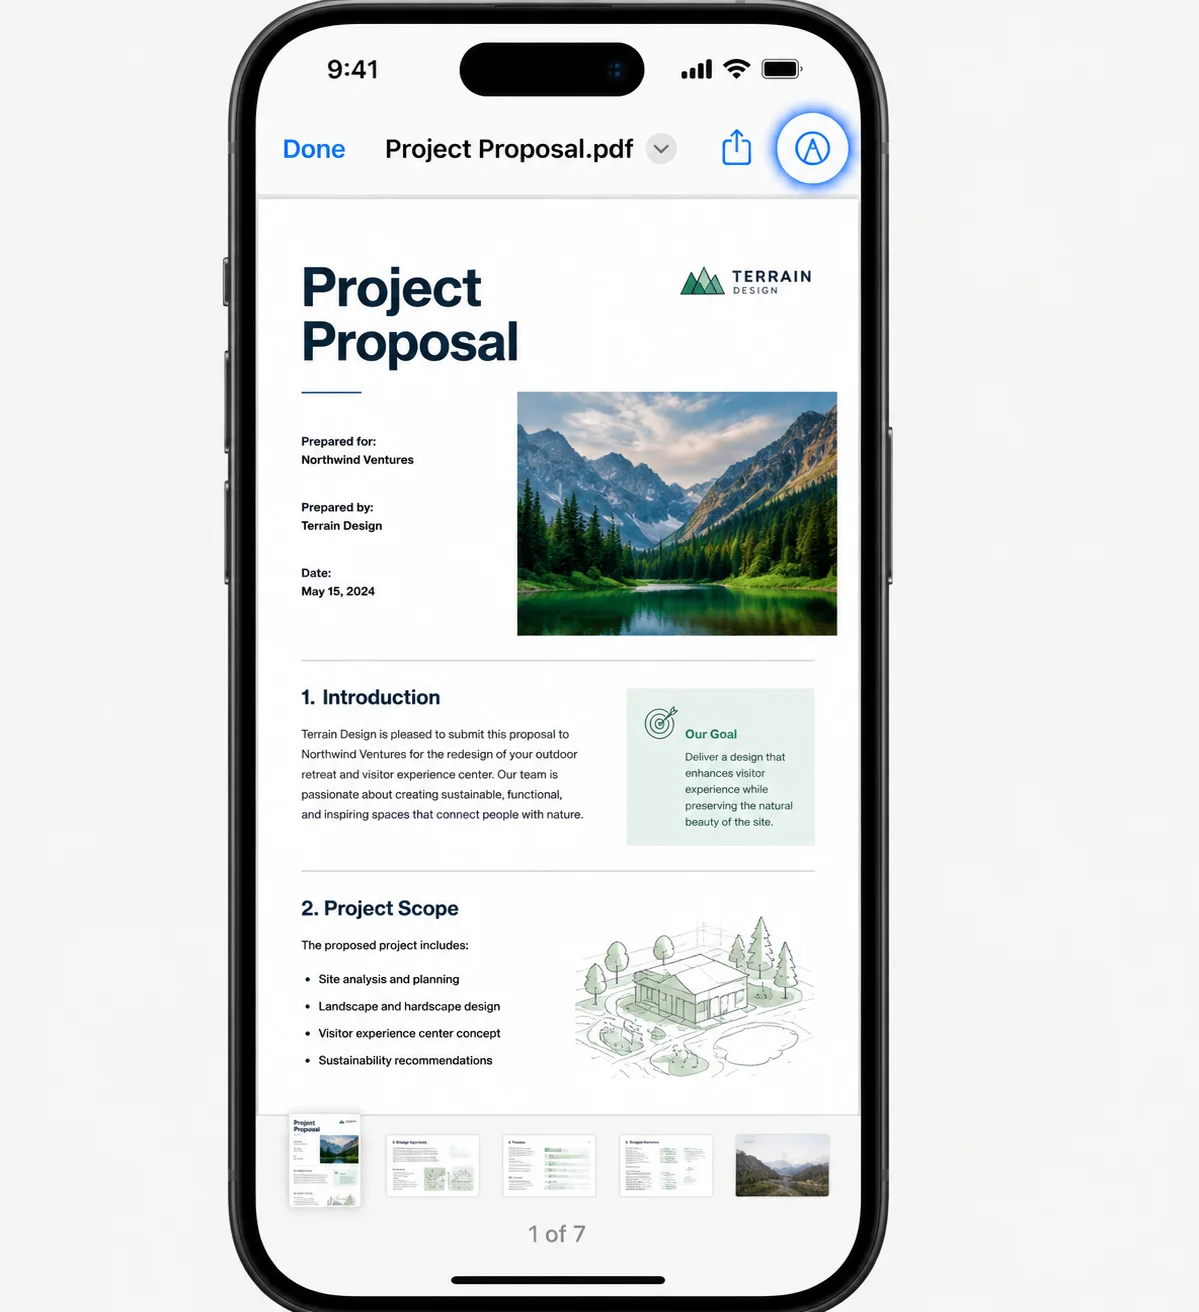
This is the method to remember, because it works on any PDF you can save to your phone.
- Open the Files app and tap the PDF you want to sign.
- Tap the Markup icon in the top right corner. It looks like a pen tip inside a circle.
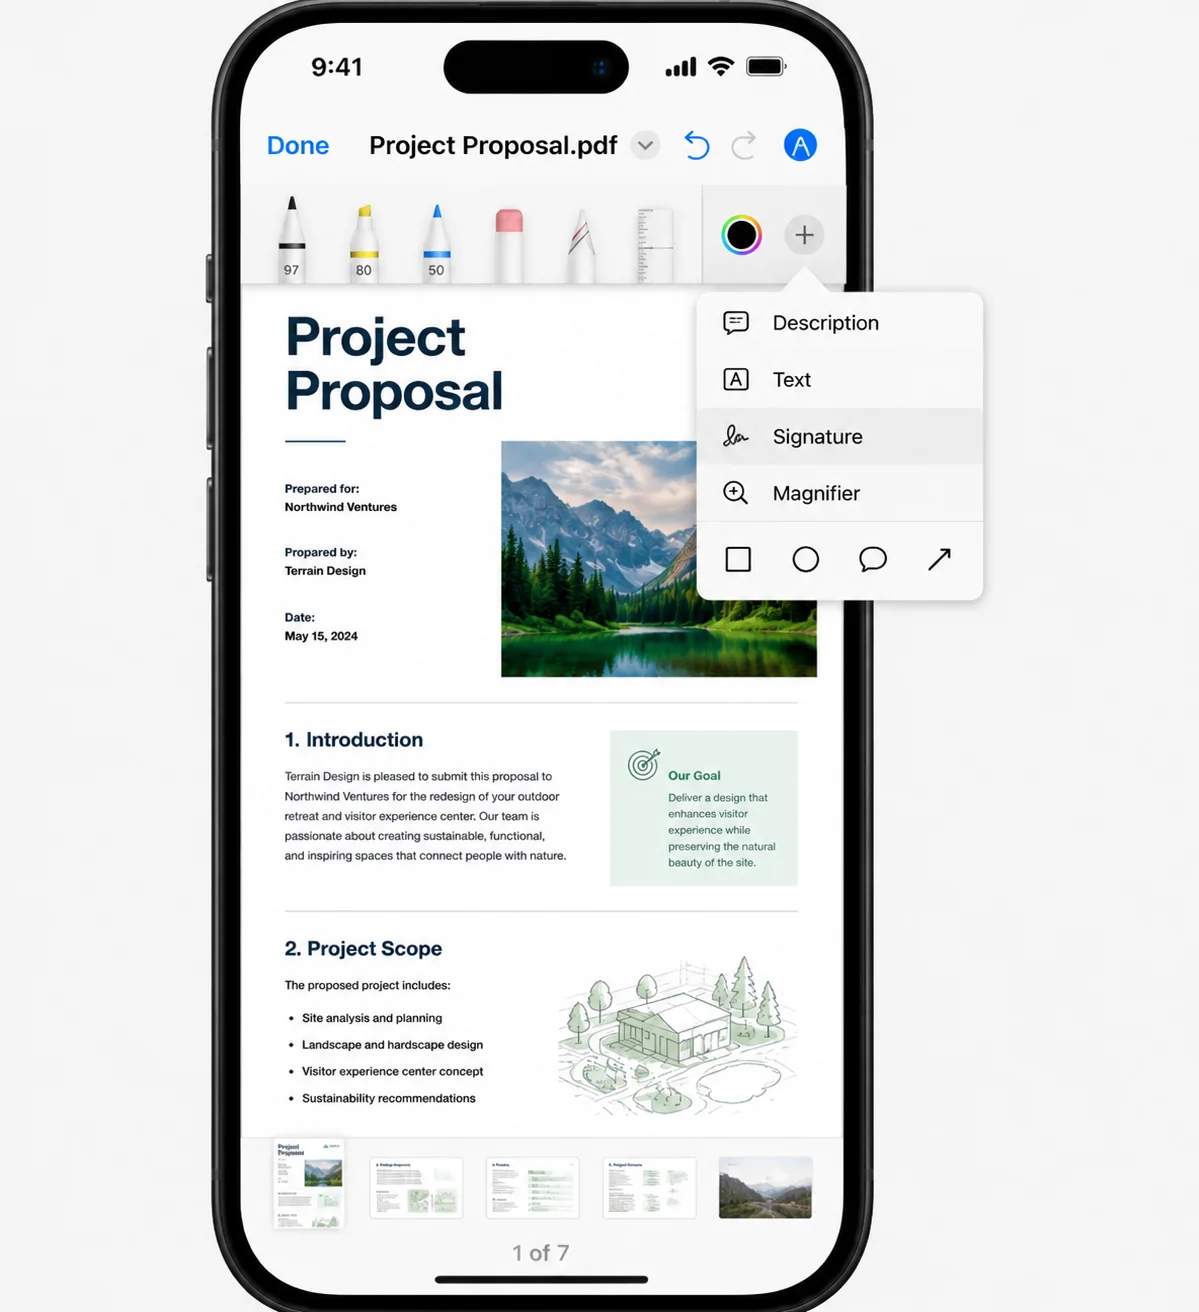
- Tap the plus (+) button in the bottom-right corner.
- Choose Signature from the menu.
- If a saved signature appears, tap it. To make a new signature, tap Add Signature, then draw your signature on the screen with a finger and tap Done. If the line comes out wrong, tap Clear and try again.
- Drag the signature into position and use the blue corner handles to resize it.
- Tap Done in the top-left corner to save.
The signature is saved to your phone for future use the first time you create it, so you can add signatures to any document in two taps rather than a fresh scribble. Markup can also store multiple signatures, for example a full signature and a separate set of initials.
Method 2: Sign a PDF File Straight From the Mail App
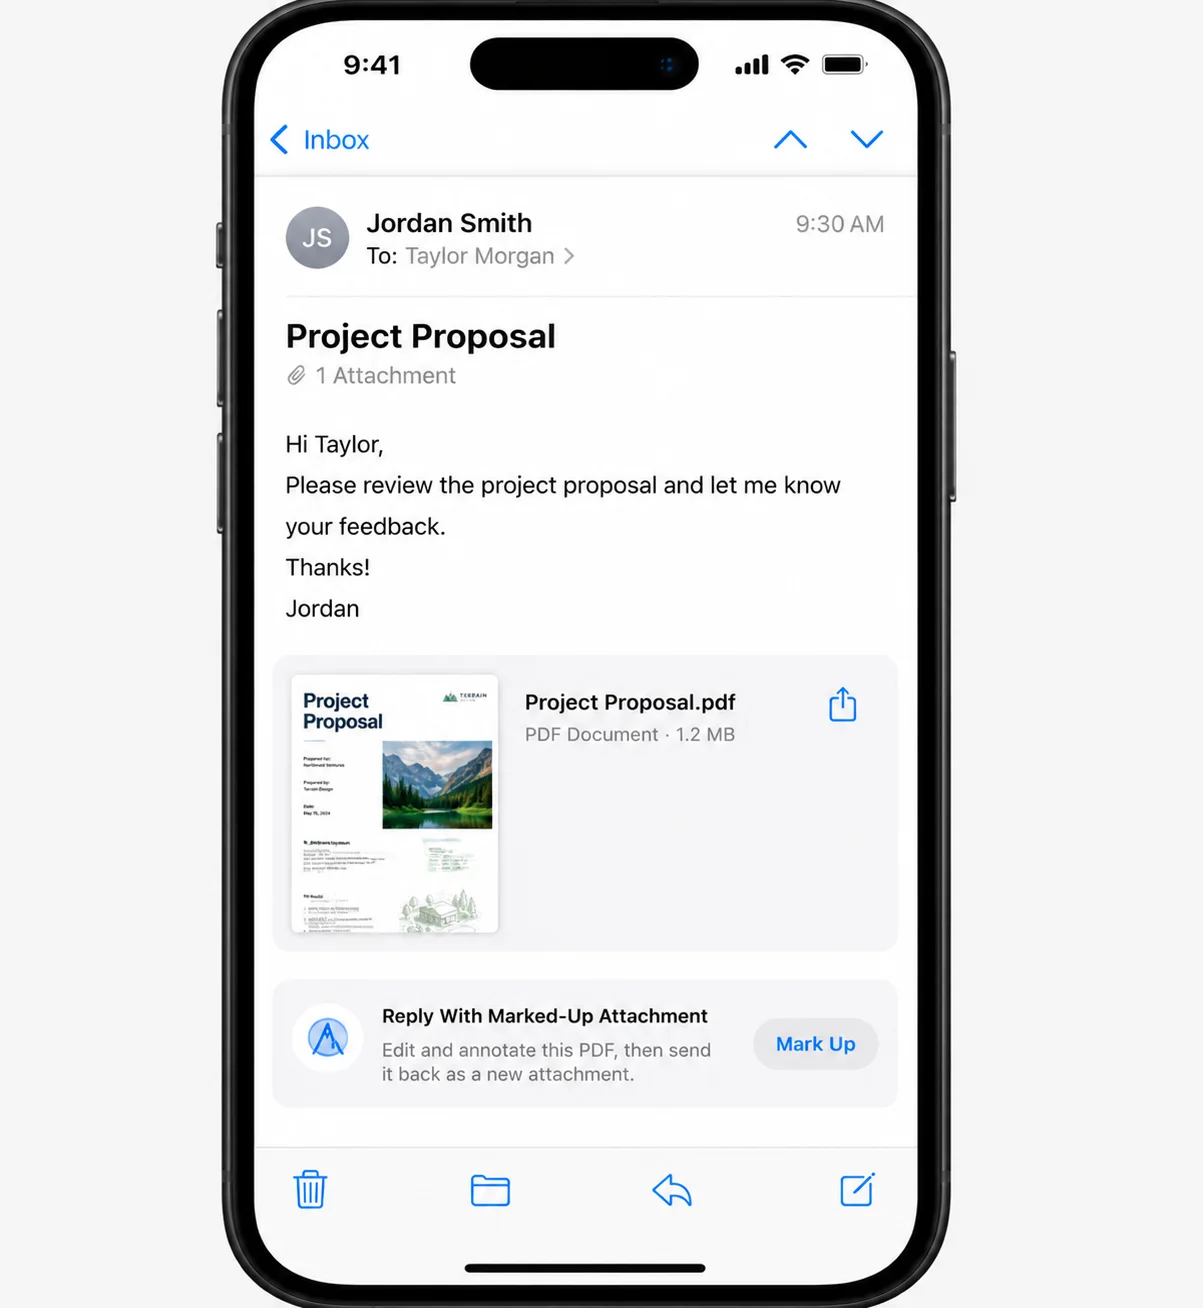
When a PDF arrives as an email attachment, there is no need to save it first. Mail has Markup built in.
- Open the email and tap the PDF attachment to preview it.
- Tap the Markup icon in the top-right corner (the same pen-tip circle).
- Tap the plus (+) button, choose Signature, and tap Add Signature to add your signature, or select a saved one.
- Position and resize it, then tap Done.
- Mail offers to reply to the sender with the signed copy attached, so the document goes back to the right person automatically.
This is the fastest route for signing and returning a contract without leaving your inbox.
Method 3: Sign a Scanned Document From the Photos App
Sometimes the "PDF" starts life as a photo of a printed page. The Photos app can add a signature to any image, and you can then export it as a PDF.
- Open the image in Photos and tap Edit.
- Tap the Markup icon (three dots menu, then Markup if it is not visible).
- Tap the plus (+) button, select Signature, and place your signature.
- Tap Done to save the edited image.
- To turn it into a PDF, open the image, tap the share icon, and choose Print. On the print preview, pinch outward on the page thumbnail, then tap the share icon again and tap Save to Files to store the result as a PDF.
Method 4: Sign From Any App Using Quick Look
Quick Look is the preview window that pops up whenever you tap a file inside apps like Messages, WhatsApp, Slack, or a cloud storage app. It carries the same Markup tools.
- Tap the PDF to open the Quick Look preview.
- Tap the Markup icon in the corner.
- Add your signature through the plus (+) menu, position it, and tap Done.
- Use the share icon to save the signed file back to Files or share files with your team.
Quick Look means you rarely have to move a document into a dedicated app just to sign it.
Method 5: Third-Party Apps for Certificate-Based Digital Signatures
The built-in Markup tool adds an electronic signature, meaning a picture of your handwriting placed on the page. That is fine for most business use. When a document requires a digital signature backed by a verified certificate (common with legal, financial, or government paperwork), a dedicated app does the job and adds a layer of security:
- Adobe Acrobat Reader offers free signing plus the "Fill & Sign" workflow, where you select Fill to type into a document and add a signature. Paid tiers add certificate-based digital signatures, and Adobe says Acrobat reduces document signing time from seven days to two hours.
- DocuSign is built around legally binding, audit-tracked signatures and is widely accepted for contracts.
- PDF Expert and Foxit PDF Editor provide signing alongside broader editing tools, and PDF Expert syncs signatures across iPhone, iPad, and Mac devices.
You can download each of these from the App Store before use, and they integrate with the iPhone Share sheet, so you can send a PDF straight into them from Files or Mail. Most ask you to set up a free account to sync signed files across devices.
Bonus: Handwritten Signatures With Apple Pencil on iPad
If you also use an iPad, the Apple Pencil or other stylus turns signing into a genuinely handwritten experience, while a fingertip still works in a pinch. Every method above works on iPadOS, and the Pencil produces a far cleaner signature than a fingertip. Open the PDF in Files, tap Markup, and sign directly on the page with the Pencil, or save that Pencil signature for reuse. This is the closest a tablet gets to signing on paper.
Common Issues and Troubleshooting
The Markup icon is missing. Markup appears only for supported file types. Confirm the file is an actual PDF and not a link or a compressed archive. Opening it through the Files app rather than a third-party viewer usually restores the toolbar.
The signature looks pixelated or oversized. Drag the blue corner handles inward to shrink it. Signatures created with a fingertip tend to look rough, so an Apple Pencil or a slow, deliberate finger stroke produces a cleaner line.
The form needs typed text as well as a signature: Markup does more than signatures. Tap the plus (+) menu and choose Text to drop a text box onto the page, which is handy for adding text such as a date or a name into a text form box before you sign. The Notes app offers the same Markup tools if you prefer to scan and sign there.
Changes will not save: A PDF stored in a read-only location, such as a shared folder without edit permission, cannot be overwritten. Save a copy to your own iCloud Drive or "On My iPhone" folder first, then sign the copy.
The signature can still be moved or deleted after signing - iPhone Markup places a signature as a movable layer rather than permanently embedding it. To lock it in place, open the signed PDF, tap Share, choose Print, pinch outward on the preview, and re-save. This flattens the file so the signature becomes part of the page. For documents where a locked, tamper-evident result matters at scale, a programmatic tool that edits and flattens PDFs reliably is the safer route.
A saved signature needs updating - When adding a signature through the plus (+) menu, choose Add or Remove Signature to delete the old one and record a new version, or duplicate an existing one to make a variant. You can easily create several signatures for different documents this way.
The document needs a legally binding digital signature. Markup does not attach a cryptographic certificate. For that level of assurance, use DocuSign, Adobe Acrobat, or a code-based approach with certificate support.
Signing PDFs Automatically With IronPDF
Everything above solves the one-document-at-a-time problem. Teams that generate invoices, contracts, or reports in volume usually need the signature applied the moment each file is created, without a person tapping through Markup. That is a job for automation.
IronPDF is a .NET library that signs PDFs programmatically using an X.509 certificate, so the signature is a verifiable digital signature rather than a placed image. A basic signing operation looks like this:
using IronPdf;
using IronPdf.Signing;

// Load the PDF you want to sign
PdfDocument pdf = PdfDocument.FromFile("contract.pdf");

// Create a signature from a .pfx or .p12 certificate
var signature = new PdfSignature("certificate.pfx", "your-password")
{
    SigningReason = "Contract approval",
    SigningLocation = "Chicago, USA"
};

// Apply the signature and save the result
pdf.Sign(signature);
pdf.SaveAs("contract-signed.pdf");
using IronPdf;
using IronPdf.Signing;

// Load the PDF you want to sign
PdfDocument pdf = PdfDocument.FromFile("contract.pdf");

// Create a signature from a .pfx or .p12 certificate
var signature = new PdfSignature("certificate.pfx", "your-password")
{
    SigningReason = "Contract approval",
    SigningLocation = "Chicago, USA"
};

// Apply the signature and save the result
pdf.Sign(signature);
pdf.SaveAs("contract-signed.pdf");
C#
The same library fills form fields, stamps pages, and merges documents, and its signing features let you sign PDFs directly from your own applications. That makes it a fit for any workflow where signed PDFs are produced on a schedule or on demand, and the whole process runs without manual steps.
For a single PDF on your phone, the Files app and Markup remain the fastest answer, and they cost nothing. When signing becomes something your systems need to do automatically, IronPDF handles it in a few lines of code. You can also download a free trial to explore its features in your own projects.